It’s been awhile since I talked about weaving. There was Texas and the fair and sheep and dogs. But I have been at work in the shop. After the fair and before the shooting of the video documentary I worked for a couple of days cleaning. This was the kind of cleaning where you Throw Things Away…or at least put them in a different building (in the room of a kid who no longer lives here) with the designation to go to the upcoming Estate Sale. After all I couldn’t have a videographer in that shop where I couldn’t even get to a loom without stepping over mountains of boxes and moving piles of Stuff off the bench. Now that the space is organized I feel like my brain is a little more organized too.
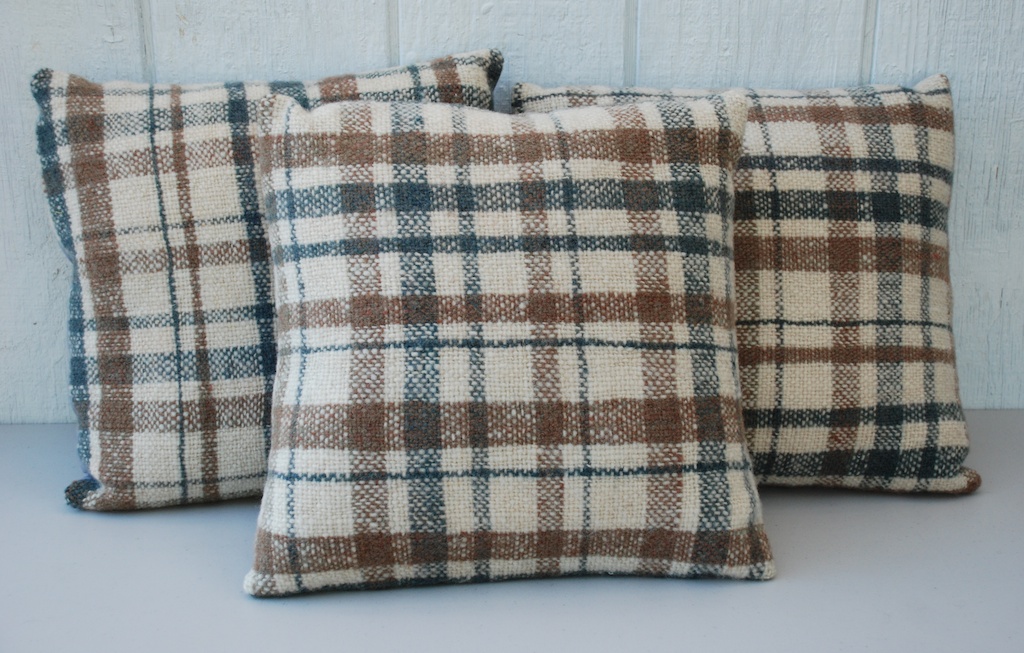
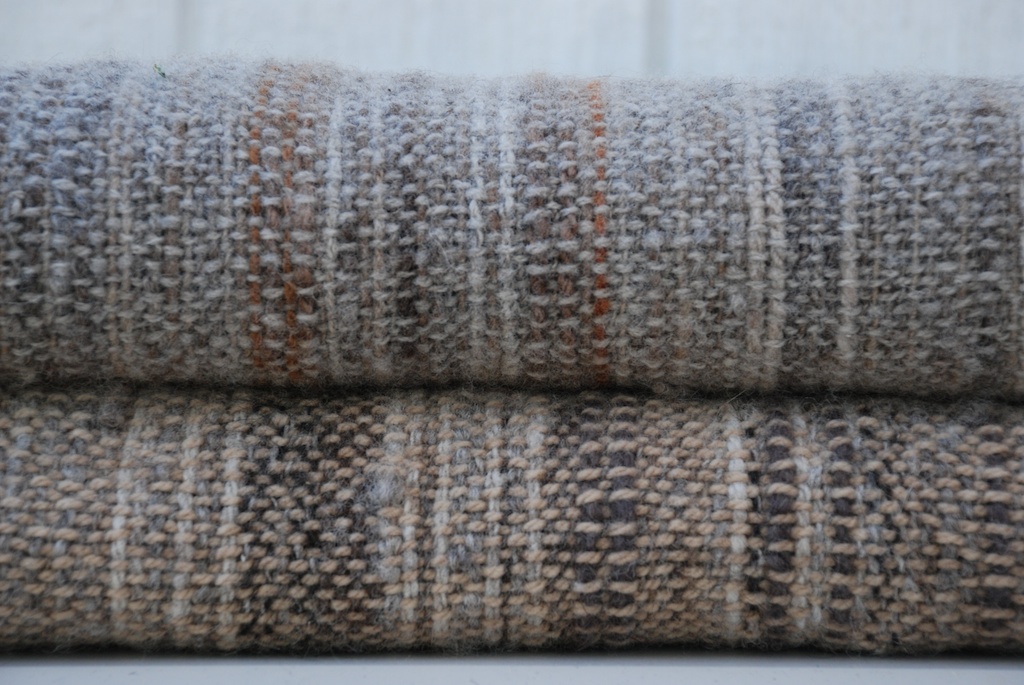
One of the major accomplishments was to finish an order that has been hanging over my head for a really long time. These are one full size and three queen size blankets woven out of the customer’s wool. I am anxious to get them shipped off. (And there is still one more custom order–that person may have given up on me but I will contact her this week.)
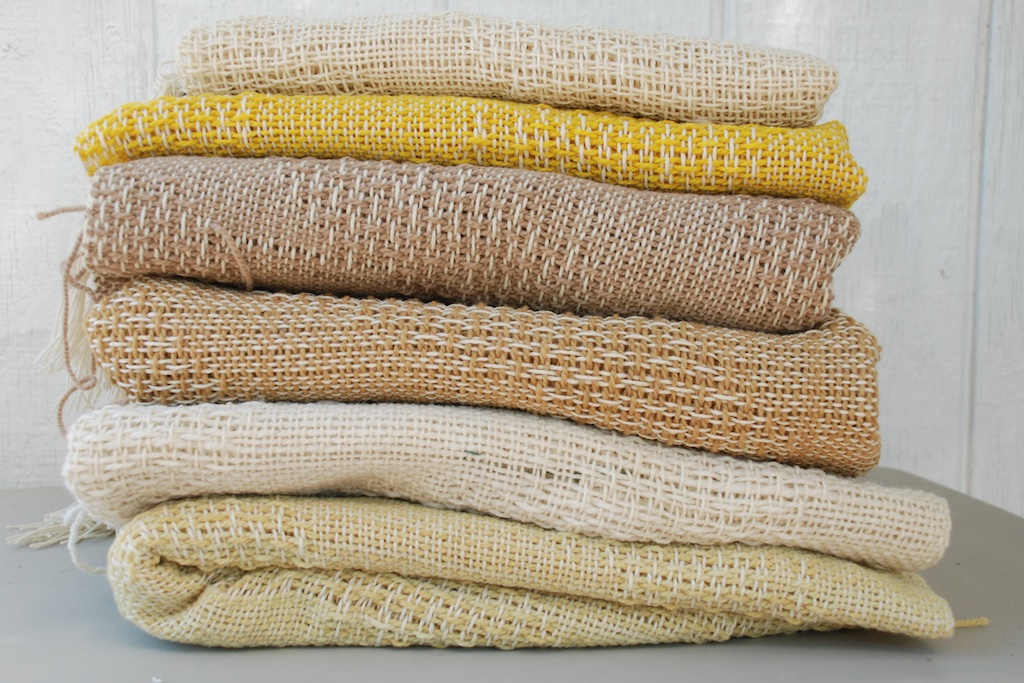
 Looking ahead to Fibershed Grow Your Jeans Event in October (same weekend as Lambtown by the way), I wove 6 shawls using wool I had spun last year from the local Timm Ranch flock. One of these will be in the fashion show and all will be for sale. The colored shawls use weft yarn dyed with osage orange, black walnut, and pomegranates. This are how the shawls look just off the loom. I still need to fringe and full them.
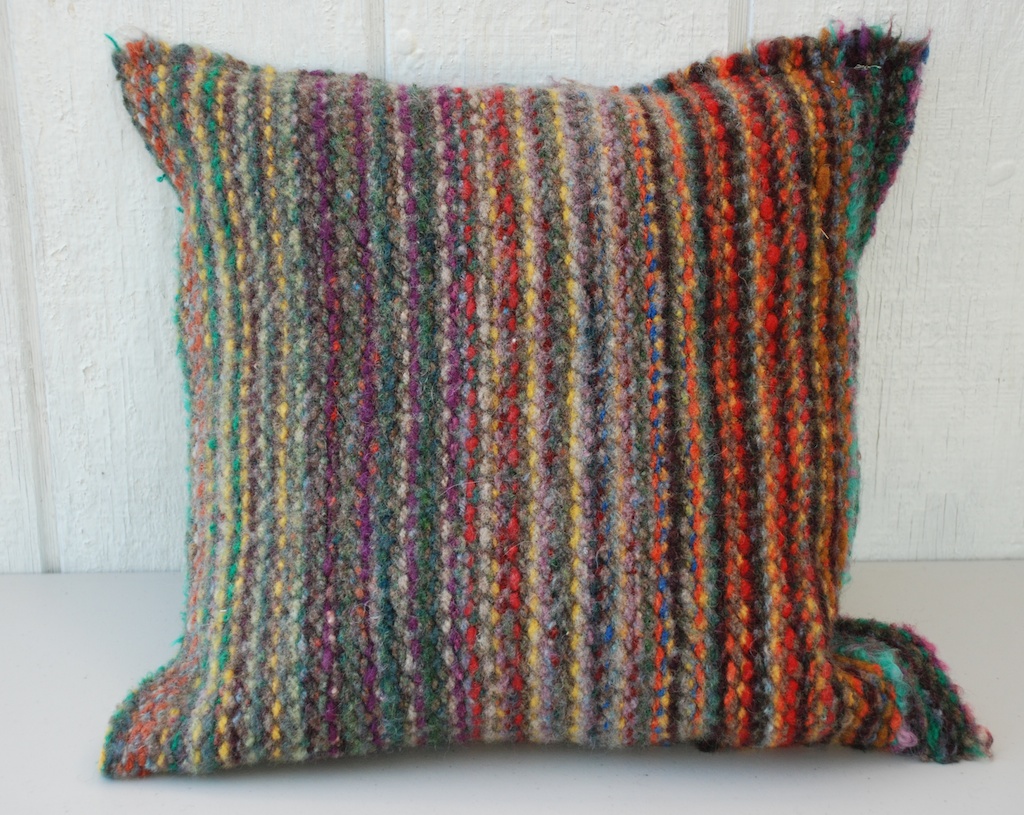
  This is one of the shawls after fulling.
I am teaching a class this weekend called Color on the Loom. I haven’t taught this one before and I am still working on content. I wanted to weave another sample that also included combining weave structures. This is the kind of thing I rarely take time to do. Instead I have been working to meet deadlines. The creative part of weaving (as in everything else) takes time to think, absorb, mull over ideas. This week I took that time–I think it helped that the space was clean.
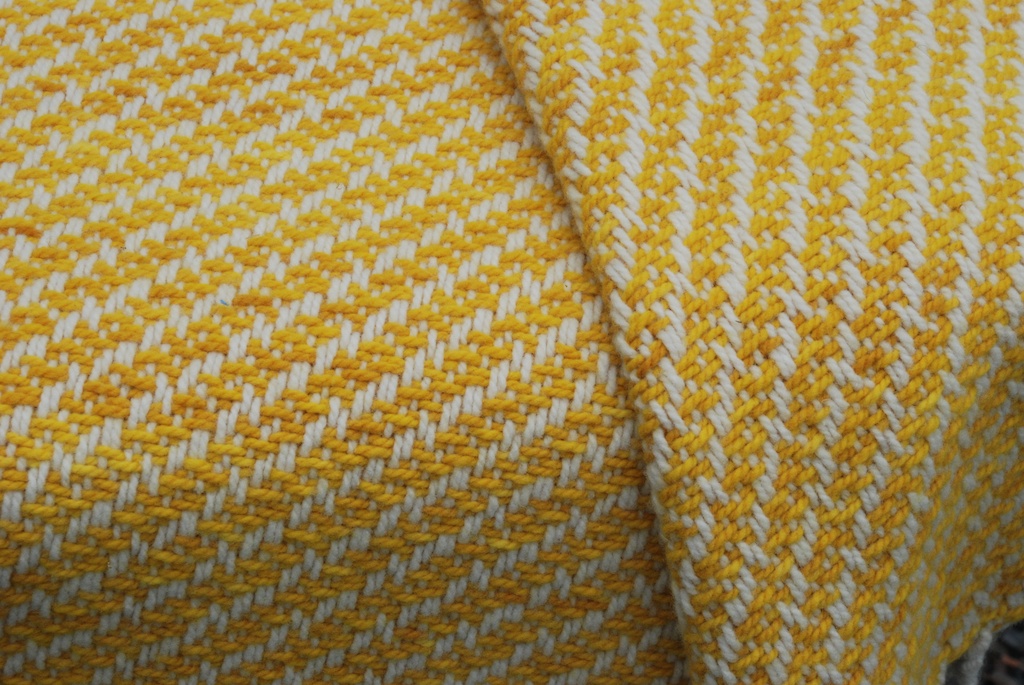
 This is a warp in which stripes of wool alternates with stripes of cotton. My idea was to purposely create a seersucker like effect. The wool is stretchy and the cotton is not. In addition wool and cotton react differently to wet finishing. I wove several samples of all different combinations of weave structure (plain weave, twill, basket weave) and cotton or wool weft. These are before and after photos of just a couple of the samples:
 Each of these samples are woven the same (plain weave cotton stripes alternating with basket weave wool stripes and vice versa and the same in squares–to the left of the samples). I wove one sample with wool weft and one with cotton weft.
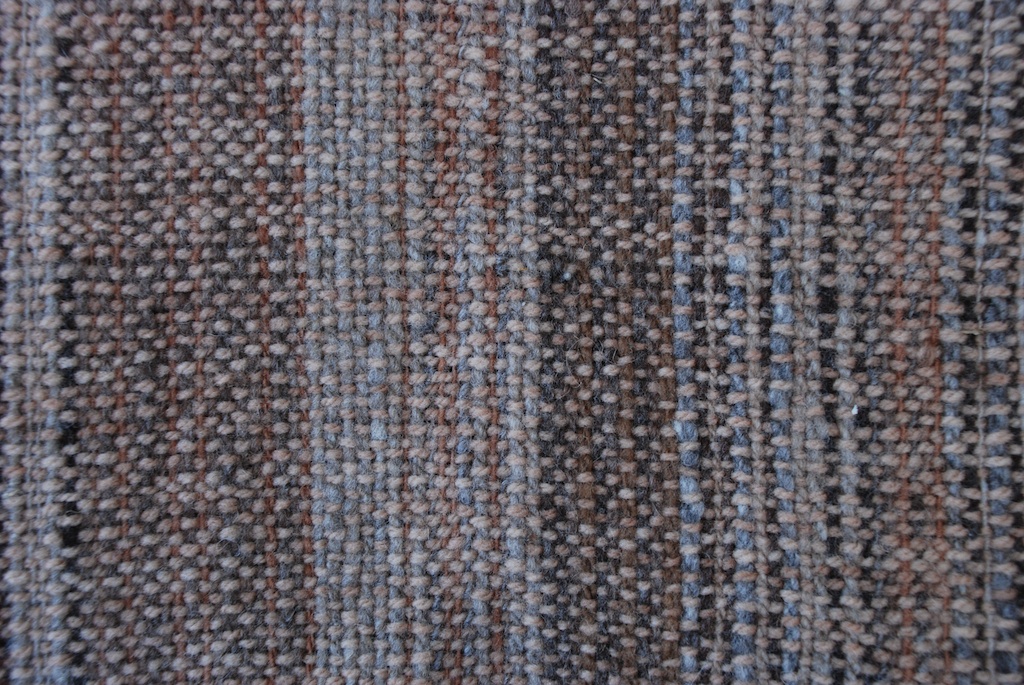
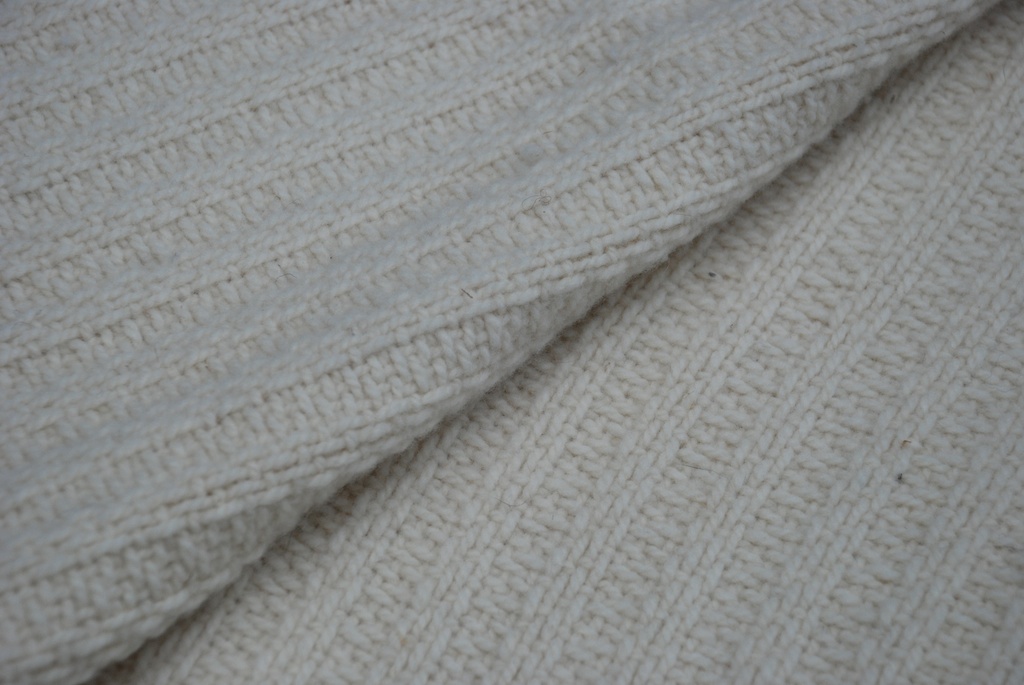
  This is how the wool one looks after wet finishing (five minutes in the washing machine). It definitely has a different feel but isn’t all that appealing to me.
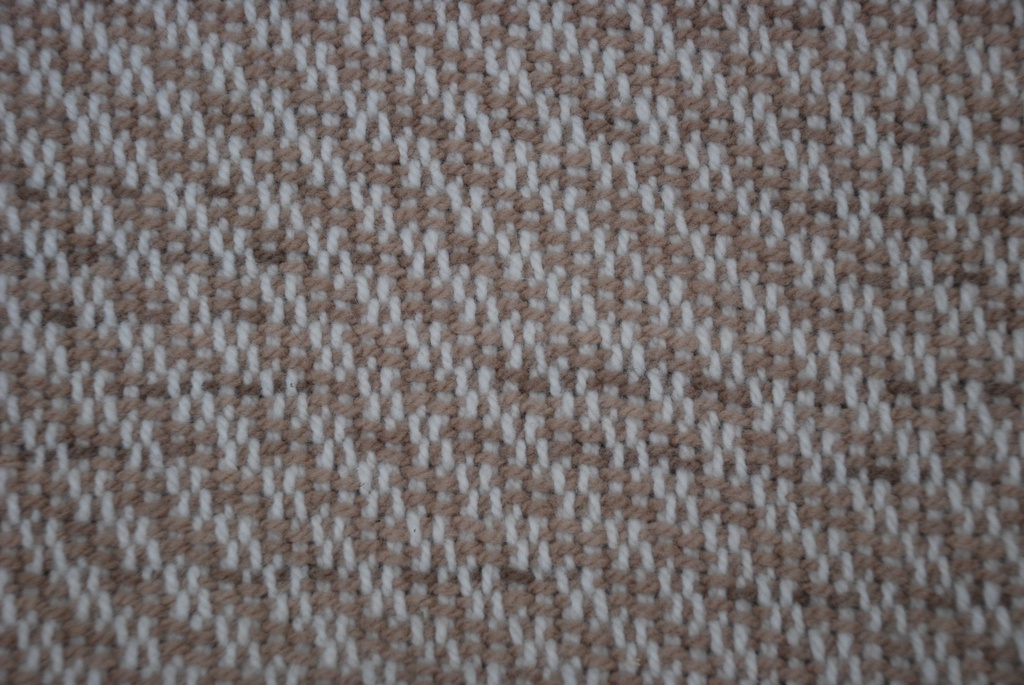
  The most dramatic change and the one that I think I’d most like to repeat in a larger project is this one, the simplest. The photo above is plain weave throughout. One end is woven in wool, the other in cotton, and it’s hard to see, but in the middle wool and cotton alternate in bands–like weaving a plaid but without changing color. Take a look at this one after finishing:
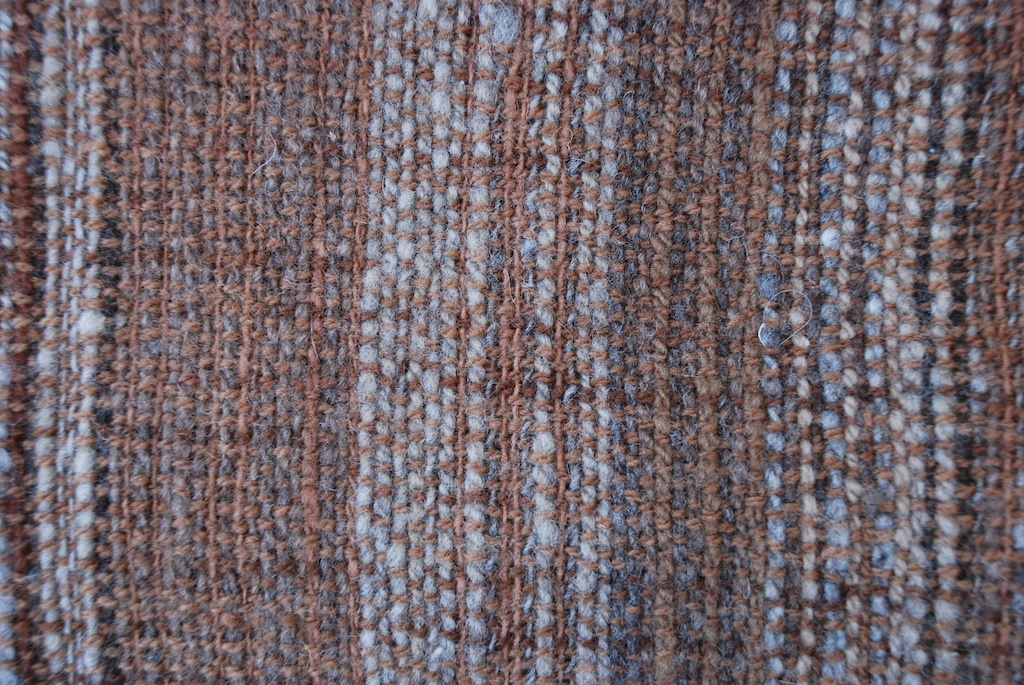
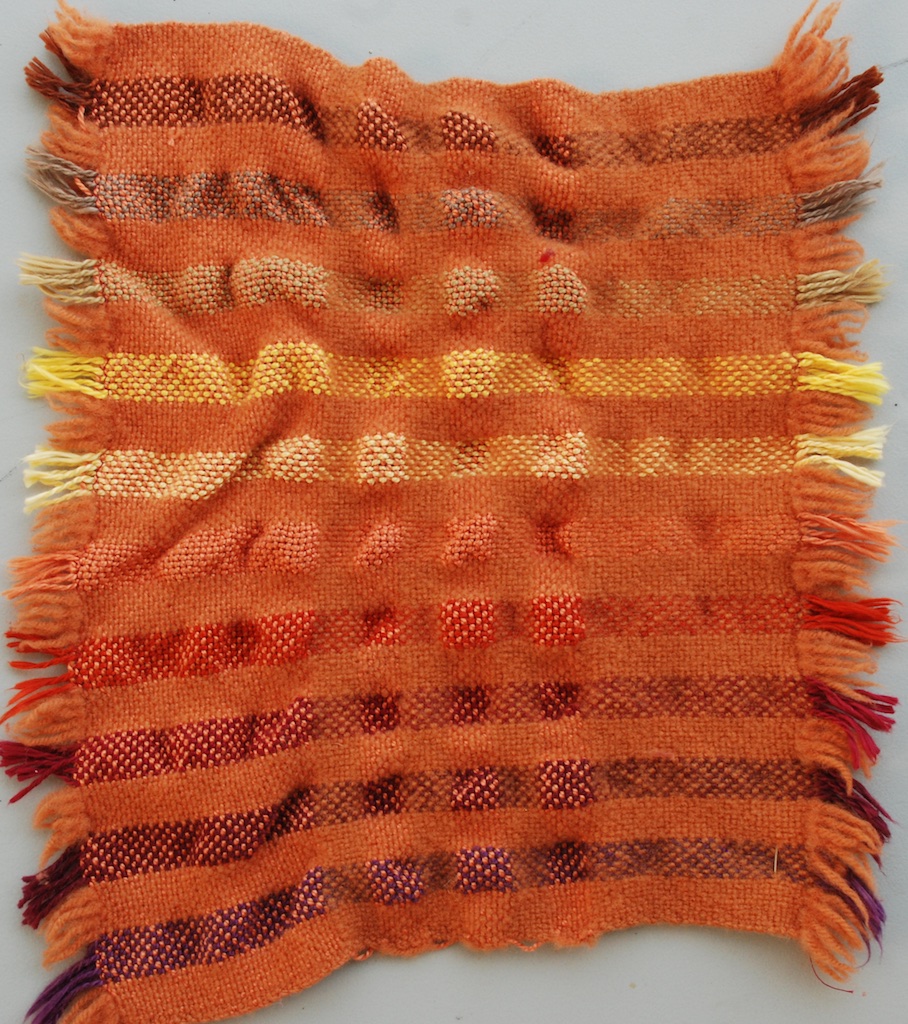
 This is felted (the next step past fulling). This sample had a five minute wash and then went into the dryer. I love the puckery look of where the cotton and wool alternate in the middle in both warp and weft. I think I want to weave a blanket like that. So I wove these as a color idea but love the texture most.
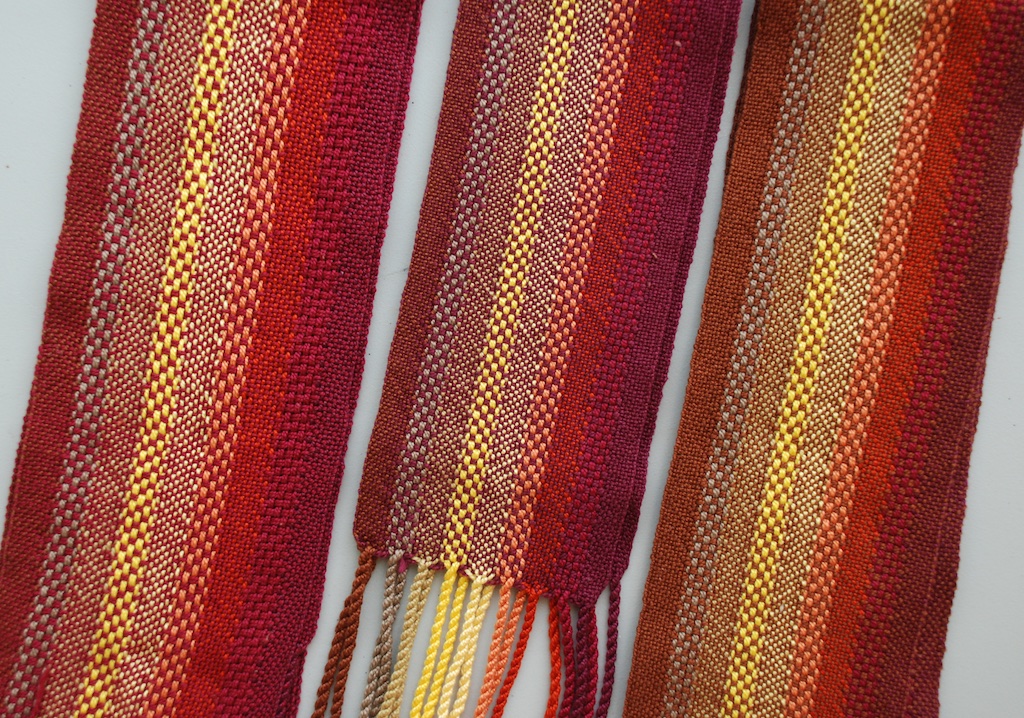
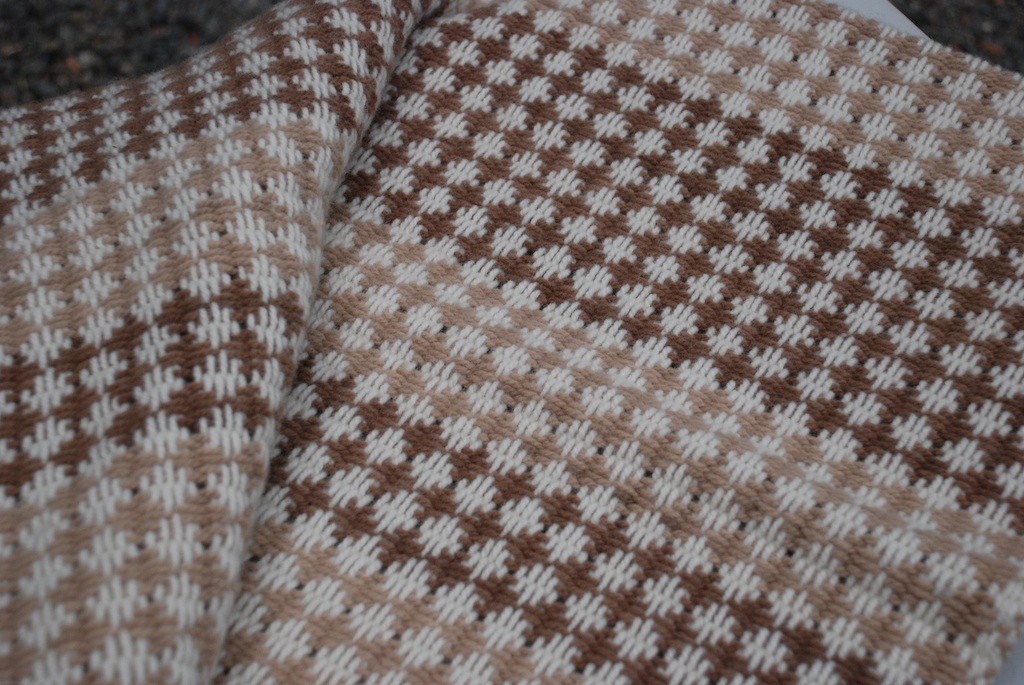
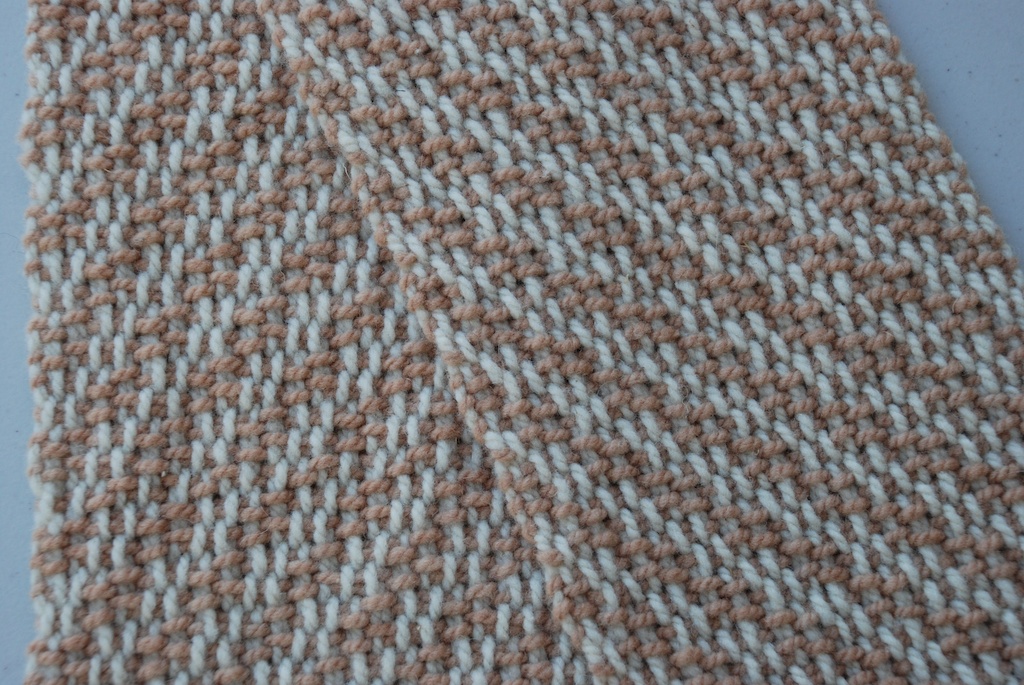
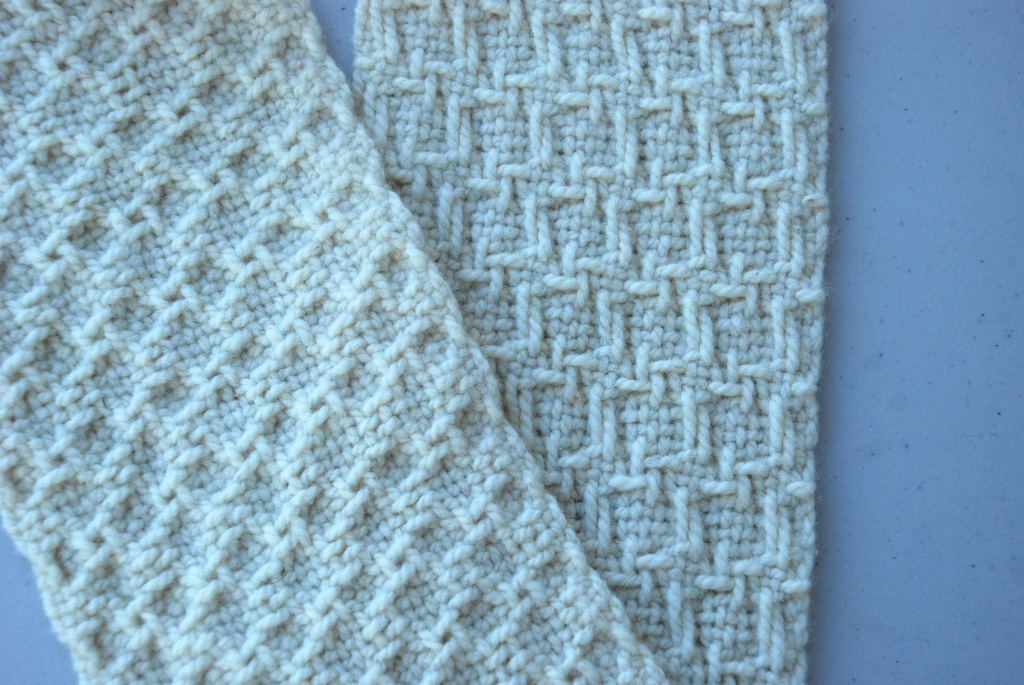
 As an immediate follow-up to that experiment I used the same cotton yarns as in the samples and wove three scarves using the combination of plain weave and huck. I didn’t like that so much in the wool/cotton samples but I love the look in these scarves. These are also “samples” as they each use a different color weft (subtle difference) and are woven at two different setts (the number of warp threads in an inch). So I’ll use them as samples in the class and then they’ll be at the Artery for sale.
 I hosted a field trip of Japanese agriculture students on Monday. They have been in this country for several months staying on different farms but have now come together for some class time at UC Davis. We spent most of the time in the barn but I also wanted to show them how I combine my weaving business with farming. I quickly put a scarf warp on this loom and wove and finished a sample to show what the scarves would look like after fulling. Isn’t that difference amazing? I have now finished the scarves. Wait until you see them!
 Also this week I asked my husband to help me figure out a “warping trapeze”. No I won’t be swinging from the ceiling but my yarn will. I have been wanting to do this for a long time. The idea is that you hang weights off the warp and wind it on smoothly under even tension.
 The tricky thing is that I need to get the warp yarns to go through a raddle to help keep them spaced properly. In most of the warping trapeze photos I see on-line the warp goes through the loom from the front. That won’t work here so I’m working on other configurations. I think this will work out OK. This warp is for more shawls using more local wool yarn (Anderson Ranch). I may use the same pattern as those scarves I just wove.
  Well, this post just keeps going on and on. I also uploaded this photo. Thinking of what weft I’ll use for the shawl warp in the photo above I got out the dye pot and the wolf lichen that I collected while at Lake Tahoe a couple of months ago. I kept thinking that something smelled funny but I was at the computer and forgot that I had something on the stove. Oops. Fortunately the yarn wasn’t in the pot yet.
One last thing. This magazine came a couple of weeks ago. I knew that my contest entry was in the magazine but I didn’t know that I had made the cover!

 For this month’s show we invited our family members to join us in sharing their art work.
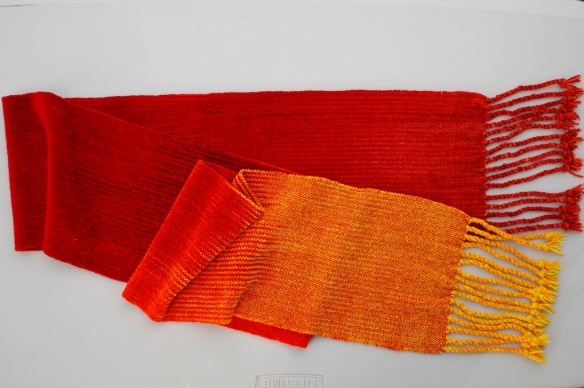
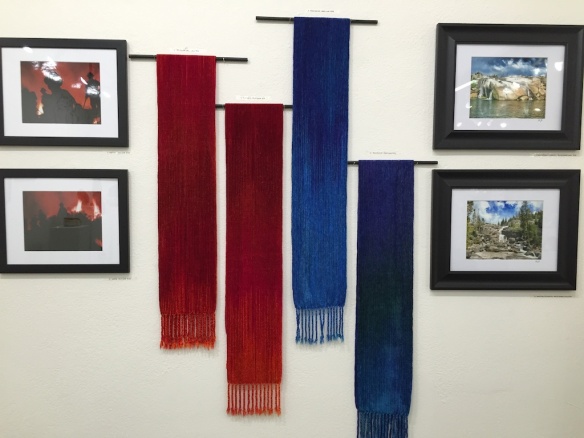 My sons and daughter-in-law entered their photos. Sorry that my photos don’t show theirs very well. Chris took photos while on the fire line last summer. Matt and Kaleena’s photos are taken in their “backyard” of the El Dorado National Forest. I wove 7 Fire scarves and 5 Sky scarves so that I could choose the ones I wanted to display with the photos. You can’t tell from this but the Fire scarves have sparkles (and have a lot more color variation than shows up here).
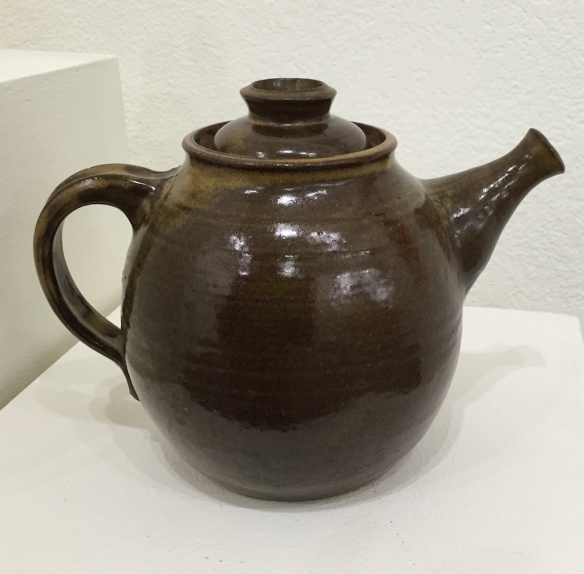 I also included two of my mom’s pieces. She was always proud of her teapots because she could create a dripless spout.
 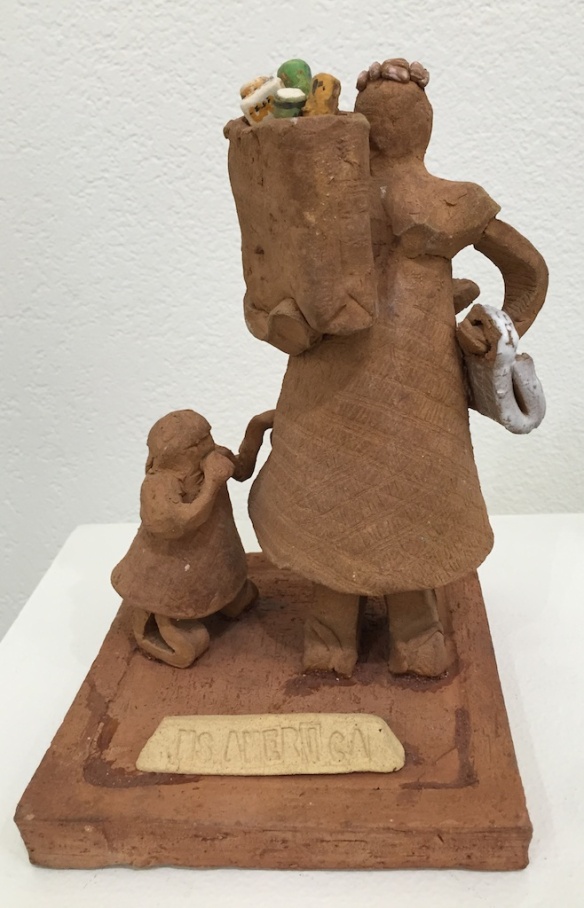 Mom mostly made functional pieces like plates, bowls, and mugs, but also made tiles for the kitchen, a bathroom sink (the actual sink !), lanterns, birdbaths, and a sundial. This is a rare statement on society…
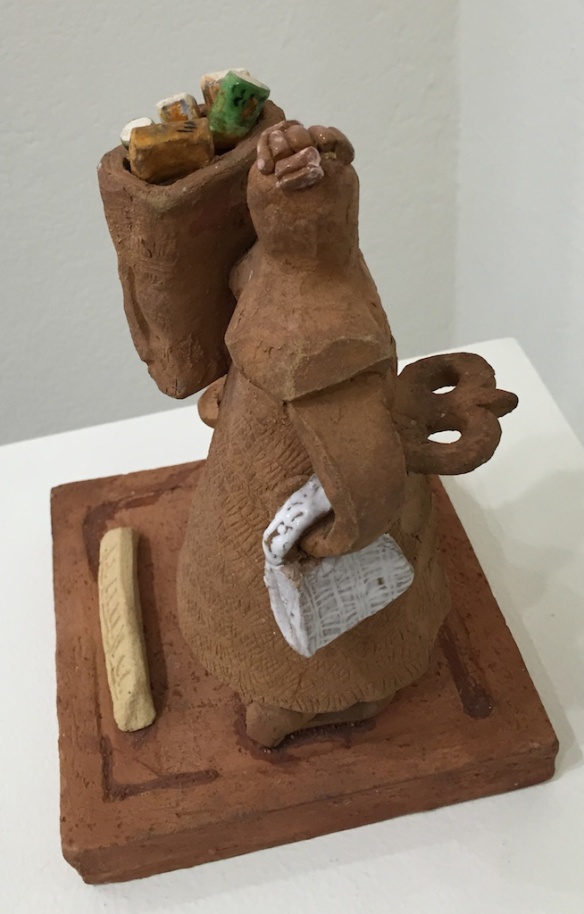 …but I’m not really sure what she meant.
 I took only a few more photos in the gallery because I ran out of time. Artery member Marjan made the 3-D flowers and her mom did the silk paintings.
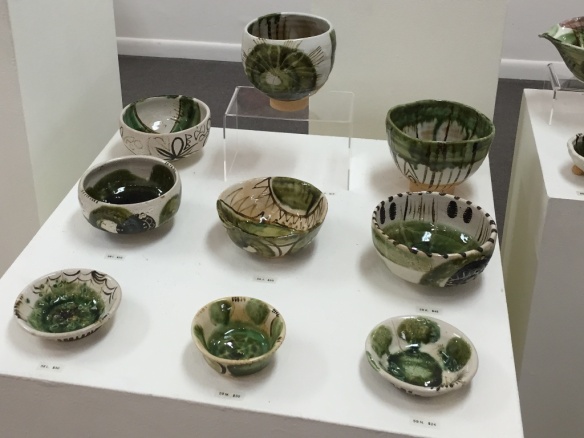 Heidi’s husband and dad collaborated with her making bowls.
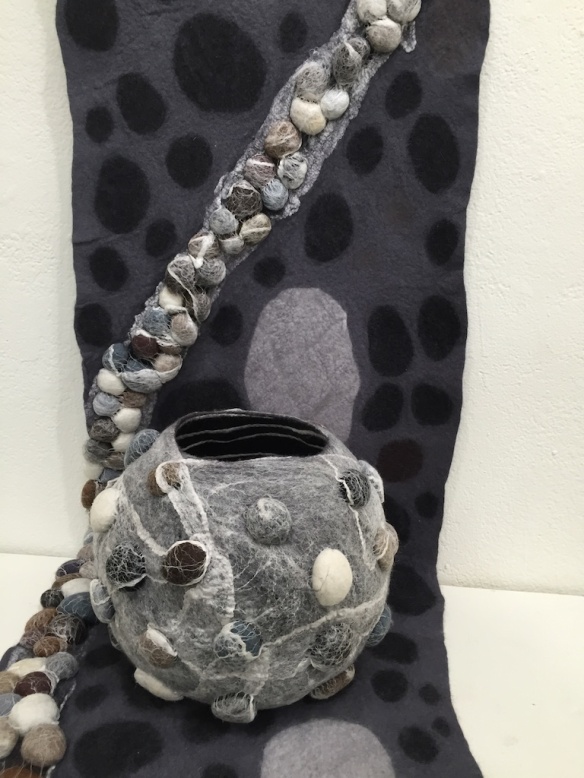 Sorry, but I don’t remember whose work this is but it is all felt, including the rocks.
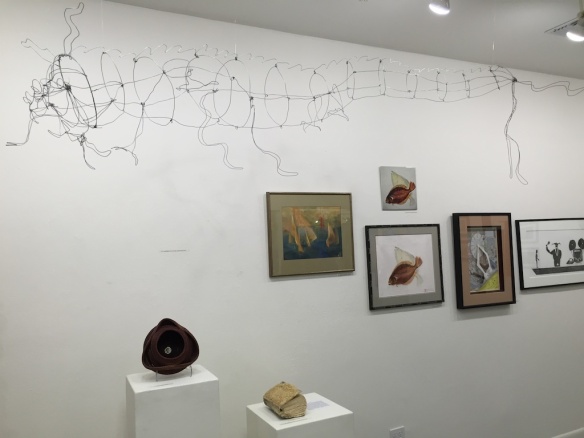 Here is a wild “Dragon Drawn in Space” above member Chris’ family’s art.
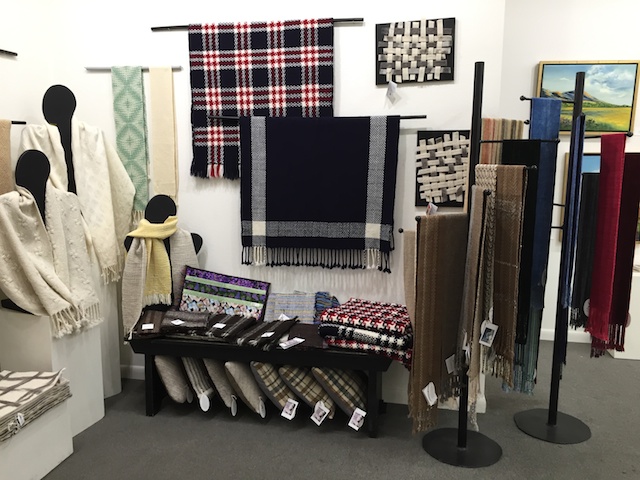
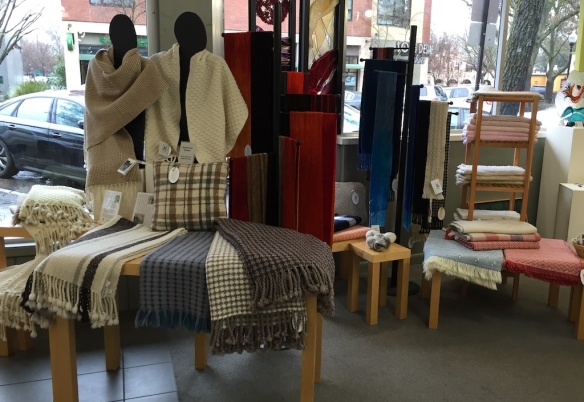 My regular work moved out of the gallery and is in the front of the Artery for the next month or two.
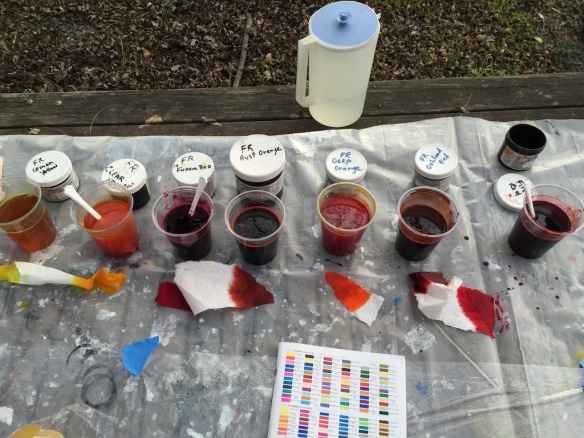 I was OK for Fire. I had wound the two white/off-white warps but wanted to start with something else to try out the colors.
 I still have some warps leftover from my
 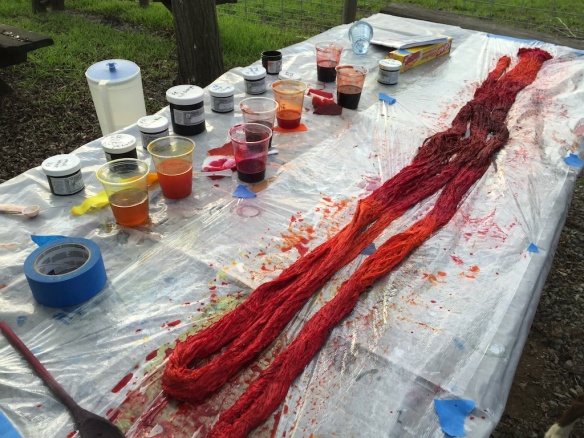 Now was the time. I started with yellow but it didn’t cover the colors very well so this warp went to oranges and reds.
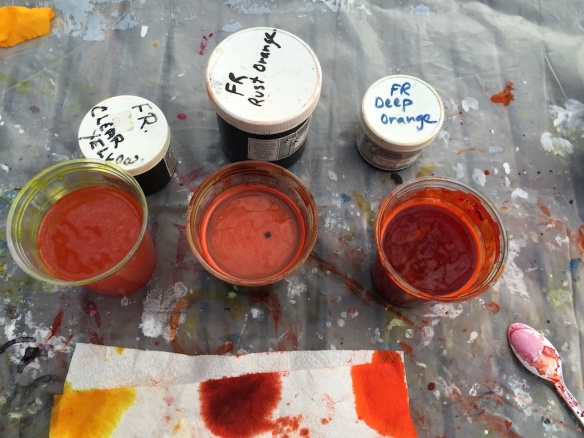 That was the “practice” warp. Now it was time for the “real” one and I decided to use just these colors.
 You can see the yarns that I used weren’t all the same because I didn’t have enough of any one shade. Here is where my photo documentary of the process has holes. This was a cold, damp day. I was bundled up in overalls and Carhart jacket and wool layers. I had footwarmers in my boots but I had to keep switching from warm gloves to rubber gloves, neither of which lent themselves to taking lots of photos. And it was getting late in the day and I was starting to lose the light. So no more photos of these warps after dyeing.
 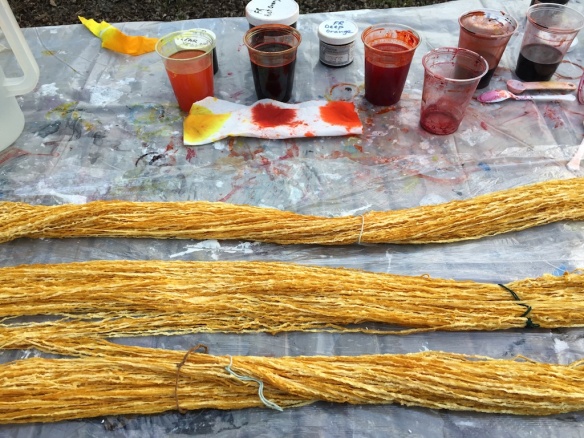 I wasn’t satisfied with the dye job on the white warp so I wound another but this time used yellow yarns because I didn’t have anymore white. I dyed this in those same colors.
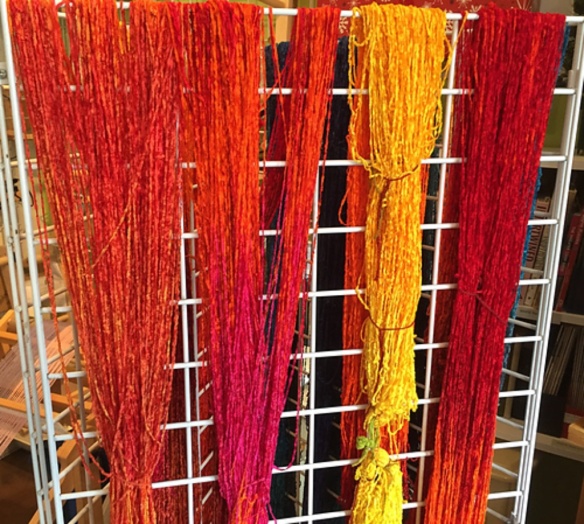 Dona was at the shop the day I was trying to get these warps to dry. She took this photo of them hanging near the heater.
  Back to the dye day. These were the blues. It was getting late so not many more photos.
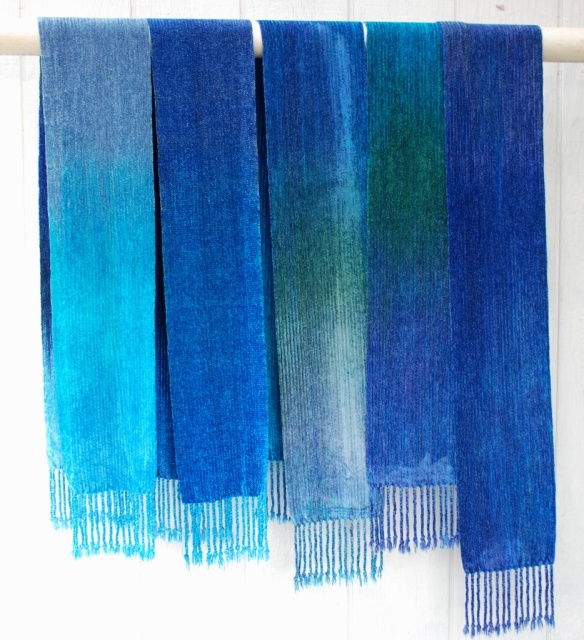
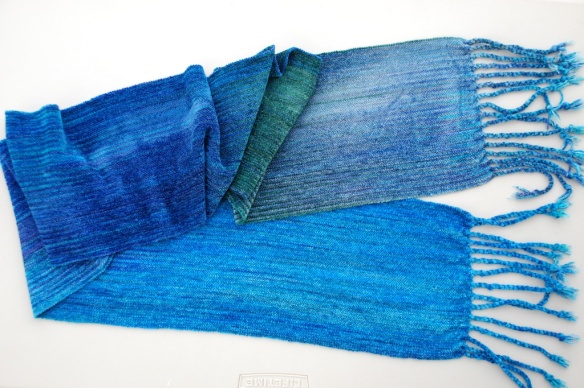
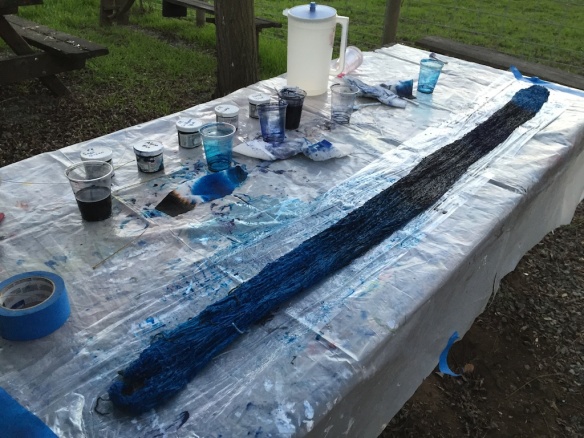 Here is one of the Mountain Sky warps.
  I wove seven Fire scarves (two were finished the night before the show so aren’t photographed here) and five Mountain Sky scarves.
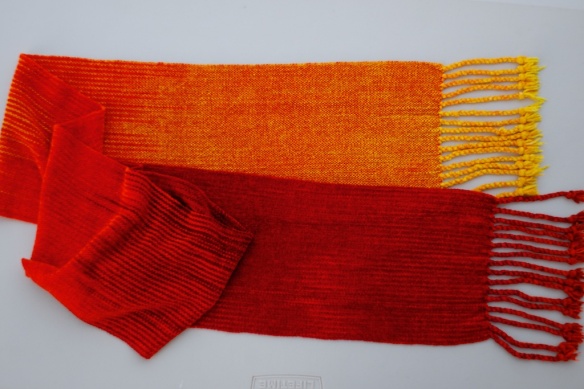
 I will do another post of how the Artery show looks.
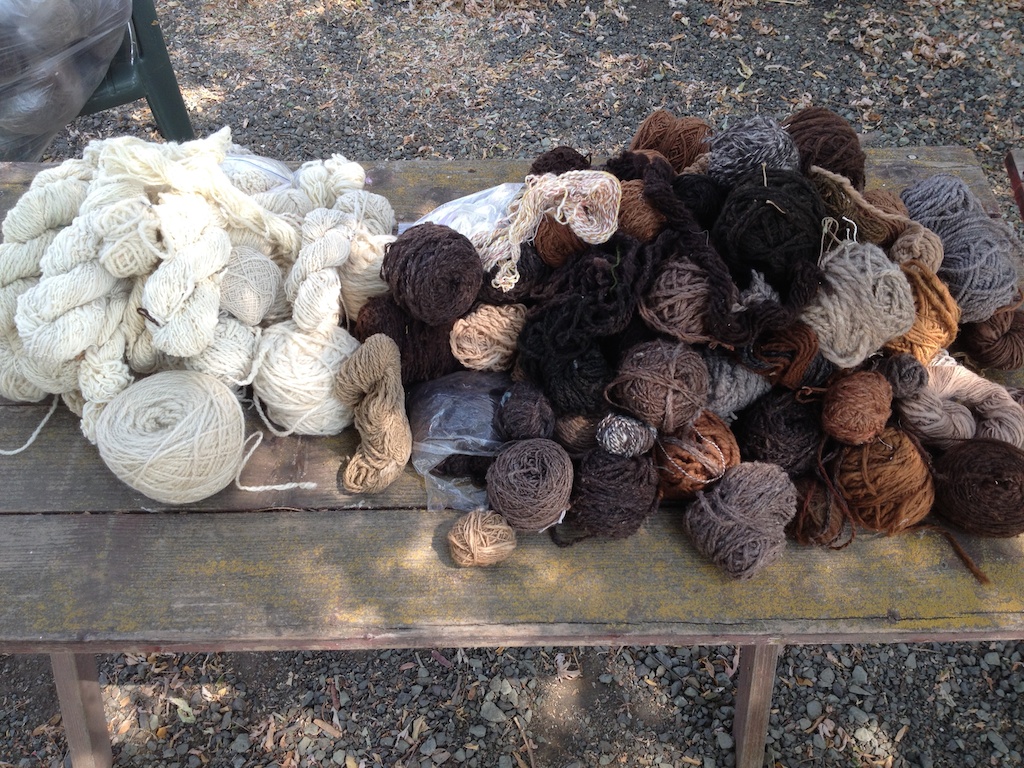
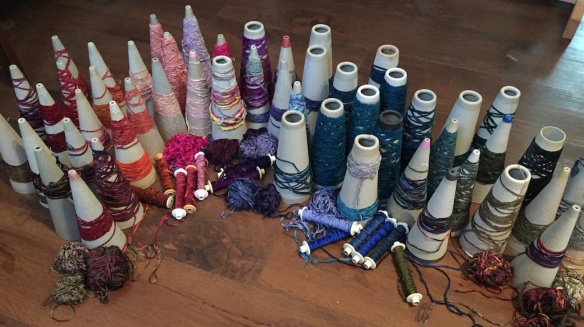 Three yards (or a little less) is the length I need to make a scarf. I dumped out a couple of bags of leftover chenille and organized it by color. This made two warps.
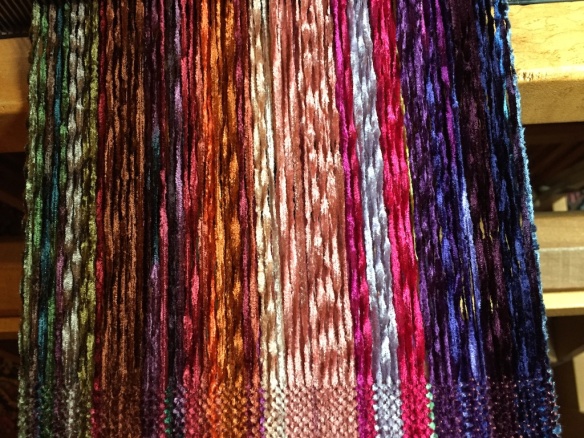 The first uses the yarns on the left side of the upper photo, going into the purple range.
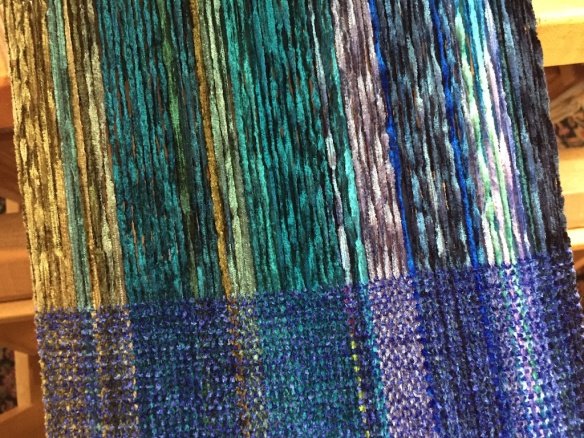 The color isn’t very good on this photo but this was mostly yarns from the right side. Here are the finished pieces:
 I used a fine cotton weft for this scarf mainly because I couldn’t figure out which color of chenille would work across all of these stripes. By using a fine weft the color of that disappears and the eye sees just the warp color.
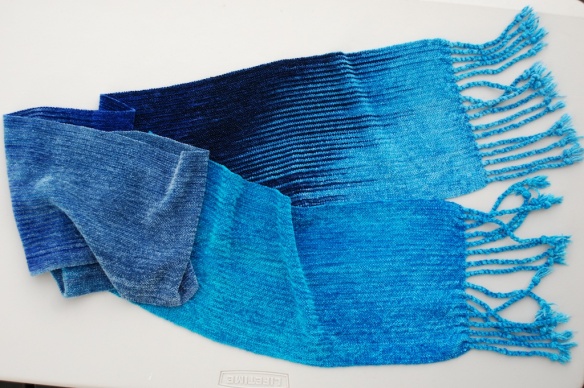
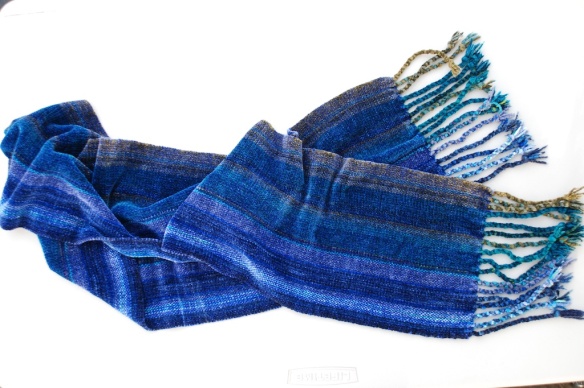 This scarf was different. I used a blue chenille weft. The blue dominates but pulls all the other colors together.


 But first I used cotton–the same 3/2 cotton as the scarves in the first photo.


 Here is the problem. When threading the heddles I inadvertently used 7 heddles from the Shaft #5 when I should have used Shaft #4. This is a 4-shaft structure so #5 didn’t lift at all. It is an easy fix for the second blanket. Just tie Shaft # 5 up to each treadle in which Shaft #4 is engaged.
 However, the only way to fix Blanket #1 was to needle weave all 7 threads in after it was off the loom. That should be easy (over-under-over;over-under-under), but it took hours because of the nature of the boucle yarn. Thank goodness it was only 7 threads.

 My old teddy bear (I won’t tell you how old) featured in some of the shots too.


 into the corner at the end of the room. I didn’t finish until the next day.
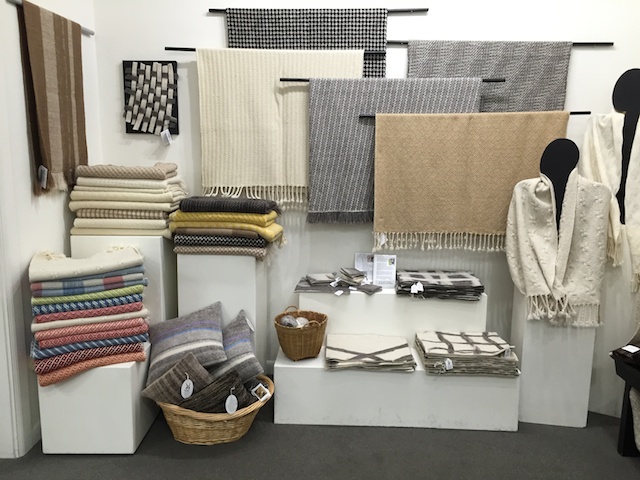
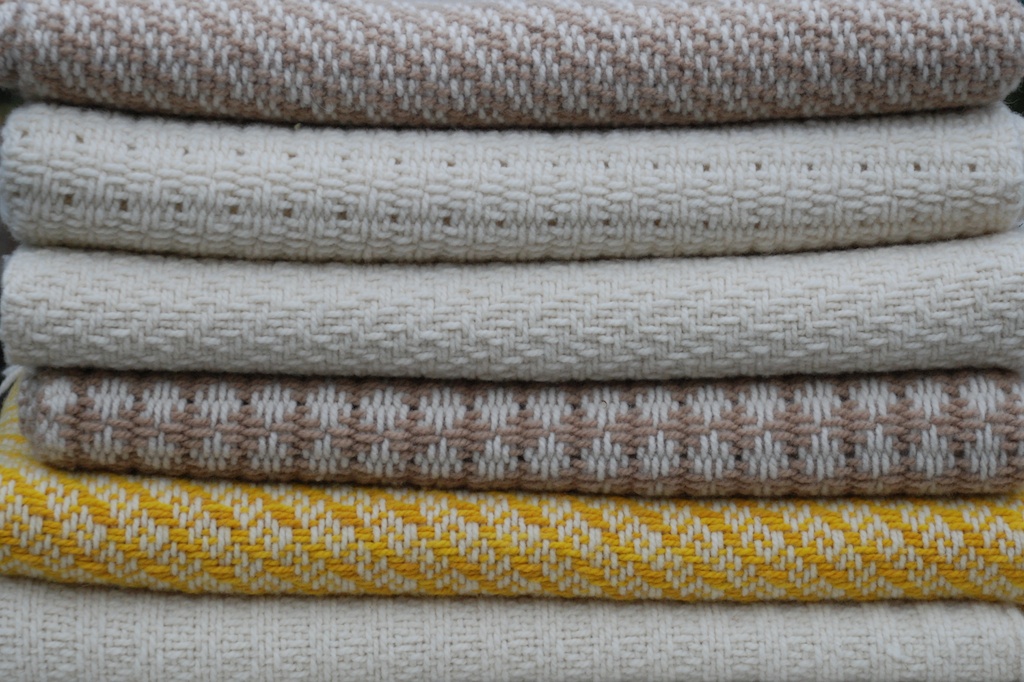
 This is some of the blankets all tagged and ready to show again.
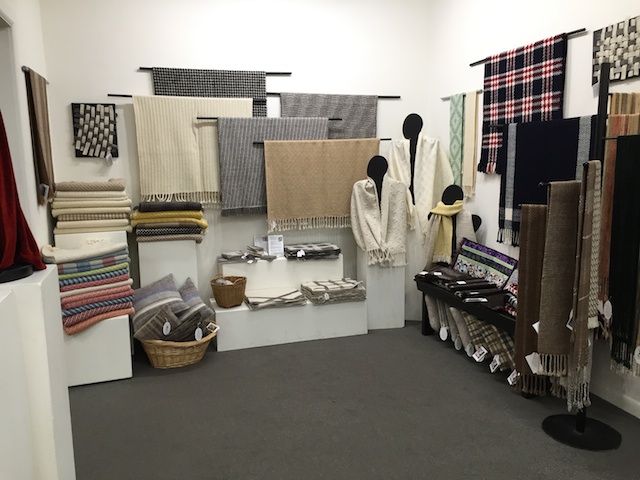
 In September I got the yarn back from the mill and used it for pieces in my show at
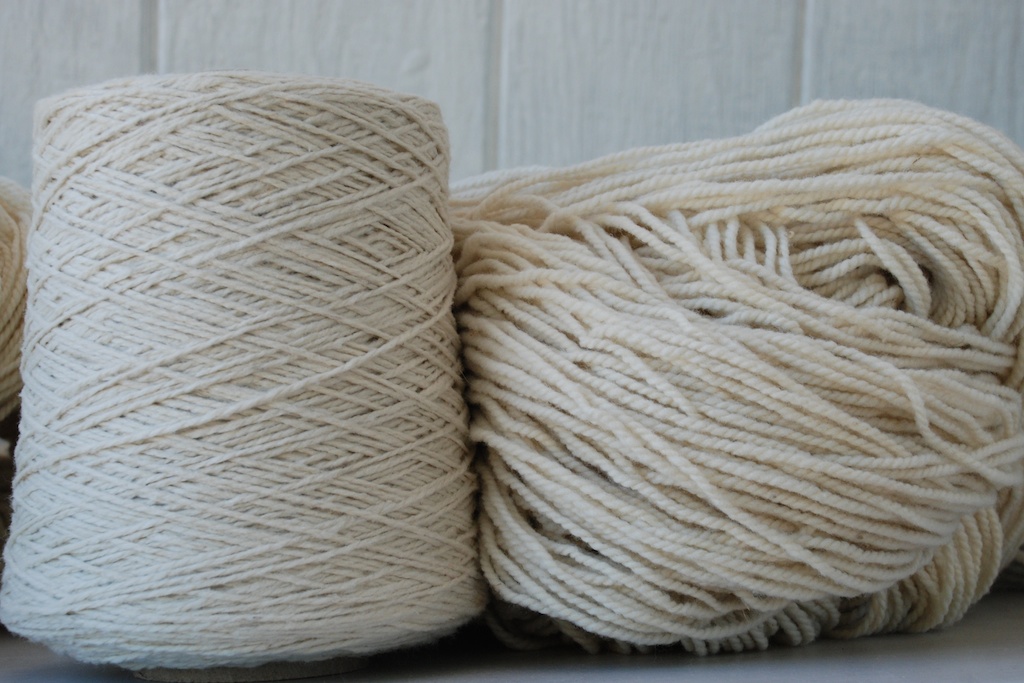


 The next two blankets, above and below.