When I wait for a story to be complete before writing a blog post it never happens. So this post is a batch of beginnings, middles, and ends, but no complete story.
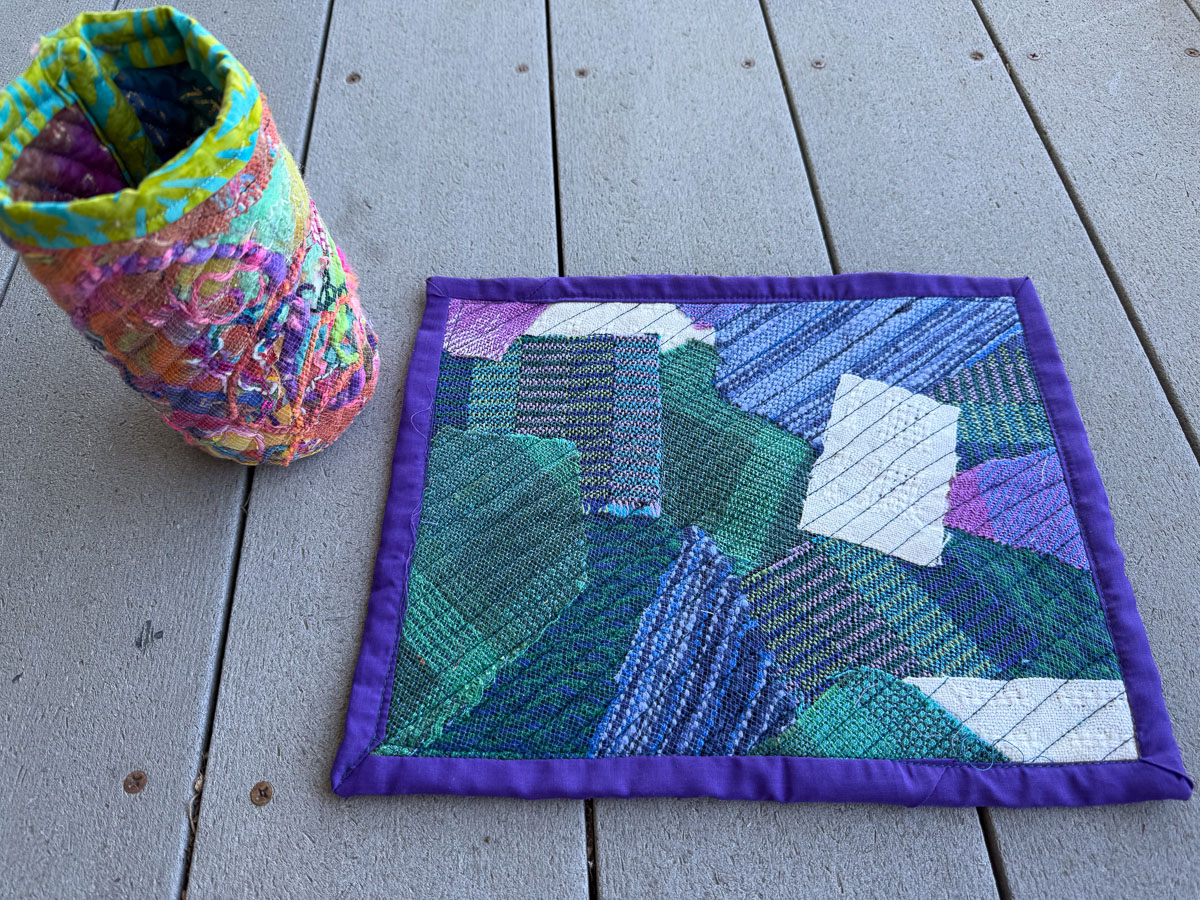
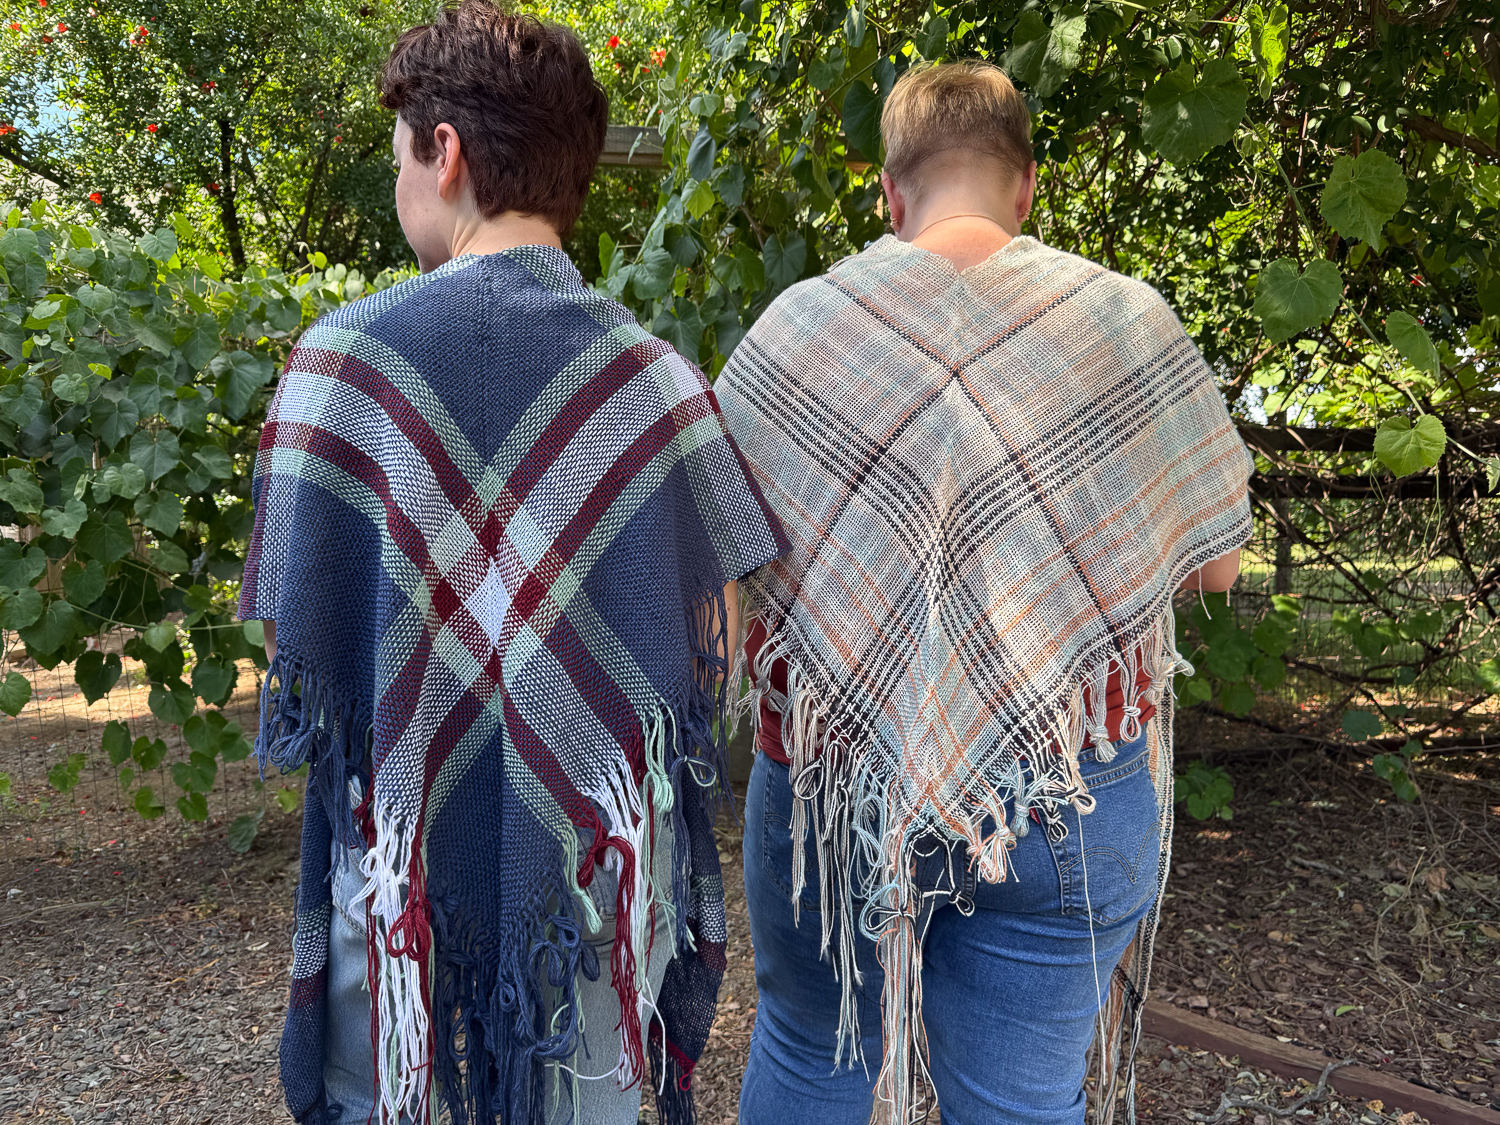
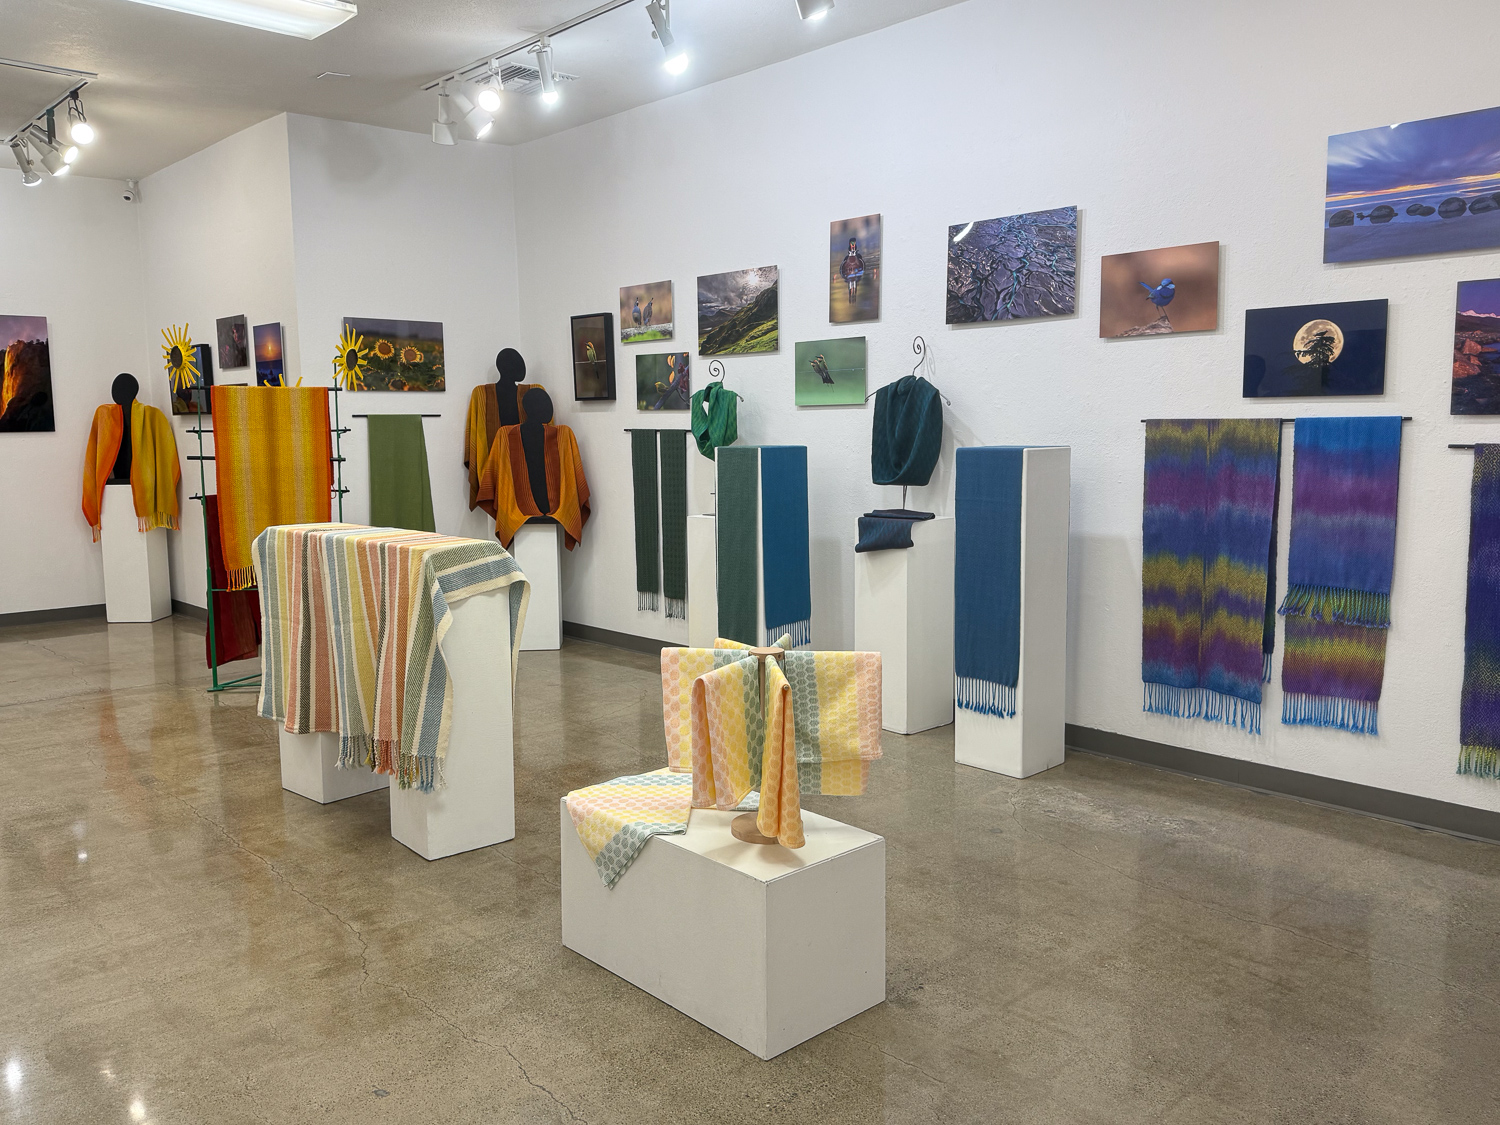
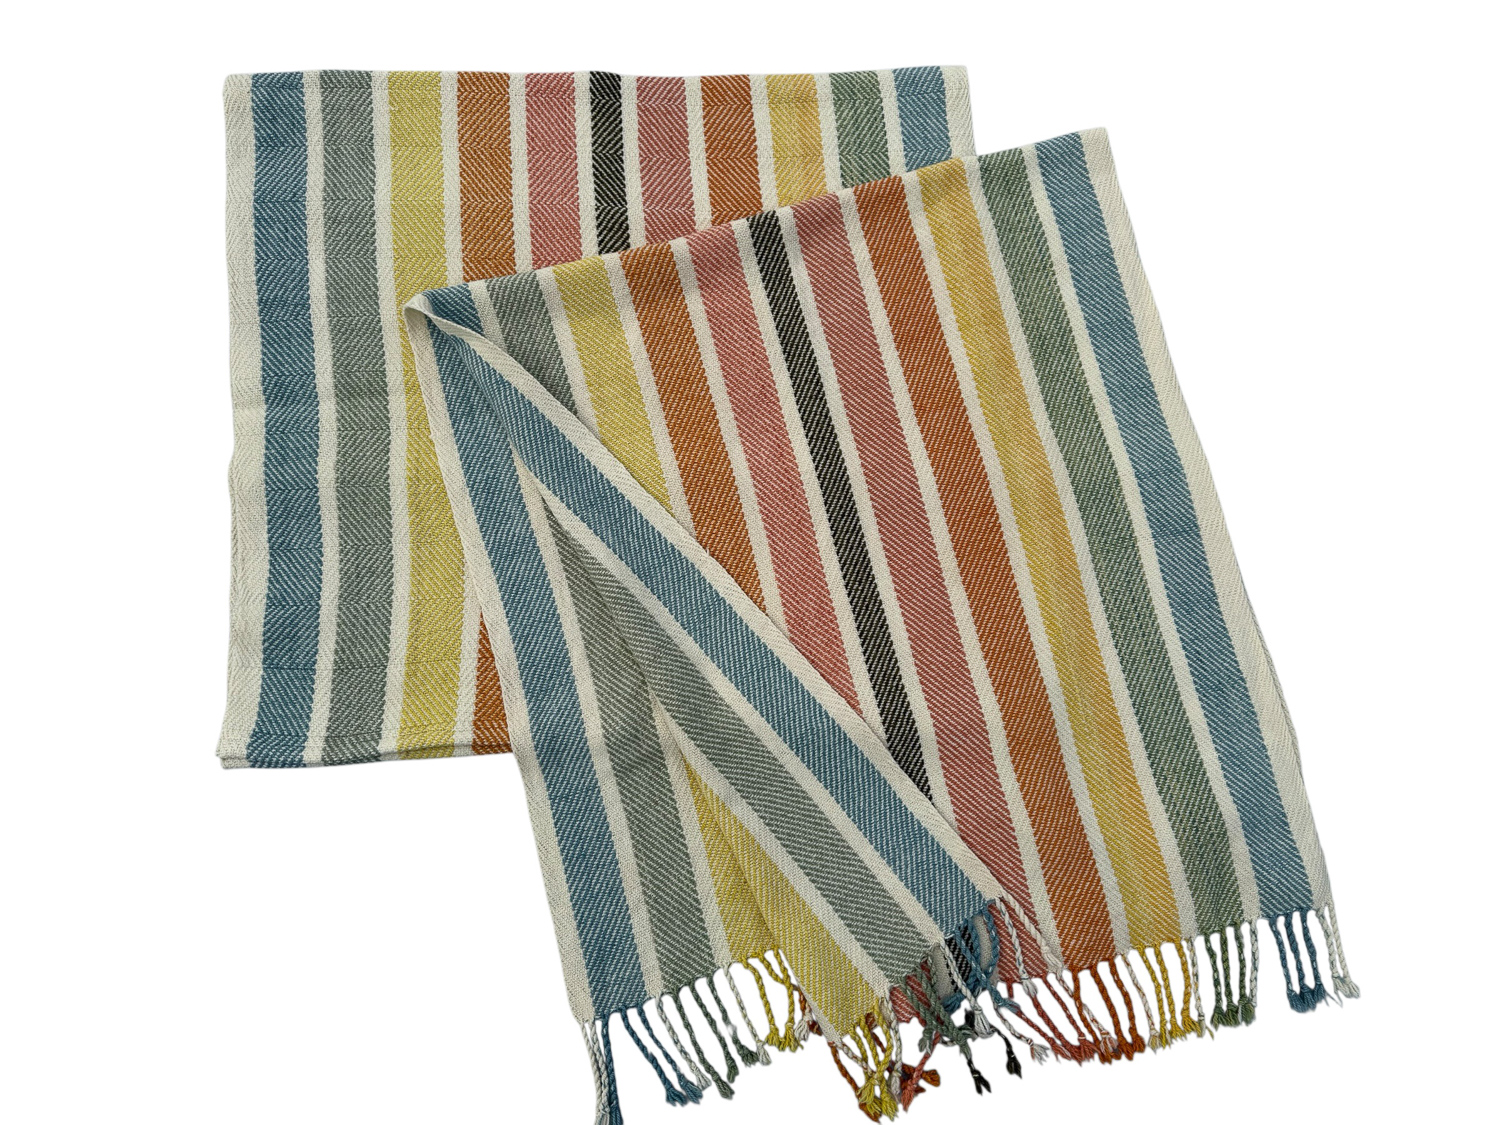
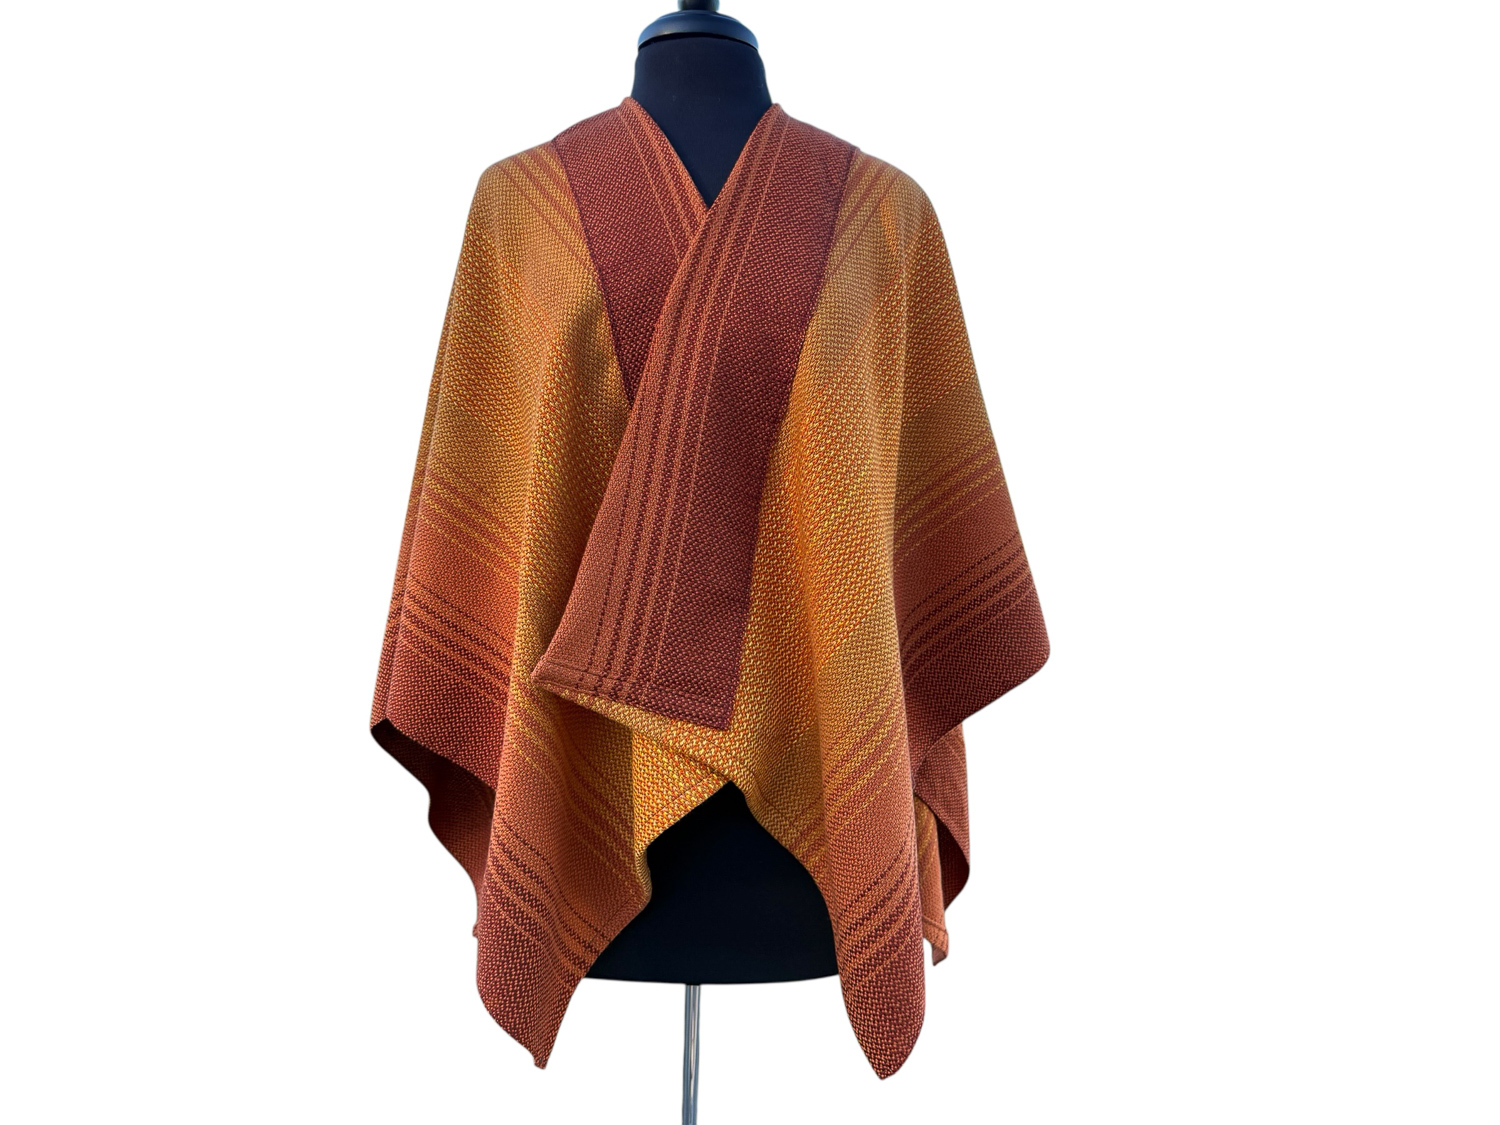
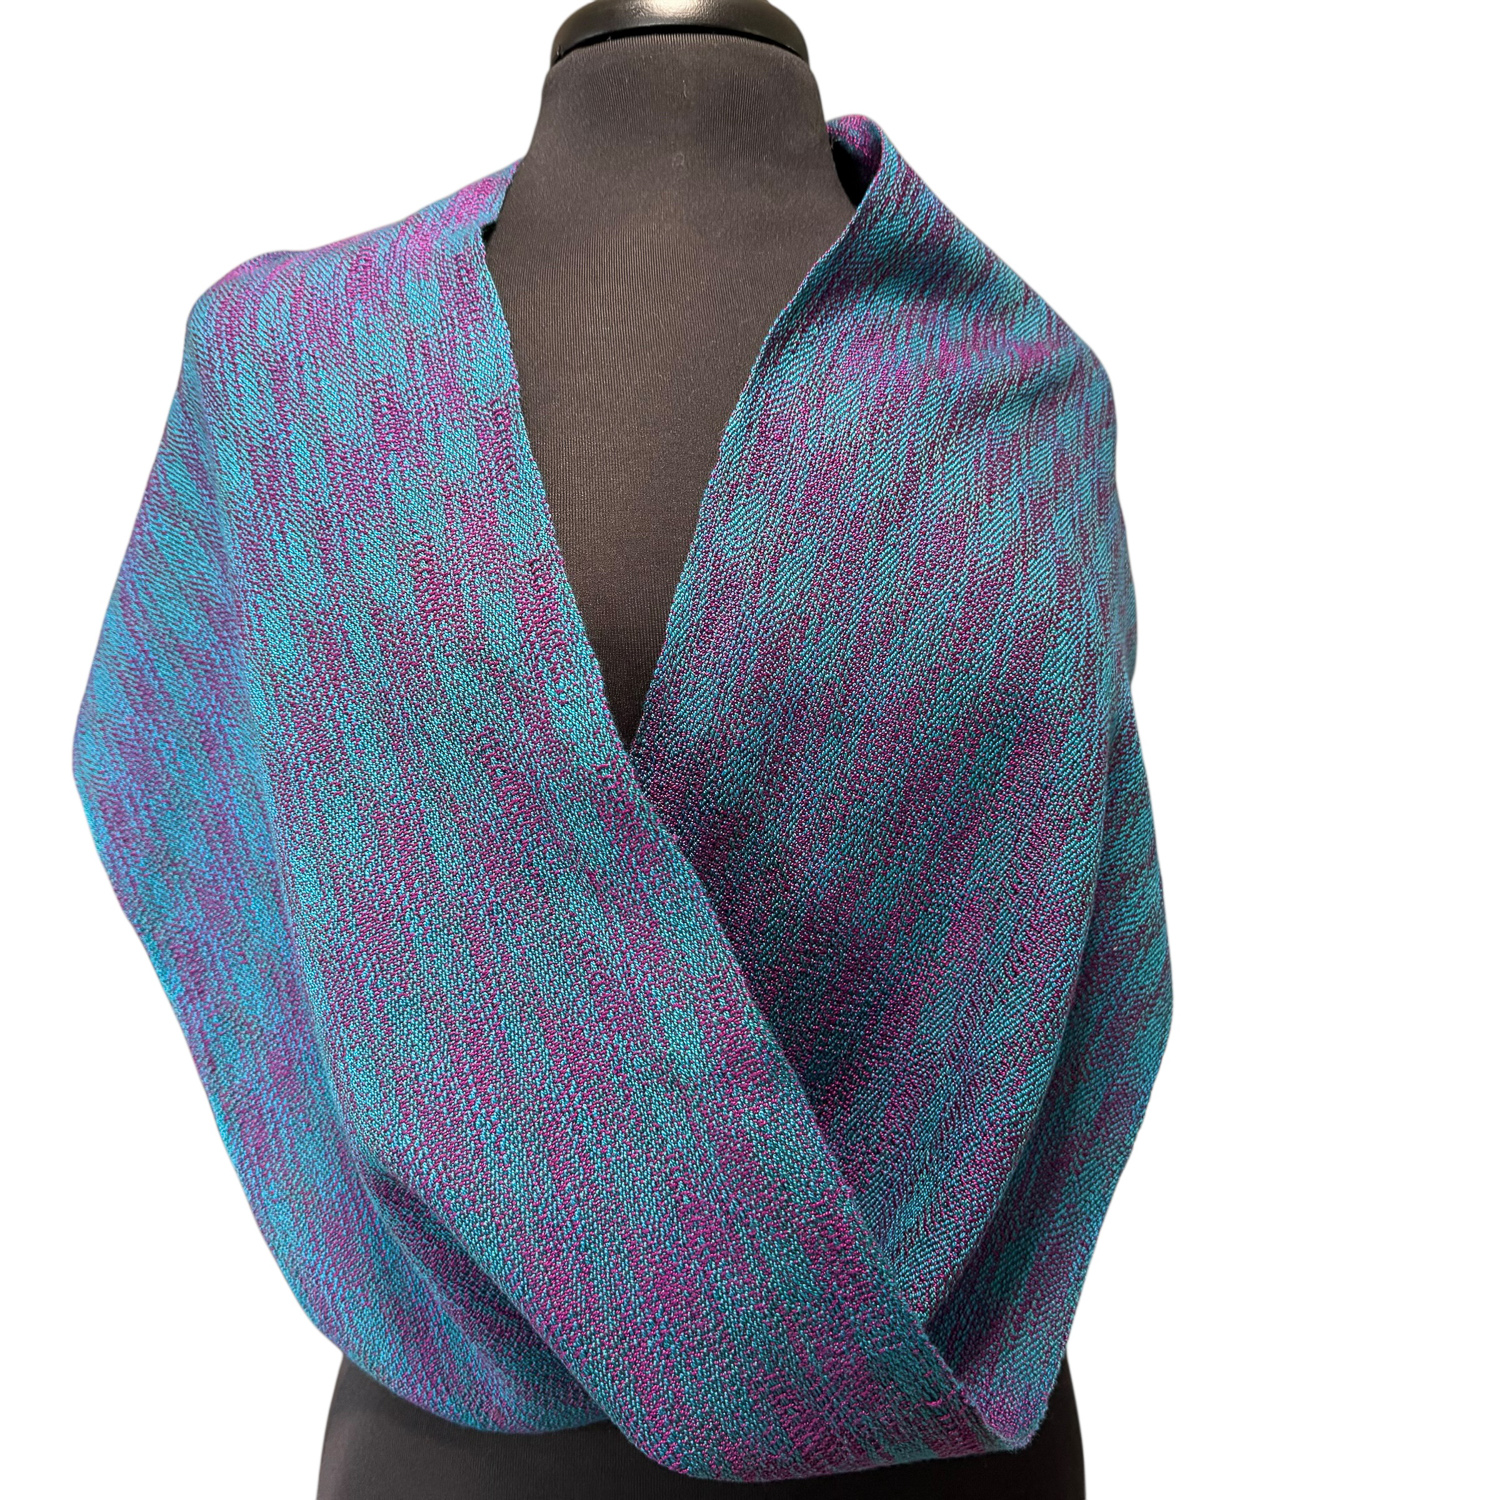
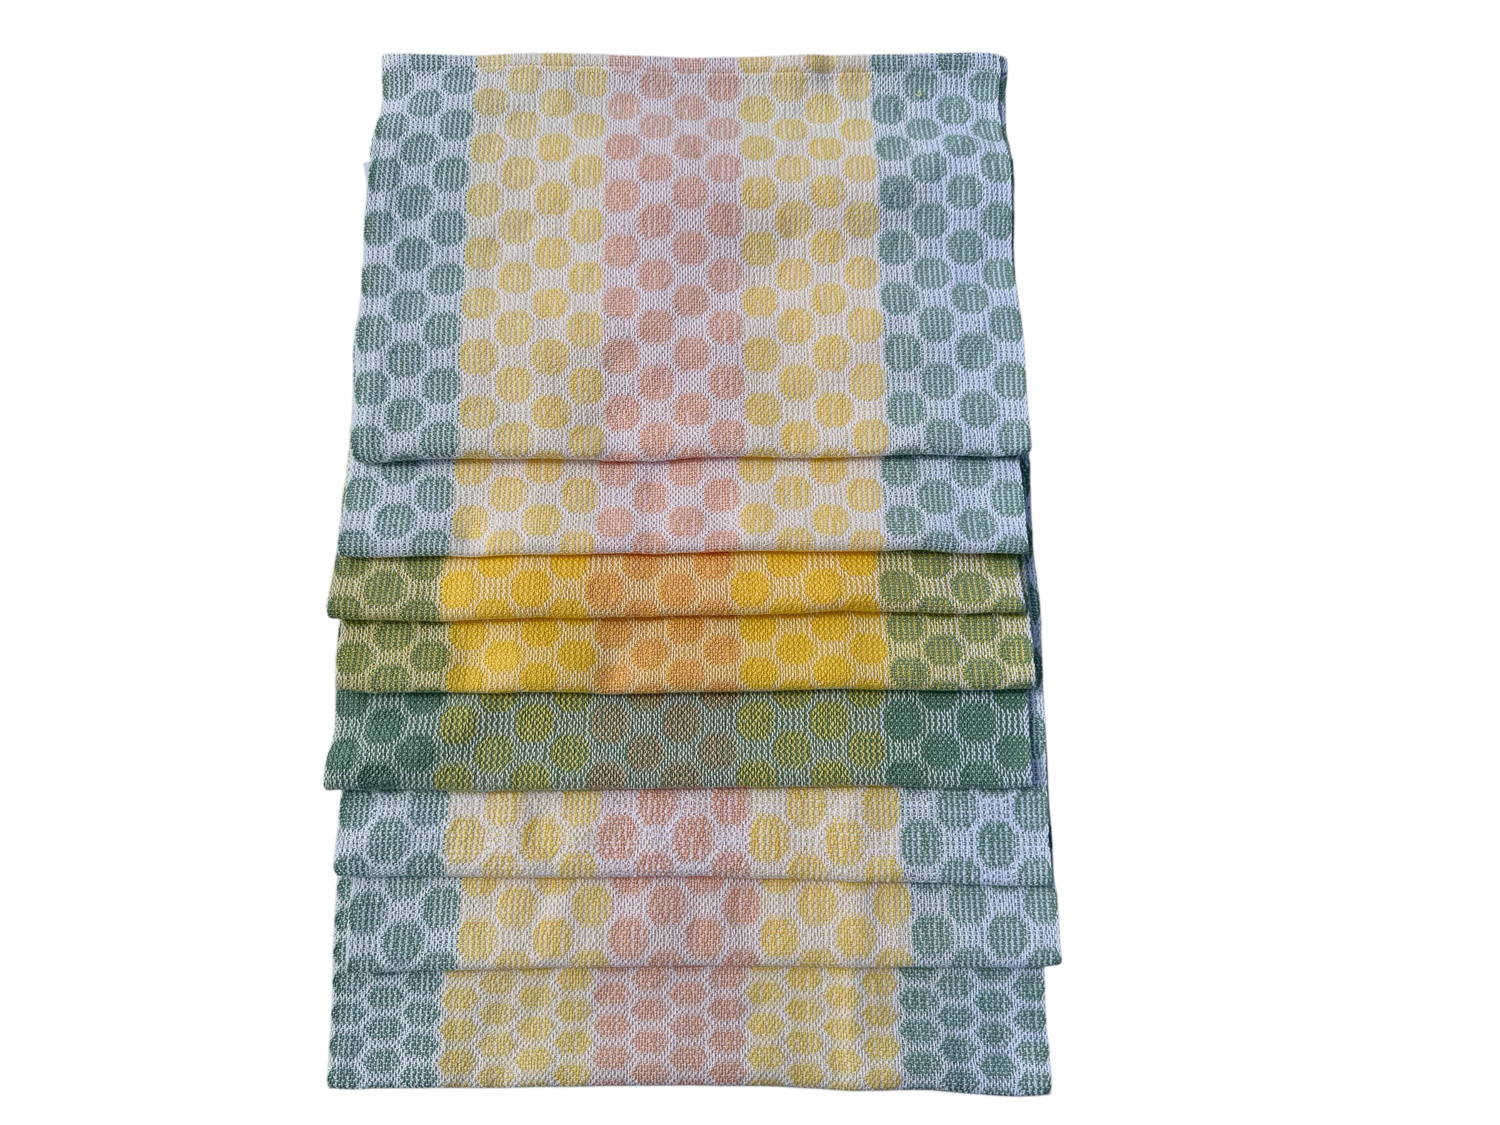
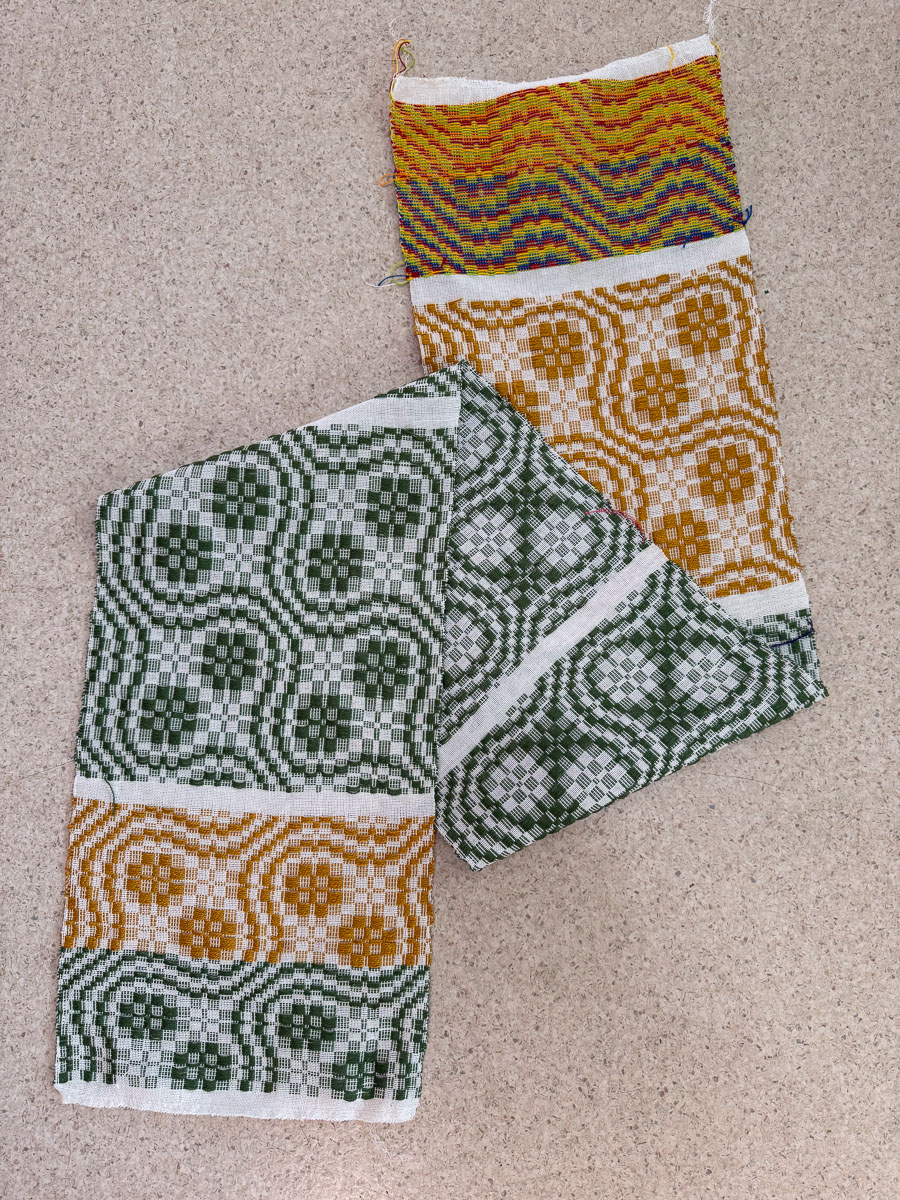
This is the beginning of my exploration on the best way to use up all the handwoven scraps I have. I like how this looks, but when you look at the edging you will know that it’s not ready for public consumption. In other words, I have to get a whole lot better at the finishing part than I am now.
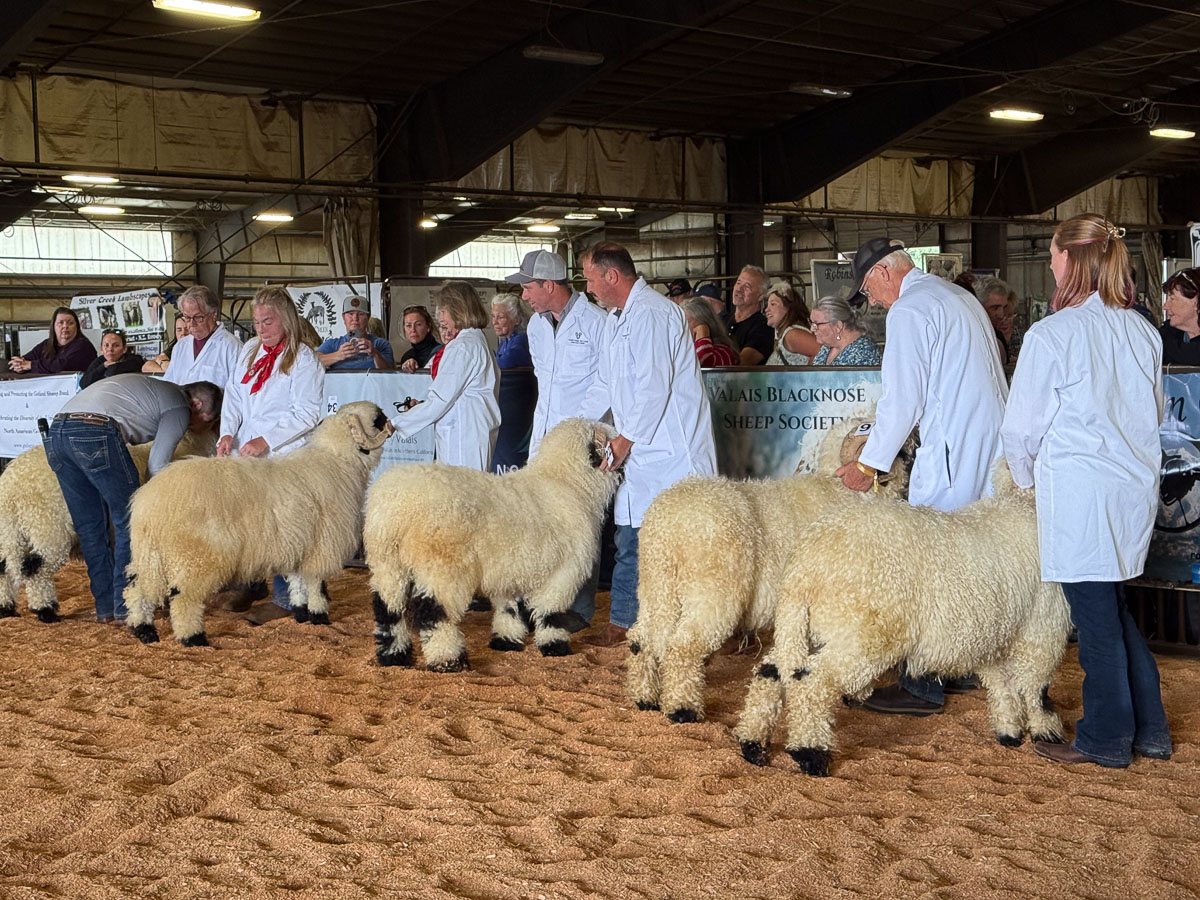
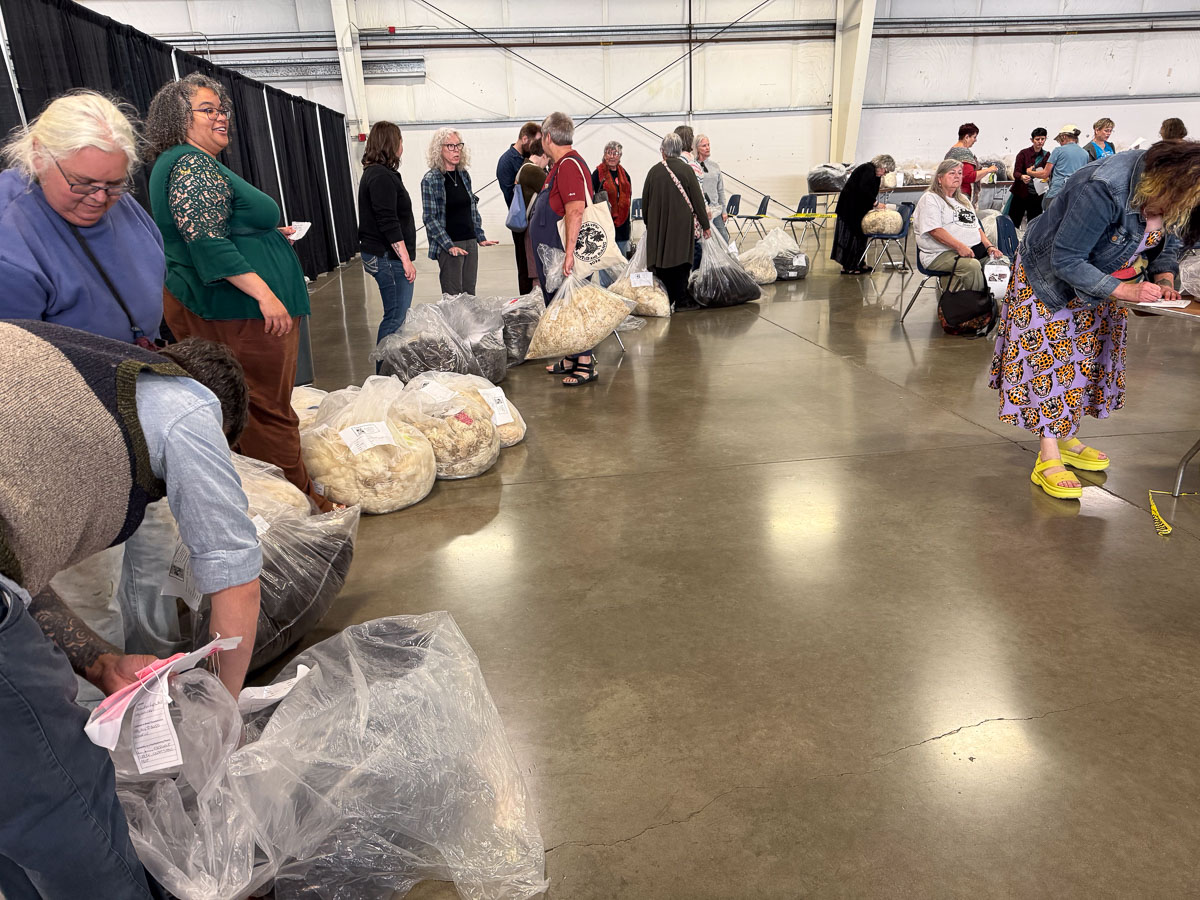
This could be another story about sheep coats–and why I don’t like to use them and why a coated fleece costs more. No sheep were harmed in this story, but the potential is there.
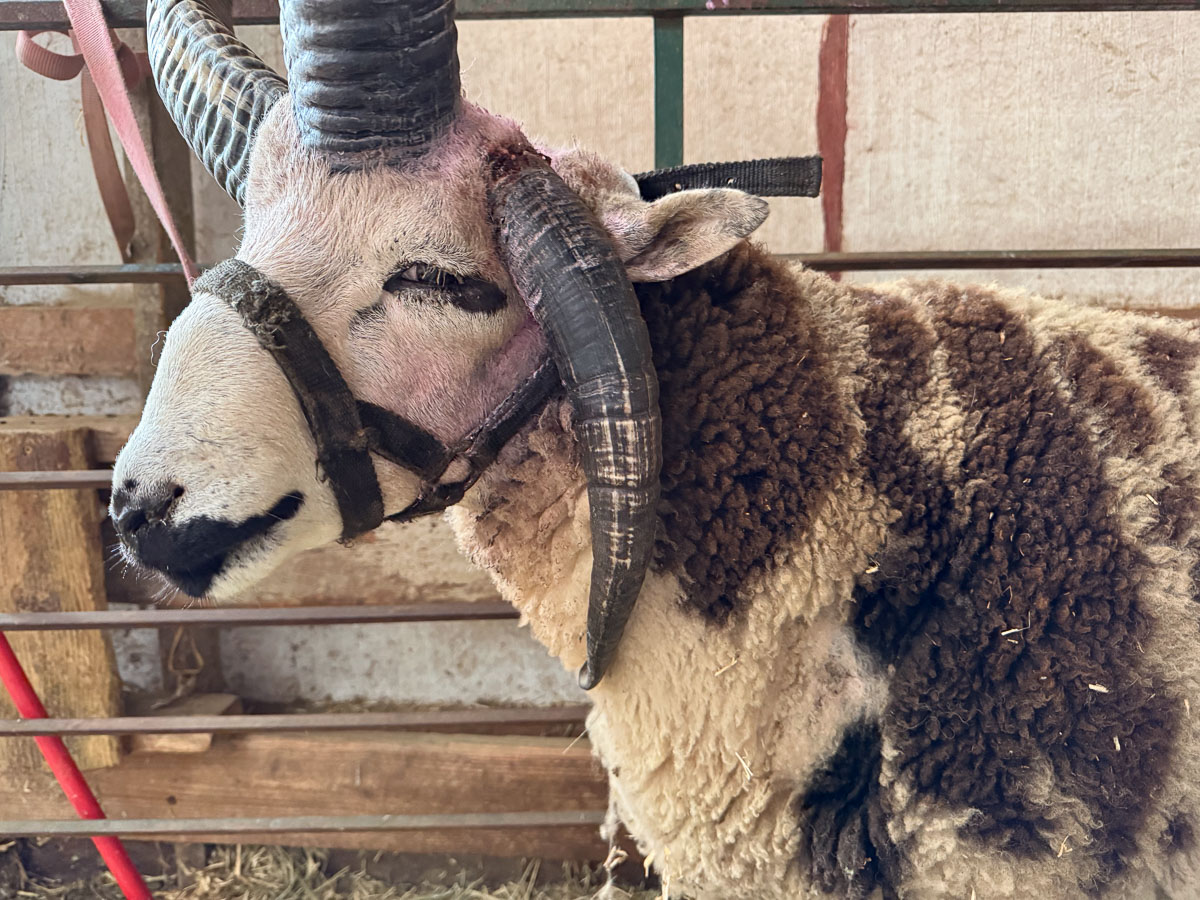
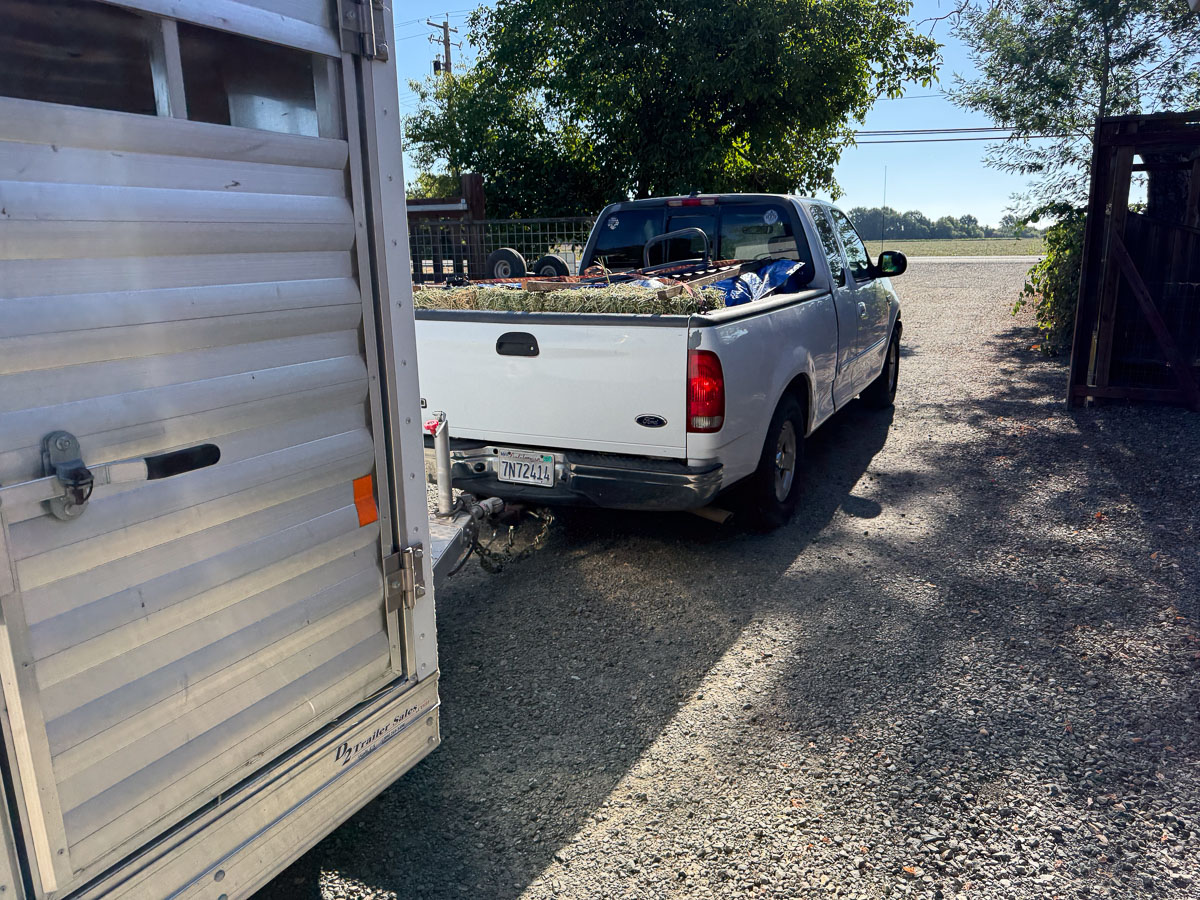
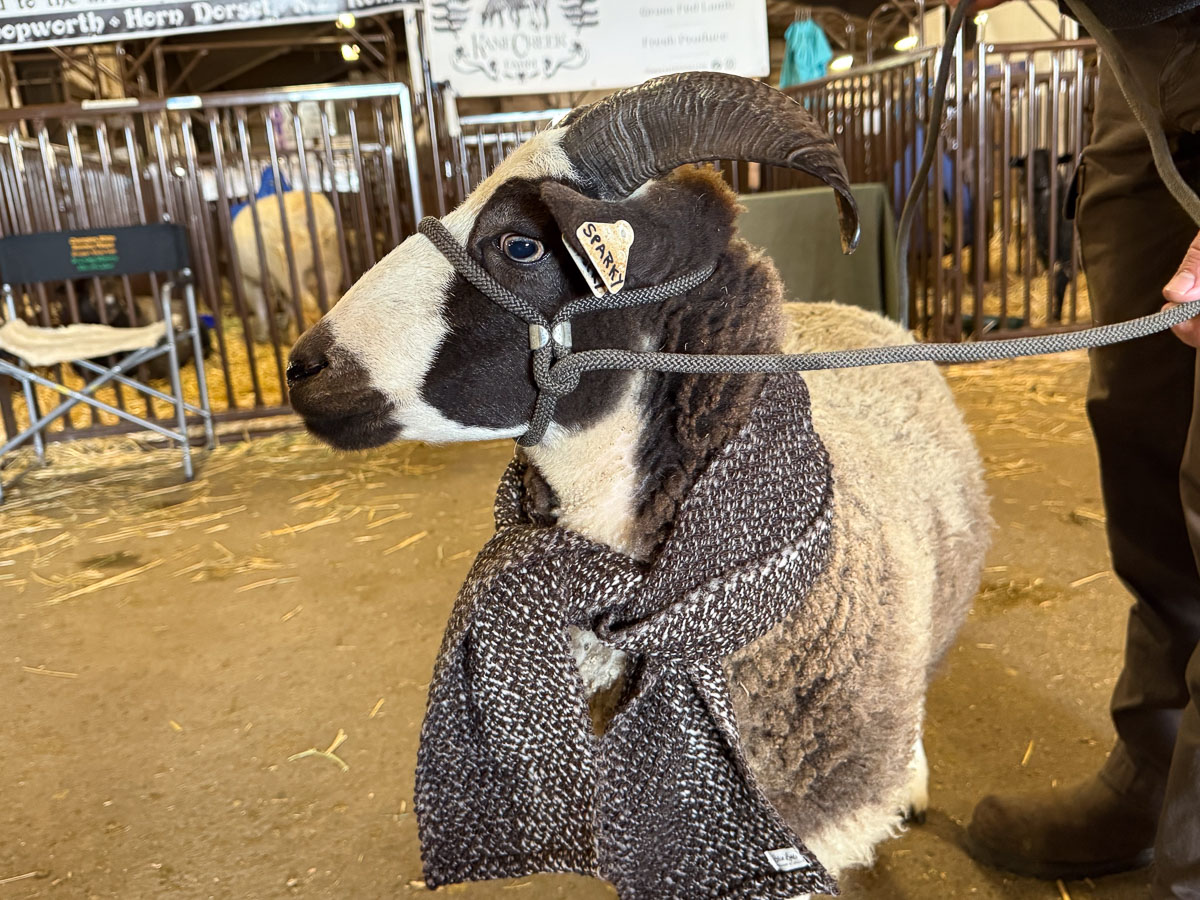
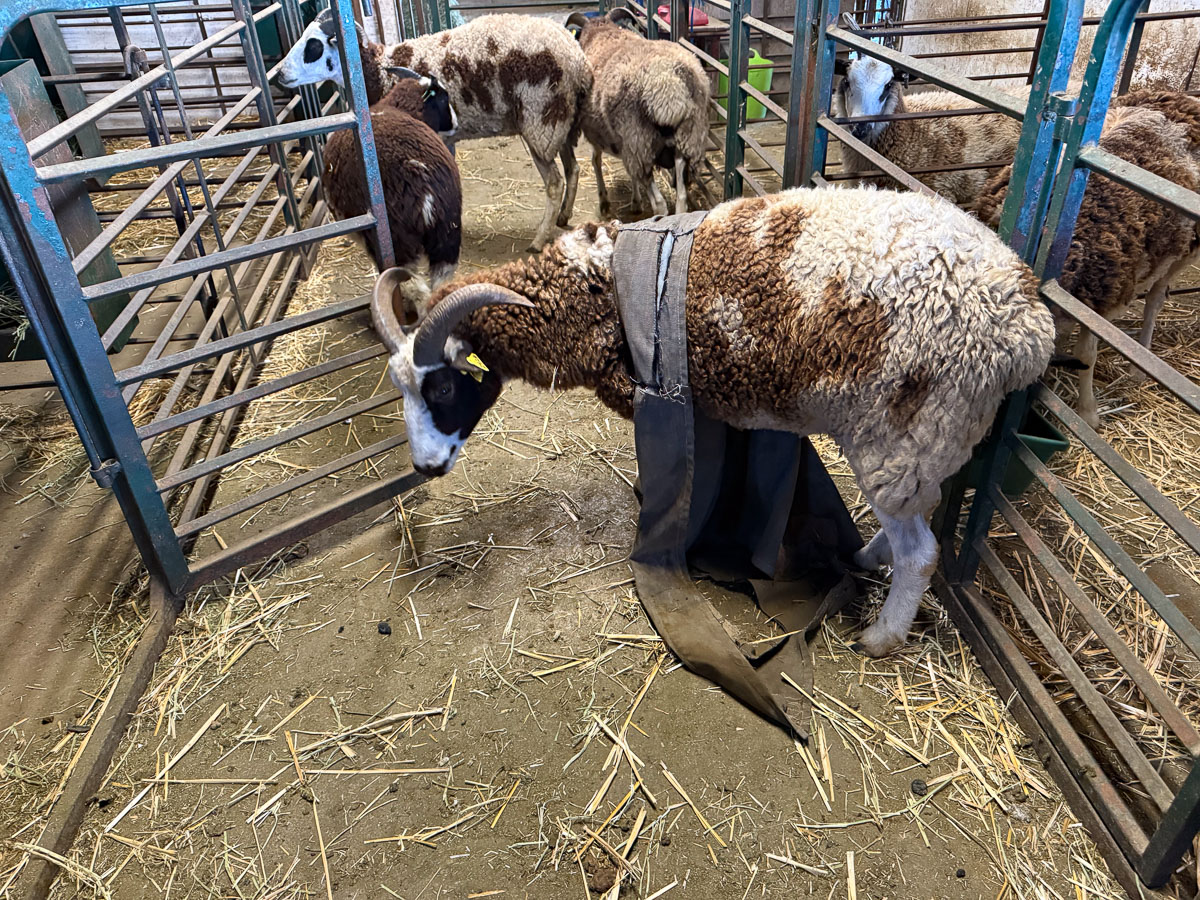
This one will probably be a story, but I’m not sure how graphic the photos should be. This is Peregrin, a yearling ram. You can see where his lower horn was rubbing on his shoulder (the patch about 6″ to the right of the horn tip) which is not a desirable thing, but I planned to trim it. He must have been hit by one of the other rams and the core of the horn broke. I have video of how much that horn can wobble. This was a few days before I planned an overnight trip to Oregon to deliver sheep and sheepskins. More to this story later.
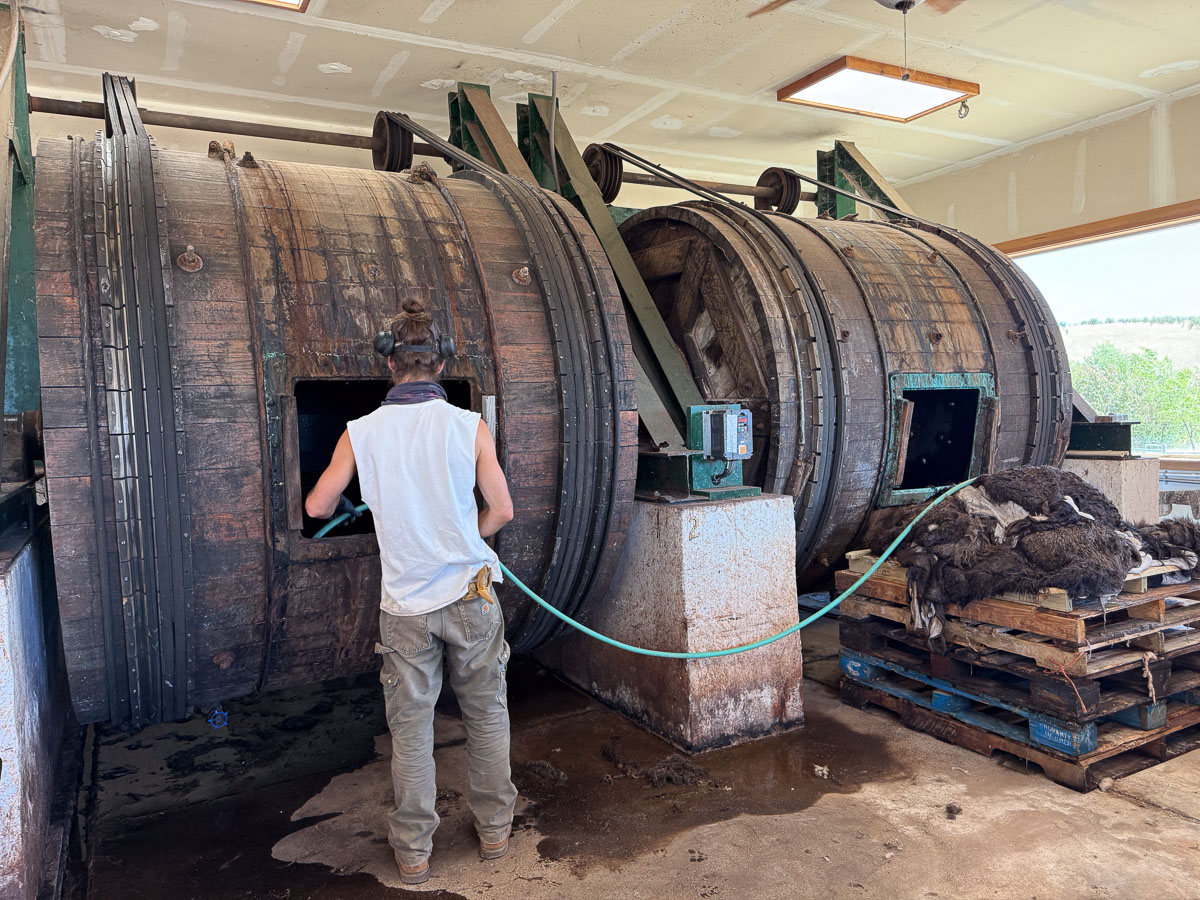
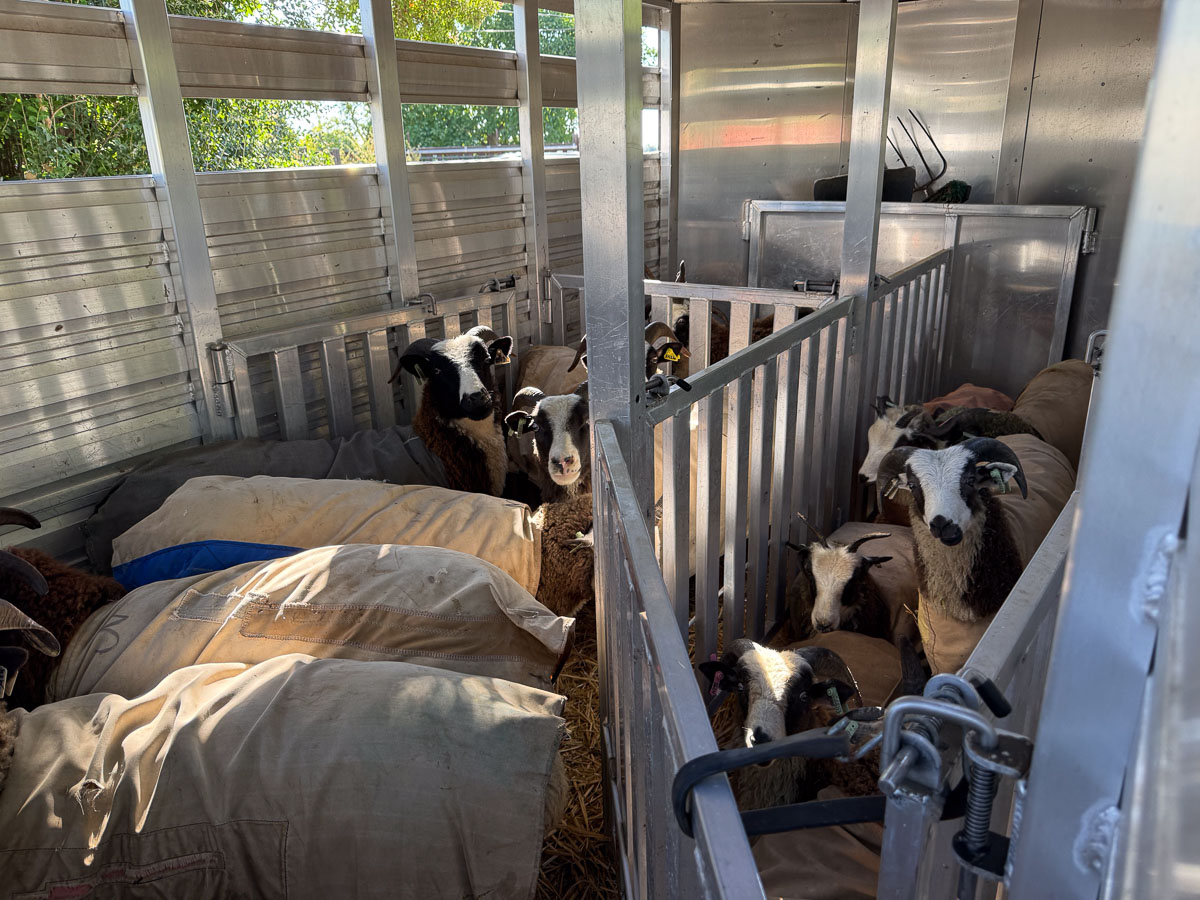
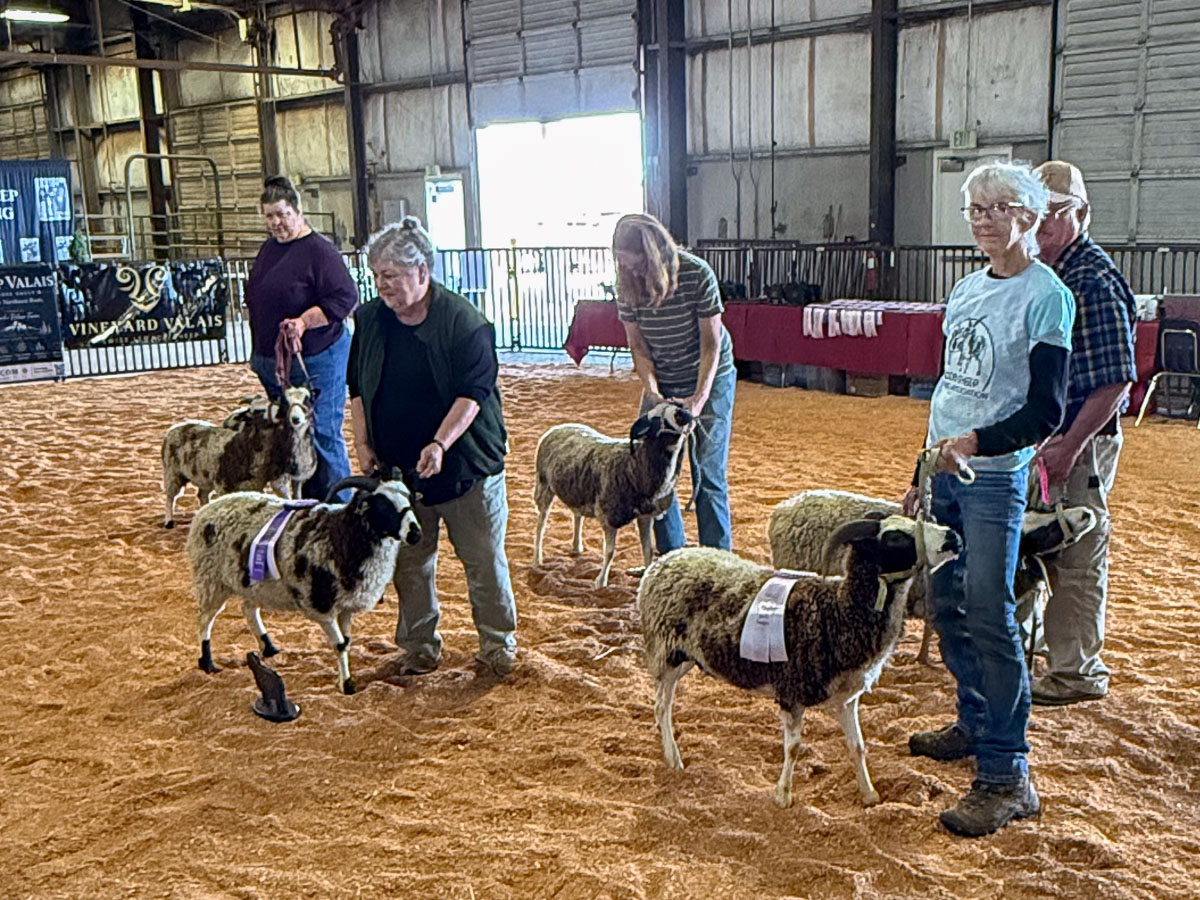
This could also be a story. I had an inside look at Traditional Tannery, where I am sending all my sheepskins now. If I remember correctly they can fit 60 sheepskins in one of those barrels for the initial washing.
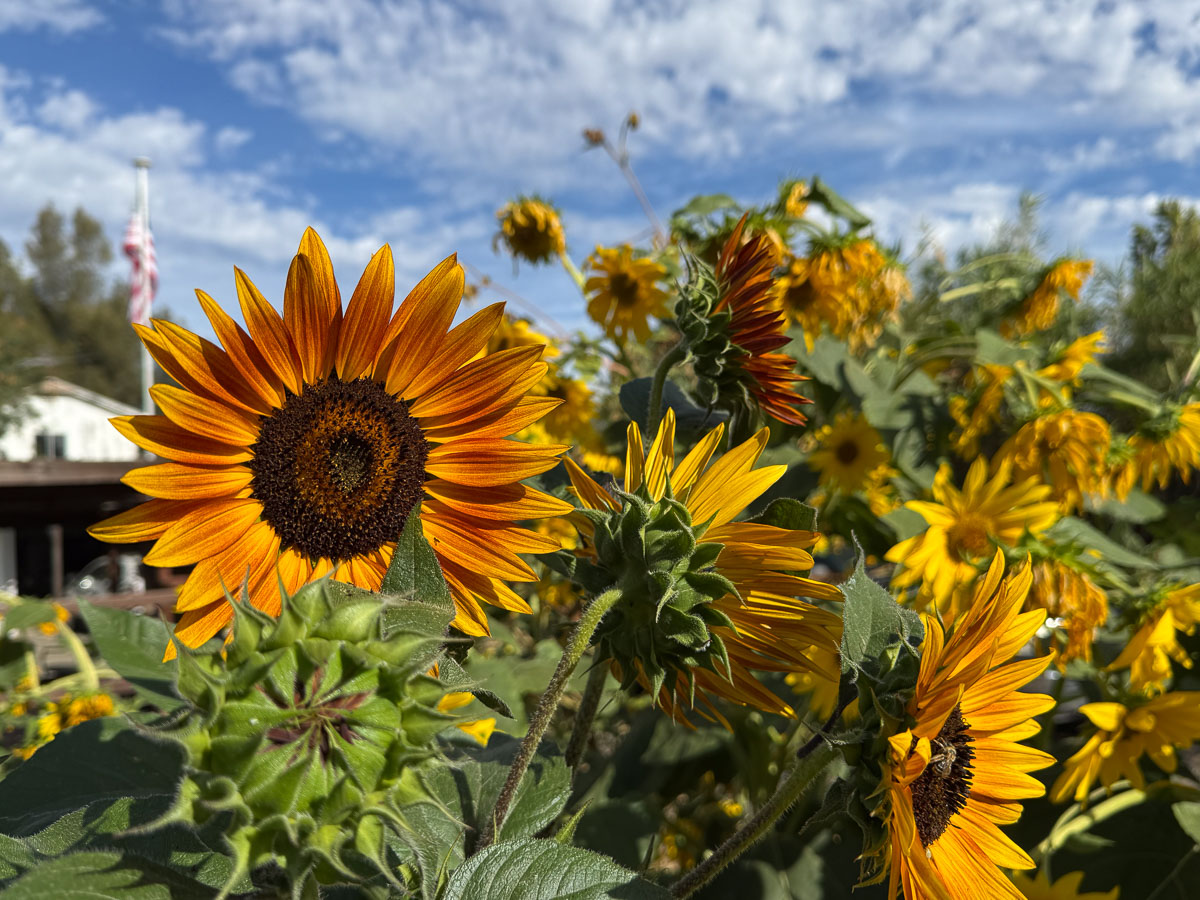
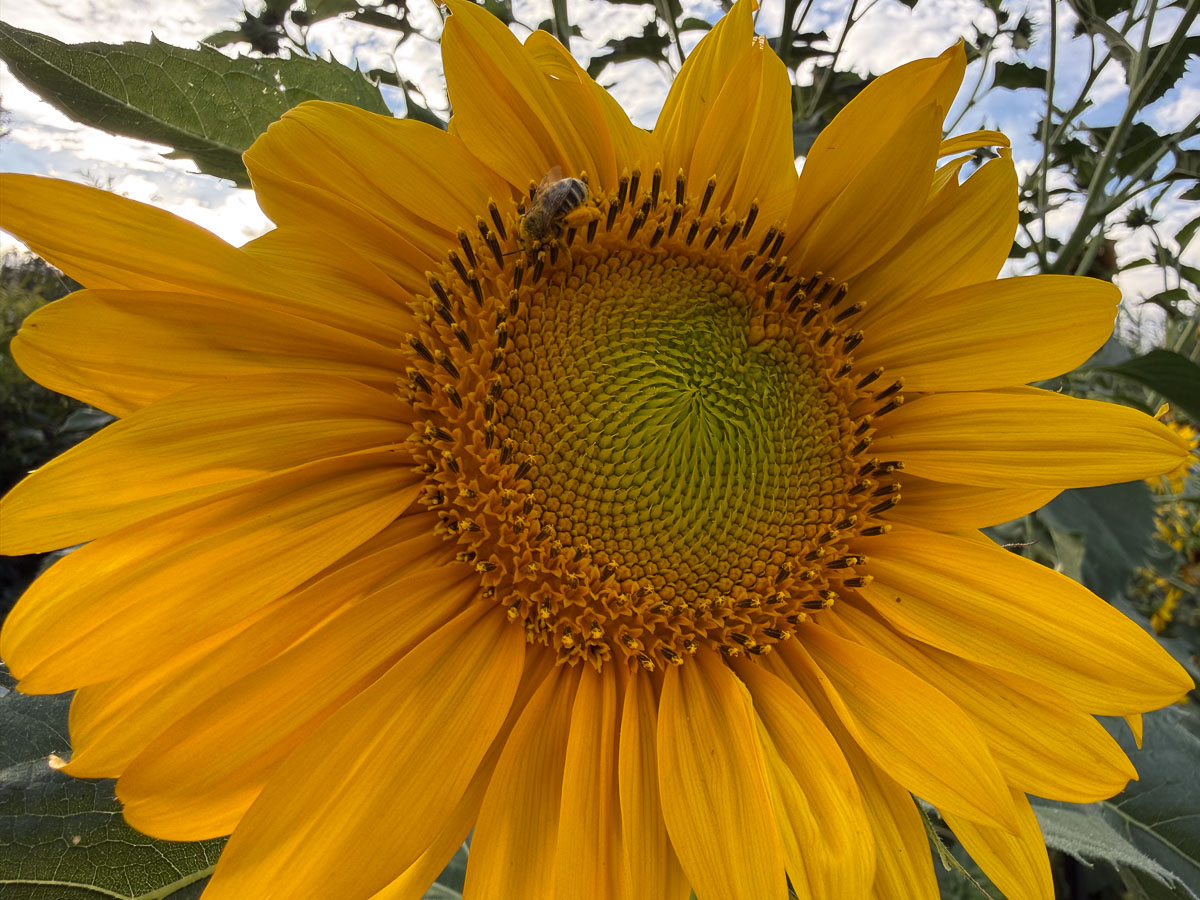
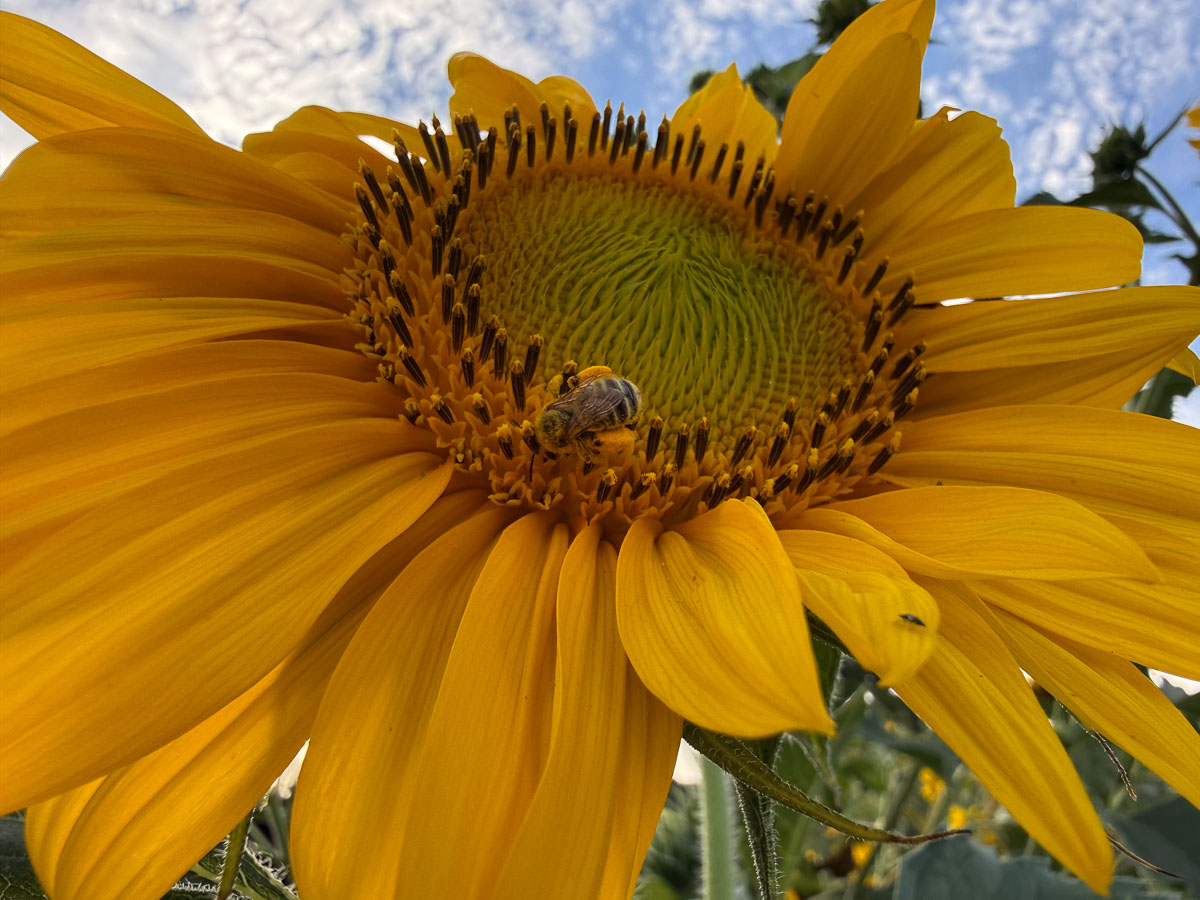
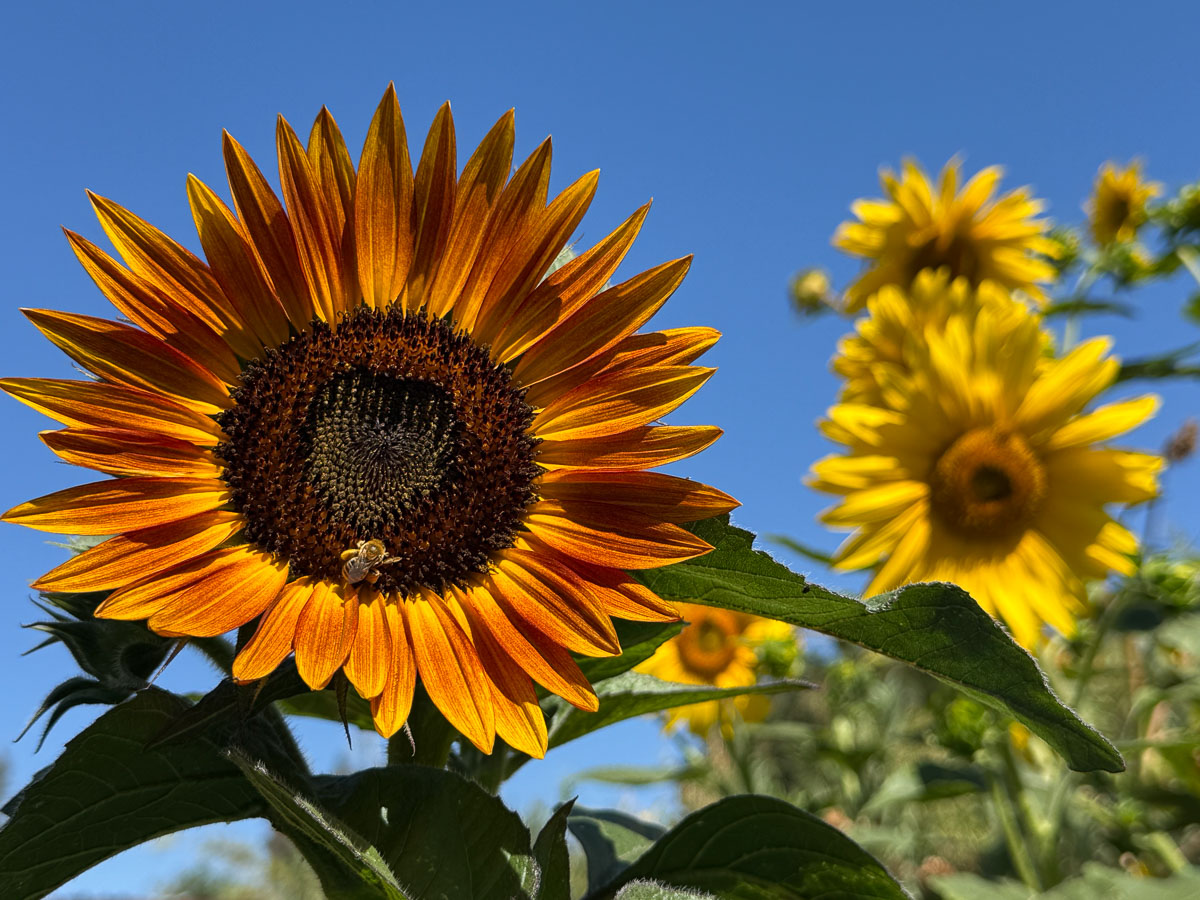
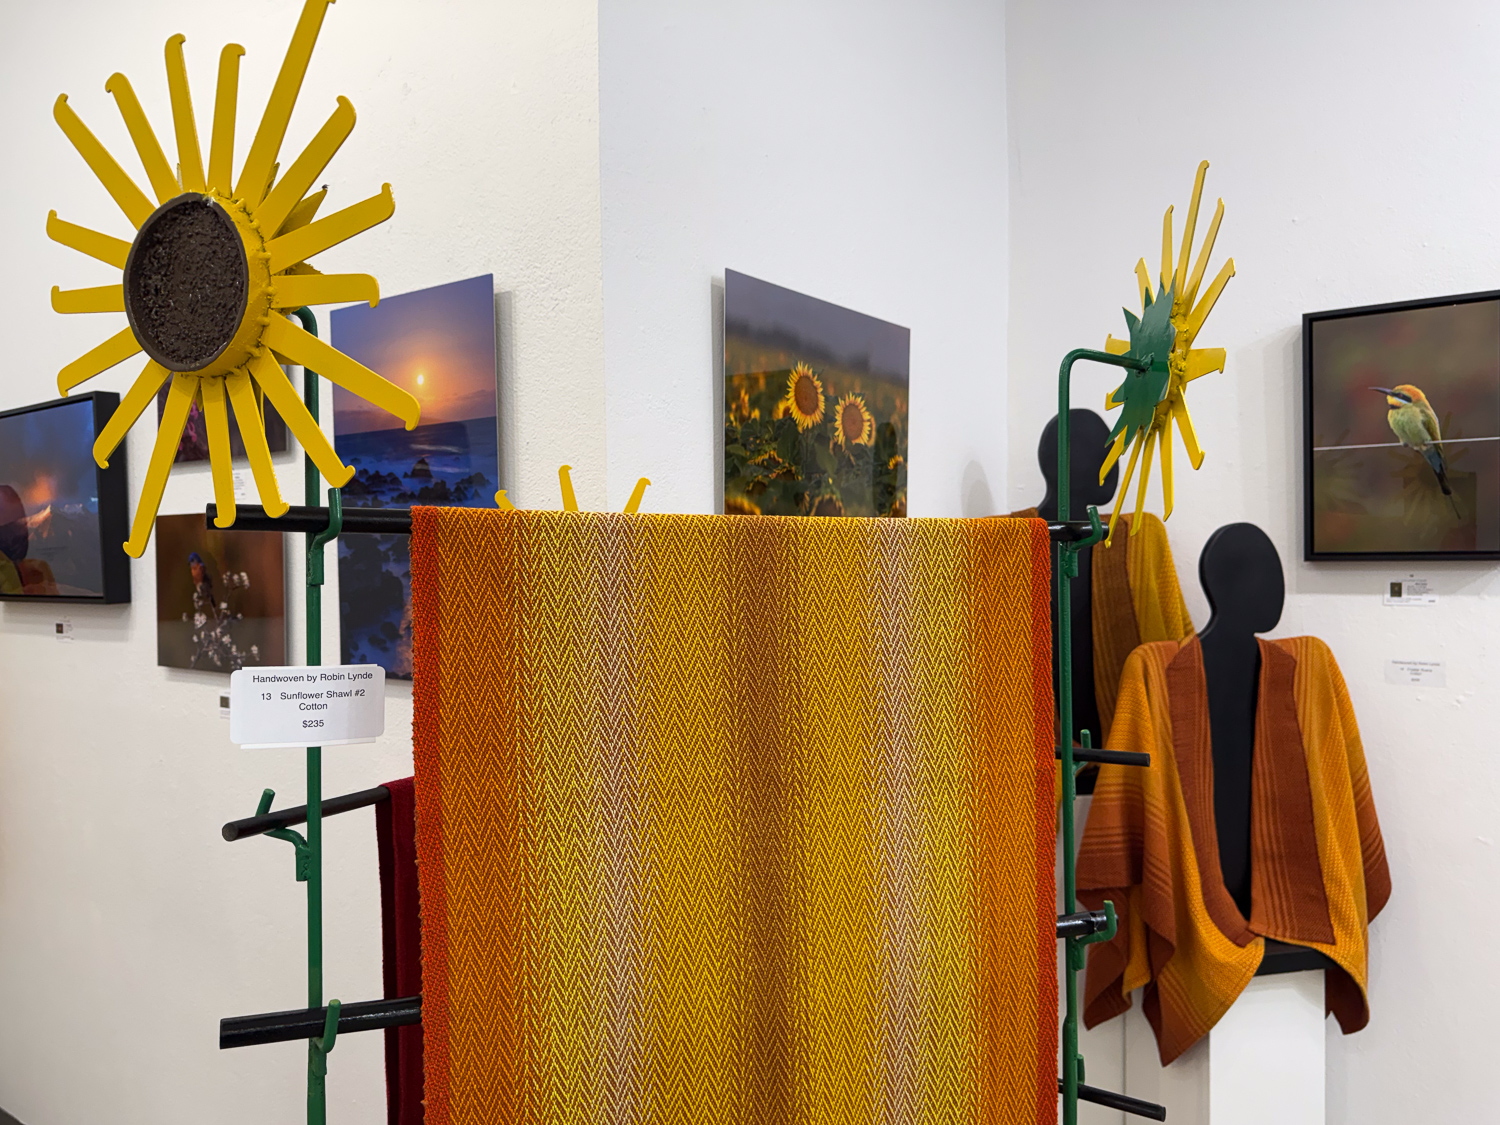
Back home. I love my sunflowers this year. The one in front with the brown cast is a new variety. The others all grew from seeds produced last year.
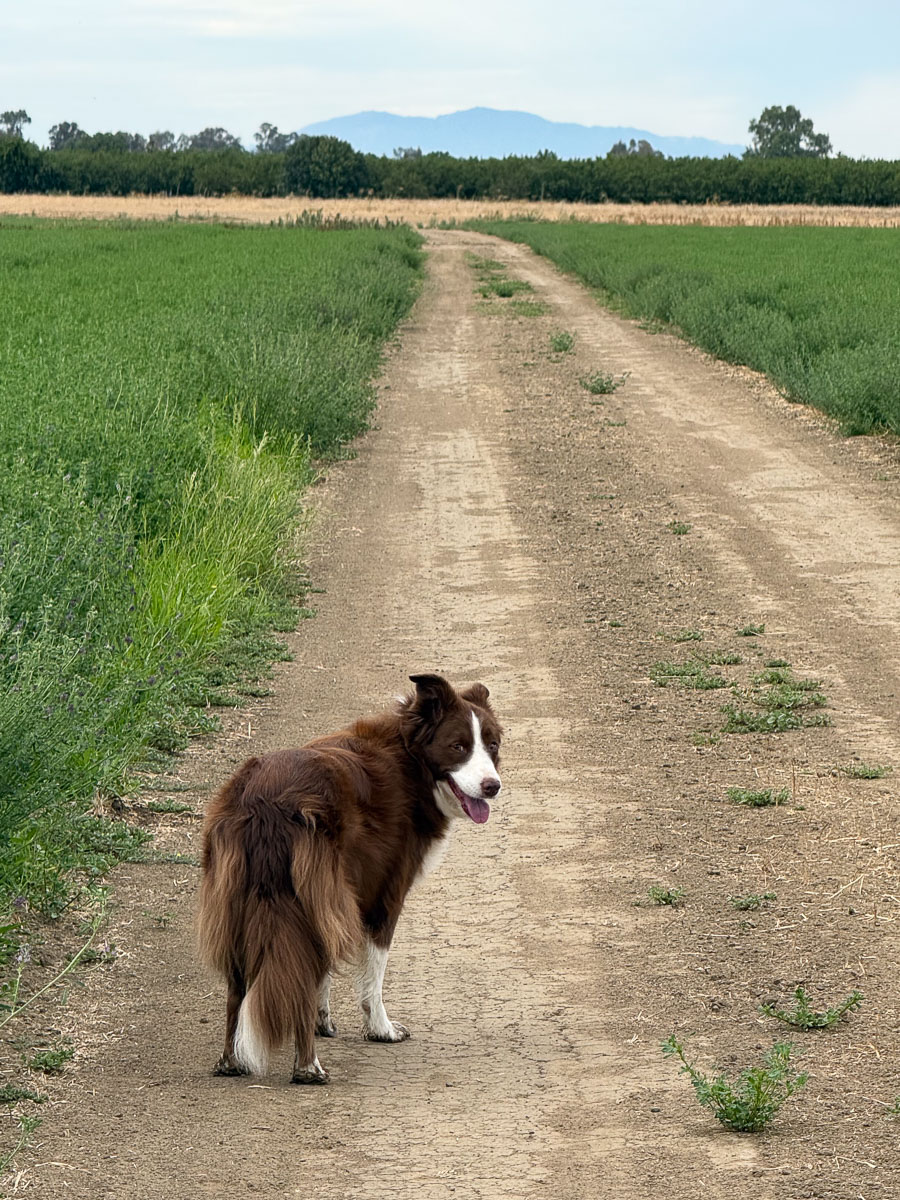
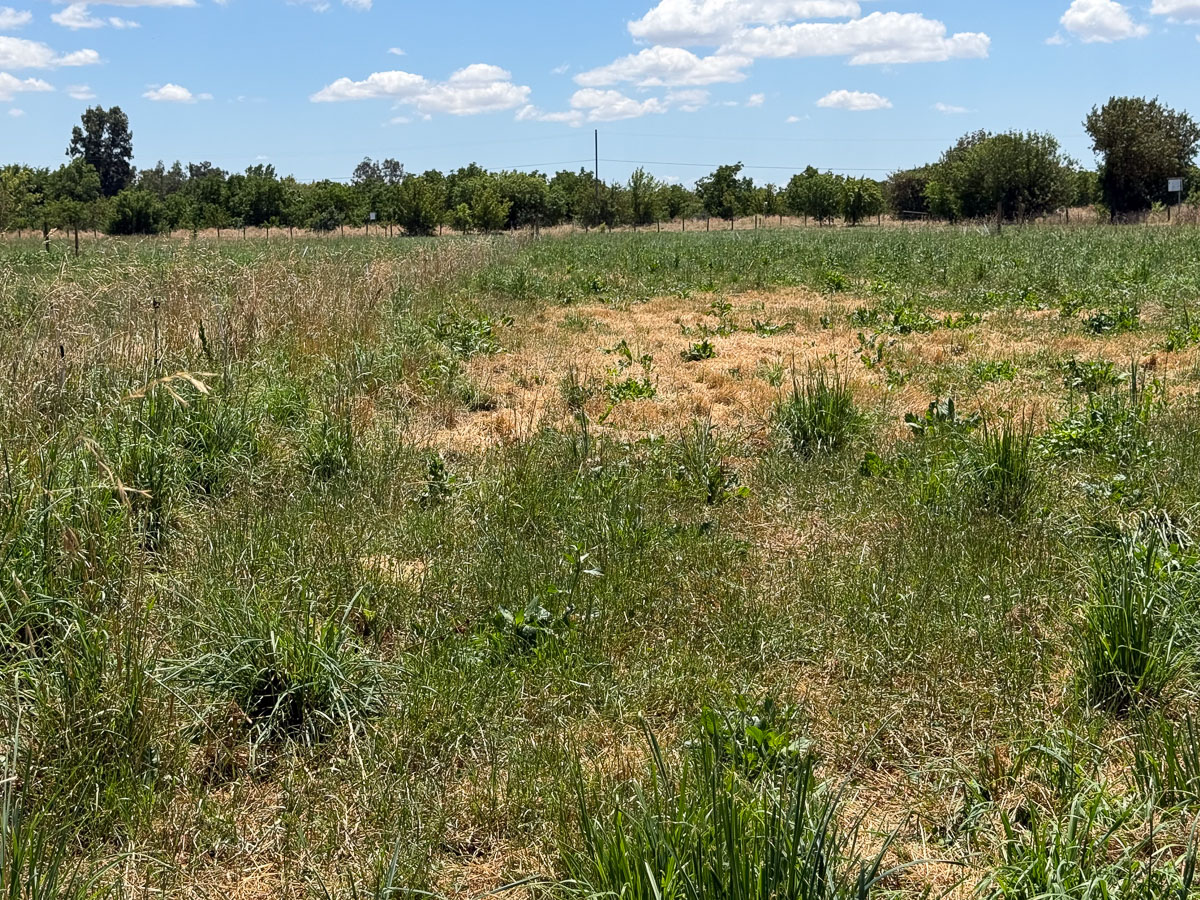
I’m trying to get out and walk, partly for me, and partly to give Ginny something to do.That’s Mount Diablo in the distance.
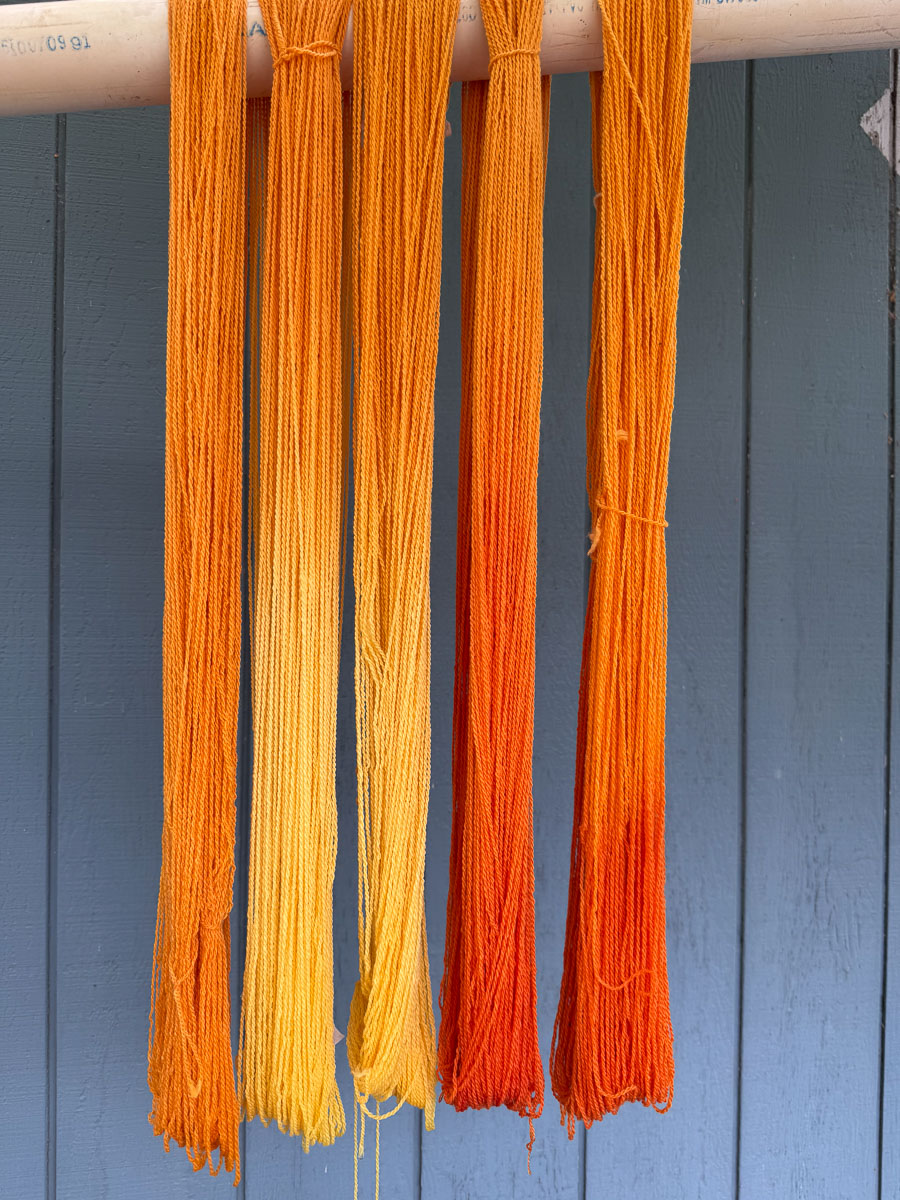
I’ve been dyeing yarn. I dyed five skeins with Cosmos flowers. The two in the middle were then dipped in an acidic bath (dilute lemon juice) and the two on the right were dipped in a basic solution using washing soda.
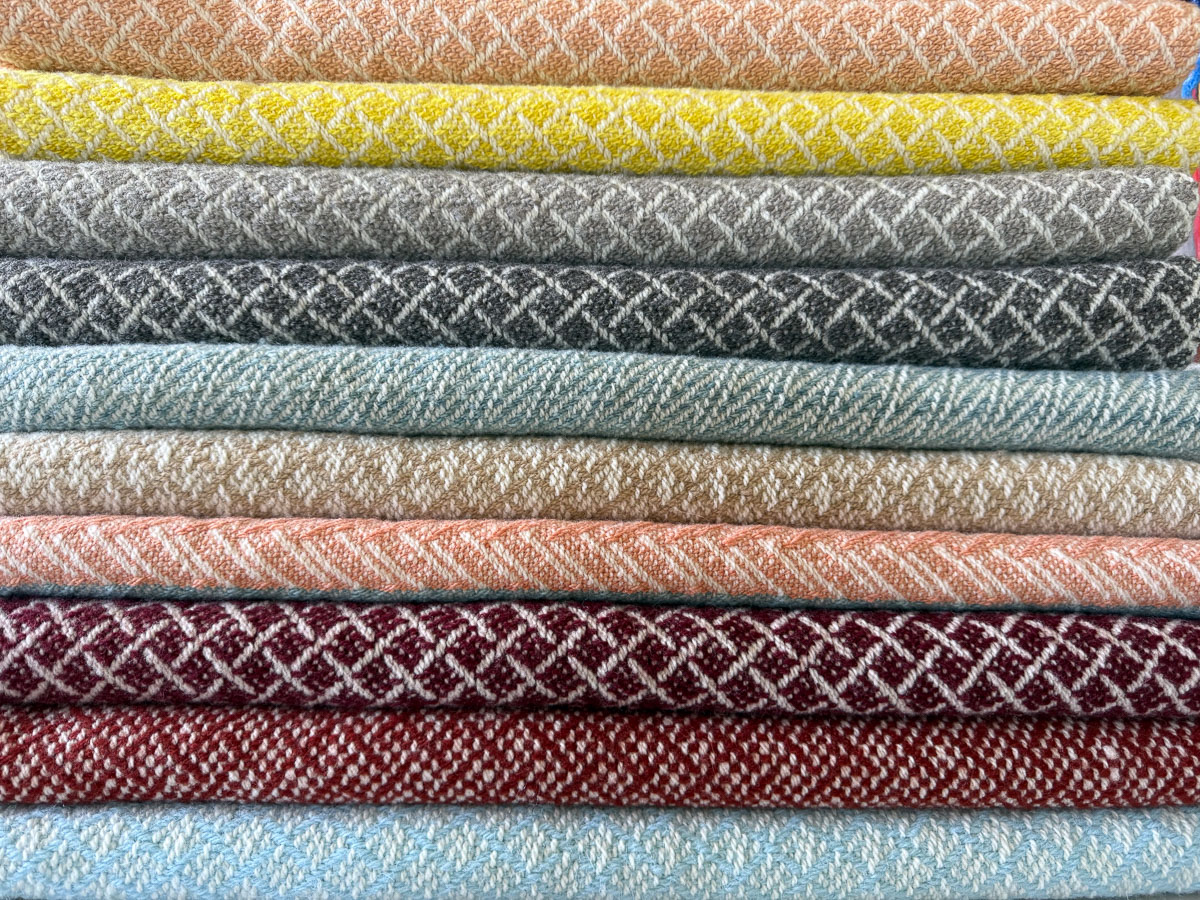
I finally finished a blanket warp that I put on the loom in May. This is the Timm Ranch yarn for warp and most of the blankets are local. The two gray ones have Jacob weft. The bottom one is Ashford yarn, the next two are my new favorite U.S Wool (outside Solano County) from Brown Sheep Company, and all the rest are naturally dyed Timm Ranch yarn.
Moving on to overshot. I have a deadline of mid-September to finish a magazine article. That is a topic for later.
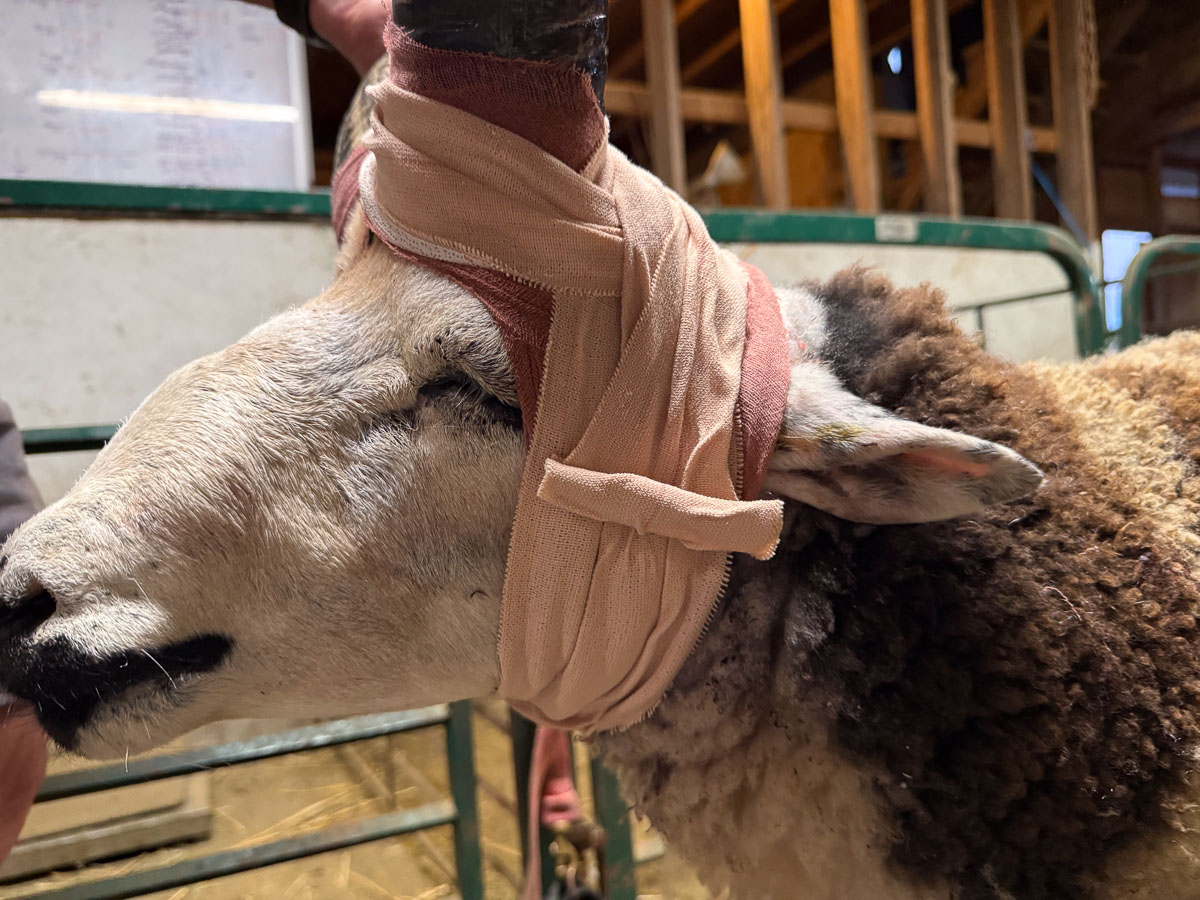
This is still not the end of the story for the ram at the beginning. On Wednesday the vets removed the broken horn. The goal now is to keep the flies off and hope it heals well. I took this photo after he tore off the initial bandage that was full of gauze to put pressure on the wound. My job of rewrapping isn’t pretty but it was still in place yesterday and today.
I forgot that I do enjoy writing blog posts, but have to not be too worried about having everything in order and whether or not there is a beginning and an end.