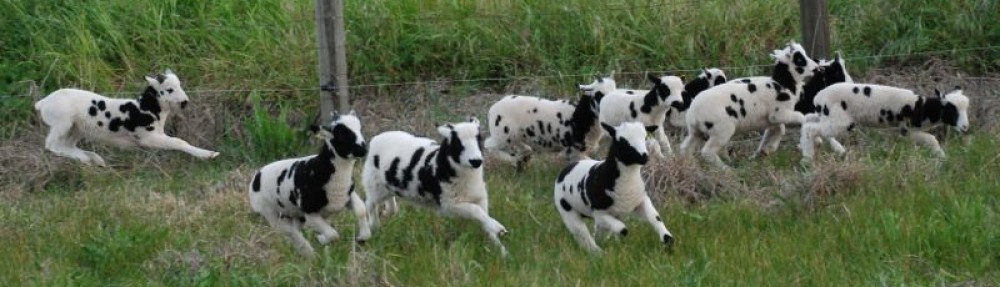
The first day of this series of blog posts was rather boring–just driving north to get to where we were going. It will get better, at least for those of you who like scenery of our fabulous country.
We arrived in the dark at Doug and Karen’s place in Newberg, Oregon. They have bide a wee farm and raise Jacob and Navajo-churro sheep. I have known them for years and have some of their sheep but have never been to their farm. The next morning we followed them around as they did chores.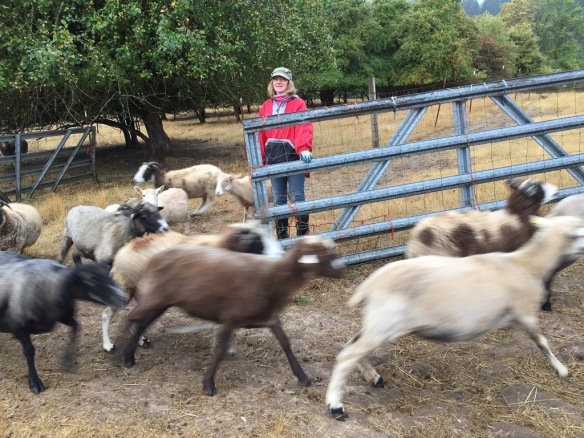 Karen lets the ewes out into the pasture where some of them race to see who will be first to find the pears that may have dropped since the day before.
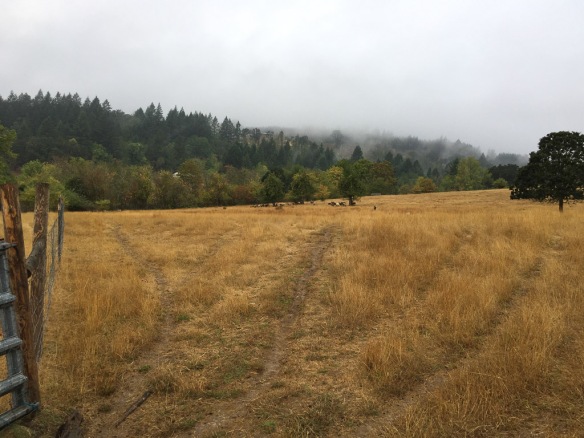 Some sheep stayed behind but this group checked out the pear snack department and then traipsed back to the barn for the morning hay.
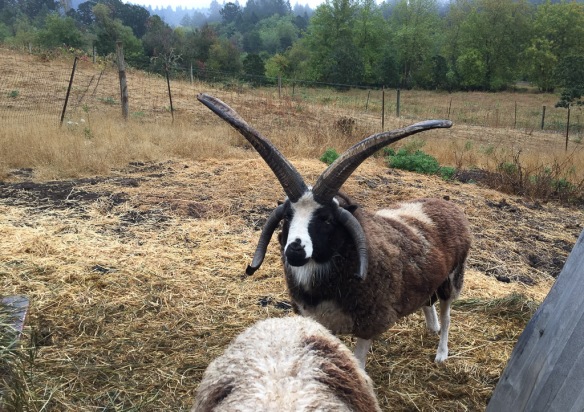 Nearby we met Windy Acres Lightning, who happens to be Buster’s sire.
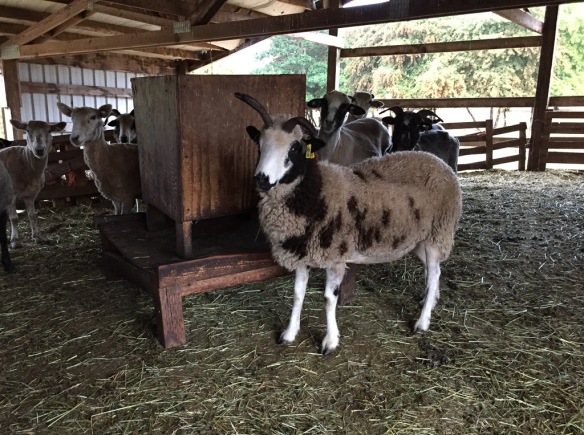 This is inside the barn. There are a couple of Meridian ewes here but I don’t think this is one because she has a bideawee ear tag. I like these feeders and think that we should try making some.
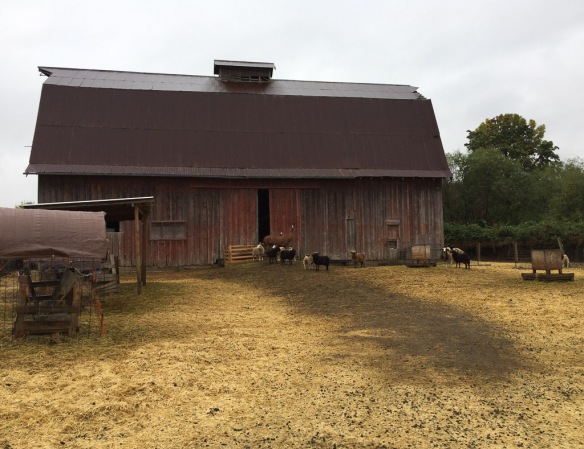 This is another barn on the property. Those are some of the ewe lambs and their guard llama.
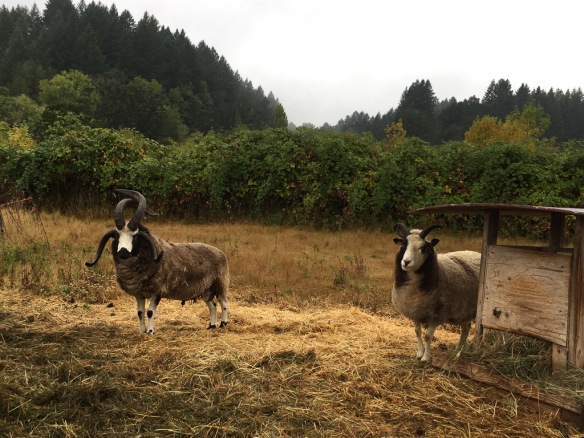 Across the road (the property is split into 4 pieces by the country roads) there are more rams. This is Hunters Glen Roy Rogers and his wether buddy. I sure which that I could get some of these horns like Lightning and Roy Rogers on my sheep.
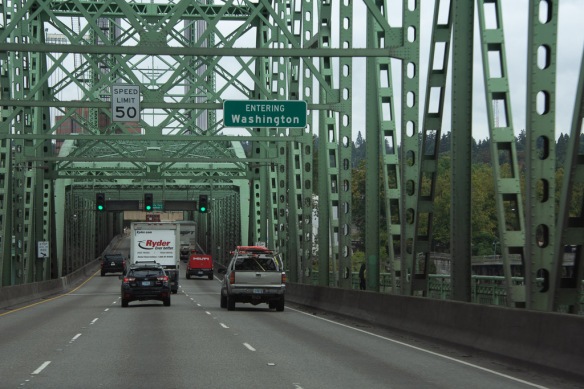 After breakfast we got on the road to our real destination.
 Here is a more welcoming sign along with pretty flowers.
 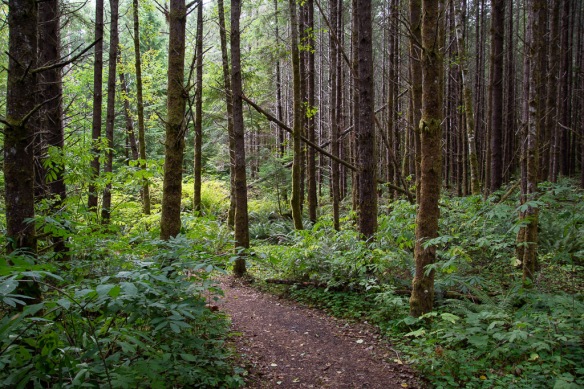 We were headed to Mt. St. Helens National Volcanic Monument for our first stop. We followed State Route 504 along the Toutle River and stopped before entering the NVM at this site where the sign said Sediment Retention Structure. We followed a trail through the beautiful woods.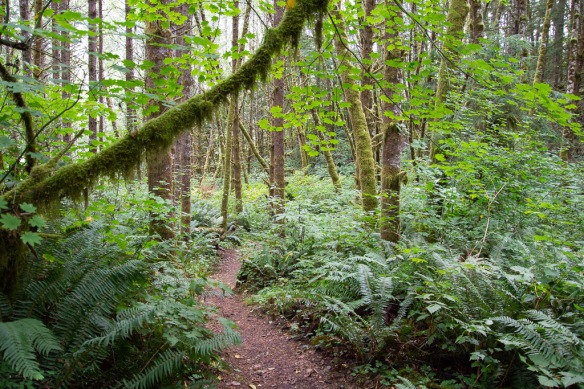
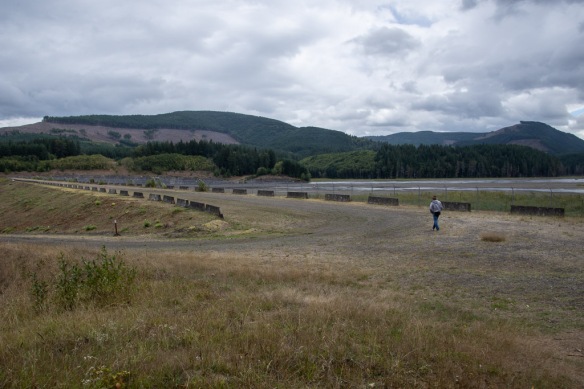 After a short walk we reached the dam. A sign told us: “As the North Fork Toutle River re-formed and carved new channels in the deposits [after the eruption in 1980], it became one of the world’s most sediment-laden rivers. The U.S. Army Corp of Engineers build the Sediment Retention Structure to trap sediments before they are carried further downstream. Sediment clogs river channels, worsening floods, and degrades water quality and aquatic habitat.” It is hard to tell the scale from my photos but this is a massive structure.
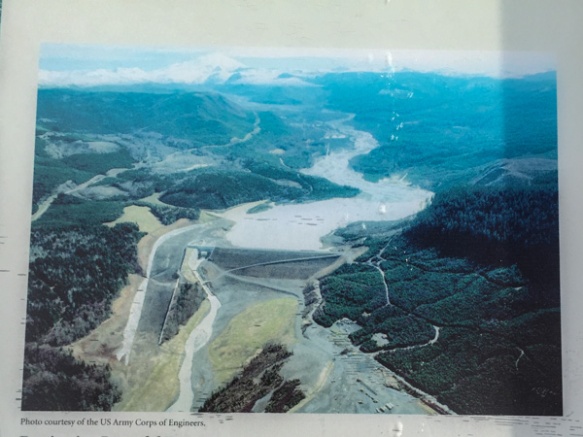 Here is an aerial view on the sign.
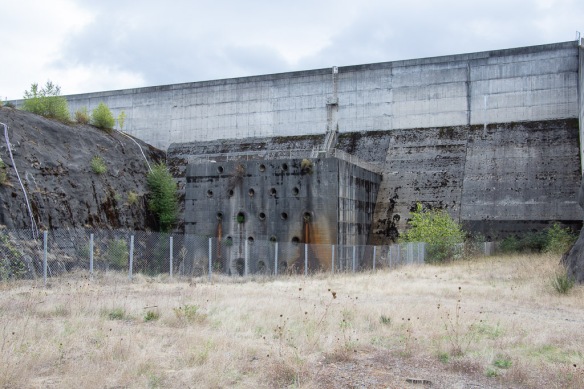 This part of the structure is on the aerial photo but is the “little” part at the left end of the horizontal part of the retention structure and to the right of the spillway.
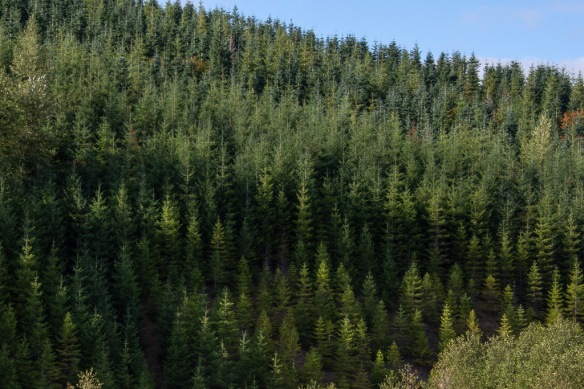 We continued on to the NVM. There are plenty of interpretive sites before you get there, some put out by the state and some by Weyerhaeuser. From their site: “Weyerhaeuser Company began more than 100 years ago with 900,000 acres of timberland, three employees and a small office in Tacoma, Washington. Founded in 1900 by Frederick Weyerhaeuser, we’ve grown to become one of the largest sustainable forest products companies in the world.” I was interested in the divergent viewpoints about the response to the destruction caused by the 1980 eruption. Weyerhaeuser began to reforest as soon as they could, planting millions of seedlings. Their sign shows a contrast between their now almost 40-year-old forests and the vegetation across the boundary where the response was to let nature take its course. Both arguments are convincing and I am not bashing a giant lumber company. After all I live in a wood house. The film that we saw in the Mt. St. Helens NVM Visitor Center, however, describes how quickly the communities begin to recover, starting with gophers, of all things, that survived in their burrows under ash-covered areas and moved soil and seeds to the surface. The film points out that the communities are now at their most diverse and as the natural sequence of forestation continues there will eventually be less diversity as one sees in a mature forest.
I took the photo above because I wanted to share the scene as we traveled through this particular part of the forest. I think these are noble firs and you can sort of tell what I was trying to portray here. It was almost like you couldn’t focus on them. The right angle nature of the branches gives the effect of horizontal lines throughout. It was striking as we drove through.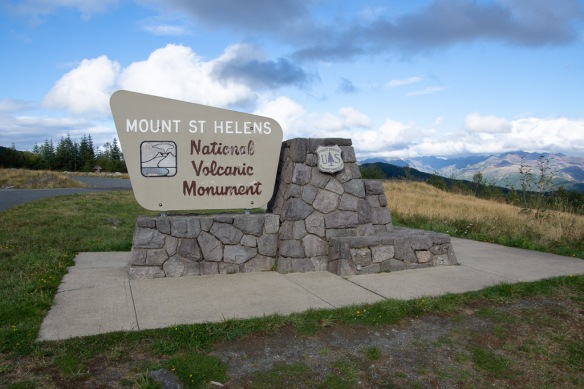 It isn’t possible to see all of the NVM in one day. No road goes all the way through and it is a lot of driving to get to other entrances. We chose this northwest entrance and realize that we’ll have to come back some day.
  I liked this closeup of the USFS sign–see the detail in the tree? Someone had to think of that.
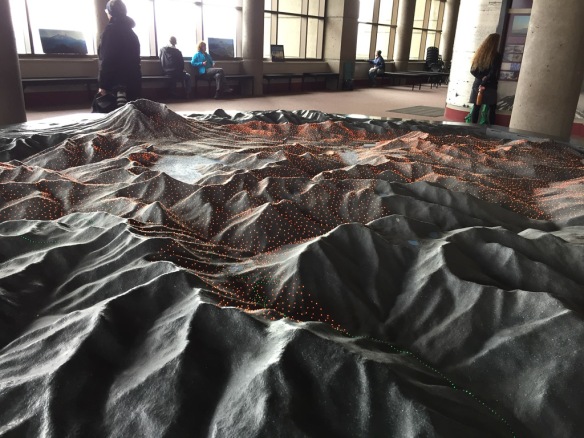 We started at the Visitors’ Center called Johnston Ridge Observatory. Here is a model of the terrain and as the story is told different color lights come on to show lava flows, ash deposition, etc.
 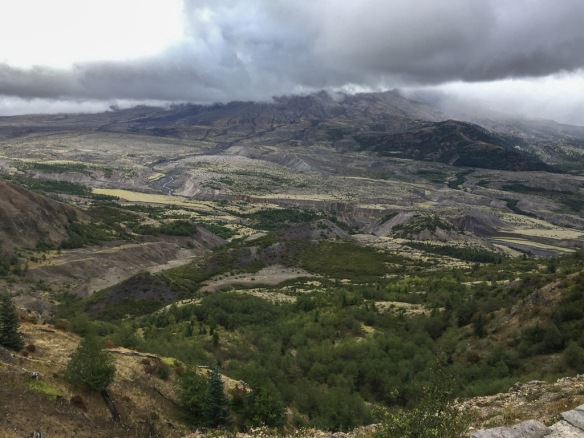 View of the mountain. We never got a clear look at it because of the clouds. It is amazing to think that the whole area in this photo was impacted by the blast and that everything in the middle part of the photo is deposits from the volcano.
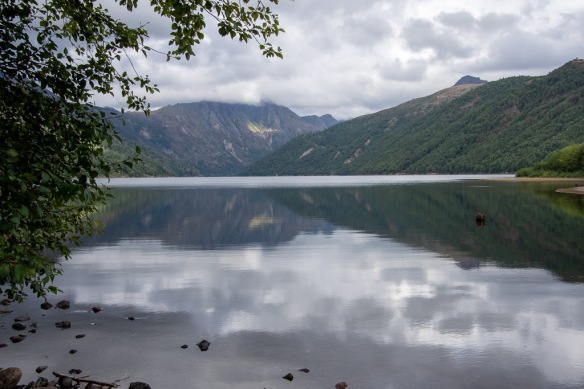 Coldwater Lake was formed when volcanic debris blocked Coldwater Creek.
 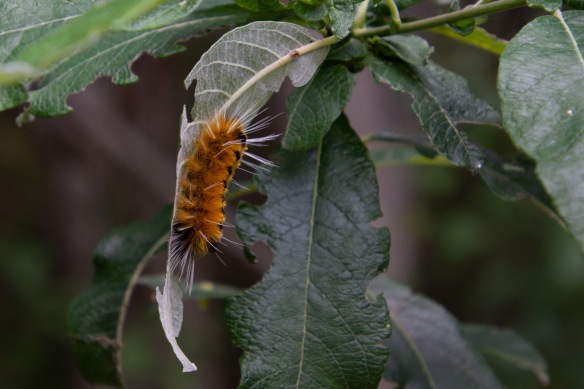 A wildlife shot!
 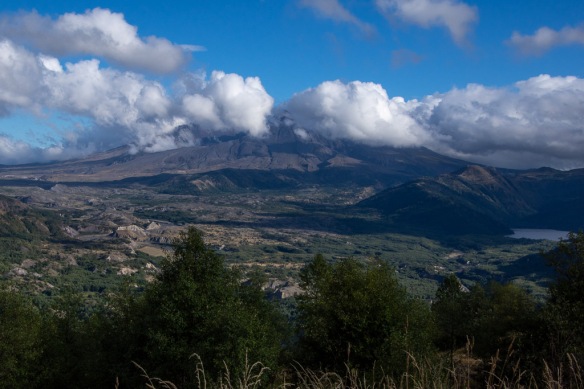 We stopped at an overlook before leaving the area and watched as the clouds moved past the mountain. The eruption of Mt. St. Helens was mostly from the side and it created a valley that faces mostly north (the cloud filled part on the left of the photo).
 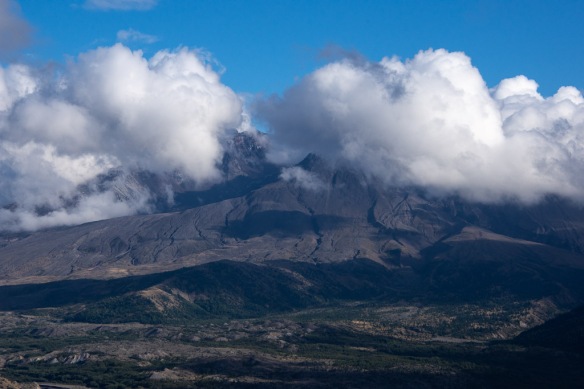 We caught a few views of what is left of the mountain.
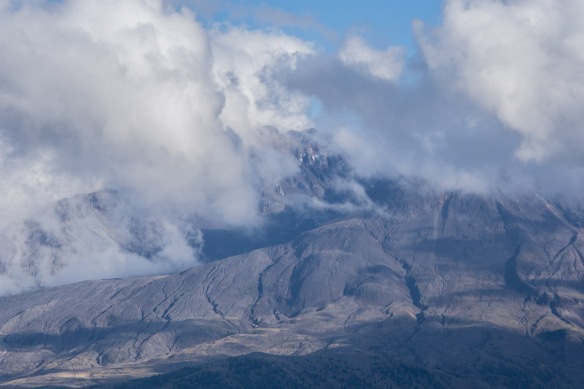 This definitely warrants a return trip.
We headed north for our next destination and found a place to camp but it was almost dark and I guess I didn’t get any photos there. Stay tuned!
 Here we go!
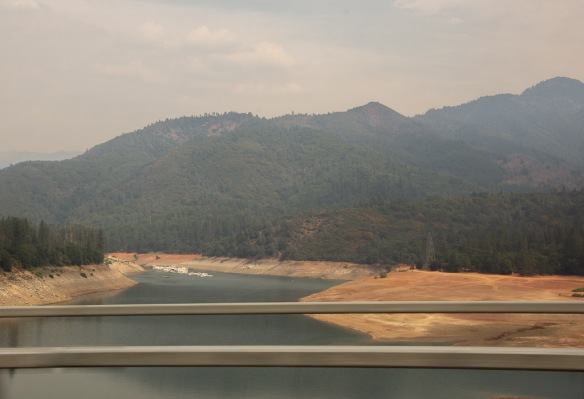 All of these photos are “drive-by”, taken with my camera or my phone while in a moving car. They are hazy and the sky is ugly. But that’s how it looked as we drove up the valley. We have been living for most of the summer with smoke-filled skies. Now we were smelling smoke too. This is Shasta Lake and it is evident how low the water level is. A reservoir can be an ugly place when the water is low (in my opinion).
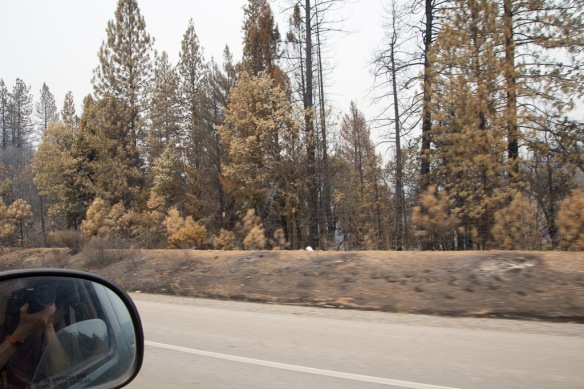 We began to see signs of the Carr Fire which had caused the closure of I-5 in both directions for 5 or 6 days just the week before we left.
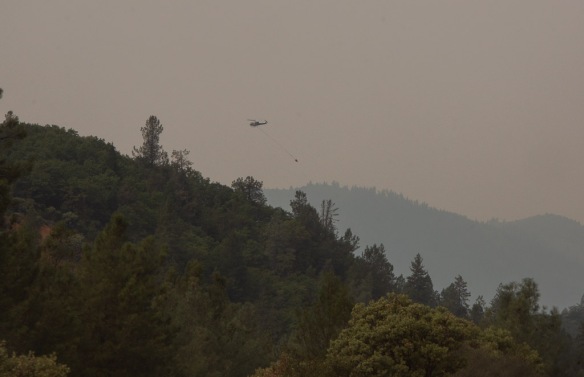 One of my son’s manages a USFS helicopter and his crew was on this fire, but that wasn’t the his helicopter.
 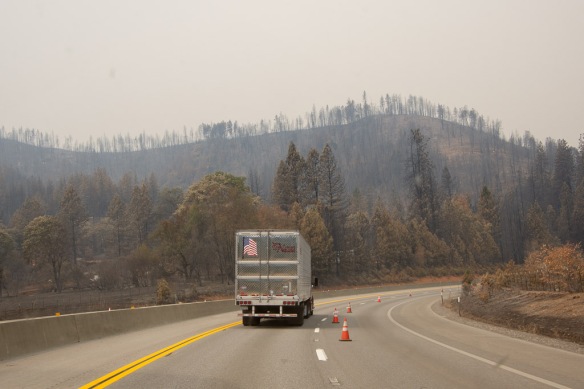 The fire had burned right up to the road and had actually burned vehicles that couldn’t get away in time.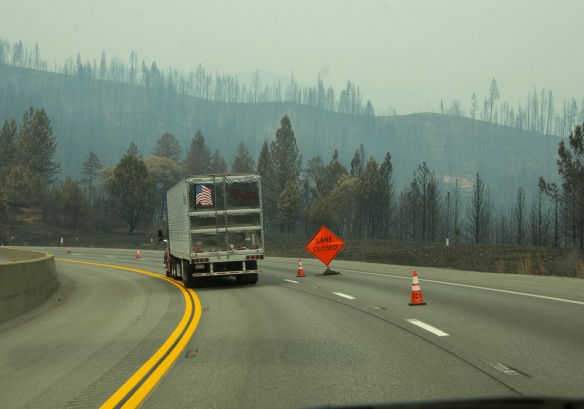
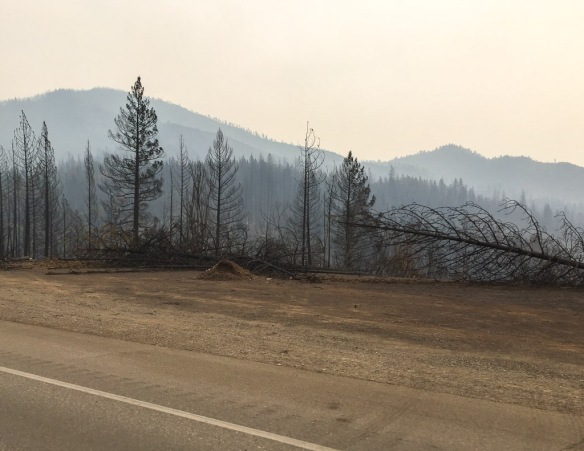
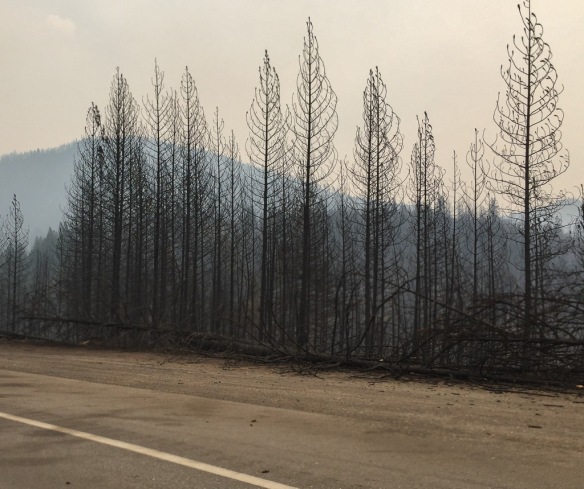
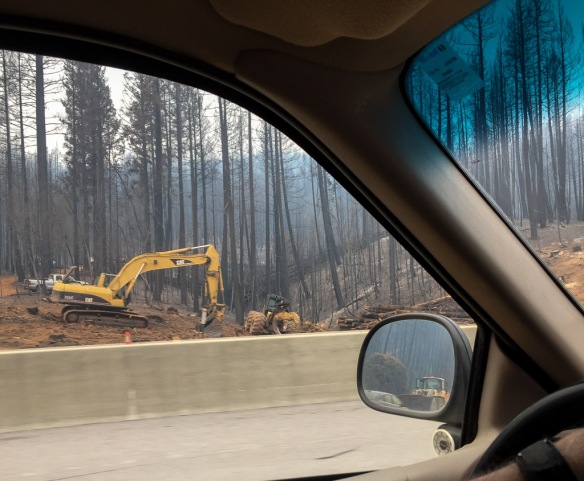 Trees that are near the highway are being removed for miles.
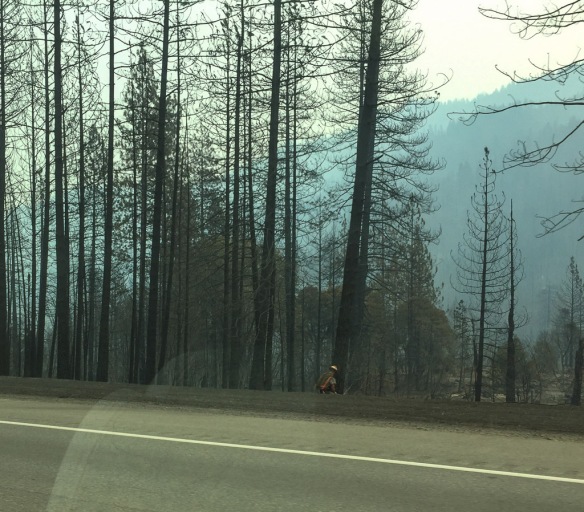 And it’s not over yet!
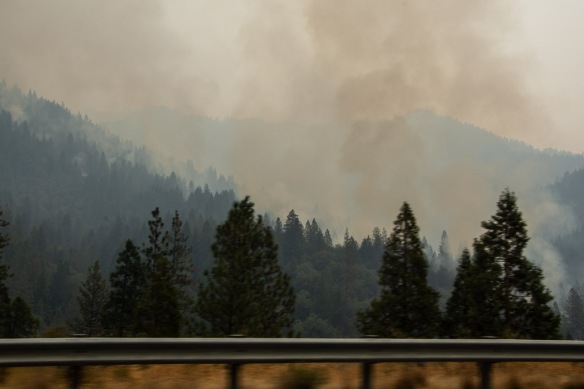 There were active smokes along several miles.
 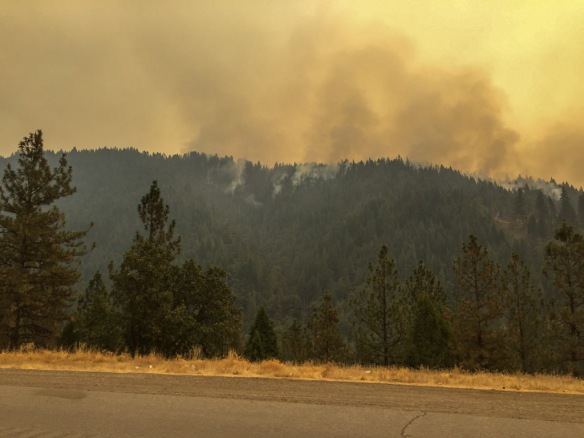 My two sons and a daughter-in-law all fight wildland forest fires. This is a scary year.
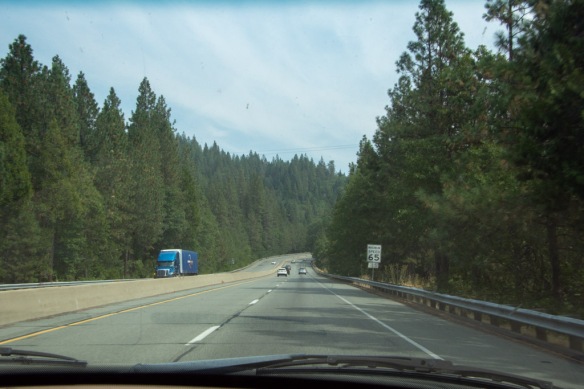 As we drove further north the skies cleared and the forest again hugged the sides of the freeway.
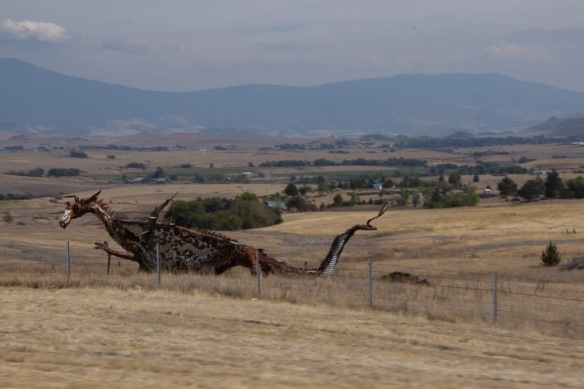 This isn’t a great photo, but I am usually driving when I see this dragon.There is a metal cow and calf a few miles back that missed. But I got at least one photo of the dragon.
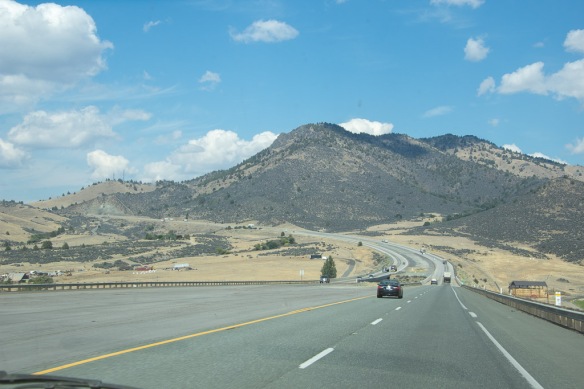 Heading to the Shasta Valley in northern California.
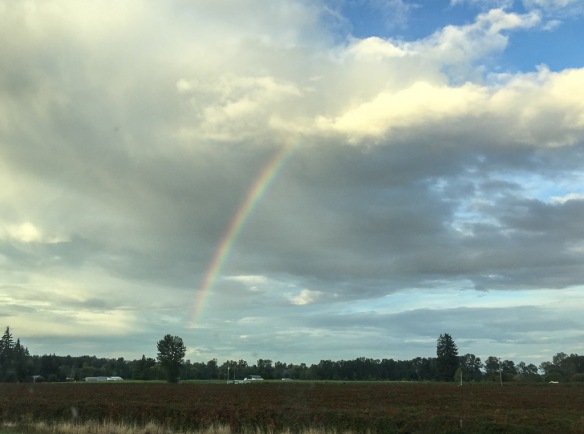 Somewhere in Oregon. It seems like a long time since we’ve had rain here.
 This is my latest warp. I wound 13 yards of mixed
  The other thing to notice about this photo is that the last piece woven on it is so much narrower than the others. This was the fourth shawl on the warp. The one before this one is a different weave structure (advancing twill treadling), but the first two are the same structure as the fourth one. The only difference is the weft yarn. The first three shawls were woven with 2015 Timm Ranch yarn on cones. The weft for the fourth shawl is 2016 Timm Ranch yarn that has been dyed. This is a perfect example of the difference that “finishing” yarn can make.
  This is one of the previous batch of shawls. It is mostly Jacob yarn but the weft is last year’s Timm Ranch/Jacob blend used from a cone without washing. In this case the width of the warp in the reed was 30″ with a sett of 6 epi. That is very open but when wet finished the shawl is lightweight and has great drape. However, the finished width is only about 20″ (33% draw-in and shrinkage). So I sett the brown warp the same at 6 epi but started with a 39″ wide warp.
 Here are the shawls from the brown warp after wet finishing. That one that was so much narrower on the cloth beam? That is the one that is a little wider here. It is now 27″ wide (30% draw-in and shrinkage). The shawl in the same pattern but woven with the white weft is 26″ wide (33% draw-in and shrinkage). The difference between width in the reed and the finished piece isn’t much, but the photos show the dramatic difference in how the yarn behaves while it is woven.
  Here is a before and after photo. The bottom shawl has been wet finished. The top one is the same weft yarn and same pattern, but has not been washed. Look at the very first photo in this post. You can see how wide open the yarns are. Off the loom they are a little closer, but that looks nothing like it will when finished.
  An example of trying to take product photos with the help of a Border Collie.
 Here is one of the final product photos. I noticed a surprise. I started to see a purple cast to one of the warp yarns. At first I thought that I just hadn’t noticed that shade inside while I was weaving. I tried to convince myself that it was still brown.
 Do you see it here?
  Another photo of one not washed (no purple) and one washed. I lined up the same warp threads in these two pieces.
  Depending on the light setting in the photo (and maybe your monitor) you may see it more clearly in one of these other photos.
 In person it is clearly visible, although it doesn’t stand out.
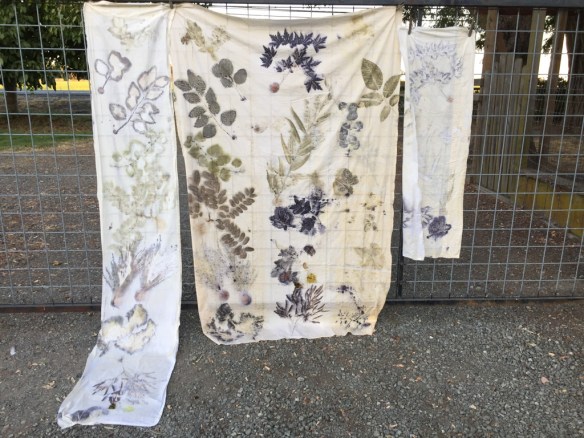 Before you print with plants you soak the mordanted (or not) fabric in iron or tannin (or not). Then you apply the plant material (possibly dipped in iron or not). You cover it with a “blanket” of cotton fabric and then roll the whole thing up with plastic on a dowel or in my case, 2″ PVC pipe and tie it tightly. Then you steam for 90 minutes. Why 90 minutes? That’s just because that is how long everyone else says to do it.
  I started with a map because I wanted my two fabrics to have the same plants in the same positions. I started with the top row of this map and covered it with the blanket material and plastic. Then I placed more blanket material (old cotton sheets), placed the plants on that (upside down from how I wanted them to appear) and folded over the middle third of the fabric. I placed more plastic to separate the middle and outer third layers and applied more plants. At this point I started to think of other plants I wanted to add so some of these were thrown on in between the others or tucked into the middle layer. The photo above the map is the second piece of fabric with part of it’s blanket fabrics, which by this time were any scraps that I could make work. You can see in the blanket fabric on the left the mirror image that was created.
  Here are the two fabrics I printed. Both were dipped in the iron solution before using them. The one on the left was the first one that I did. I think it looks a little less messy because I took more time with it. By the time I got to the second one everyone else was taking theirs out of the steamer and I wanted to hurry…and add more plants that I thought of. Differences: The one on the left was not mordanted and the one on the right was. I don’t know that it made any difference at all in how the plant material reacted with the fabric. Both were dipped in iron. Reasons for the difference? The first project (on the left) took me a lot longer because I was running around finding things like matches and hot pads, cutting PVC pipe, etc. I could see the fabric darkening as it sat out. By the time I got to the second one the iron bath had been mixed longer and I hear that the effectiveness is quickly reduced after it has been mixed. So was it the time the iron bath had been mixed? The time between dipping and steaming? The alum mordant on the right?
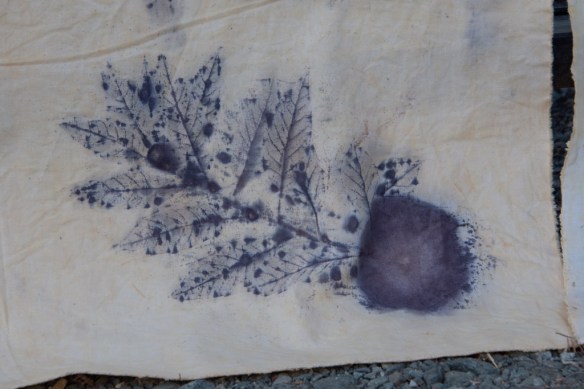
 Maple leaves. When you see the spots that look like bulbs–those are the tannins leaking out of the stems in plant material with plenty of tannin. (At least that’s he explanation I’ve heard.)
 Oak branch.
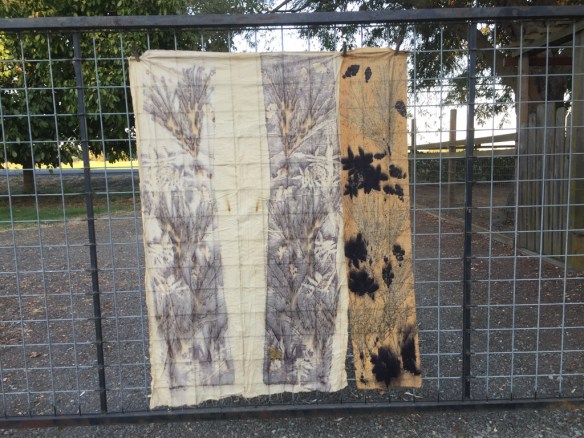 I dipped the silk (right) in tannin and the blanket material (large piece of cotton that I didn’t cut and instead just folded over) in iron. I used three plants on the silk.
 We were loving the effect of the sheoak (Casuarina sp) on some of the other pieces. That’s that wispy one that you see better on the silk. I had added Chinese pistache and oak leaves. Wow. Way too much tannin effect. The outline of the pistache on the blanket fabric is pretty but it doesn’t look so good on the silk. Note to self–use one leaf, not a branch, and maybe even that would be too much. I lost the definition in the oak leaves as well.
 Here are those three plant materials after dyeing.
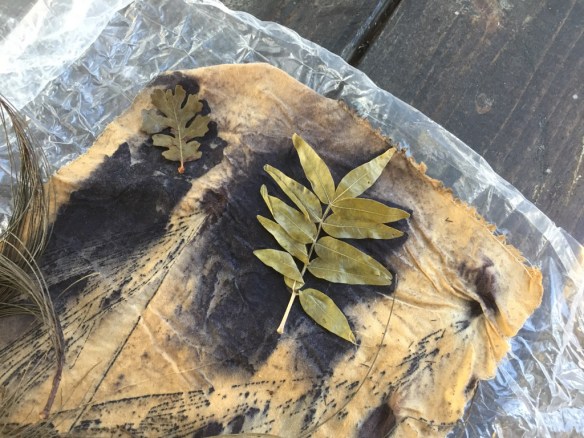 Another view of the oak leaf and the Chinese pistache.
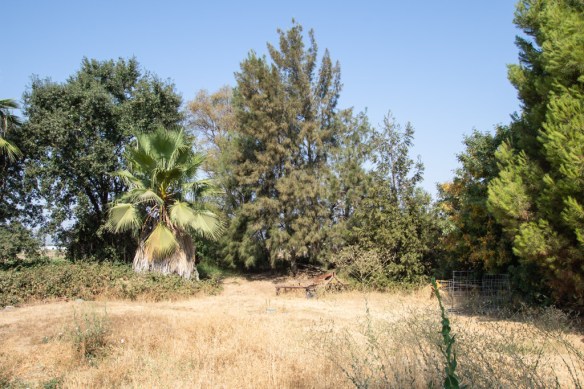 I went out back to photograph the trees. Oak on the left with a palm in front of it. The sheoak is the tall feathery looking one and the smaller tree turning yellow is the pistache.
 I brought some of the oak leaves in to check ID because I wasn’t sure which oak this was (Valley Oak). Look at what a community of other things is on the underside of the leaf. There are two different spiders there as well as…
 …these growths that were described appropriately enough on-line as “miniature chocolate kisses covered with red foil”. These are the response of the tree to the Red cone gall wasp, a tiny (fruit-fly size) wasp that “lays her eggs inside the leaves of the host tree. They hatch and start eating the leaf, which causes the plant to form a hard structure in order to wall off the irritant. This gall is just what the insect needs, though: more plant tissues to eat. The larva pupates and develops into an adult wasp before it emerges.” This oak has plenty of the big round oak galls too. I think that I may have to take some photos and write another post about the dozens of things living in this tree.
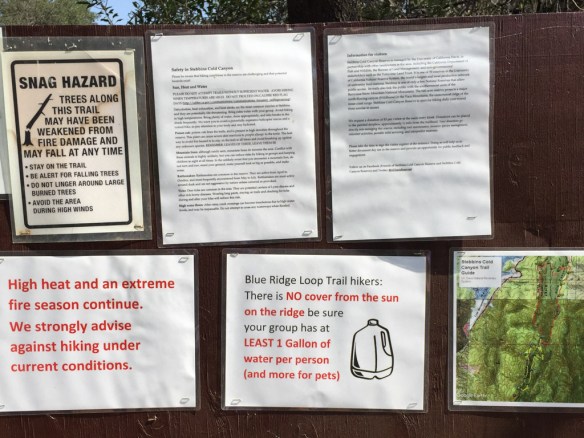 Falling trees, high heat, fires, snakes, poison oak, ticks, mountain lions, high water (that would be a different season). Maybe we should just go back home to the couch.
  After the 2015 fire the area was rebuilt to accommodate needed parking. Now we park below the Reserve instead of on the side of the road and walk under the road through these huge culverts. This is also where storm water will go in the winter. What’s with the graffiti? I am not a fan.
 Leaving the culvert.
 We headed out on the Blue Ridge trail, a five mile round trip. This is three years after the fire. That bush on the right is a CA Bay Laurel growing from the base of the burned tree (it can take on the form of a bush or tree).
 Our first hazard, poison oak.
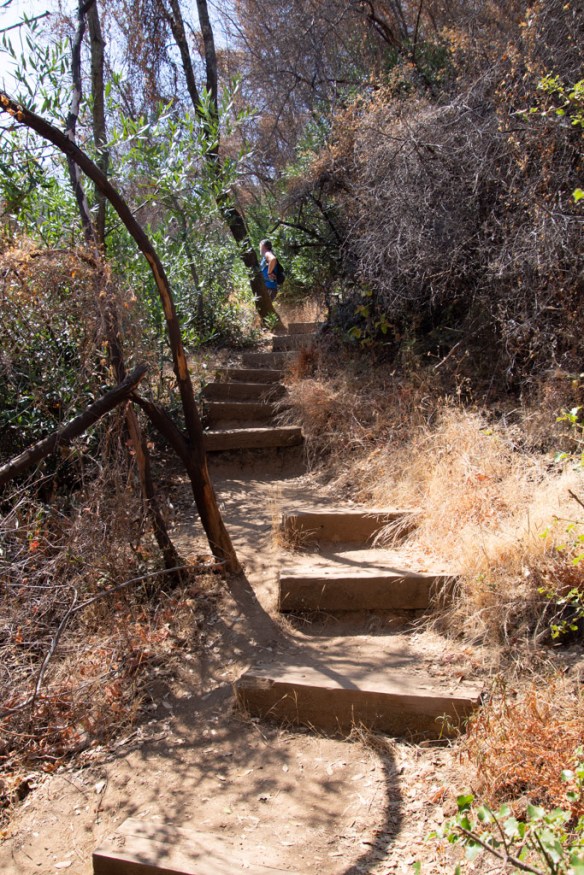 Maybe the next time I go hiking here I’ll count the steps. The trail starts in the canyon and eventually you have to get to the top of the ridge. There may be a million stairs–at least it seems that way when you are half way up.
  Taking scenic photos is a good excuse to stop. This is a panorama looking southeast.
  Our trail continued to the ridgeline. This is the bluest sky that I’ve seen since the fires started in June. We’re up above the smoke and haze here.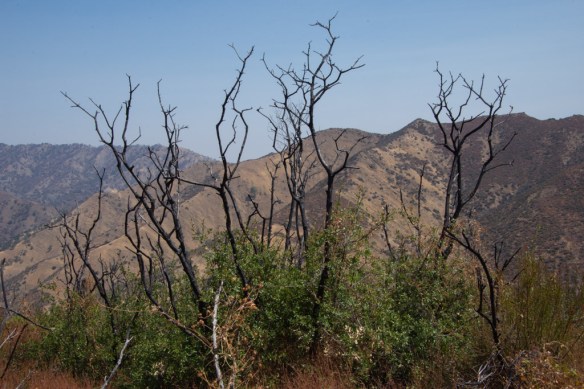
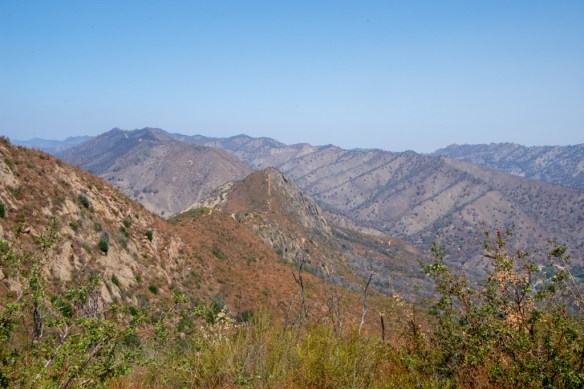 View to the east. That little line on the ridge is our trail.

 From the top you can look down to Lake Berryessa. Except for the foreground most of the land was burned this summer.
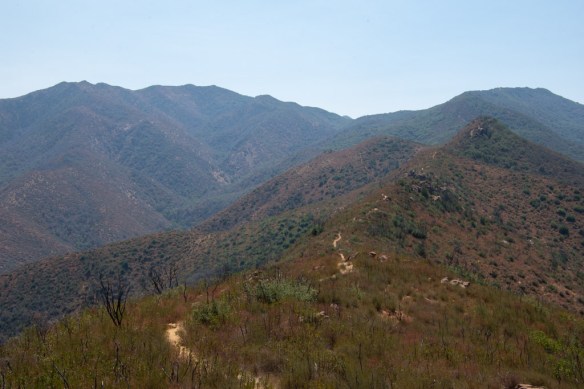 More of the trail. Keep walking.
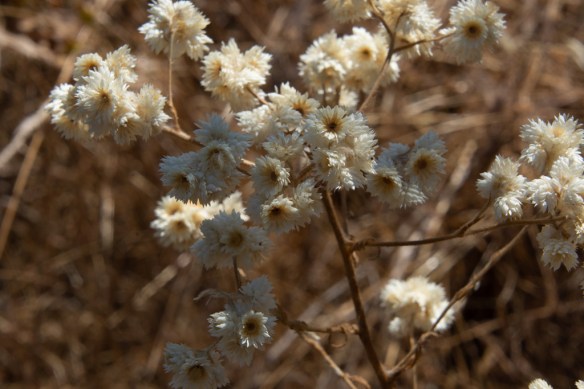 California Cudweed.
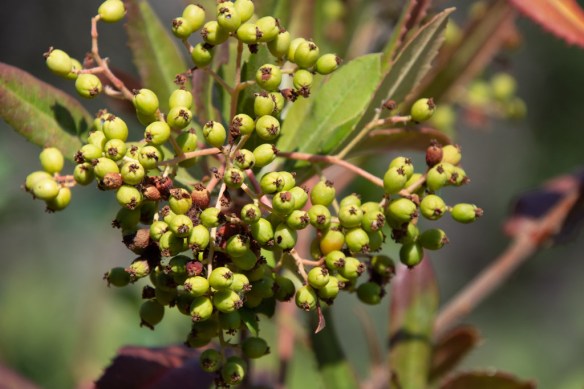 Toyon berries.
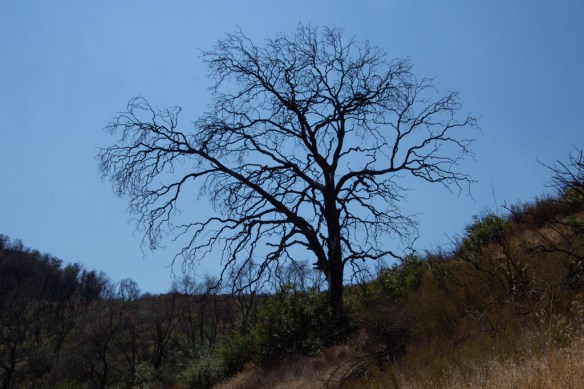 Burned oak.
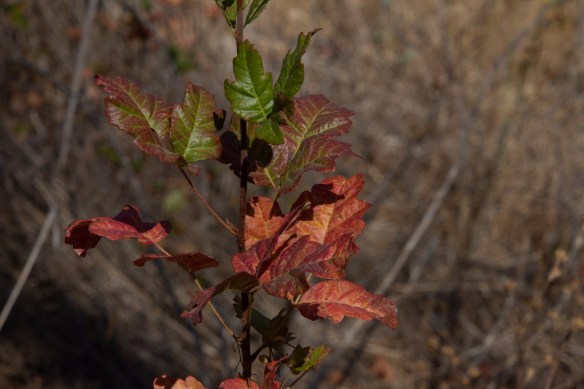 Fall colors (more poison oak).
 Here are some examples from the friend who showed us how to do this.
 We went out to the backyard to get started. There was a supervisor already on duty to make sure that we didn’t mix up the buckets. One says Iron Sulphate and the other says Tannin.
 We dipped our fabric in one or the other depending on if it was silk or cotton and then laid it out on the table.
 I brought weeping willow fronds, oak and eucalyptus leaves, and zinnia and dahlia flowers. I started with silk dipped in tannin solution and then covered this with cotton soaked in the iron solution
 After rolling everything up and tying it snugly the fabric rolls were steamed for an hour and a half.
 While the first batch was steaming we all worked on another project. We were limited by the pot size to a 12″ roll. To print a wider fabric it needed to be folded. So that’s what I did with this one. This piece is 36″ wide. I laid leaves on the center strip and folded one side over. The design would be symmetrical on those two panels. Then I spread plastic on that fabric and placed leaves on the plastic to be printed on the third layer to be folded over.
  Here are the first ones being unveiled.
 The plant material leaves an outline as it resists the iron on the cotton layer that was applied to it. The iron turns the silk varying shades depending on the strength and freshness of the iron solution.
 Interestingly the cotton “blanket” that was rolled up with the silk is sometimes just as appealing as the silk piece.
 This is a cotton pillowcase in which the design is not from a resist but from the plant material itself.
 Here is the project that I did first. I like the printed cotton as much as I do the silk. The willow is the most striking feature. The color spots at the bottom and top are from the flower heads.

 Here is the larger piece that I did.
  You can see the symmetry of the folded cloth on the right. The third layer has a different look. I think those splotchy parts has something to do with the plant material being rolled right onto the plastic. The tannin “leakage” from the oak leaves is also apparent on this piece.
 The pieces on the right were a silk scarf that started out a rusty red and the mirror image is the blanket cloth for that scarf. Both are beautiful.
 I went there planning to make some wool samples. However I had not mordanted my wool so I decided to save most of it. This piece was dipped in iron (left side) and tannin (right side) and the middle was not treated. I laid out black walnut leaves and did the steaming later at home.
 This is the finished sample. Next step will be to wash all of these and see how they hold up. I’m excited to do more of this for sure. … Like I need another thing to distract me right now.
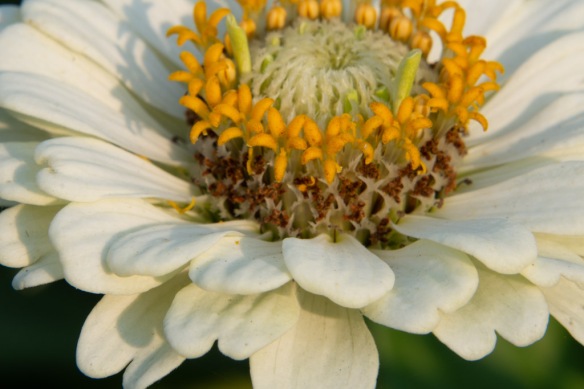
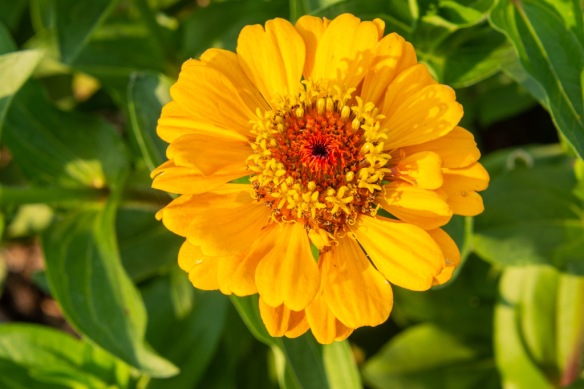
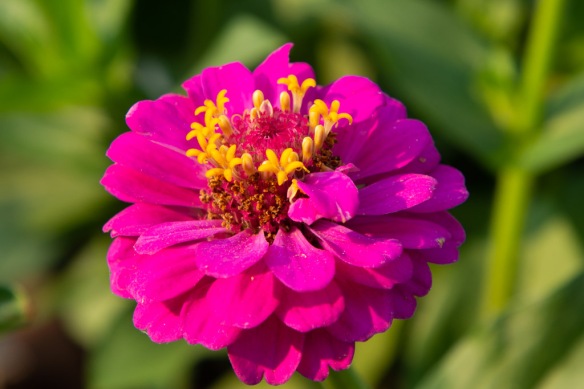
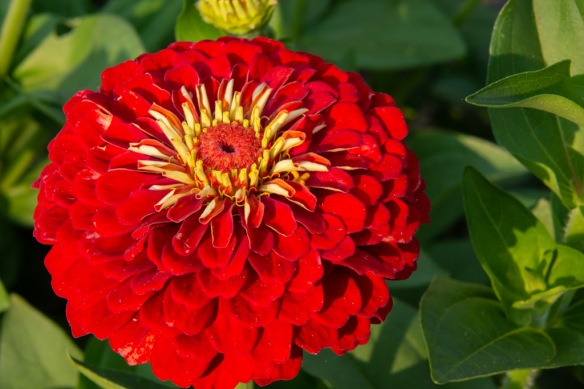
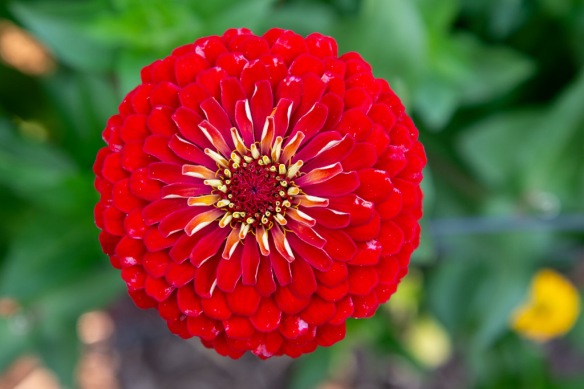 Look at all that detail. Aren’t they amazing?
 The three big rams come to see what’s going on.
 The 2-year old 4-horn is Buster and the yearling 2-horn next to him is Cayenne.
  The lambs aren’t named yet but this one is a full brother to the yearling ram that I took to Maryland this spring and who now lives in Pennsylvania.
 Since the young rams can’t find the older rams they will fight among themselves. That two horn lamb is a full brother to Cayenne in the photos above.
 Buster again and that two horn yearling is Gotham (
 Gotham chasing the lambs.
 This is the other two-horn lamb that I’m keeping for now.
 Gotham in pursuit.
 This young guy has got moves!
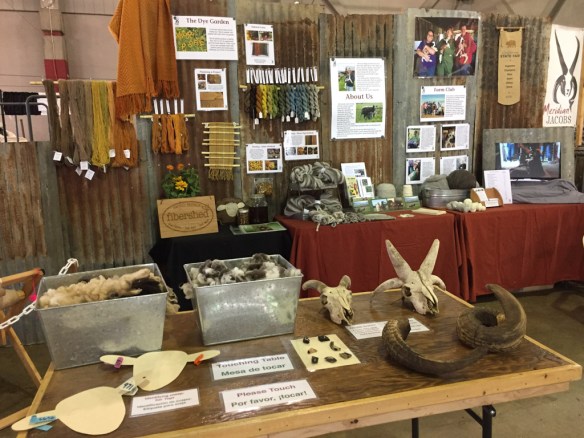 We’ve been using the old tin backdrop for a long time and I still really like the look. It worked especially well with the natural dye display we made this year. There are also signs about Farm Club, examples of yarn and wool on the table, and a continuous loop of about 45 minutes of my farm videos. The Touching Table is popular with fair-goers.
 There are more signs over the sheep pens. My potted plants were dug out of the pasture and include a sign about what is in the bucket.


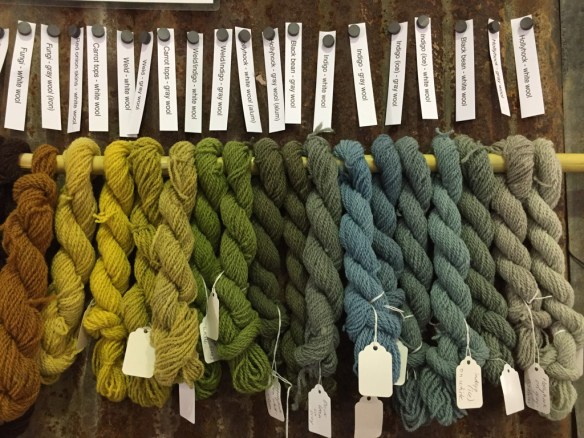 Here is closeup of some of the yarns on display. Farm Club member, Lisa, dyed most of these.
 One of the kids’ activities we provide is this sheet for drawing in details on the sheep. Not everyone takes them home.
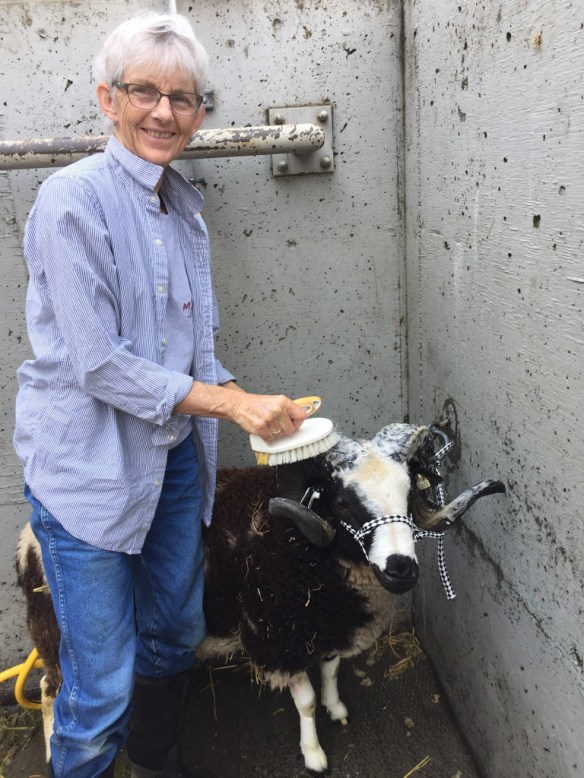 We are also here for the sheep show. Fortunately Jacob sheep don’t require a lot of fitting, but it is nice to get them cleaned up a bit.
 The horns looked pretty good after a scrubbing. This is a ram lamb named Axle.
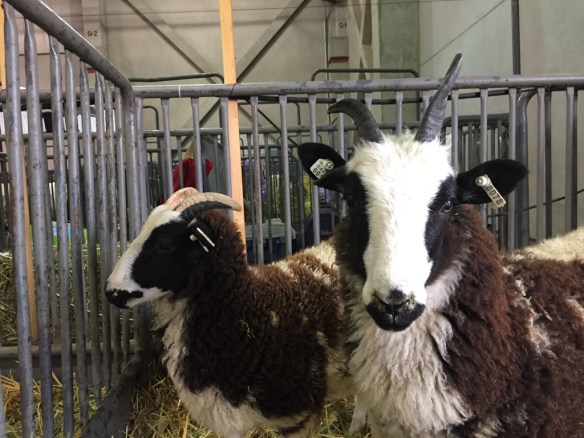 This is Jana on the right and a less-glad-to-be-there Halcyon.
  The Primitive Breeds show was Saturday afternoon. This is a yearling ram, Meridian Gotham. (Look at those shiny horns.)
 Unfortunately there was very little competition this year and I had the only rams. So it’s nice to get a Champion award, but it would have been nice to have other breeders’ sheep there.
  Marina and Betsy helped show. This is the ram lamb class.
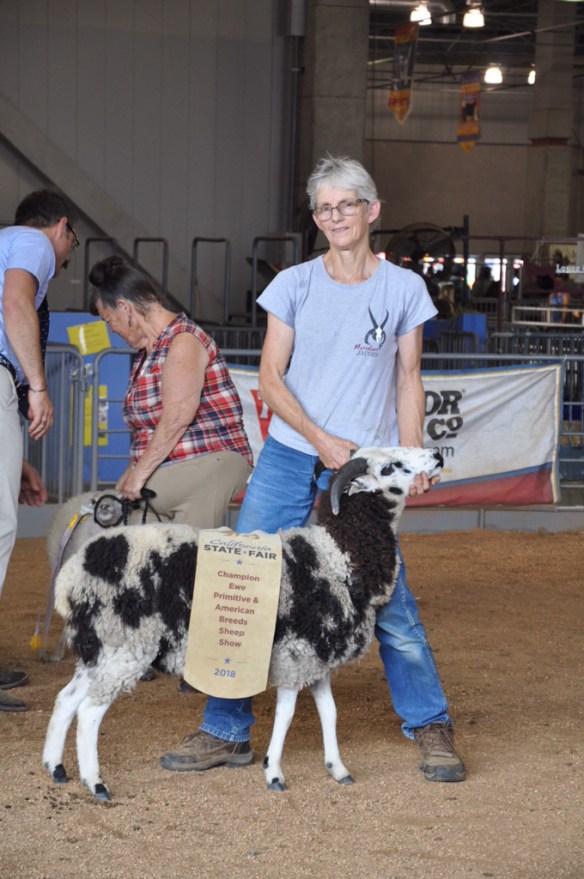 Meridian Maybelline was awarded Champion Ewe.
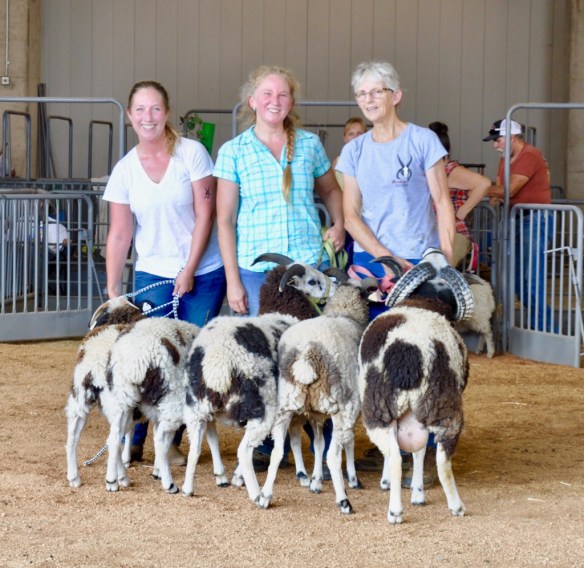 Thanks so much to Betsy and Marina for pitching in and showing sheep. And thanks to Dona for the photos.
 Here we are with a pile of awards, including Premier Breeder and Premier Sire.
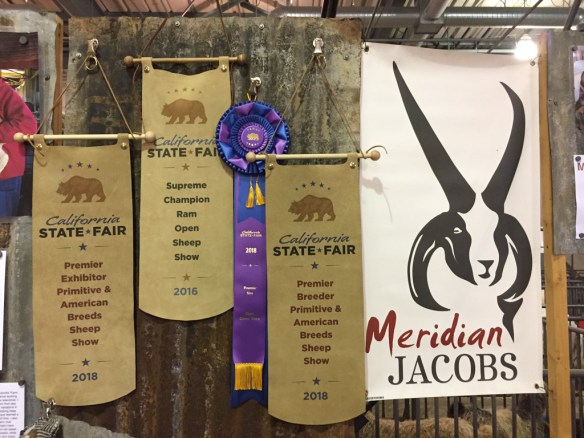
 Winning Champion, even with little competition, means that you take your sheep into the ring on Sunday for the Supreme Champion competition. No, Gotham didn’t shrunk overnight. He was the same size as always. It’s just that those Suffolks are like ponies.
 This is the Supreme Champion Ewe competition.
  In between the Supreme Champion Ram and Supreme Champion Ewe competitions they announce the Marketing Award winners. We did pretty well!
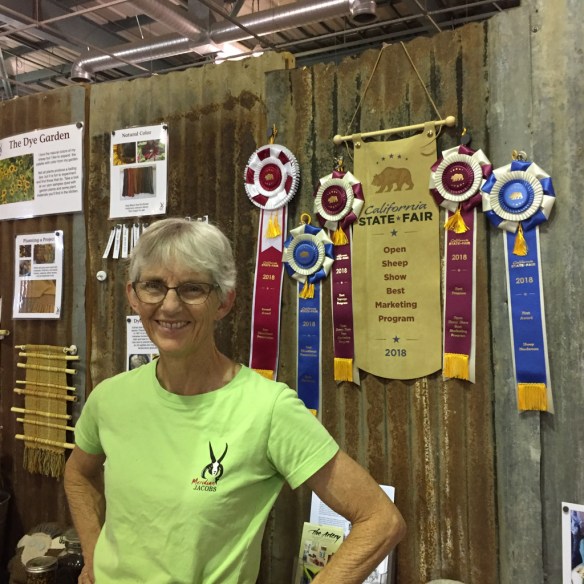 Best Marketing Program. Best Program Directed at the Public. Best Signage. 1st place Herdsman. 1st Place Educational Program. 2nd Place Educational Program over all the livestock species during the three weeks of the fair. Can’t ask for more than that!
 Loading up in my new trailer! Oregon here we come in 2019!
 People arrived for breakfast before the day’s program started.
 First up was “Pass or Fail” a talk presented by Royal and me, the two JSBA inspectors who were present. We started by looking at slides…
 …and then went outside to look at sheep. I hadn’t sold any of my cull rams yet so that we’d have plenty of examples of potential horn problems.
  We also looked at some of the other sheep present.


 Jade is always willing to greet a visitor to the farm.
 Dr. Joan Rowe from UC Davis talked about Lambing and Sheep Obstetrics. Helpful hint: Another use for a feeding tube and syringe is to get lube around a lamb when you need to reach in to rearrange or pull it.
 Afterwards Susan Gandy, one of the Farm Club members, demonstrated preparation and analysis of fecal samples using a method that can be used on the farm to stay on top of parasite levels in our sheep.

 AGM stands for Annual General Meeting and that is a required element of our gathering. So it was meeting time. Gary Anderson from Michigan led the meeting and brought people up to date on JSBA goings-on, recognition of individuals, and announcements. I was given a much appreciated gift card to my favorite local store, Higby’s Country Feed!
 Royal and others presented reports…


 Did I share the things to look at in the tent? Dona put together a display of the unshorn Pope Valley sheep that we recently acquired.
 Having just finished the State Fair the week before we put up part of our Marketing (award winning by the way) display.
 A couple of people had farm displays and sales.
 And there were sheep to buy.
 I find that my photos kind of stopped here at dinner. (But I will still find Dona’s eventually.) After dinner we held the annual raffle and I don’t have photos of that. There were fantastic prizes and we are grateful to everyone who provided them (you can see them
  I enjoyed have Karen and Doug from Oregon here all weekend as Dan got a chance to meet them and spend some evening hours together. This is Karen’s new look!
 It was over all too soon. The tent was taken down, everything put away and we’re back to normal. Or is it ever normal? Two days after this event and the months of getting the place fixed up Dan said something like “maybe we should work on the house now.” That will be another story.
