Grazing and Irrigation 8 – September

When I wrote a newsletter yesterday I referred to the series of blog posts about the pasture that I wrote over the last year. You can find any of these by searching Pasture and Irrigation Renovation (14 posts) and Grazing and Irrigation (7 posts).

Tonight’s post will follow up on this Grazing and Irrigation post (#7) written in June about May grazing. The pasture looks much different now than it did then.

Four horned Jacob ewe with grass all over her horns in a clover pasture.

The ryegrass is gone and you see mostly clover.

Jacob sheep grazing clover pasture.

Next most prominent is birdsfoot trefoil, and more recently the chicory has taken a foothold. Those are the three broadleaf plants that were in our seed mixture. All of the paddocks in the south pasture look like this now. Back in the spring we started topping the ryegrass with the mower before grazing and mowed again after grazing. This prevented the ryegrass from being flattened over the clover and becoming a mulch layer.

Pasture being irrigated. This area has a lot of dry grass and mounds of grass piled up.

The smaller field on the north is different. We didn’t graze early enough and this is where the annual ryegrass had such a head start on the clover and overwhelmed it in places. I took this photo while irrigating two weeks ago. While the pasture was flooded, some of the ryegrass “mulch” floated and I was able to rake a lot of it into piles thinking that I’d be able to move it out with the tractor.

Wheelbarrow piles high with old wet straw.

A few days later I realized that I didn’t want to wait until the field dried out enough to use the tractor. I was ready to graze again but the lane was still too muddy. I realized that I could use all that straw to cover up the mud. So I used the wheelbarrow.

Lane bordered by white net fence and green pasture. Lane is filled with old straw.

I used at least a dozen big loads of ryegrass straw to fill in the lane.

Two horn Jacob ewe lamb with mouthful of green leaves in a pasture.

This is Sparky in that north field. Hopefully over the course of winter these bare spots will fill in now the they aren’t covered with mulch.

Grazing and Irrigation – 1 – April 20

Way back in January I wrote the 14th Pasture and Irrigation Renovation post. I like my posts to be in order, but now I have skipped some important updates. Too many photos. Too confusing. Too much other stuff going on–lambing, teaching, deadlines, etc. The whole point of this renovation was to feed sheep and make it easier and more efficient to do so. If you look back at that linked post you’ll see plants growing, but they are small and there is a lot of bare ground. Fast forward past winter rain, warming temps, and 3 months. I’ll change the name of this series to Grazing and Irrigation.

The original plan when we applied for funding was that we might not be grazing for a year. It was evident by April that the pasture needed to be grazed NOW. I was committed to a teaching gig at the end of April and was going to put off grazing until I got back. Dan was not able to work on this only two weeks after a knee replacement. My brother, Dave, knowing how important it was to get started with this, offered to help set up the grazing before I left and handle it while I was gone.

A major problem was that all the permanent interior fencing had been removed at the beginning of this project. We would have to rely on electric net fencing. We gathered all the lengths of net fence that were stored in the barn.

We spread these out to figure out what we had and in what condition it was.

Dave made a plan and laid out fence, beginning in the northwest pasture, the one we call the Horse Pasture. Grazing started April 20.

This gives an idea of how thick the grass was. The seed mix we used had three forbs (clover, birdsfoot trefoil, and chicory) and three perennial grasses. There is a lot of clover and a moderate amount of trefoil. I don’t identify any chicory and all the visible grass is annual rye.The seed already in the soil completely overwhelmed any perennial grasses that might have started to grow and was covering the clover as well. This is one reason we needed to get going on the grazing.

Dave made strips going north-south and we blocked the sheep into a portion of the first strip. The idea is to get them to eat one area down more thoroughly before moving them to the next.

With no fences left in the pasture Dave had to create a lane to direct the sheep from the barn to where we wanted them.

You can see in this photo how the tall grass is trampled more than eaten.

This ewe may have not got the message about eating the grass instead of wearing it.

There is no drinking water in the pasture so at some point the sheep go back to the barn for water. This is something we have to work on.

Pasture and Irrigation Renovation – Part 14

The last time I wrote about this project was over six weeks ago in December.

About two weeks ago one of the NRCS representatives came to check on the progress of the pasture seeding. Not a great photo, but he is putting down a grid to aid in evaluating plant growth.

This is what it looks like and I should have asked more about it. I didn’t see him mark where he put it or count plants. We were talking about generalities in the pasture, but now I’m going to ask. Did you know that my degree from UC Davis is in Range and Wildlands Science? So I recognize this for what it is–a tool for analysis of plant germination and growth–but we didn’t talk about it.

Do you see how hard it is to evaluate growth when you look across the field and not straight down? Compare the first photo to the next two. In the second photo close up photo it shows grasses and forbs. There were three of each in the seed mix. We identified clover and chicory, but I don’t see trefoil yet. I can’t identify the grasses.

This is the field west of the barn. The grass growth is thicker here, at least in that small area.

This is a photo taken from the same spot as the last one, but looking north. This is the check where there was traffic from the people working on the irrigation system. We’re thinking that it probably needs discing again.

Last week we met with a representative from the company that makes the soil moisture sensors that were installed. He showed us how to see the info generated by the two sensors and we talked about how we’ll use that. They are sensors are at the south end of the field, one near the west edge and one in the center, still in line-of-sight with the sensor in the northwest corner.

The flag in the foreground marks where the sensor is at this station.

This is what it looks like inside the box.

We haven’t had rain for a month and there have been north winds that make things dry out even more. We were getting worried about this new pasture. Those little seedlings need moisture in their root zone to stay alive. This is a screenshot of what the sensor shows for one station. The gray and white columns each indicate a day. The horizontal green line is 4″ depth, purple is 8″, and blue is 12″. You can tell that today’s 1/4″ rain just started to soak in.

Here is what the other sensor shows. The scale on the left axis is different. This 4″ level had more moisture to begin with than the other two. We will be learning how to use this info. There is a lot more available. I just copied this portion for now. This will sure be interesting to follow.

Pasture and Irrigation Renovation – Part 9

I wrote the last post about this project 9 days ago. The crew had removed the old standpipe at the northwest corner of the pasture and replaced it with a new concrete box. When we irrigate the box will fill with water and create pressure to force water into the rest of the system.

In the meantime we were concerned with getting seed on the pasture at the best time. Michael had finished putting up borders, even though the irrigation pipeline work would disturb the upper end of the field. We needed all of that work to be finished before seeding. I had ordered the seed mix from a company in Tracy, about an hour and a half from here. I said that we’d pick it up to save on shipping cost and to have it here when Michael was ready for it. This time of year farmers are trying to get the field work finished before it rains a lot and they can’t get on the fields at all.

The day after the irrigation work was done in the corner we drove to Tracy to pick up the seed we had ordered. This photo is the warehouse there. There was some kind of communication problem between the order desk and the warehouse. Our order was wrong. I had paid for 350 pounds of seed but there was only 64 pounds there. The people at the seed company said they’d get the seed to us on Wednesday of the next week. That was the day before we were to leave on a 5 day trip. (That will be in the next blog post.)

The next morning I took these photos (above and below) of Michael smoothing out the edges of the field.

Skip ahead five days. The irrigation crew planned to come out on the 15th. We left that morning for Arizona. I asked my friends who were going to farm sit to take photos of the progress for me.

The crew spread the pipe out in the proper location. Then there was a lot of digging. They used this excavator at the northwest corner.They used a trencher for most of the lines.

The pipe that runs east-west in front of the blackberries has one T to send water south to the other east-west pipeline.

This is the rest of the pipeline at the north end in front of the blackberries.

This photo shows what the valves look like. They will be at ground level.

Here is that first east-west pipeline completed.

Pasture and irrigation Renovation – Part 6

The last post ended with land leveling on October 18. Pipe and other supplies had been delivered October 16 but we had to wait for Brett’s work to be finished before starting anything else. The next two parts of this project were to install the irrigation system (Hunter from the irrigation company) and to create borders and seed the pasture (Michael with the field equipment). Initially we thought the pipeline work would be next and we would finish with the rest of the field work. Michael talked to Hunter about the best order of operation here. We were getting worried about weather. It was important to get this work done before there was too much rain that would stall the work. Also both of them have other much bigger jobs that they are trying to finish while the weather holds. I left it to them to work out the best way to accomplish this. Hunter and Michael went to school about the same time, along with my son, Chris. (In fact, Hunter and Chris were on the same rugby team for a season, and Michael’s mom and I carpooled at times to get the kids to school.)

Michael brought a tractor over on October 24. He and Dan and I had walked the field and determined that part of the field could use another discing. That is where the concrete had been. When leveling, that area seemed to have been scraped but left a surface that wasn’t as good for creating the borders and seeding.

Michael had one of his employees disc that portion of the field to help loosen it up.

The next day Dan and I picked up more chunks of concrete that had surfaced. Over the last couple of weeks we had picked up a lot of this that was scattered throughout the field.

Before Hunter could do the first part of the irrigation work Dan had to remove the fence in the northwest corner of the property.

This is the view from the field to the northwest.

The view from outside the field looking to the east. This is part of the SID (Solano Irrigation District) system. There is a metal gate at the bottom of that concrete structure that lets the water into our ditch which is now all filled in and leveled. It will be replace with a pipeline. Dan removed the fence and old posts and other debris from this corner.

To be continued.

Planting Tomatoes

I didn’t plant tomatoes. They were planting across the road.

Here is the view this morning. It’s a big operation involving lots of people.

Each tomato planting machine is pulled by a tractor. There were four in this field today.

Tomato planting machine operated with a tractor.

There are six people sitting in the machine. Two other people were following. One of those moved the trays of seedlings, keeping up with the planters. The other seemed to be filling in spots where a tomato wasn’t planted. There is the tractor driver too. That is 9 people for each of these machines.

Close view of people sitting in tomato planting machine with trays of tomato seedlings.

Zoomed in view under the canopy.

I was amazed at how smoothly the beds were prepared a few days ago in preparation for this. Three beds are planted at a time, each with two rows of tomato plants.

Caterpillar tractor with a ditcher behind.

I took Ginny for a walk in the evening after everyone had left for the day. The job was not finished. I was surprised to see how much more there is to go. I continue to marvel at the amount of people and equipment involved here. I’m sure that this tractor will pull the ditcher around the field as soon as the planting is finished.

These are the crates that hold the tomato seedlings.

Empty trays that held tomato seedlings

These are stacks of the empty trays. I think I count 28 spaces in a row. These trays are square so that would be 784 seedlings in each tray.

Field of newly planted tomato seedlings.

This is a view of the field looking south to Mt. Diablo, just visible in the haze. Last year I took a photo from this same spot weekly and intended to have a post that followed the sunflower field from start to finish. I still have those photos but never had time to do that. I’ll try to continue with the tomatoes.

Table and benches with sunshade, on wheels for far workers to use.

There were two portable “comfort stations”. I just made that up–I don’t know what they are called. They have seating under a shade and toilets.

I’m not sure if these tanks supply water or fertilizer to the tractors pulling the planting machinery. About a week ago another machine was pulled through that I though injected something as they made the beds–maybe that was fertilizer. I think the seedlings are getting water now to keep them going until the whole job is finished and they can irrigate.

Here is what the planter looks like. There are six chairs facing back.

It’s really hard to describe how this works. I don’t understand it without having seen it in action close up. The seedling is put into that v-shaped thing in the middle. It is on a rotating disc and it gets put in the soil. Every pair of seats had one disc with three of the v-shaped slots and one with two. That means that the two rows of tomatoes in each bed are offset to give the plants more room.

View from where the people sit inside the tomato planting machine

This is the view from sitting in the seat next to this disc. I just found this video to show how one works. It’s not quite the same, but the same function.


Forklift with large crates that hold tomato seedlings.

More infrastructure. There was a forklift to move the crates around.

Front view of tomato planting machinery with water tanks on front of the tractor.

The front view of the tractor with the tanks that I assume hold water. This part of the field is already planted so I think they just took it off the dirt road to park or maybe they needed to go back over this part for some reason.

Field partially planted with tomato seedlings. Planting machinery is in the field.

This shows the beds behind the tractor planted and beds in the foreground not planted yet.

Disc and grader both attached to tractors on a dirt road.

Even more equipment. The disc had gone around the edge of the field followed by the grader to smooth it out. They are parked on the dirt road in this photo.

Rows of newly planted tomatoes.

View to the north.

Field with newly planted tomato seedlings.

Another view. That’s a lot of tomato plants. There are a lot more to plant. I don’t know if they will finish tomorrow. I’m sure they are under pressure to get those seedlings in the ground since those crates were delivered yesterday. At least it’s not very hot right now.

I hope I didn’t bore you with all these photos, but I’m fascinated by this.

Sunflowers – June Through August

I have too many sunflower photos for one post so I split them up into yesterday’s post and this one.

20160615-dsc_0222

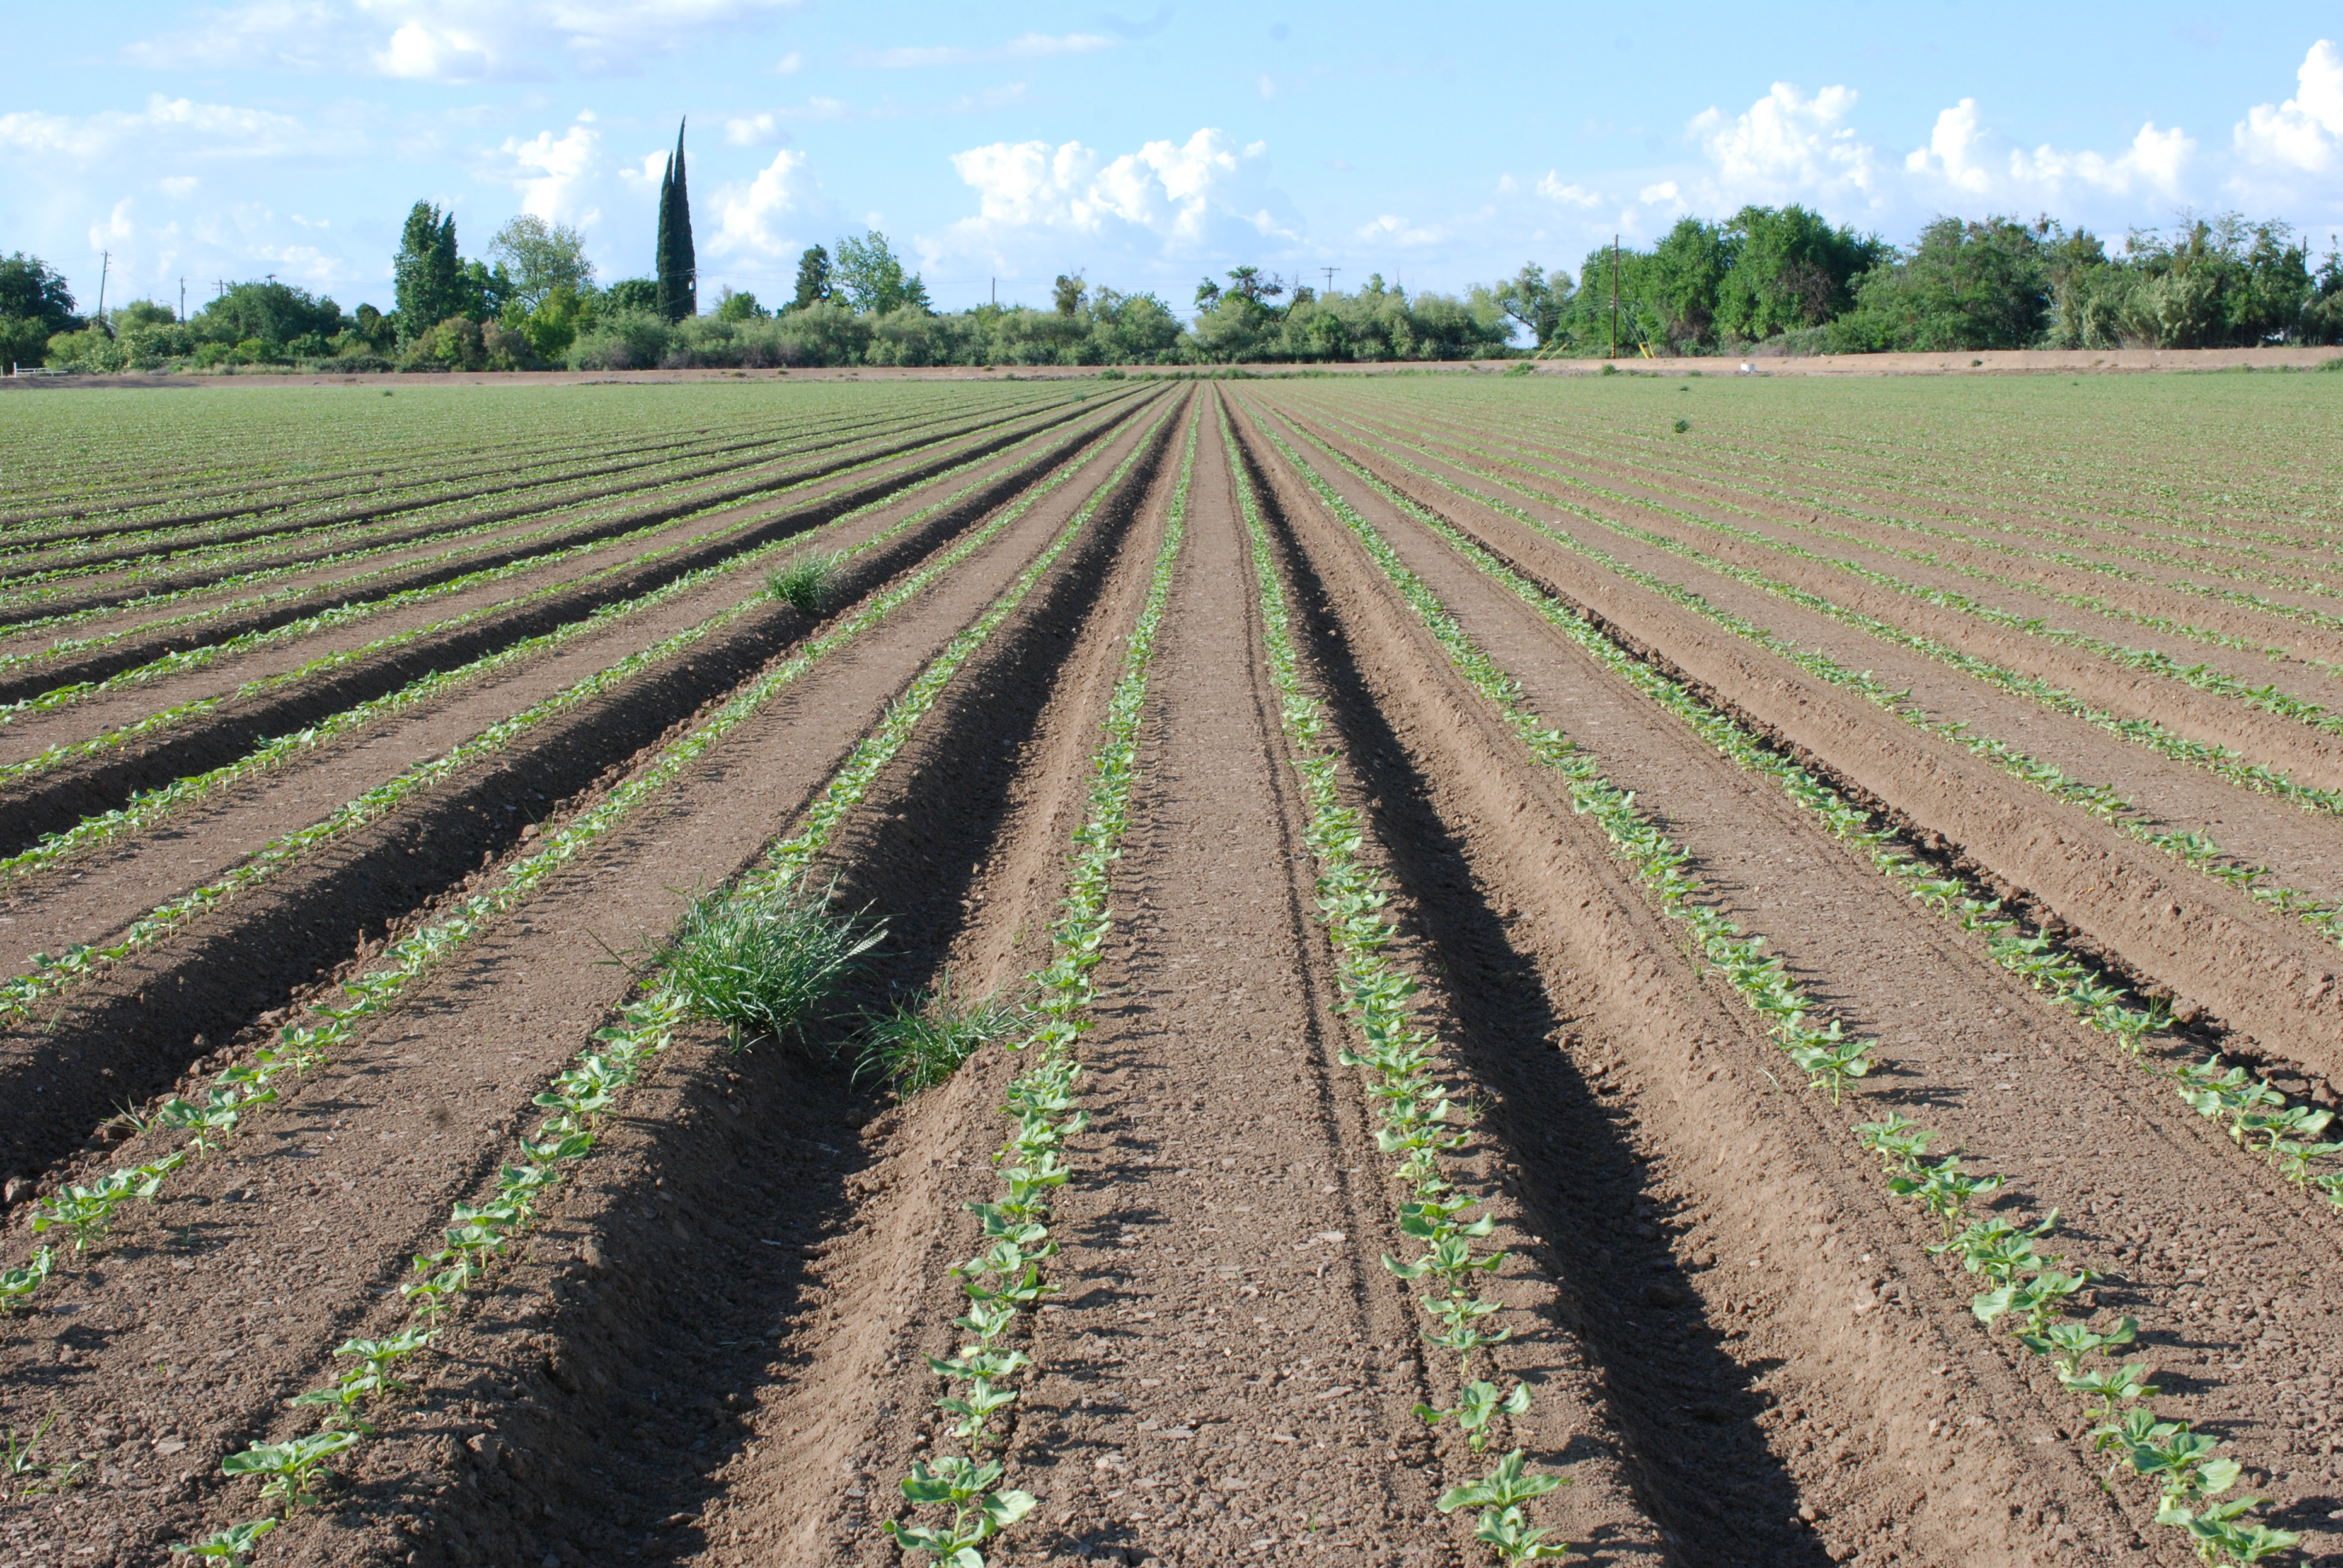
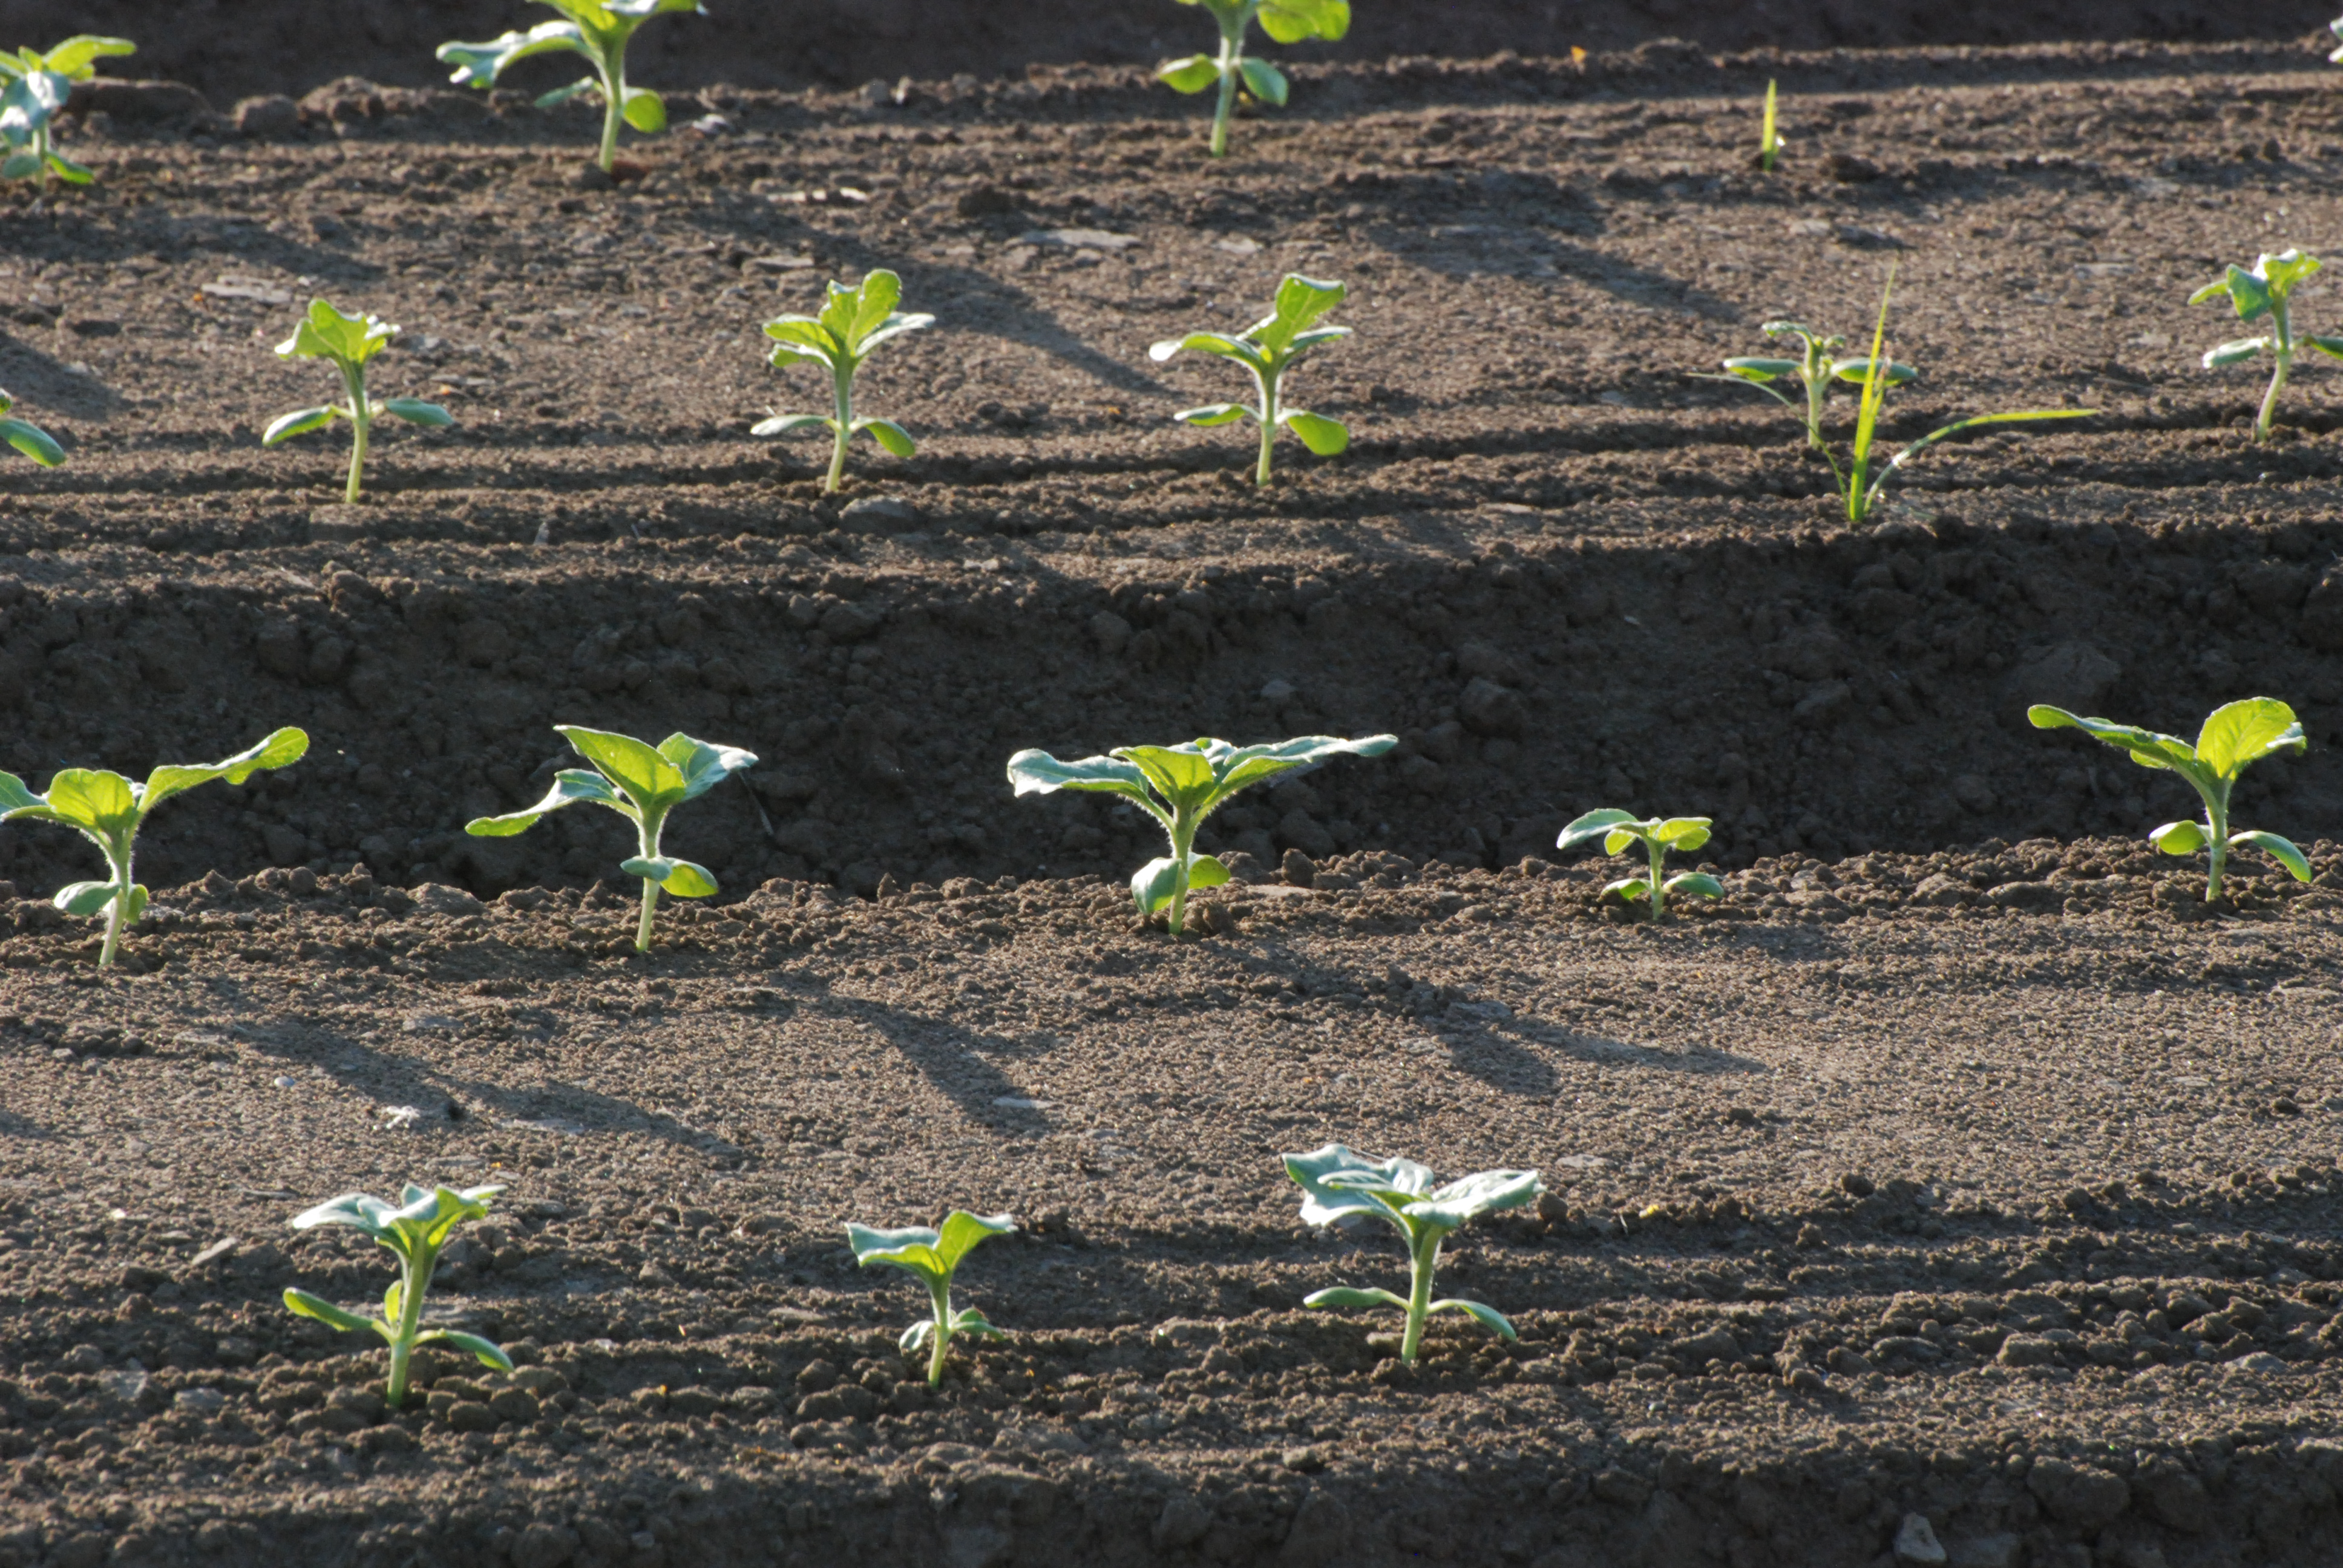
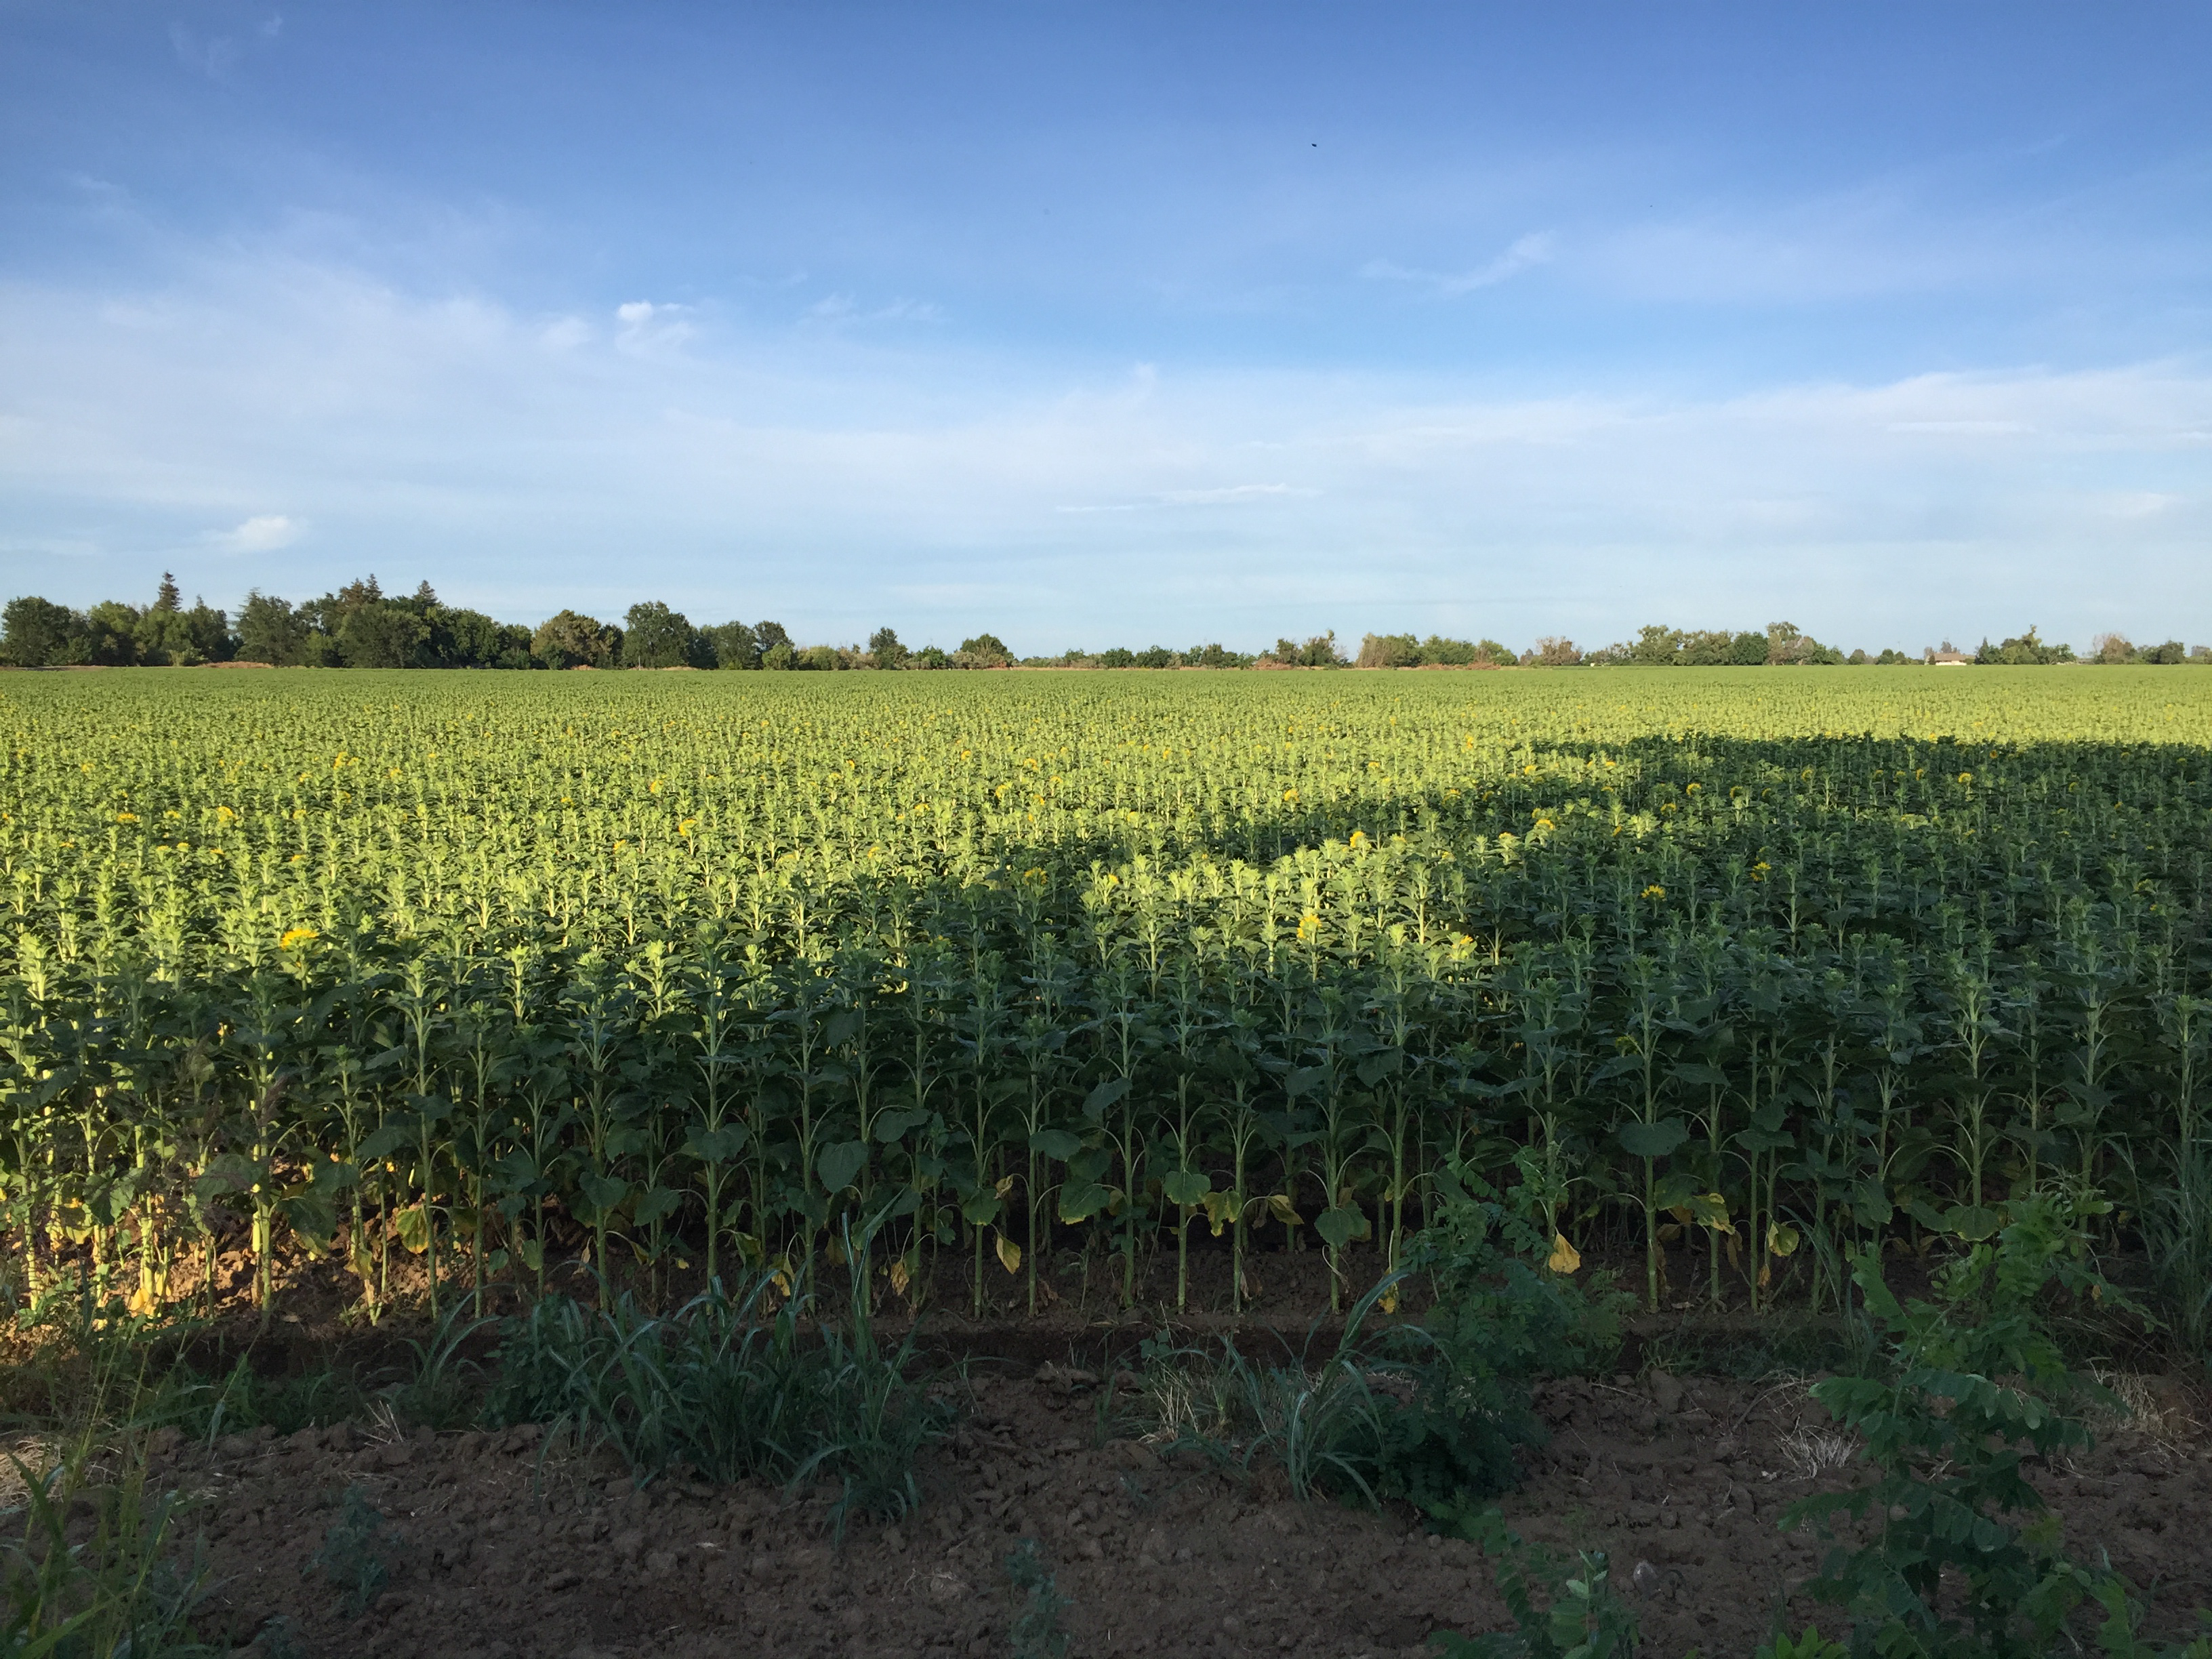
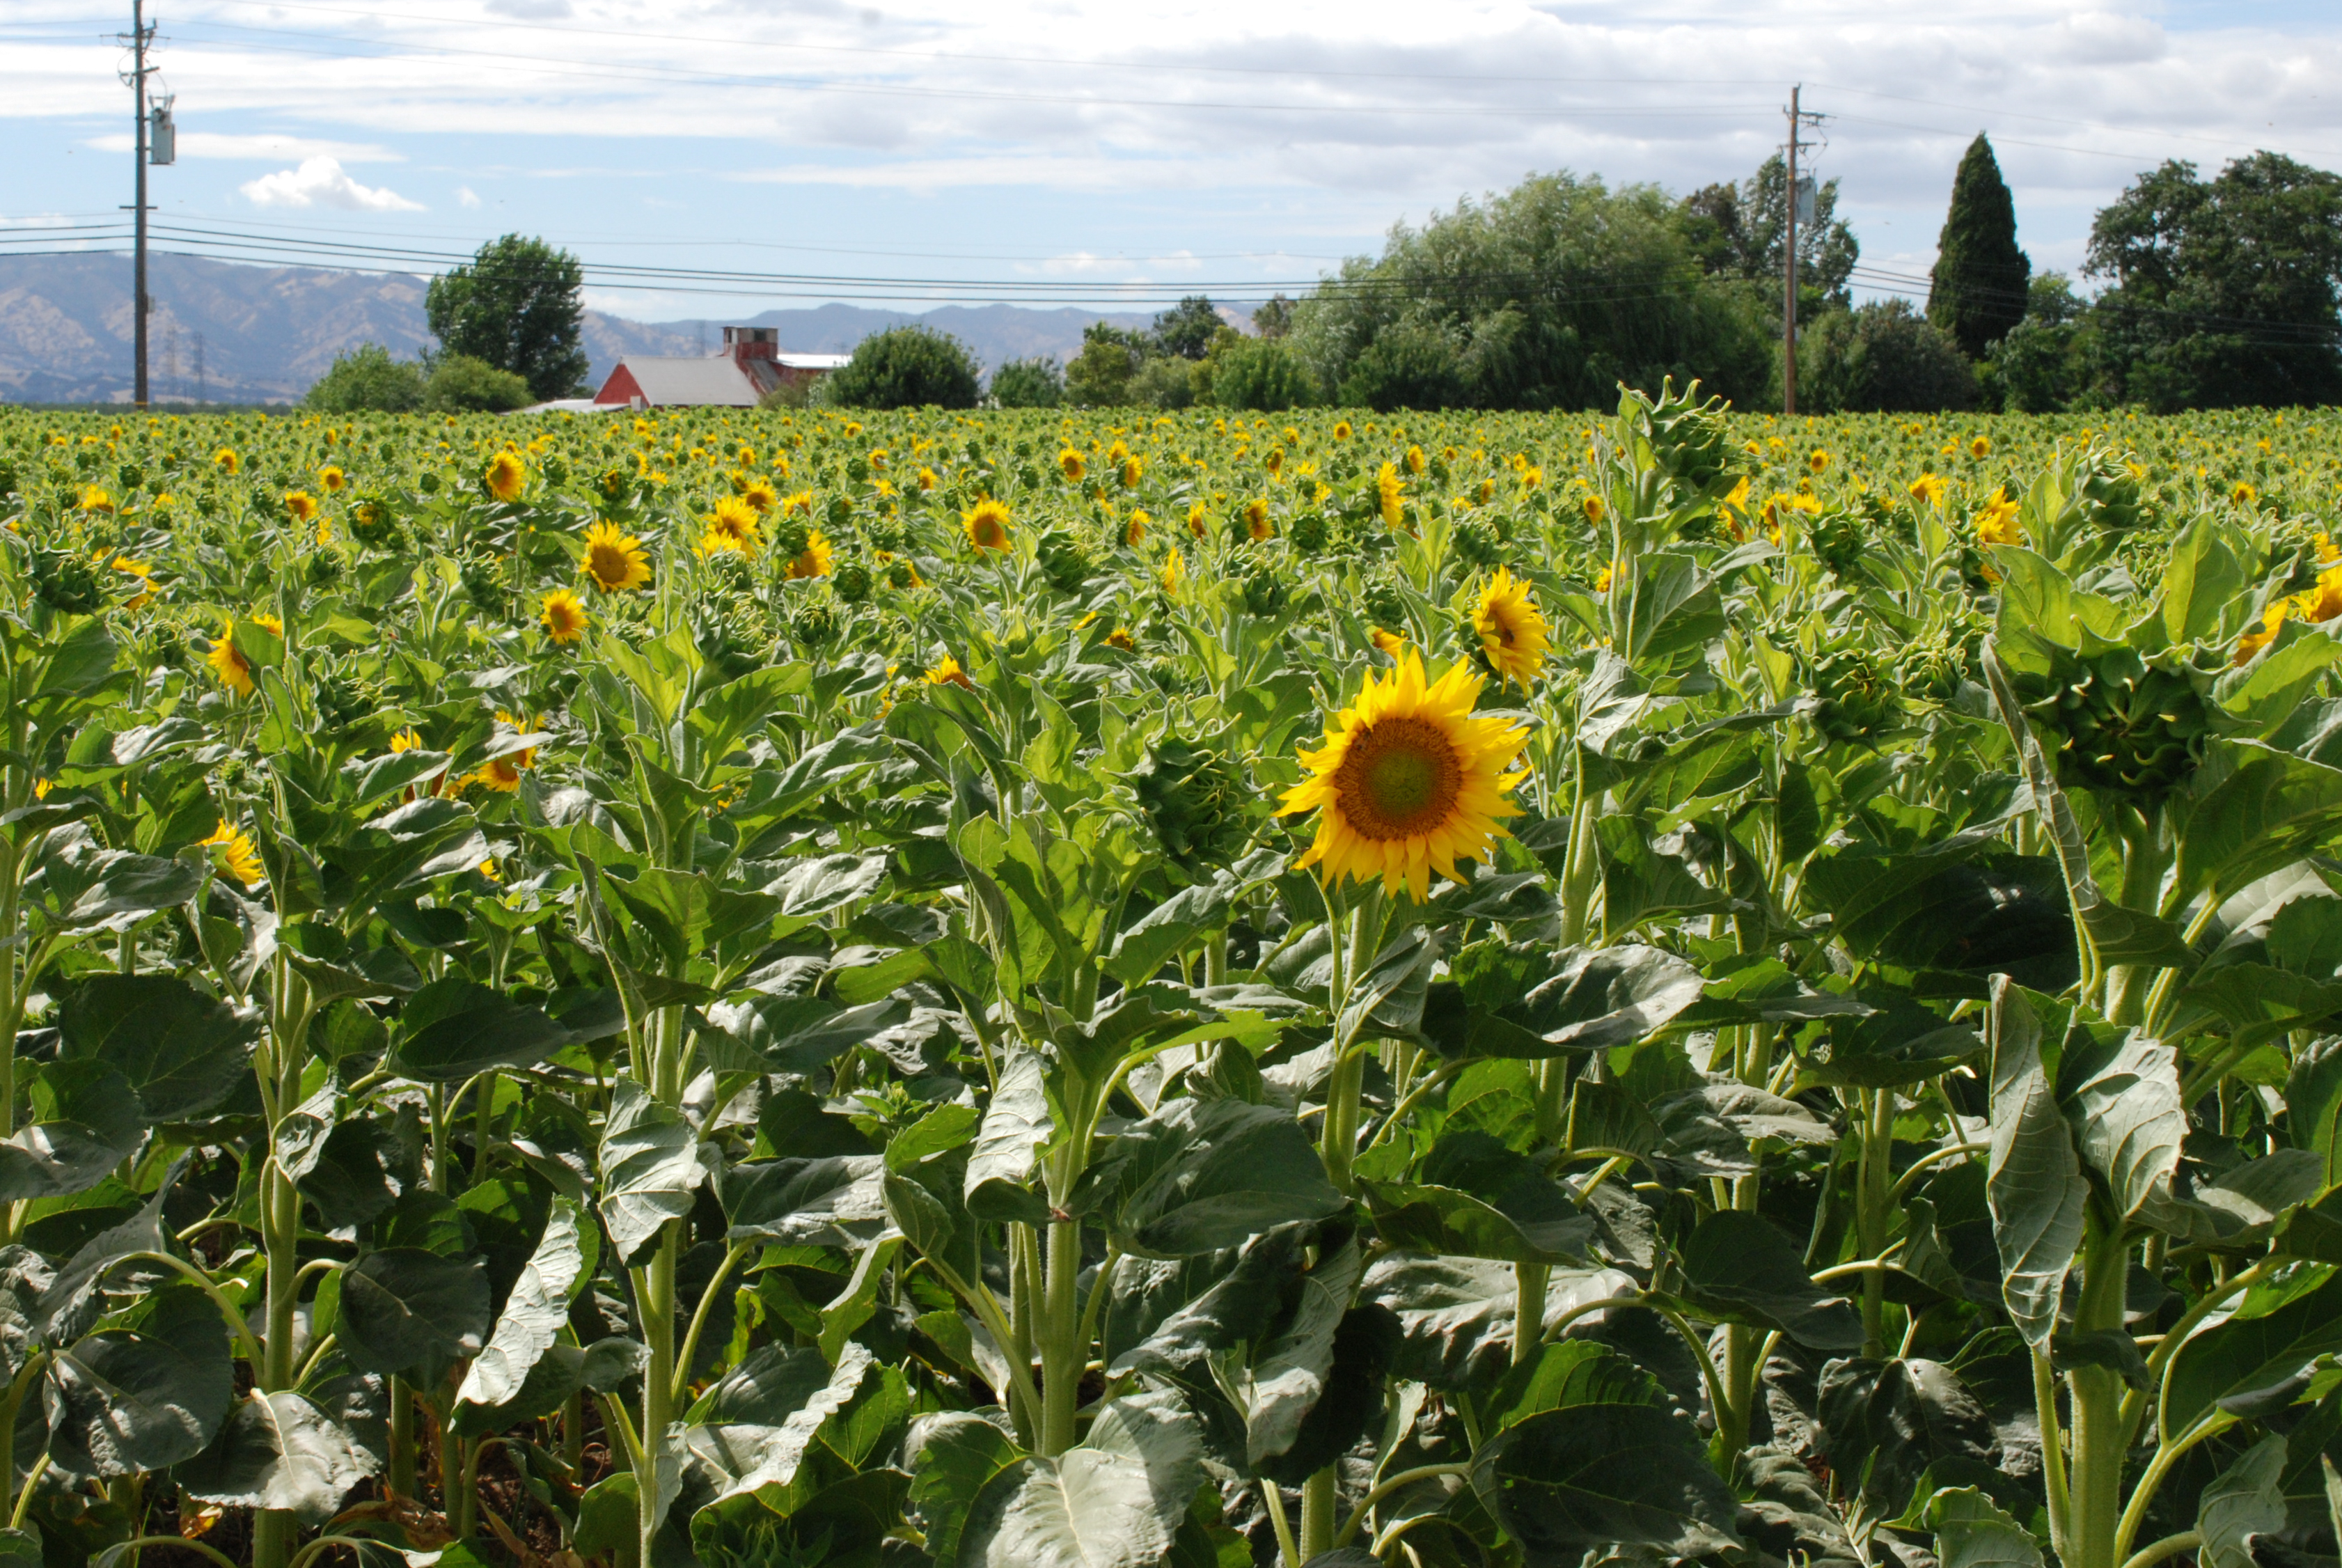
Do you see the flowering sunflowers in the center of the photo? If you count 10 rows to each side you’ll see (barely) that every 10th and 11th row there are flowers in bloom. The field was planted with two varieties of sunflowers, a smaller one that bloomed earlier and the larger variety. The following is from Wikipedia:

Typically, sunflowers tend to be self sterile. But for a sunflower to produce seeds, it needs pollen from a different sunflower. This is also known as cross-breeding, or in this case, cross-pollination. Occasionally, a sunflower can self-pollinate. Self-pollination produces an inbred line which, when bred with a separate inbred line, will result in a hybrid flower.”

20160620-dsc_0335

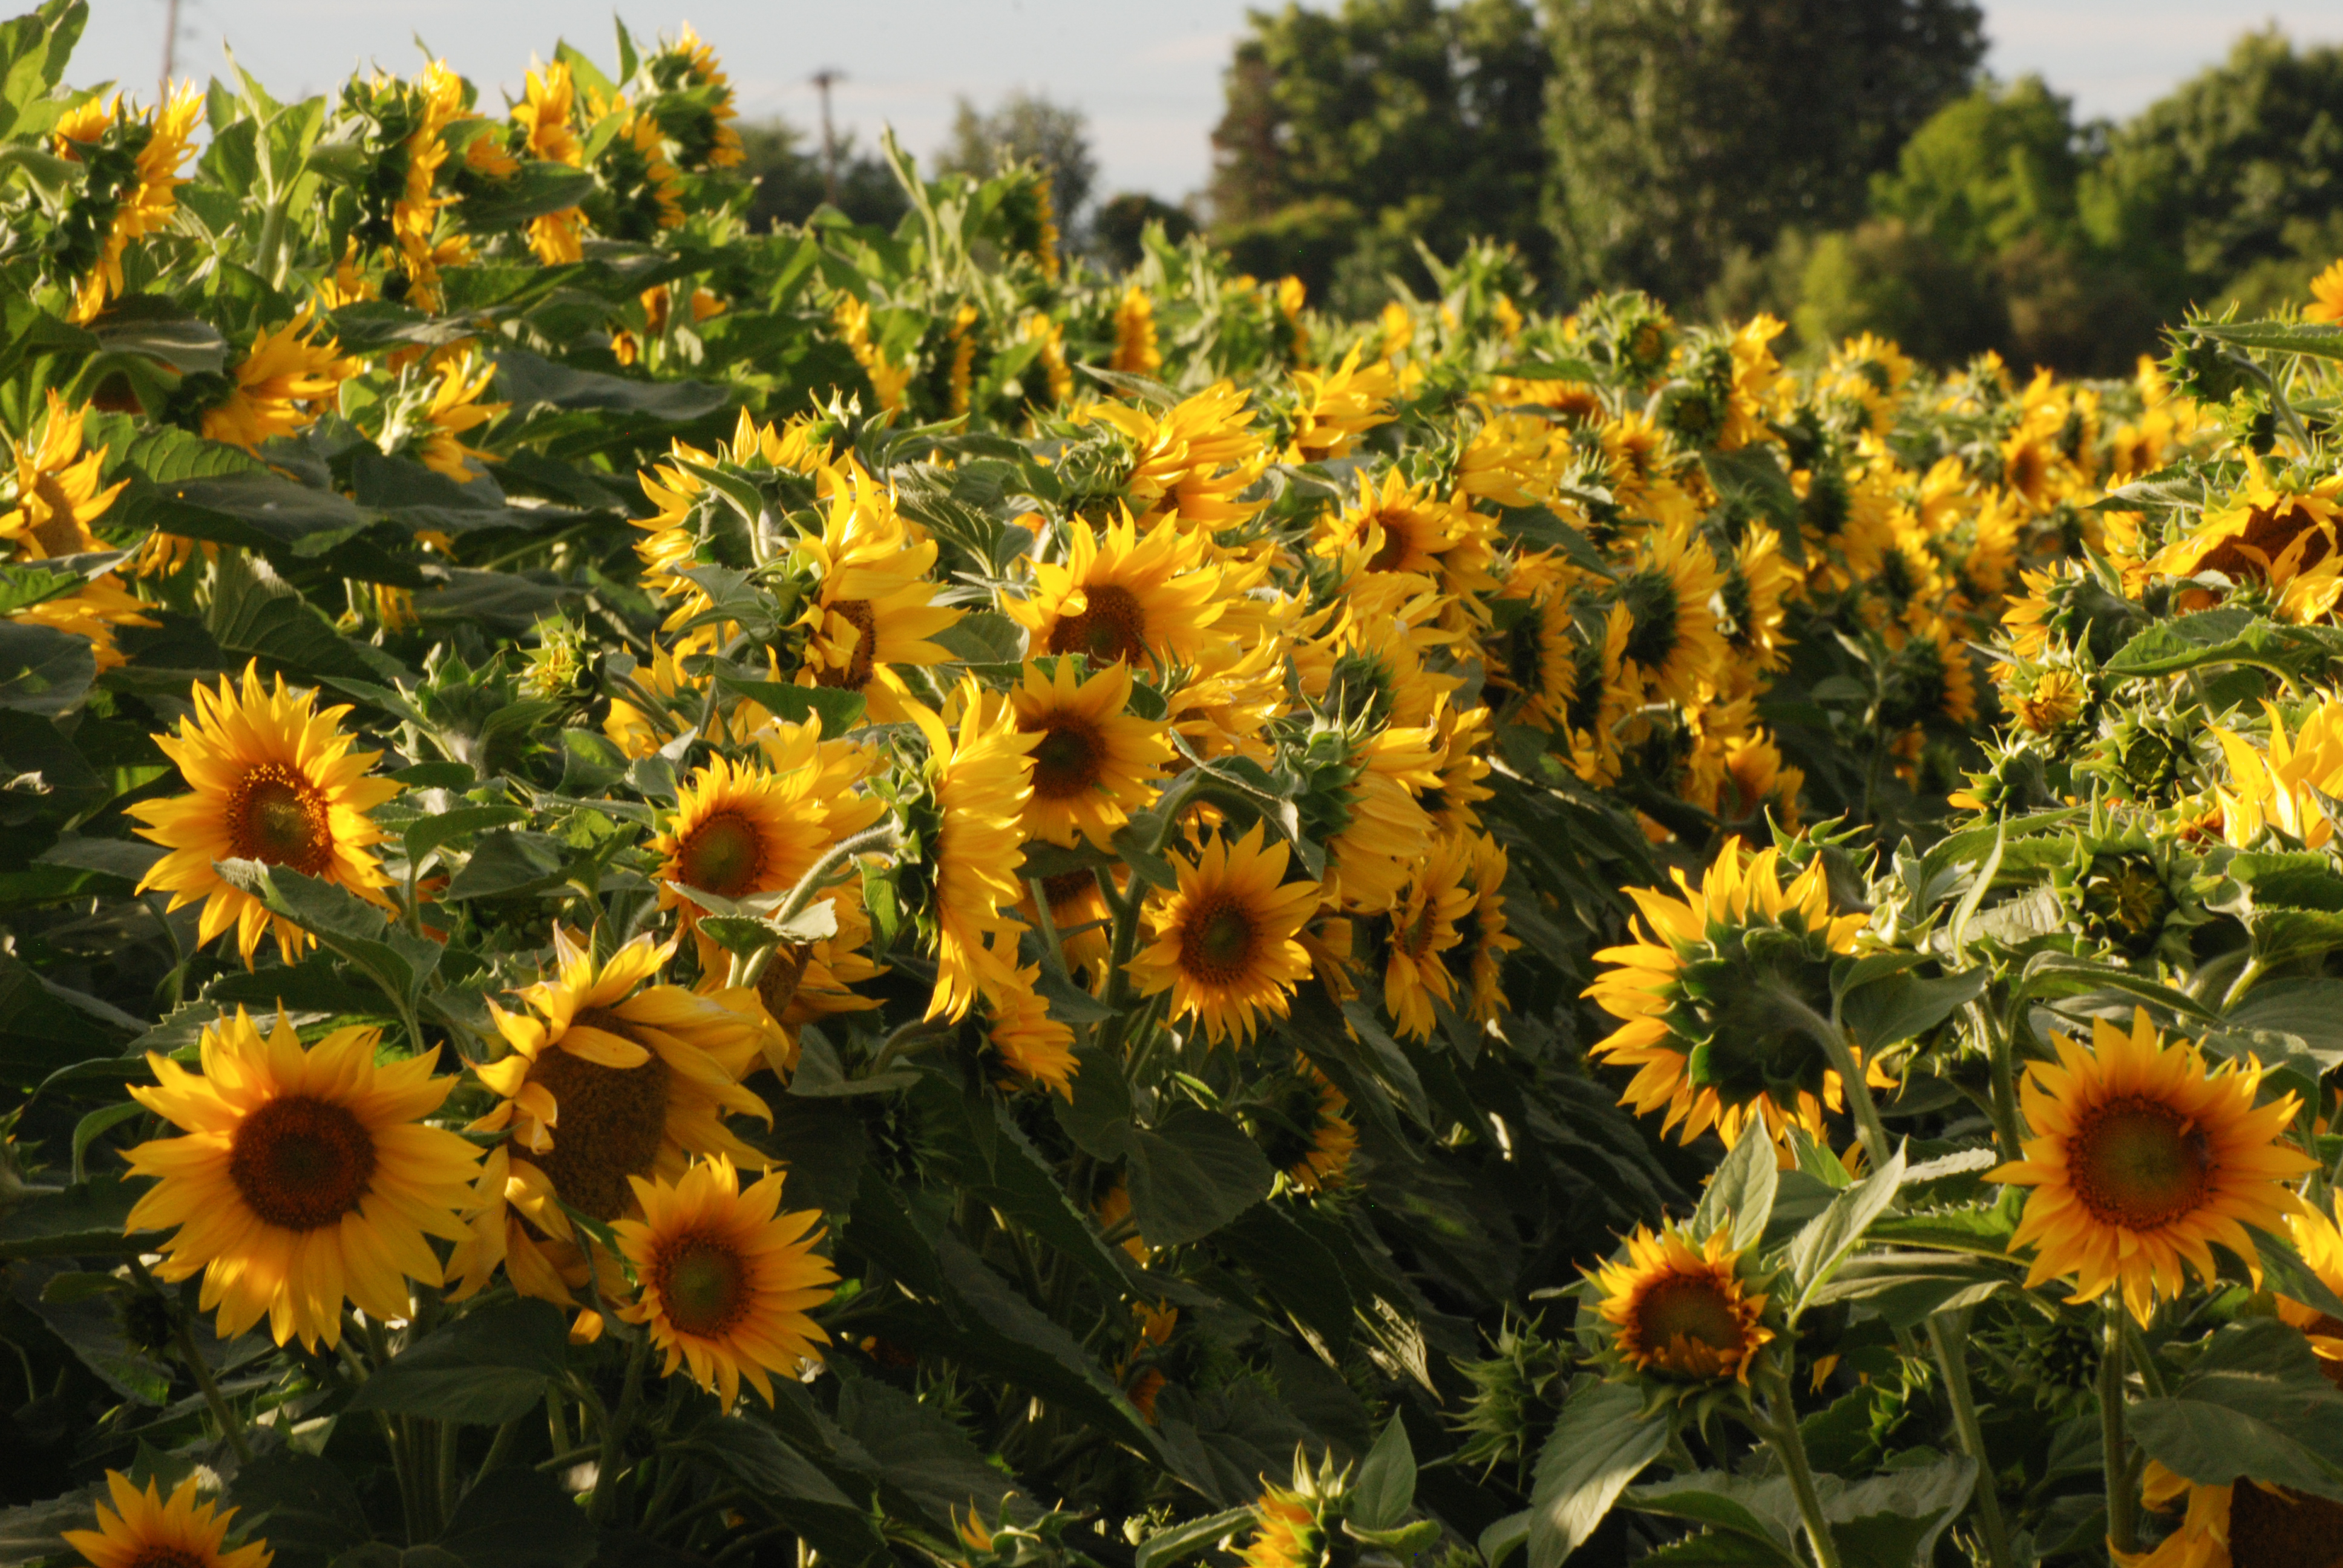
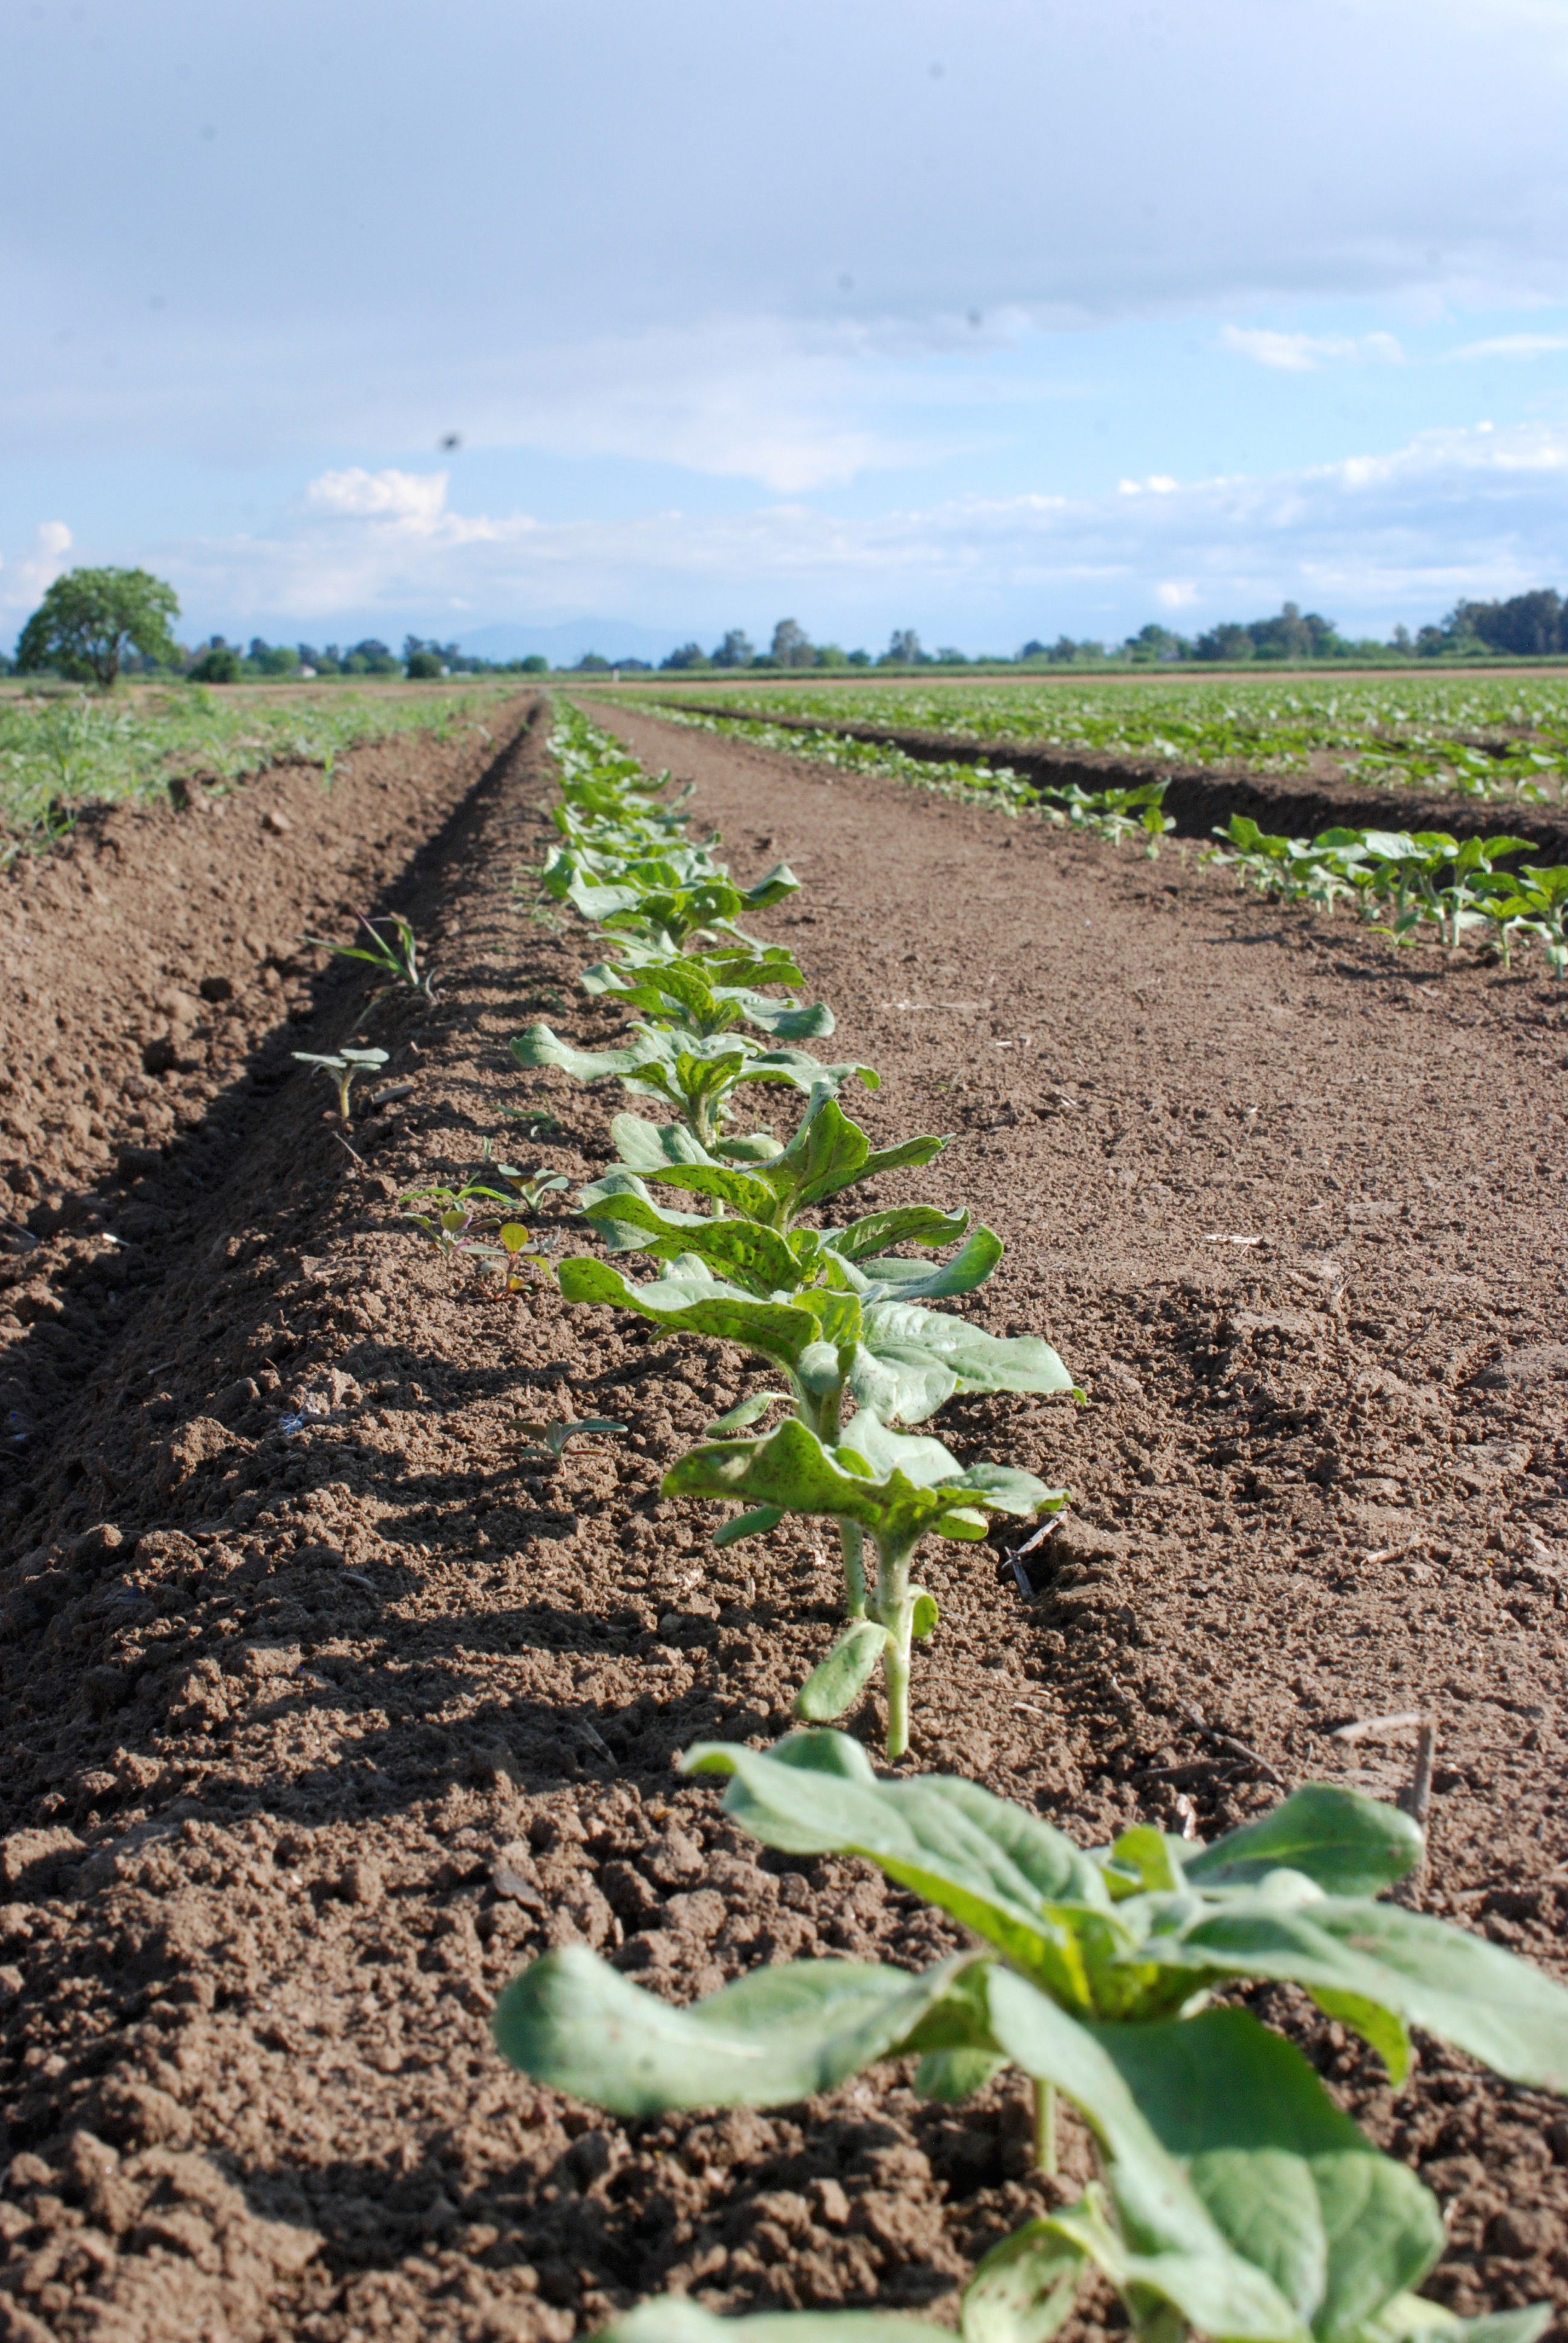
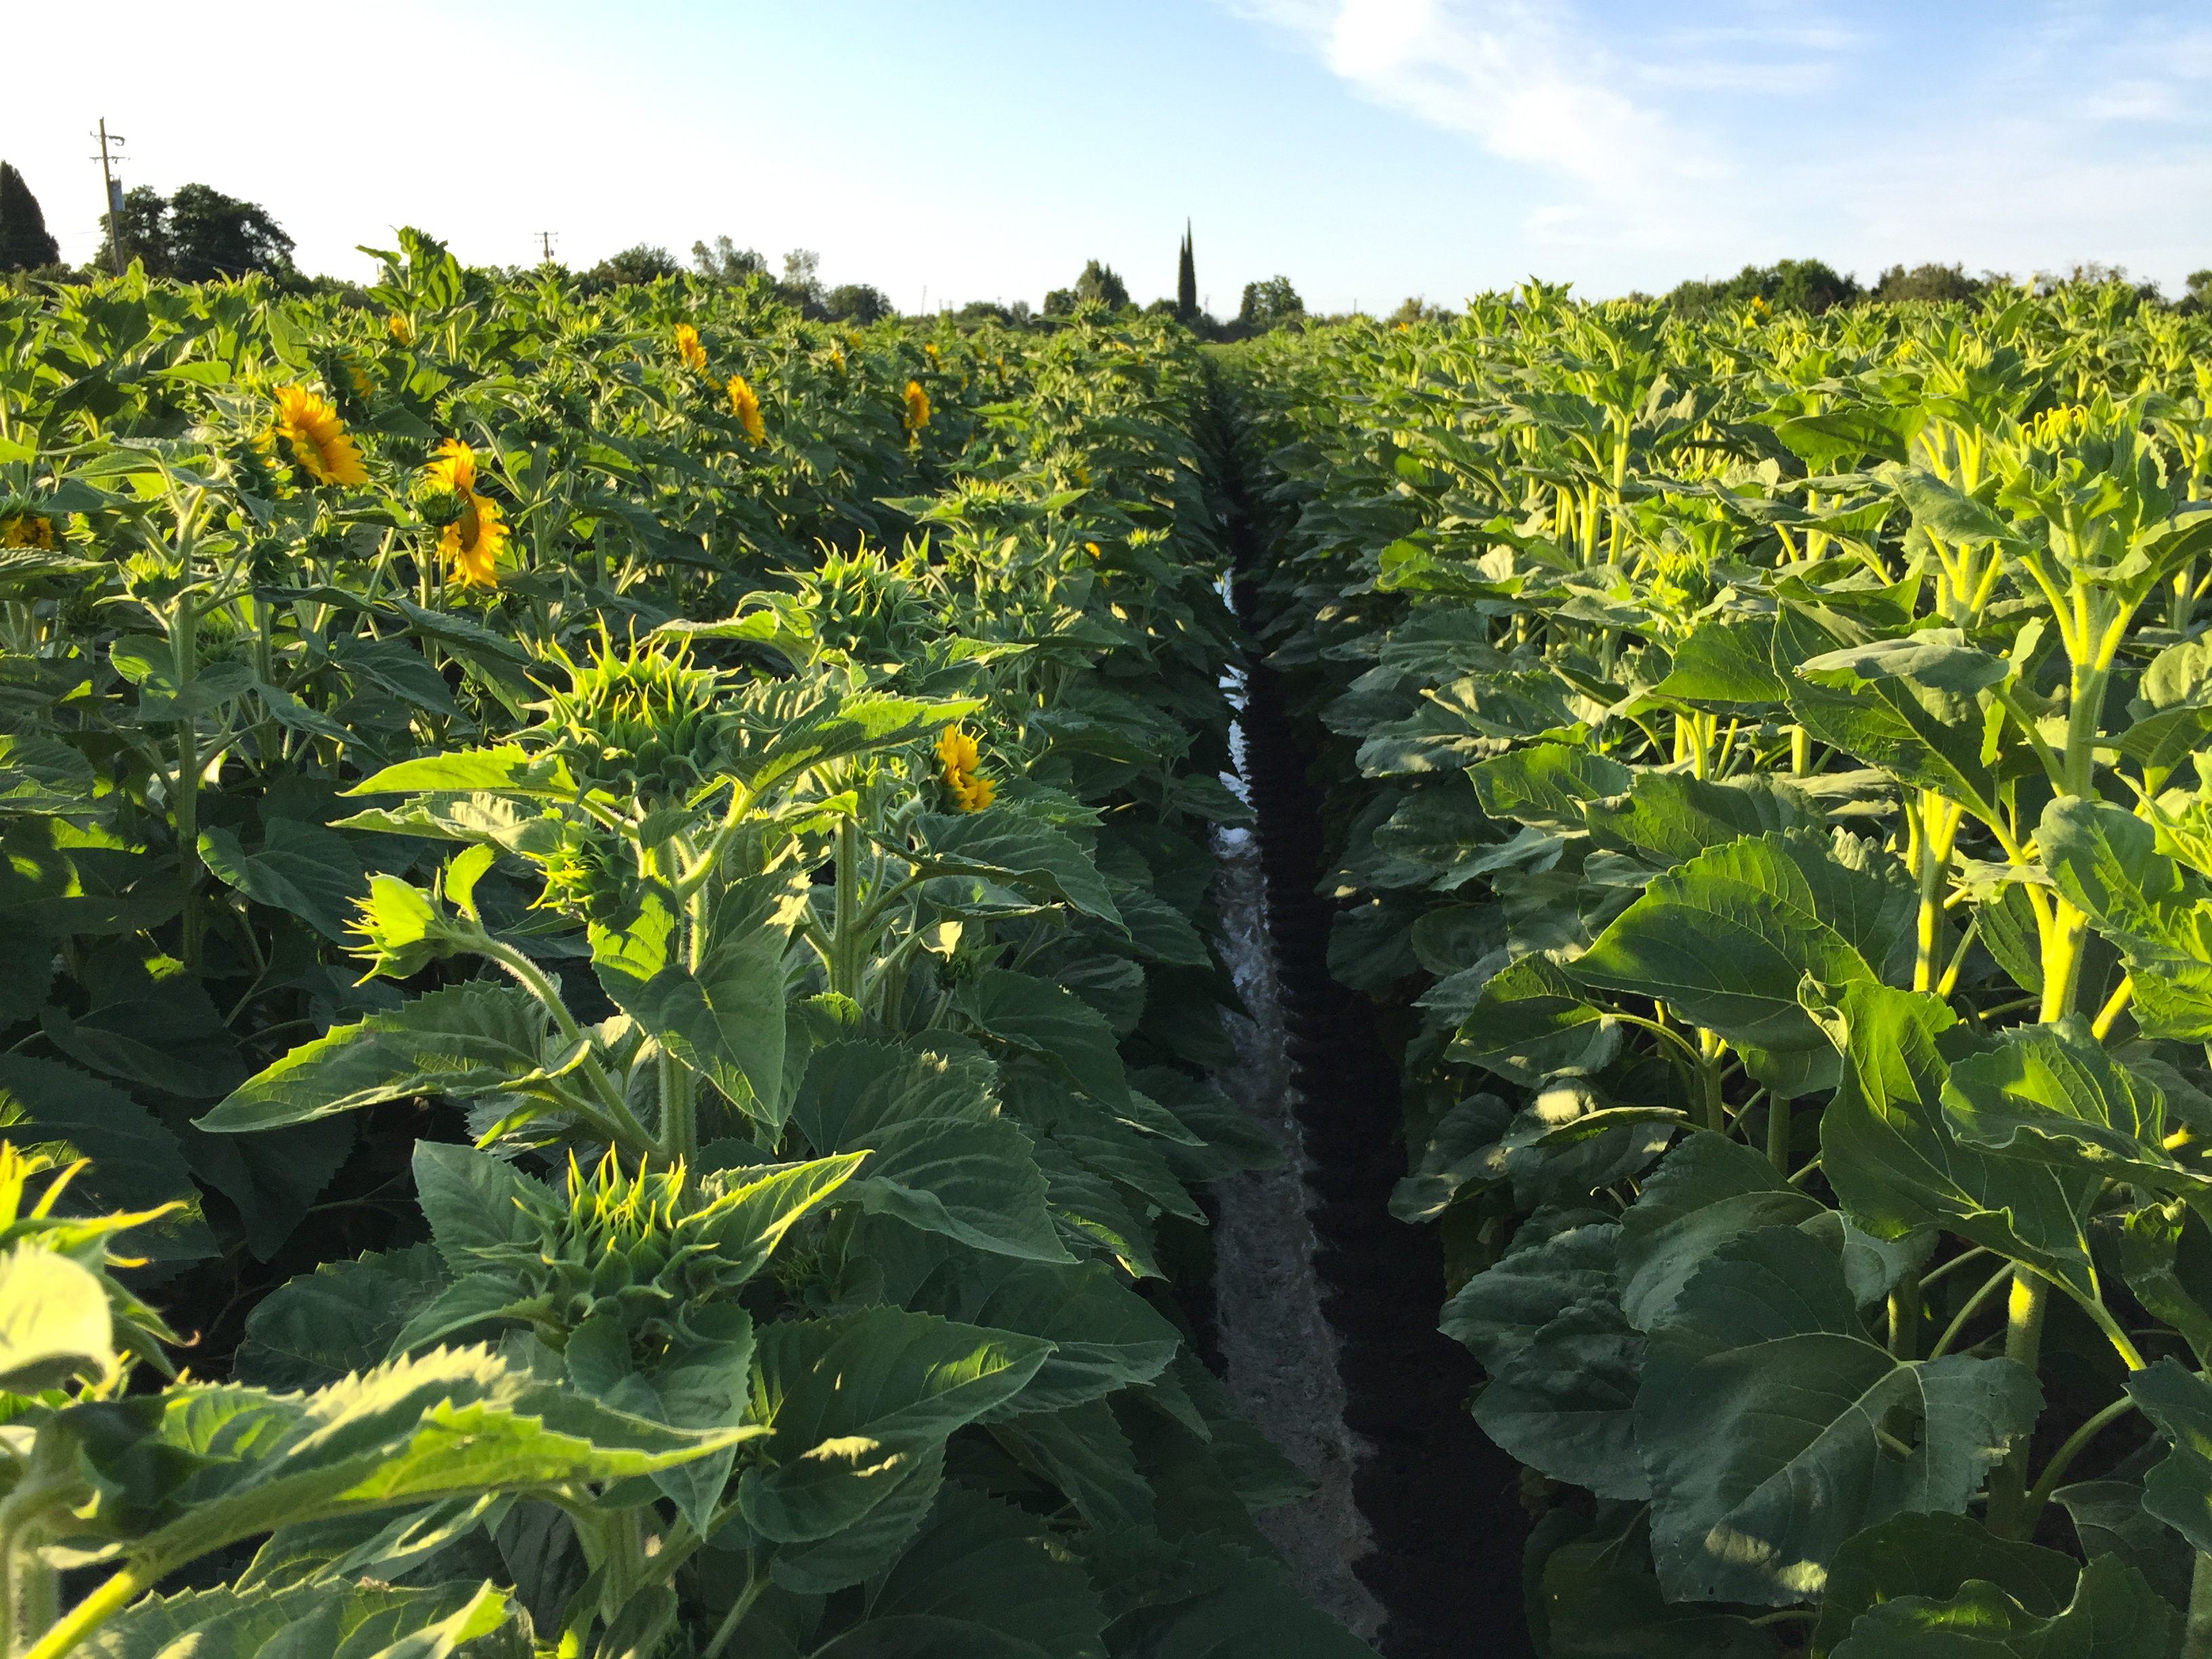
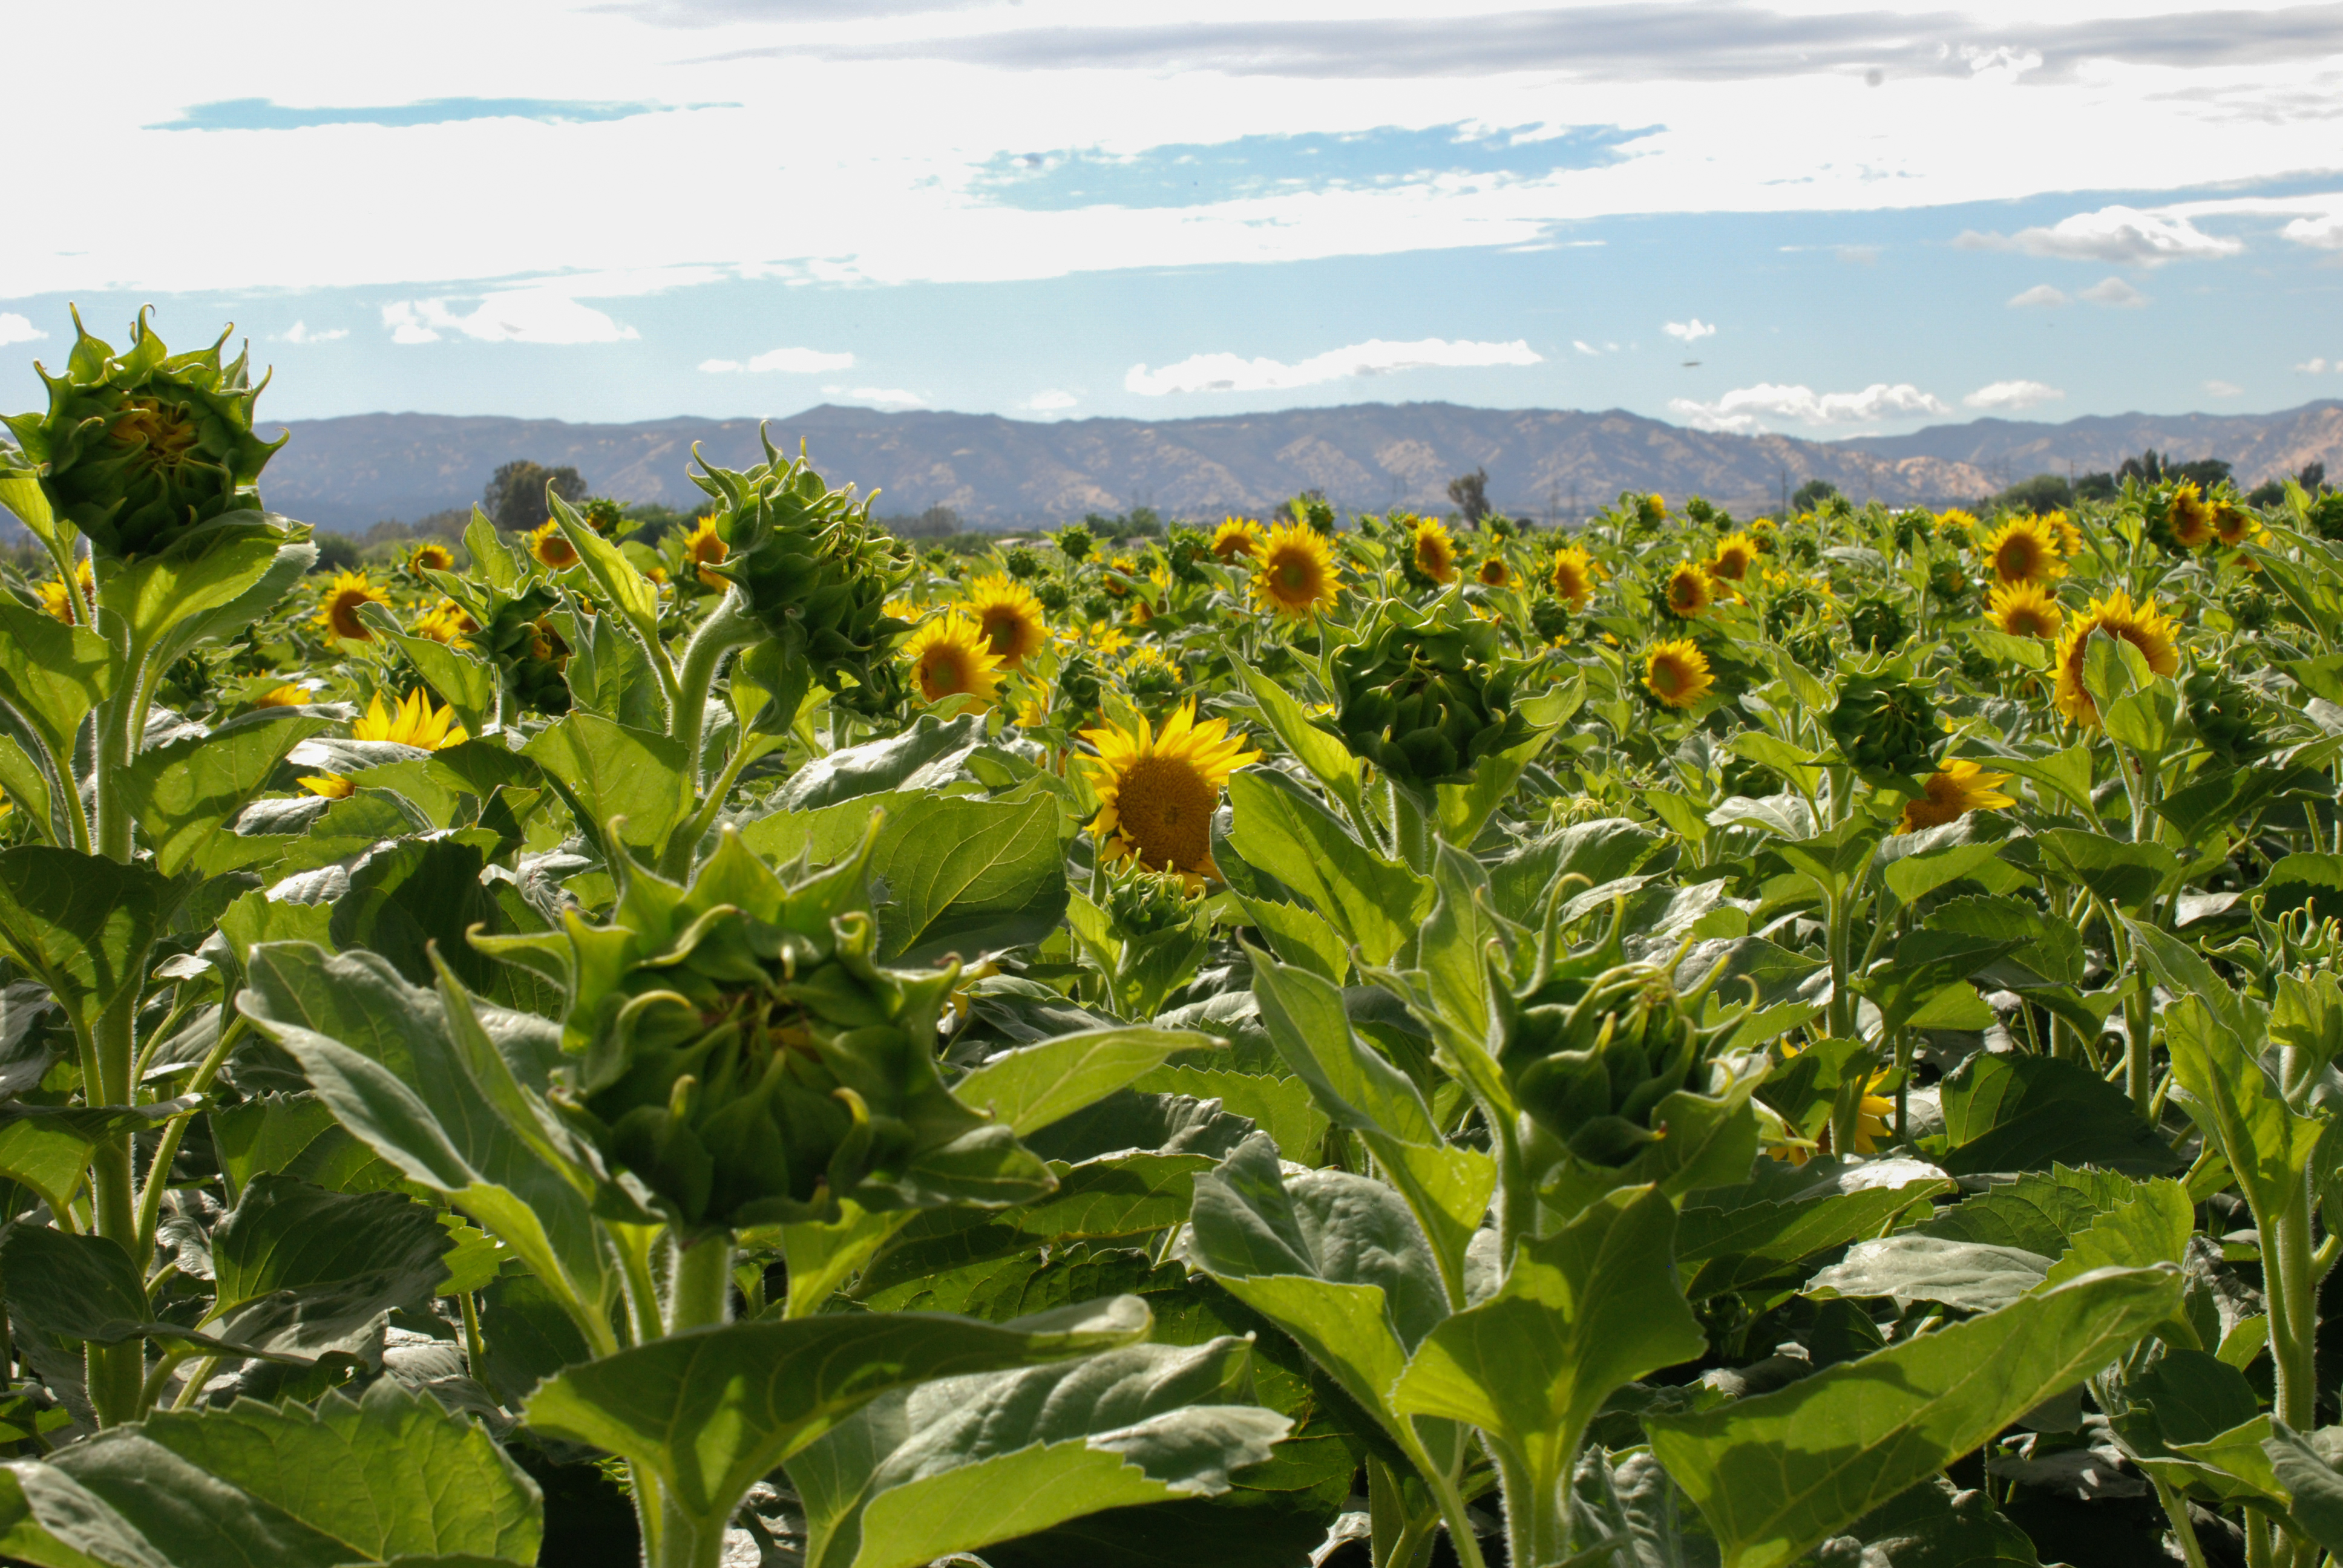
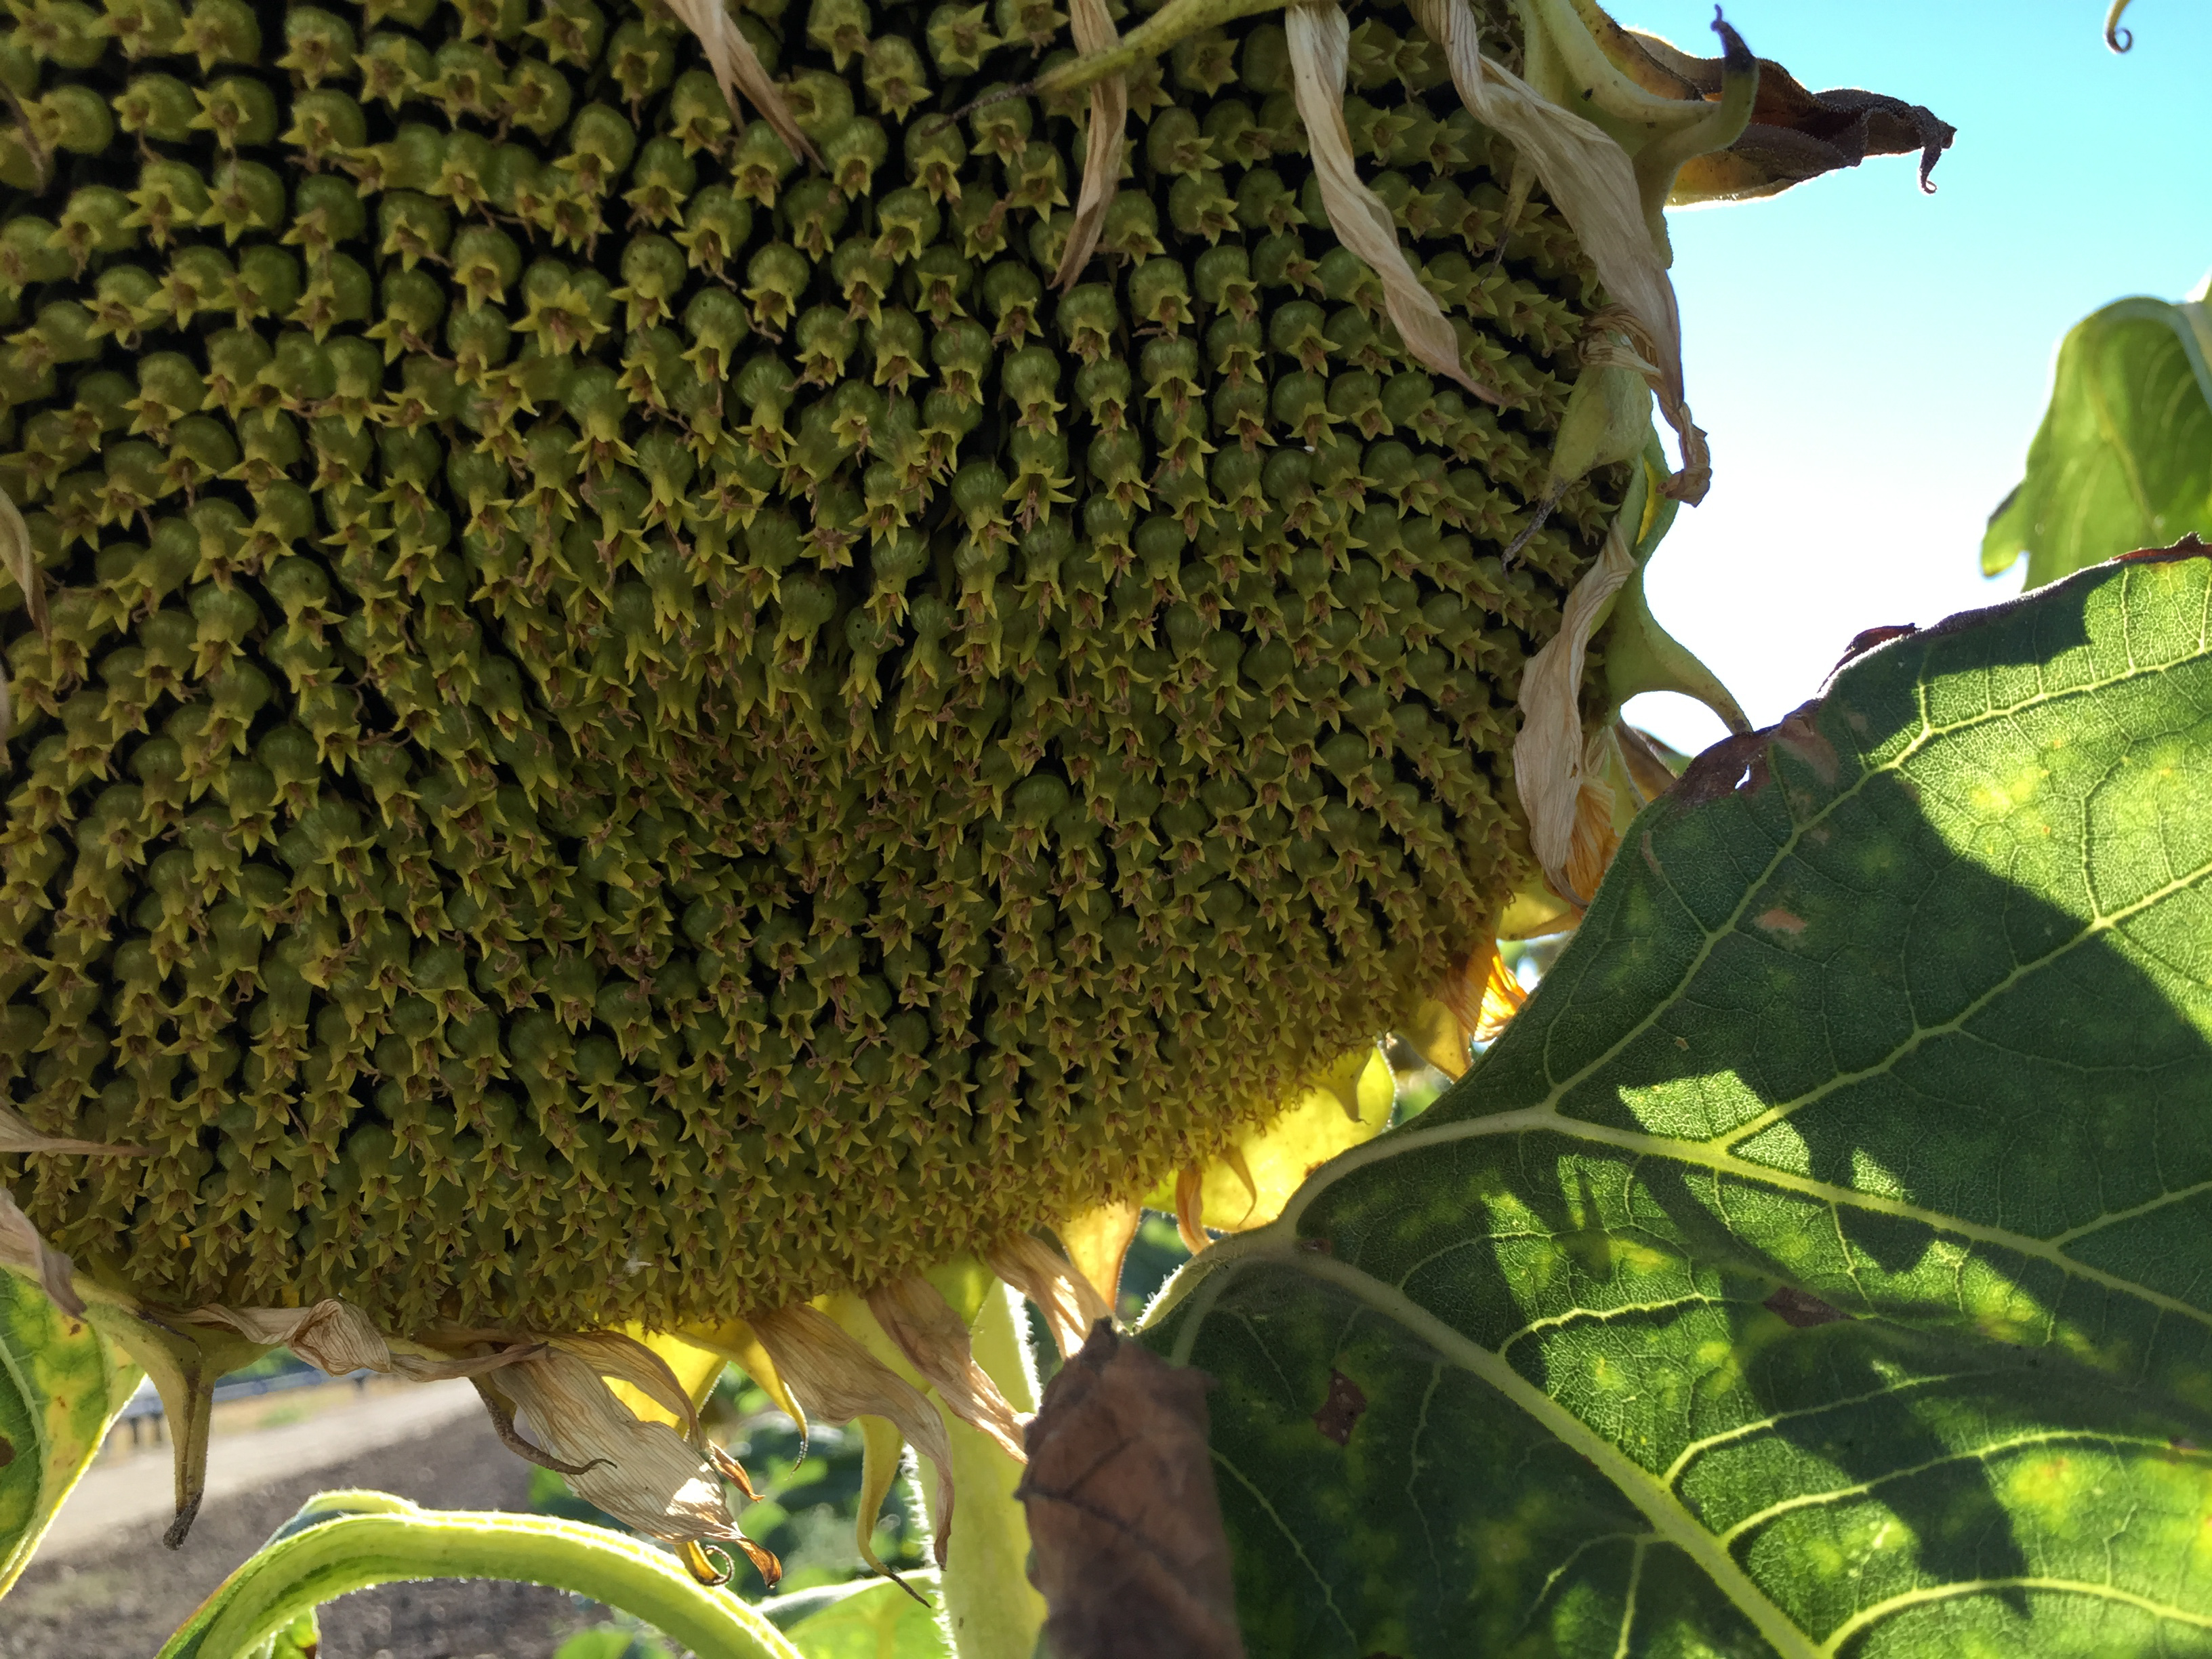
This is two of the shorter rows in full bloom. The taller sunflowers are also blooming. I assume that these are two varieties that (with probably a male-sterile flower on the larger plants) produce a hybrid seed. At harvest time I talked to a representative of the buyer who was out in the field and she said that this was a seed crop that was going to Europe to be planted for oil production.

20160616-img_1876

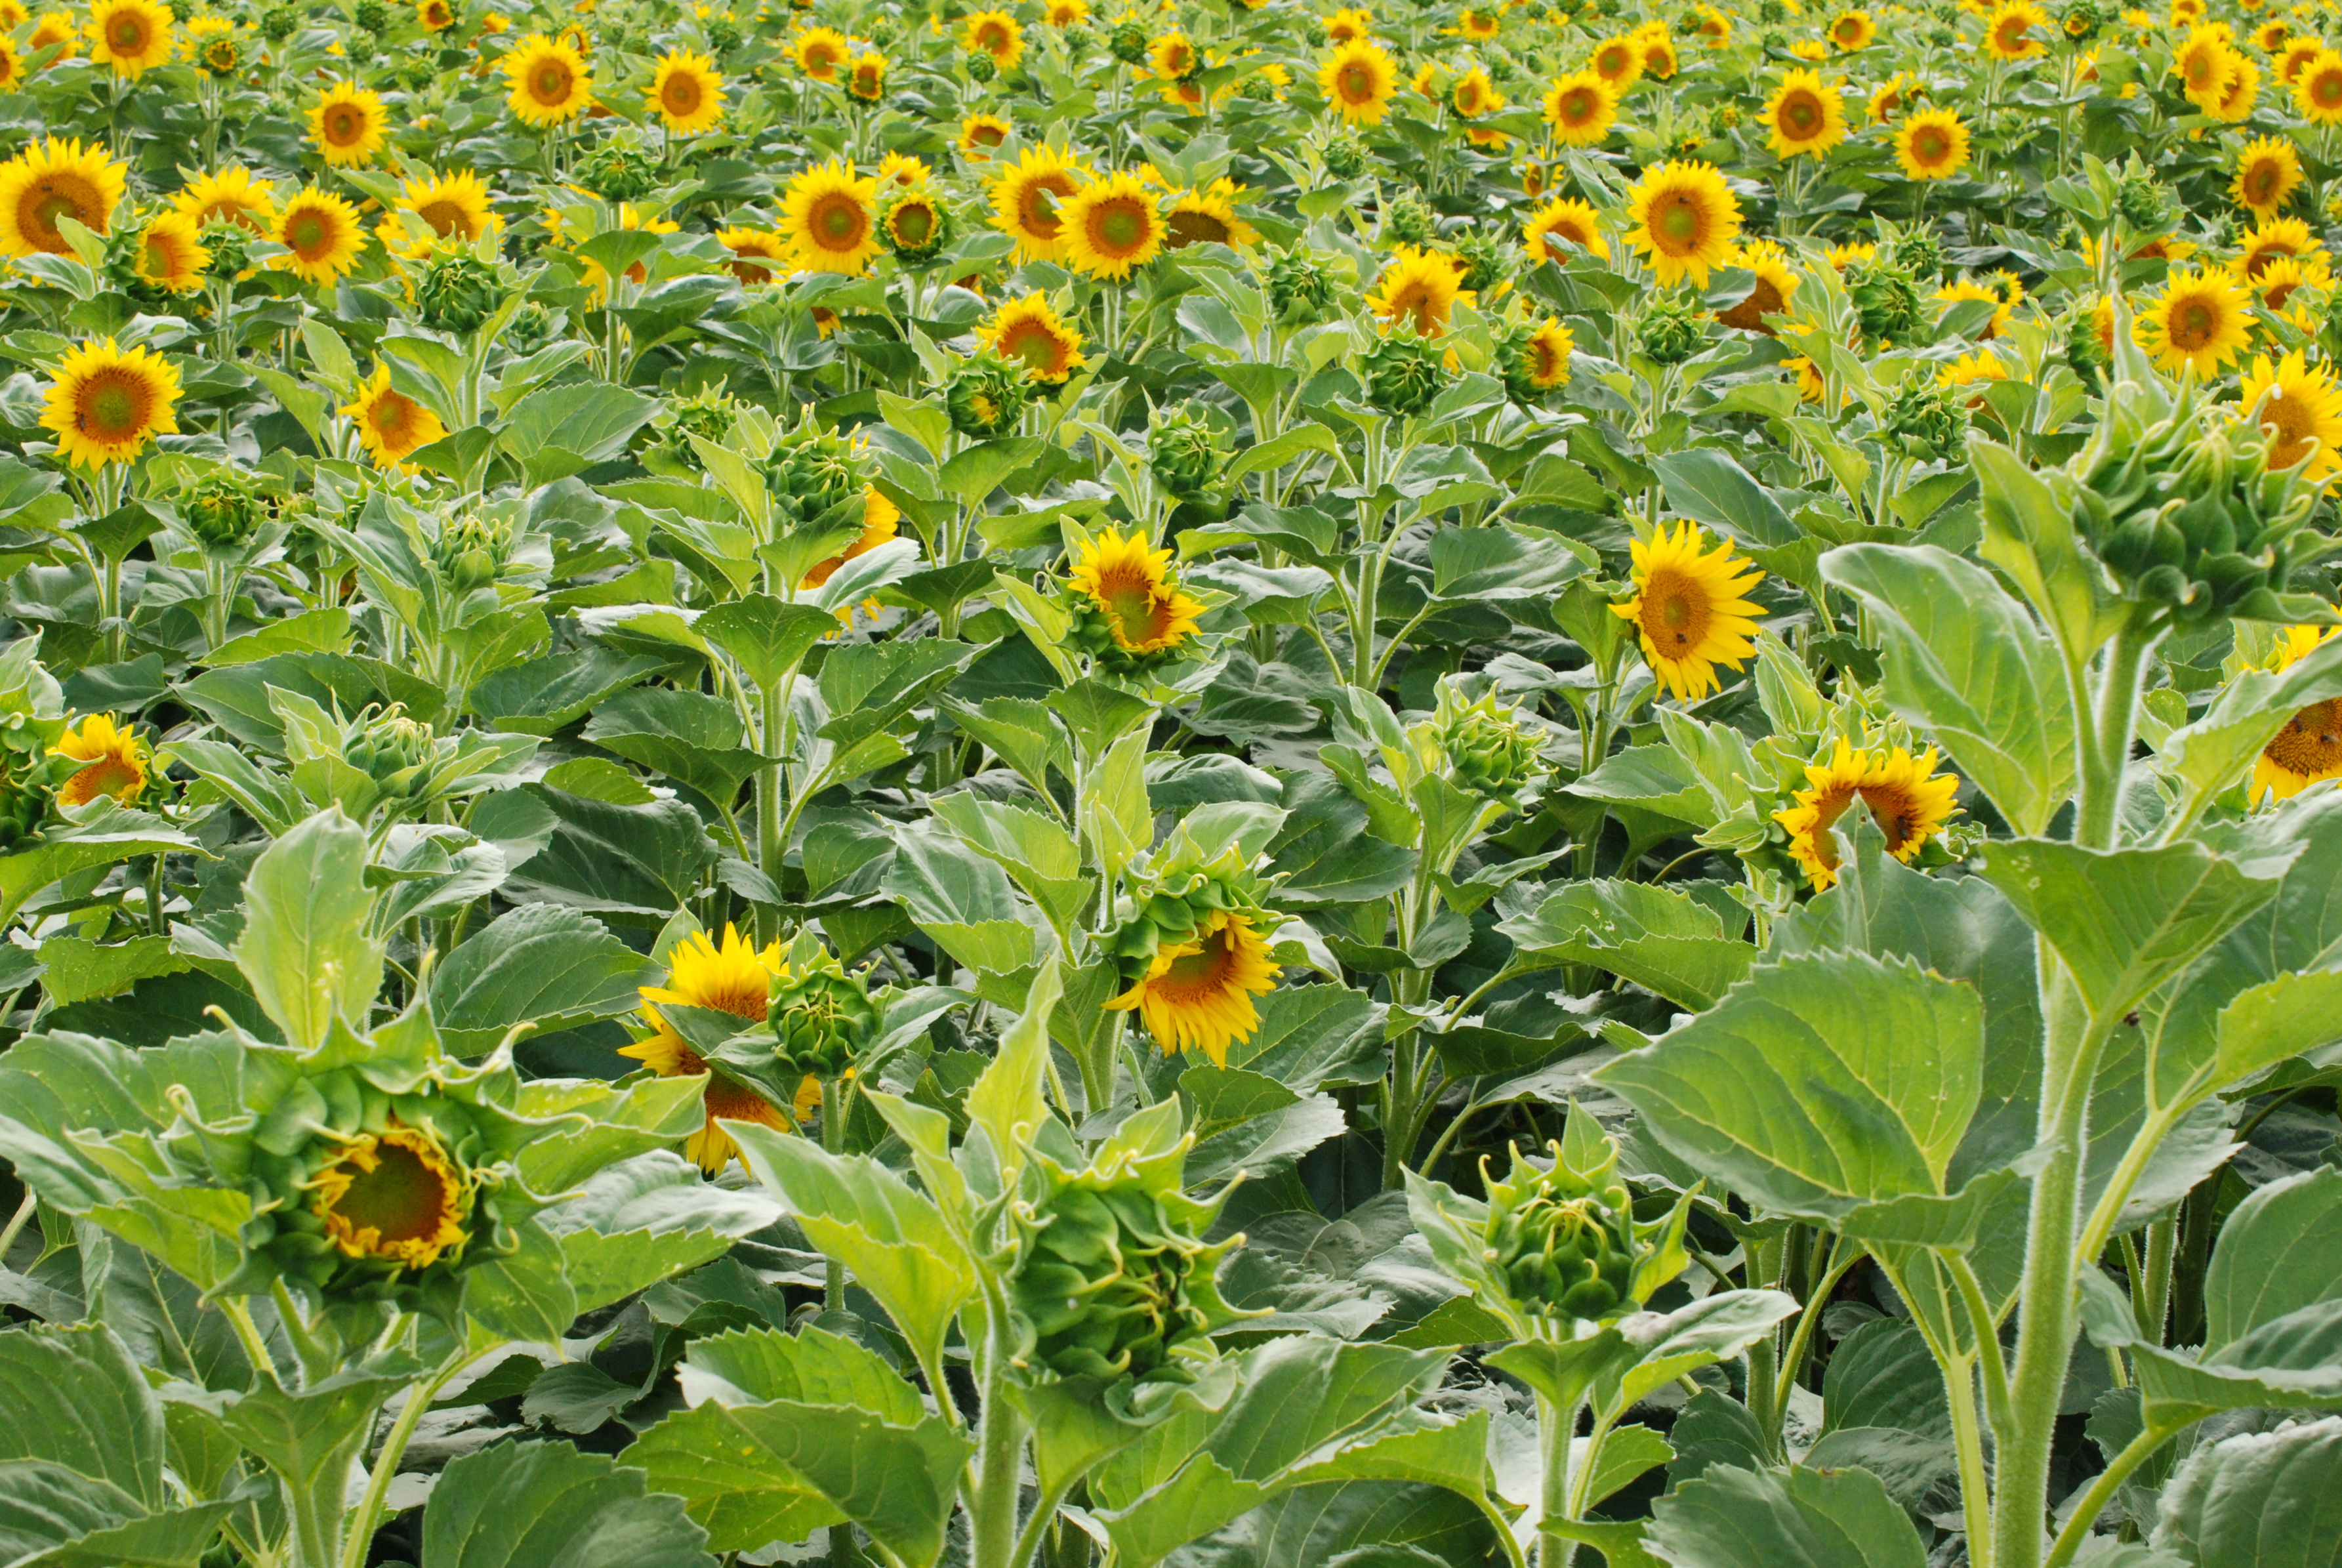
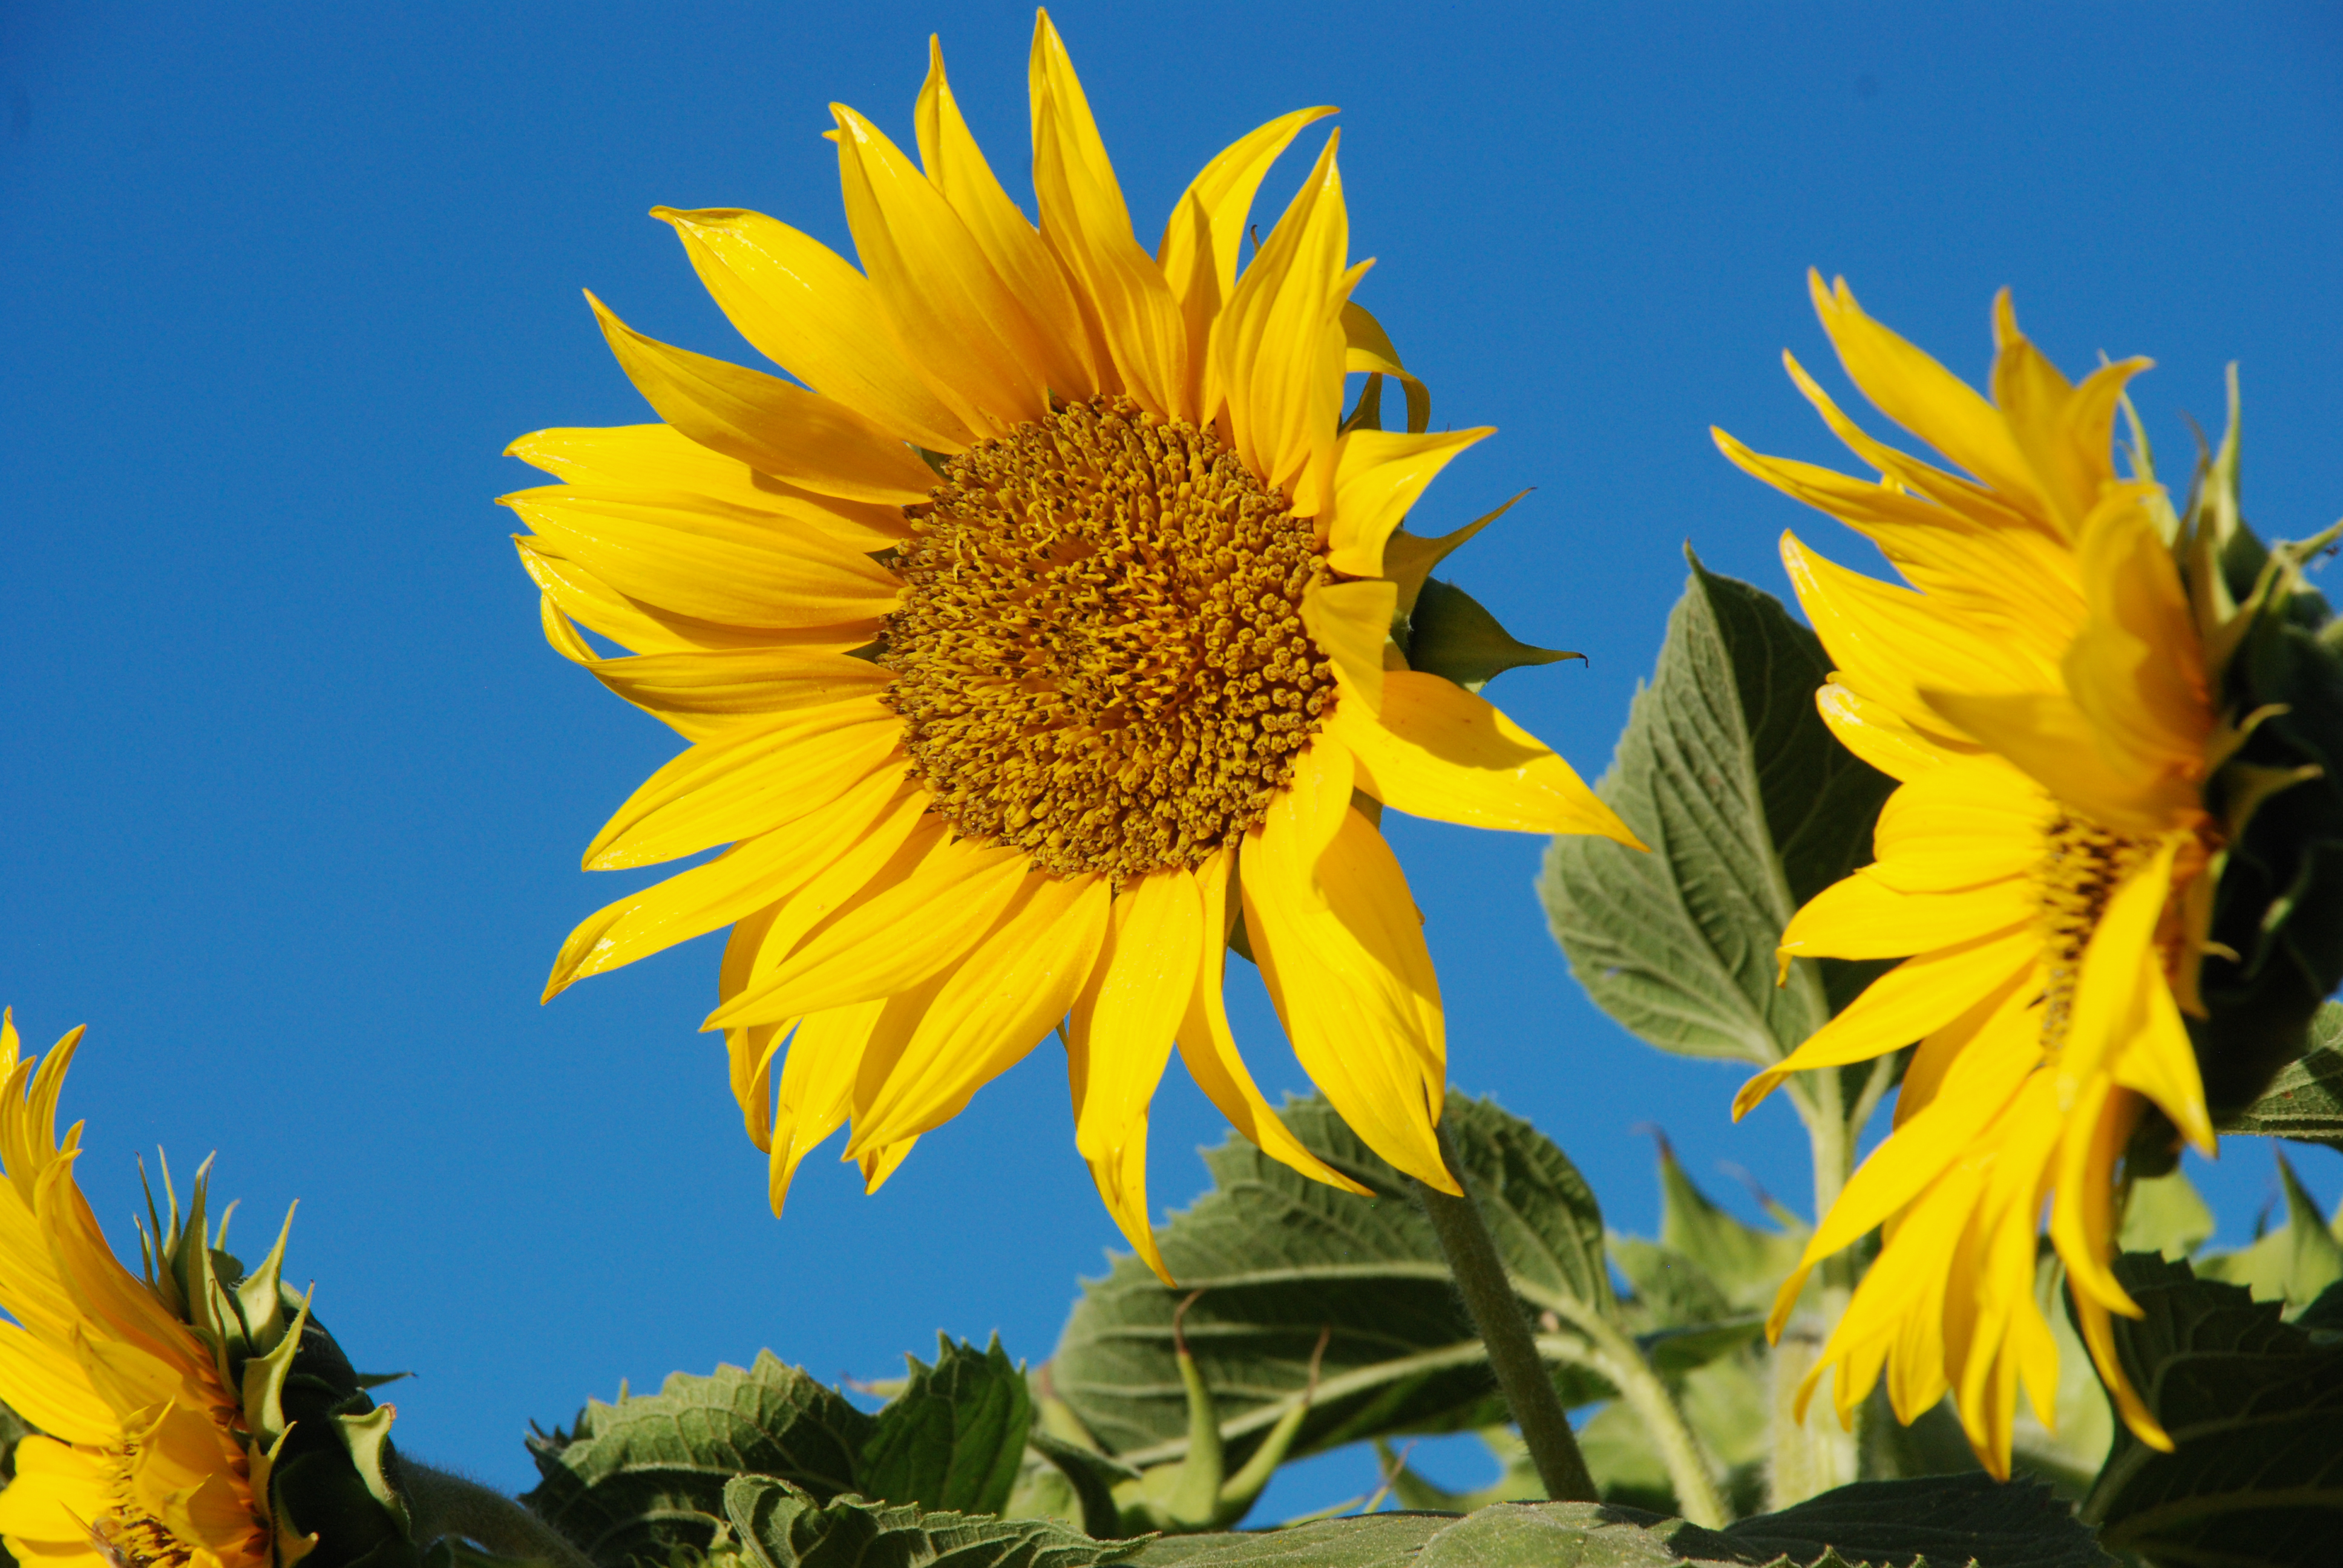
Sunflowers typically follow the sun, but when they get large the heads don’t move anymore. This was the view from my house –all the flowers facing east. If I wanted to see the pretty faces I had to walk around the field. Do you want to know more about this? Here is an article from the New York Times that explains why and how the sunflowers move to face the sun. This is an excerpt from it:

The answer was in their stems. Like those of other plants, the stems of young sunflowers grow more at night — but only on their west side, which is what allows their heads to bend eastward. During the day, the stems’ east side grows, and they bend west with the sun. Dr. Atamian collected samples of the opposite sides of stems from sunflowers periodically, and found that different genes, related to light detection and growth, appeared active on opposite sides of the stems.”

Isn’t that amazing? And isn’t it cool that there is so much to be learned about the seemingly most mundane things in our world? I’m all for promoting science to explore ideas and not just to solve a problem. But I digress…20160615-img_1868

20160620-dsc_0339

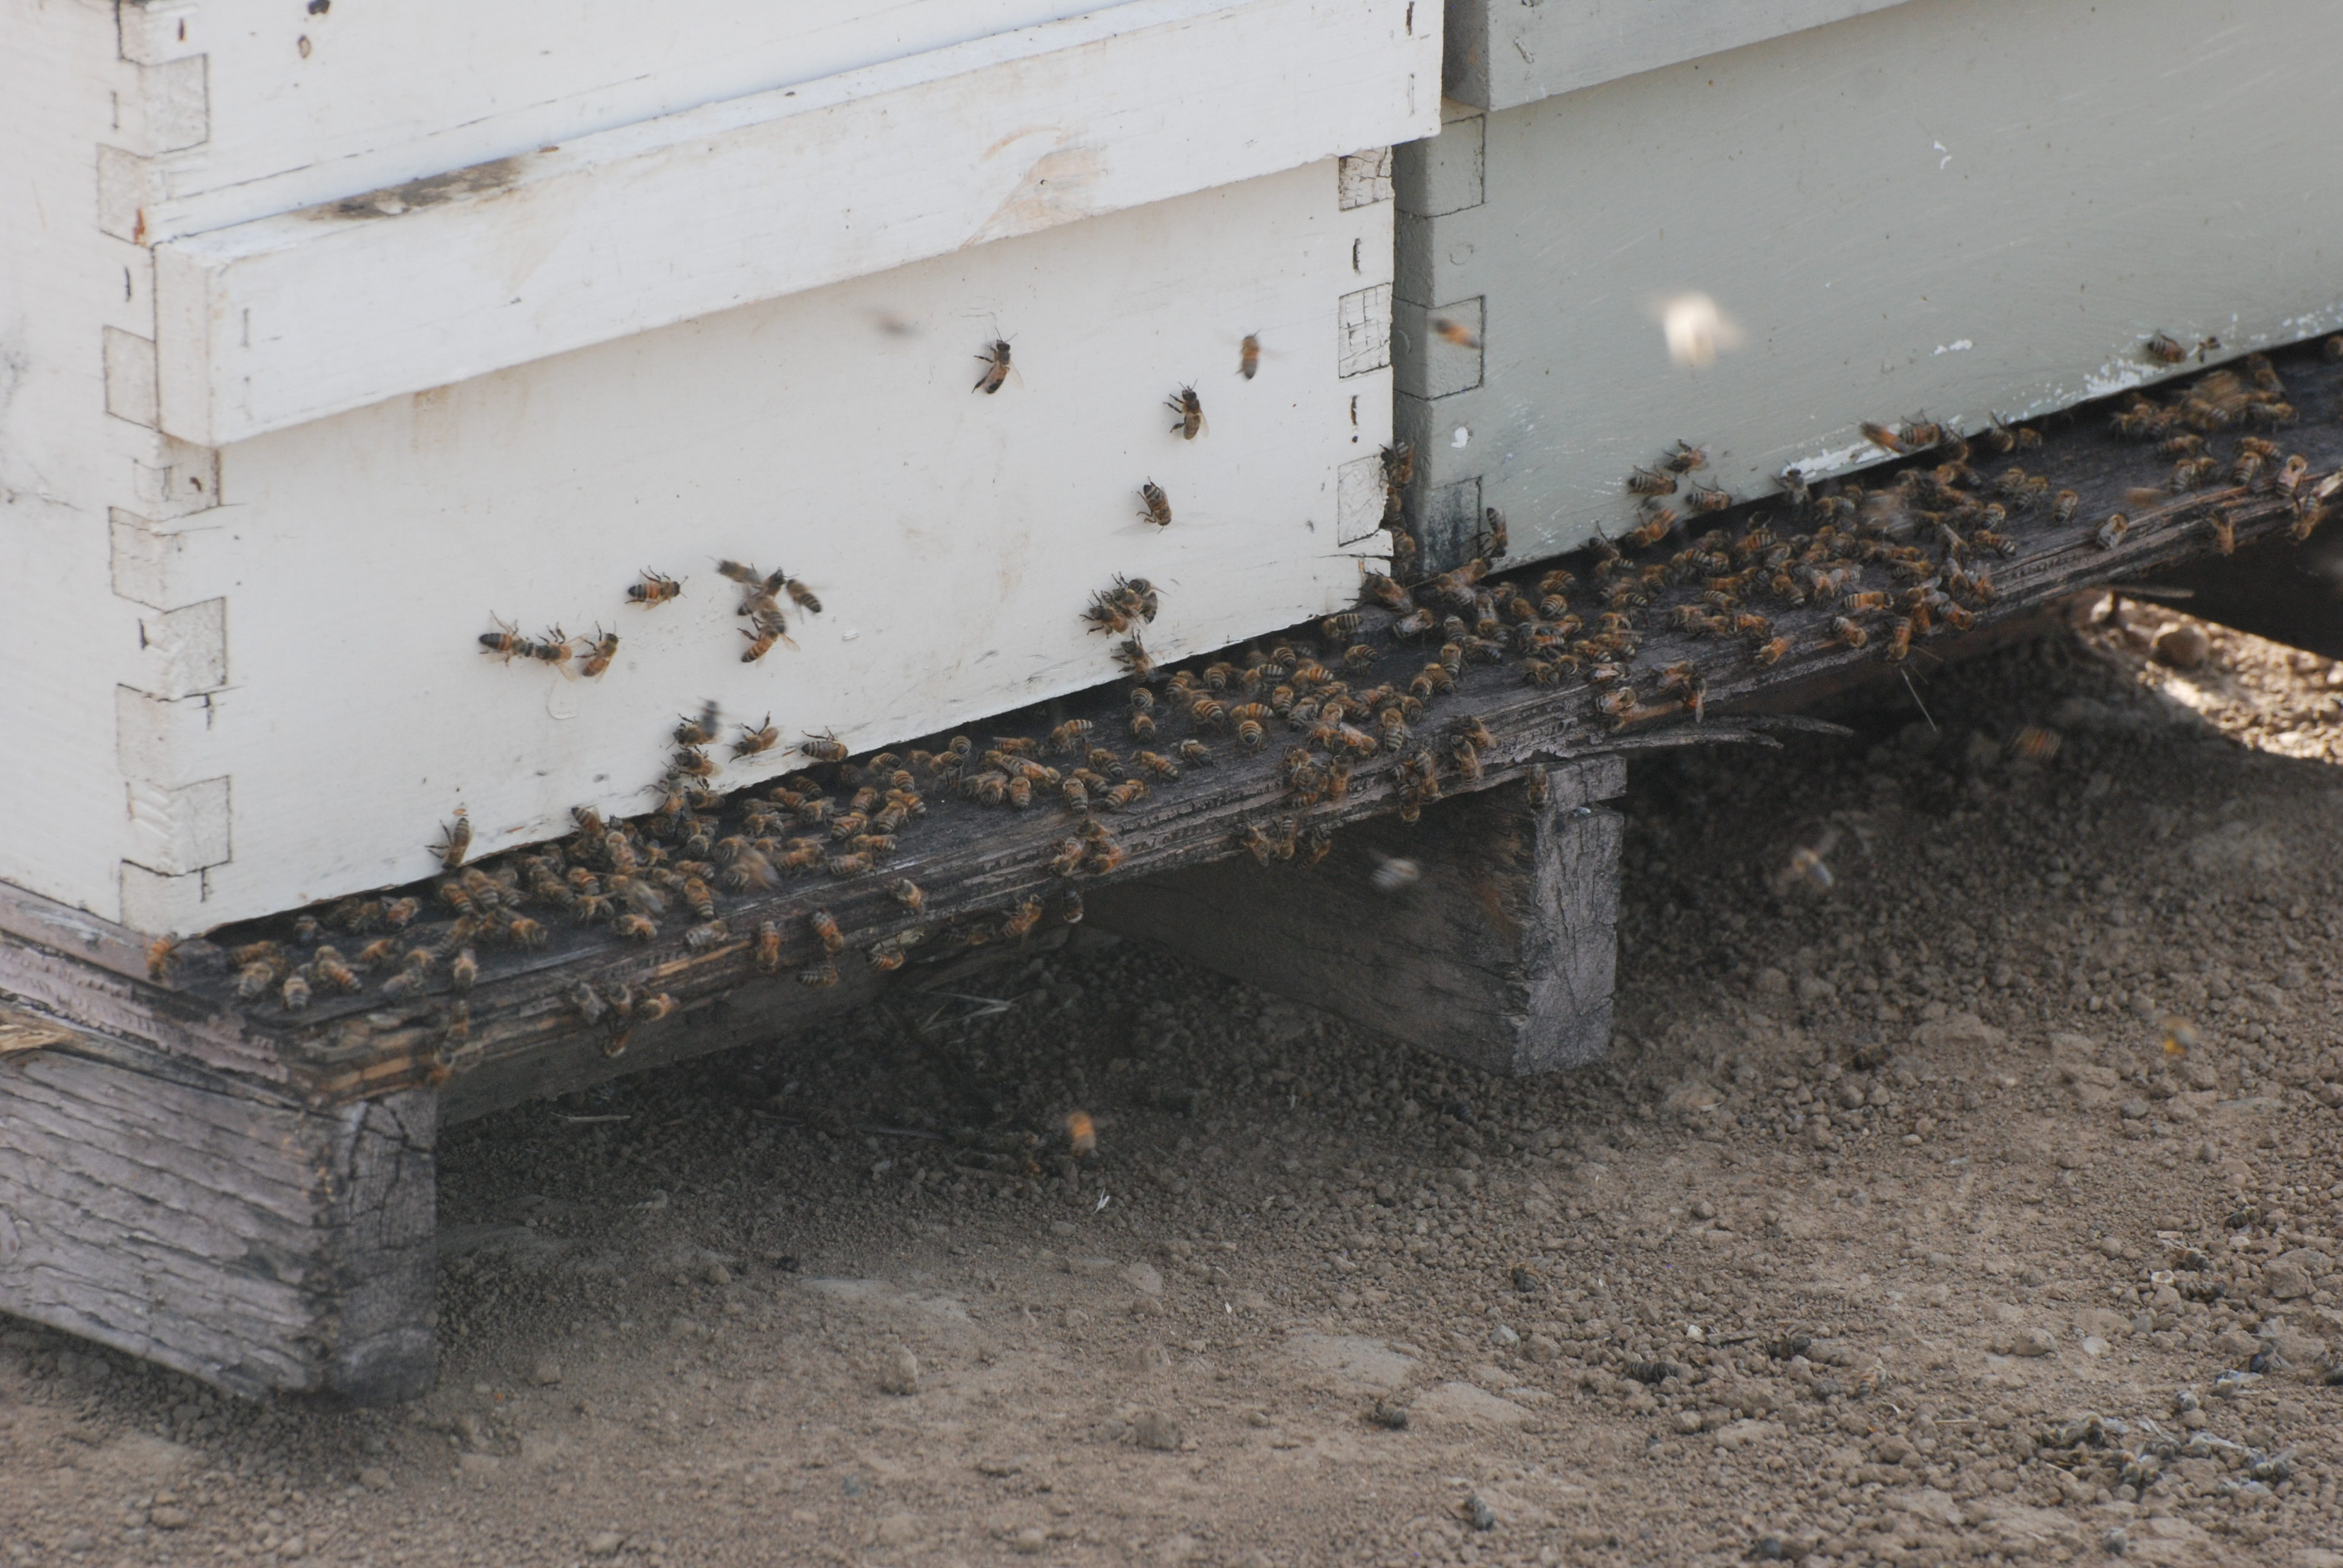
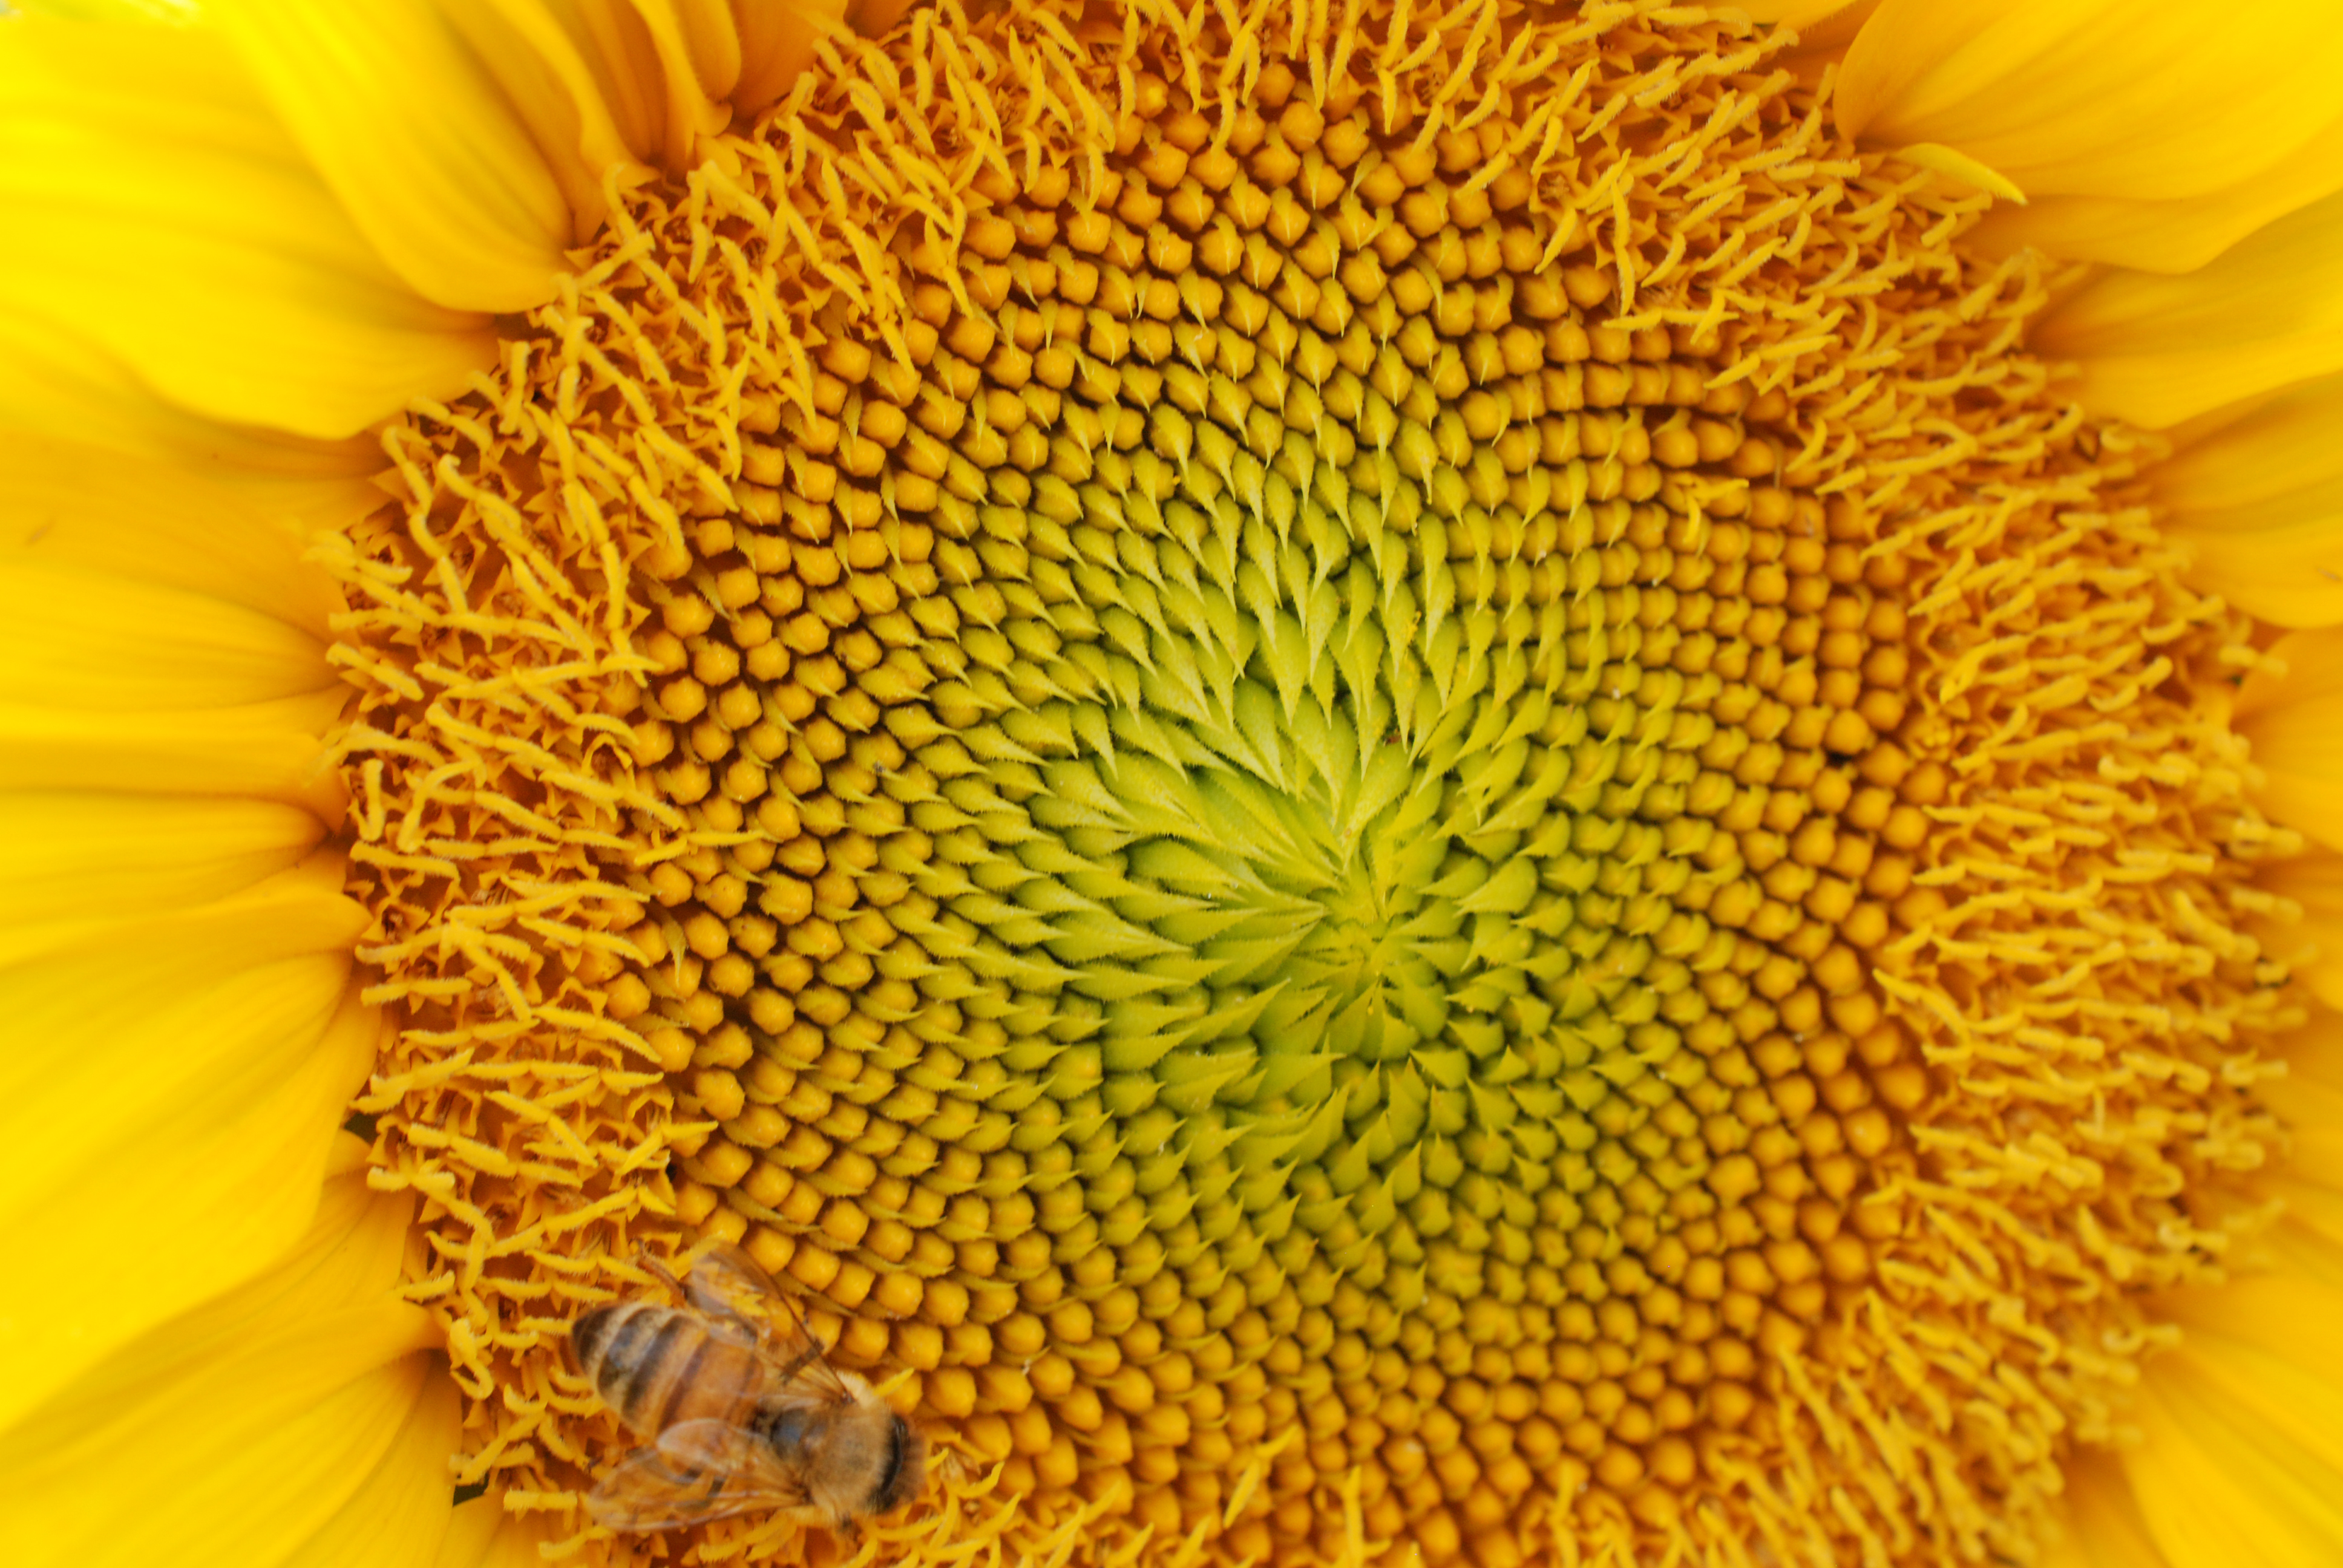
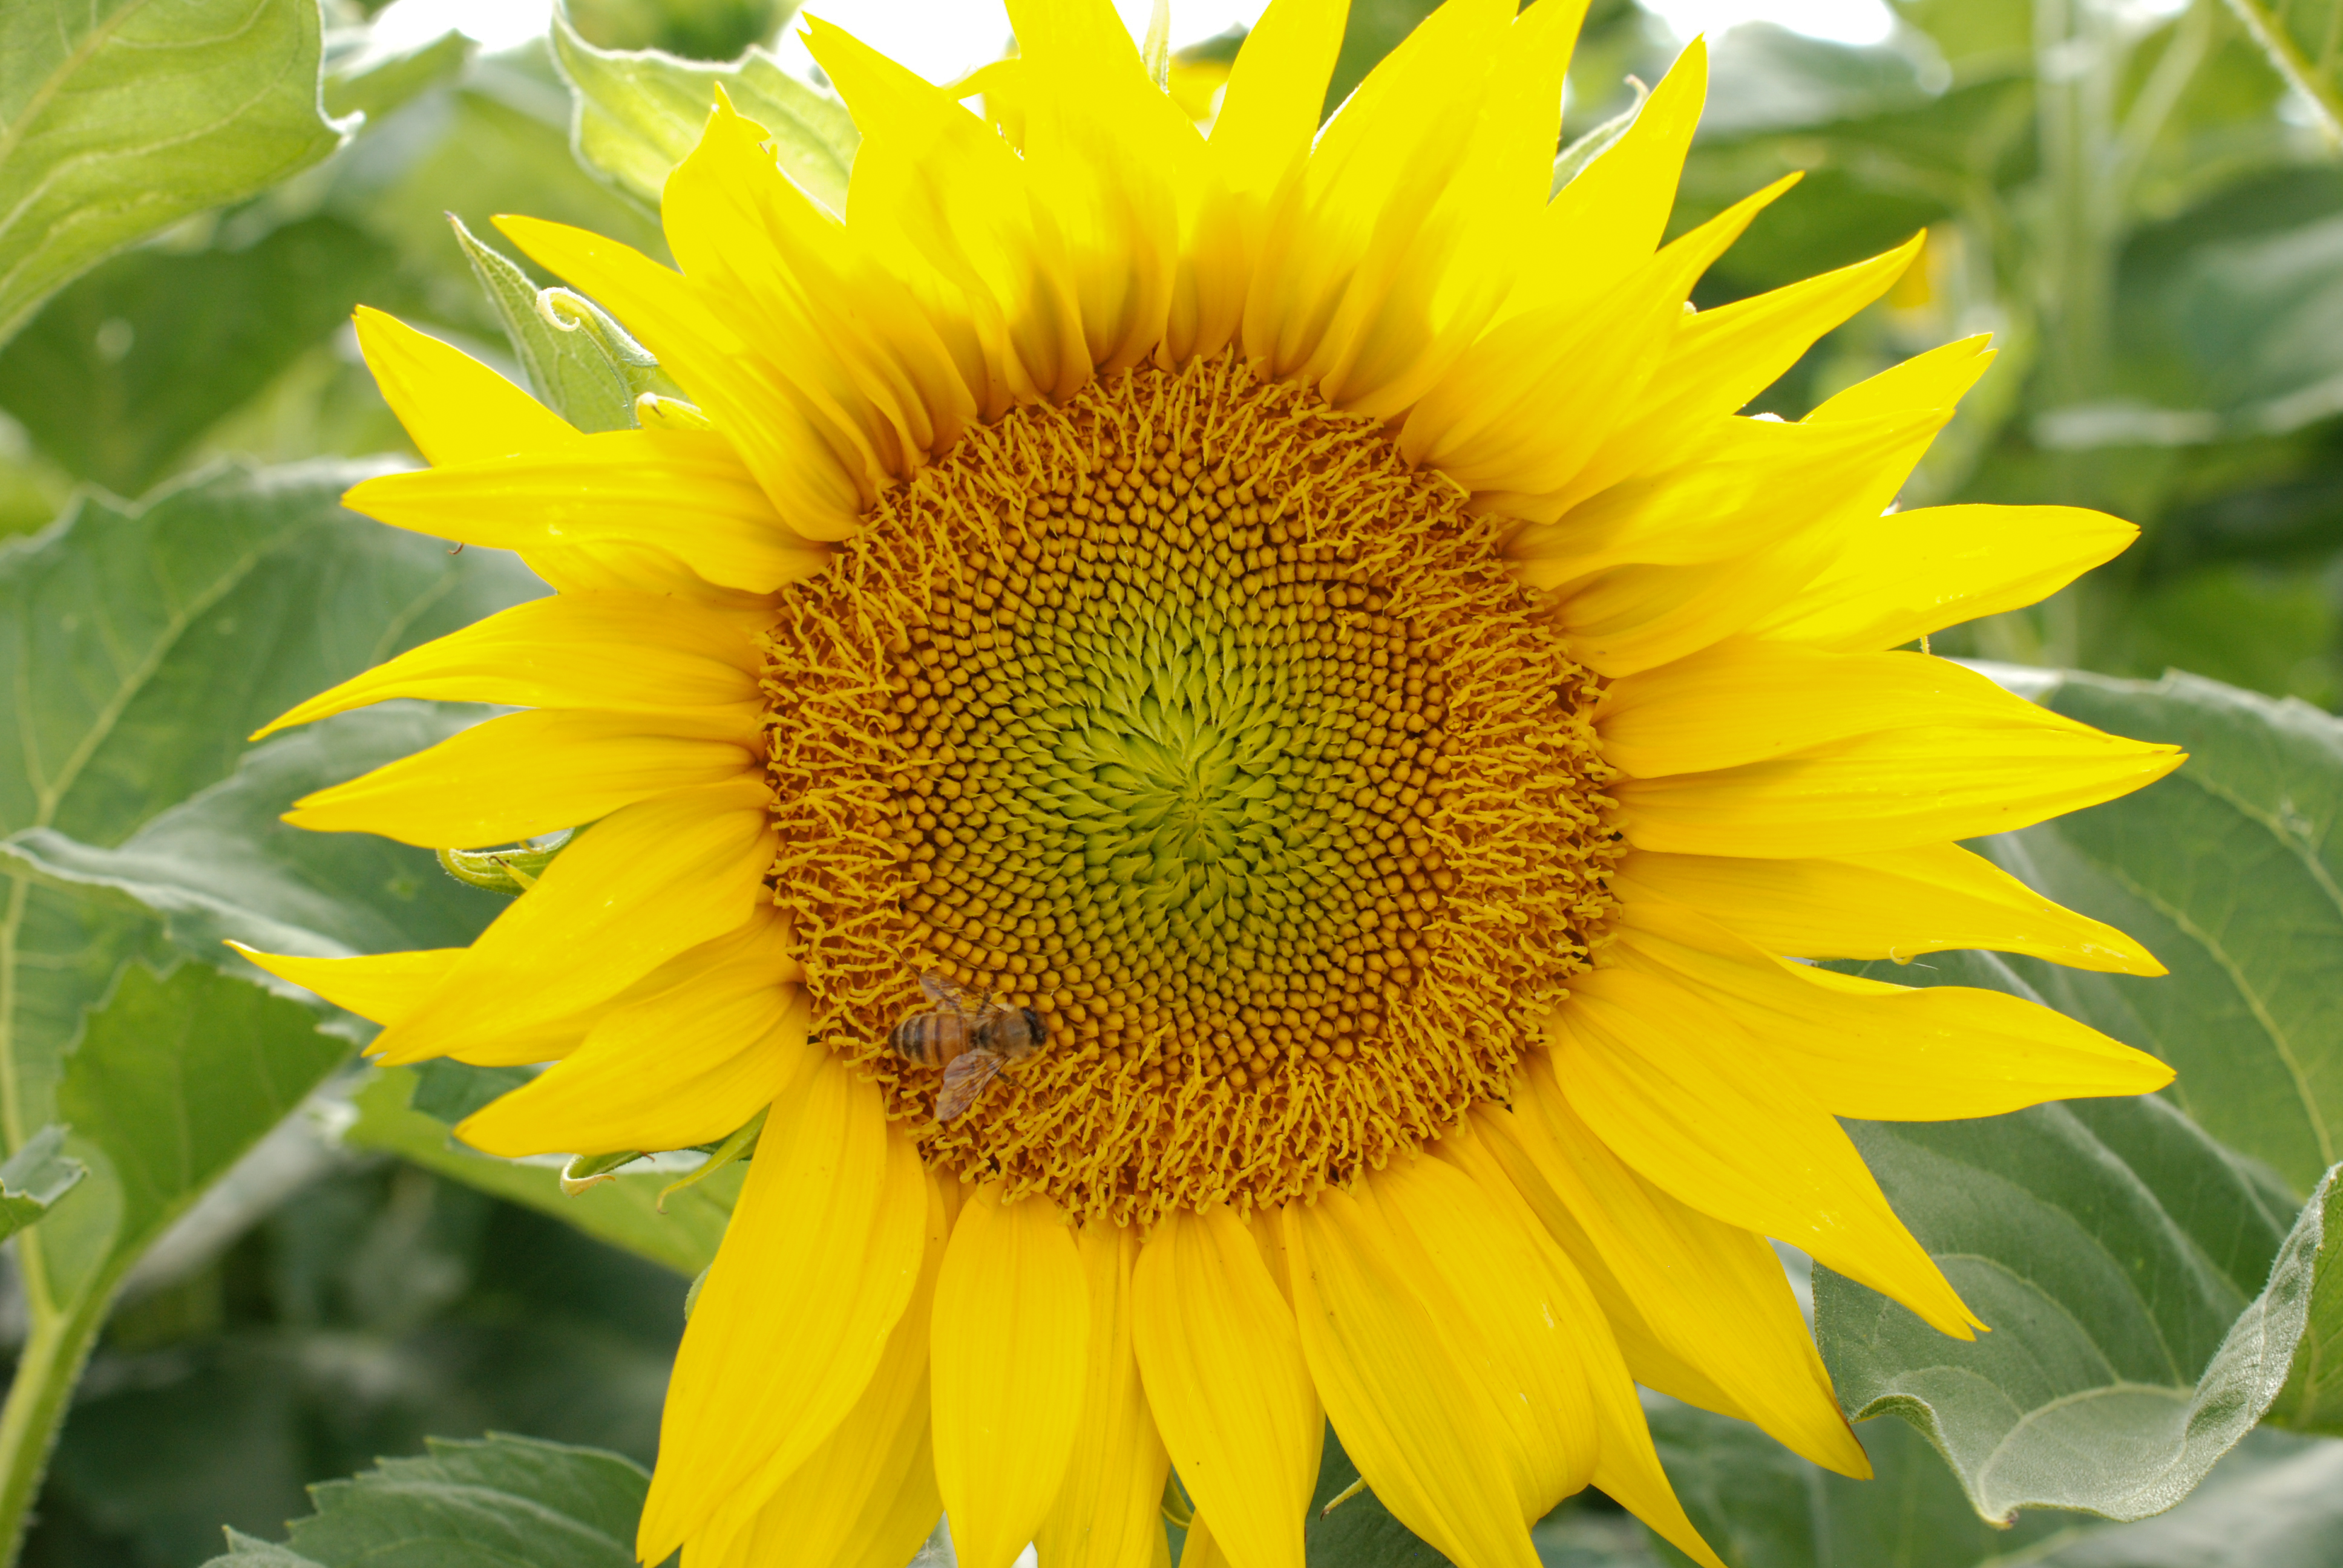
You saw bees on the sunflowers in the previous post.20160620-dsc_0370

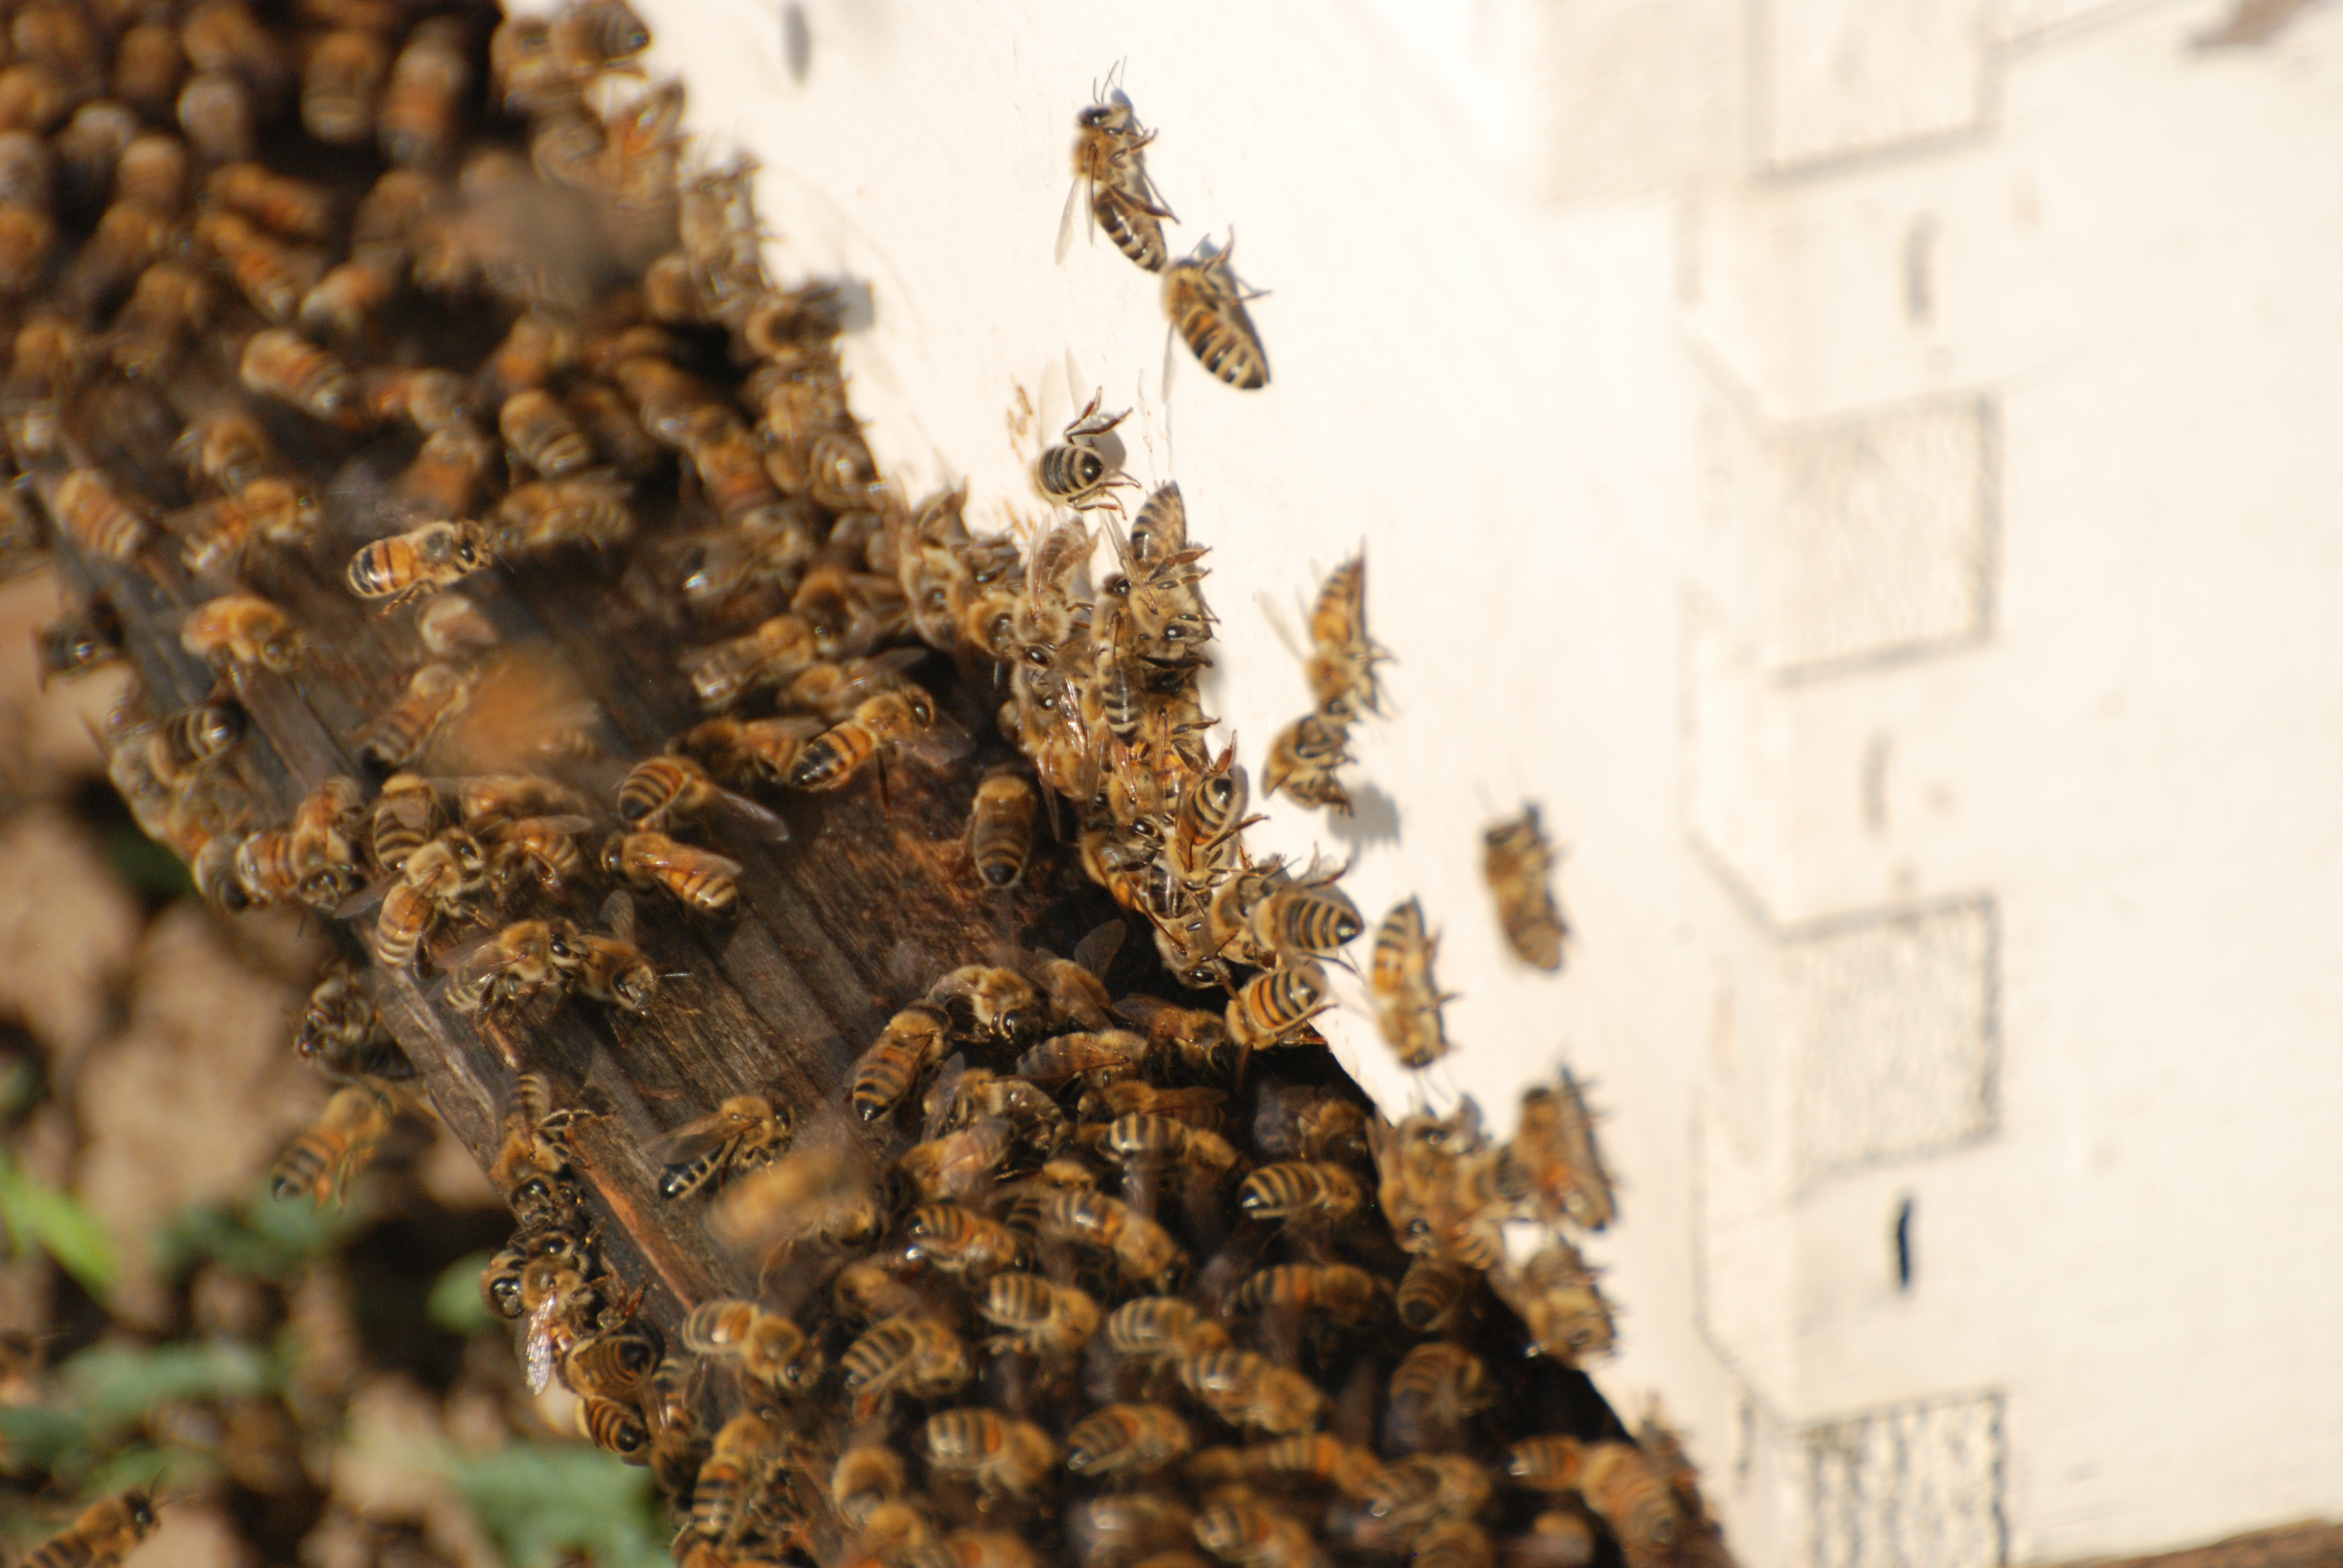
Here they are at their hives. Hives were placed all around the field.20160620-dsc_0390

Here is another interesting article–this one about the bees that pollinate sunflowers. “In sunflower hybrid seed production, pollen from a male row of sunflowers must be moved by bees to a female (male-sterile) row. Growers typically use honey bees to accomplish this task. However, most honey bee workers specialize as either nectar or pollen foragers. Nectar foragers tend primarily to visit female rows, while pollen foragers visit male rows. If few bees cross between rows, growers can experience poor seed-set.” The article goes on to say that native bees  collect both pollen and nectar and by chasing the honeybees from row to row they make the whole process more efficient in terms of getting the 100% pollination. Therefore growers should encourage native bee populations.

20160629-dsc_0563

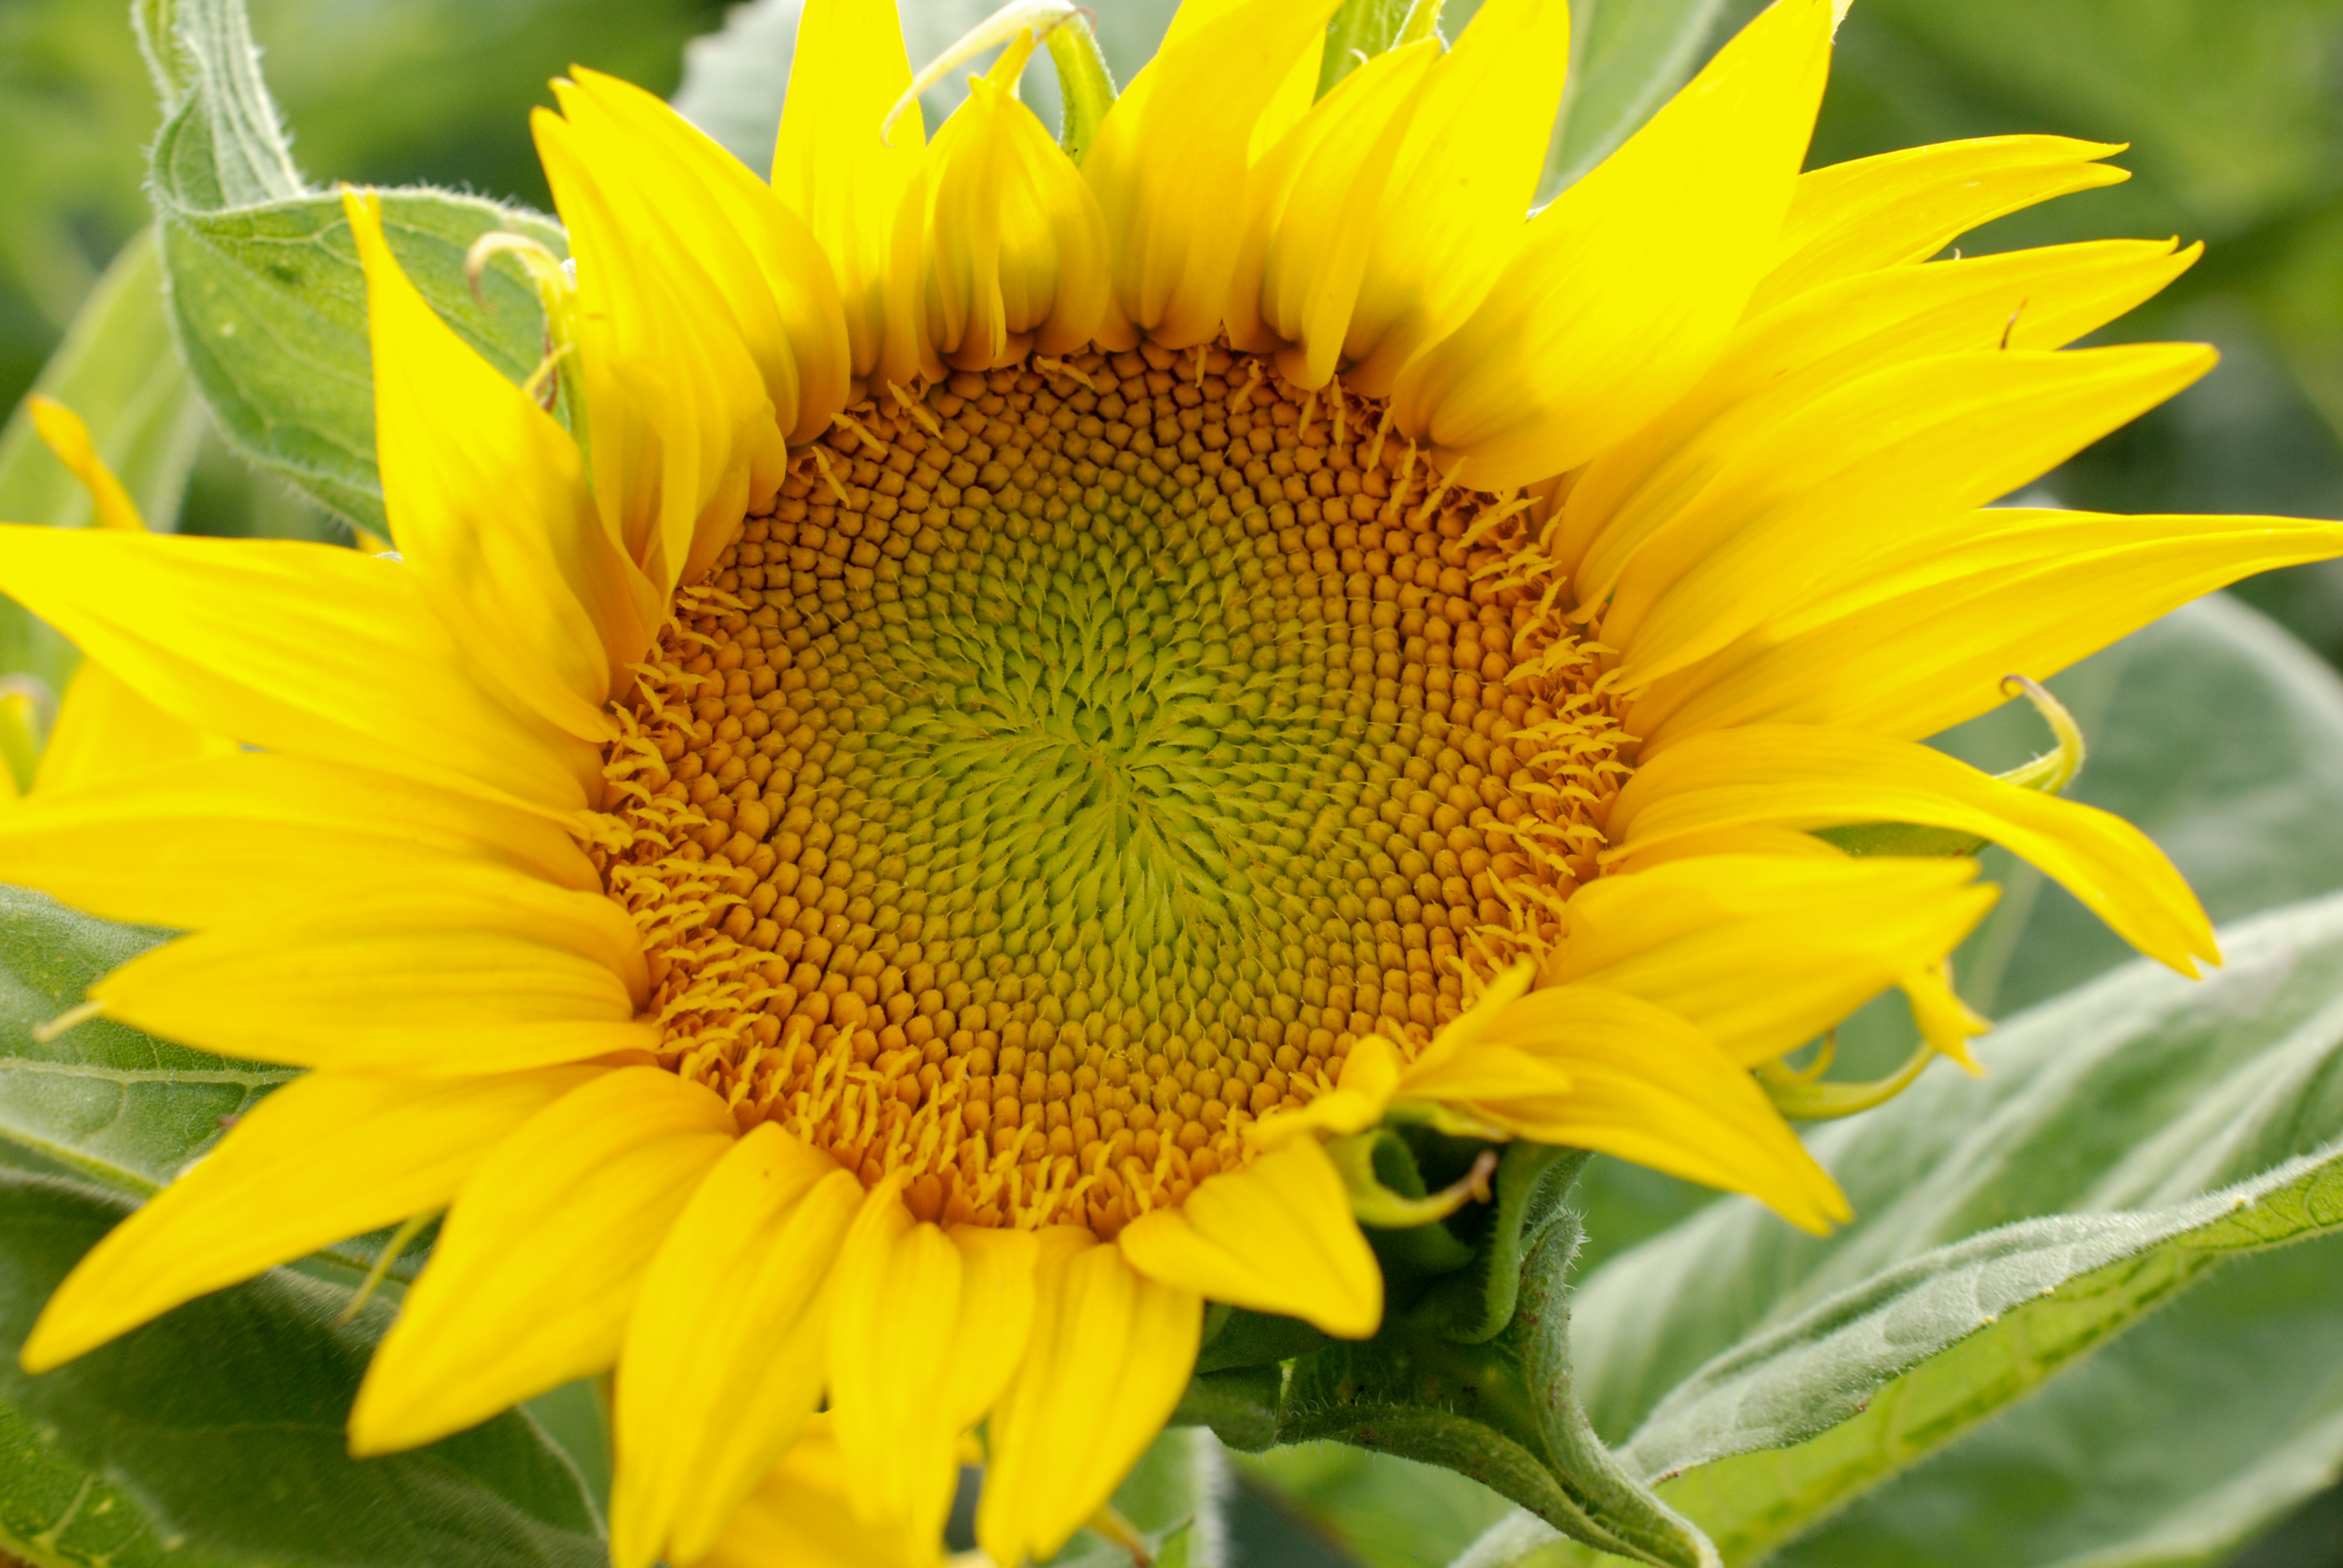
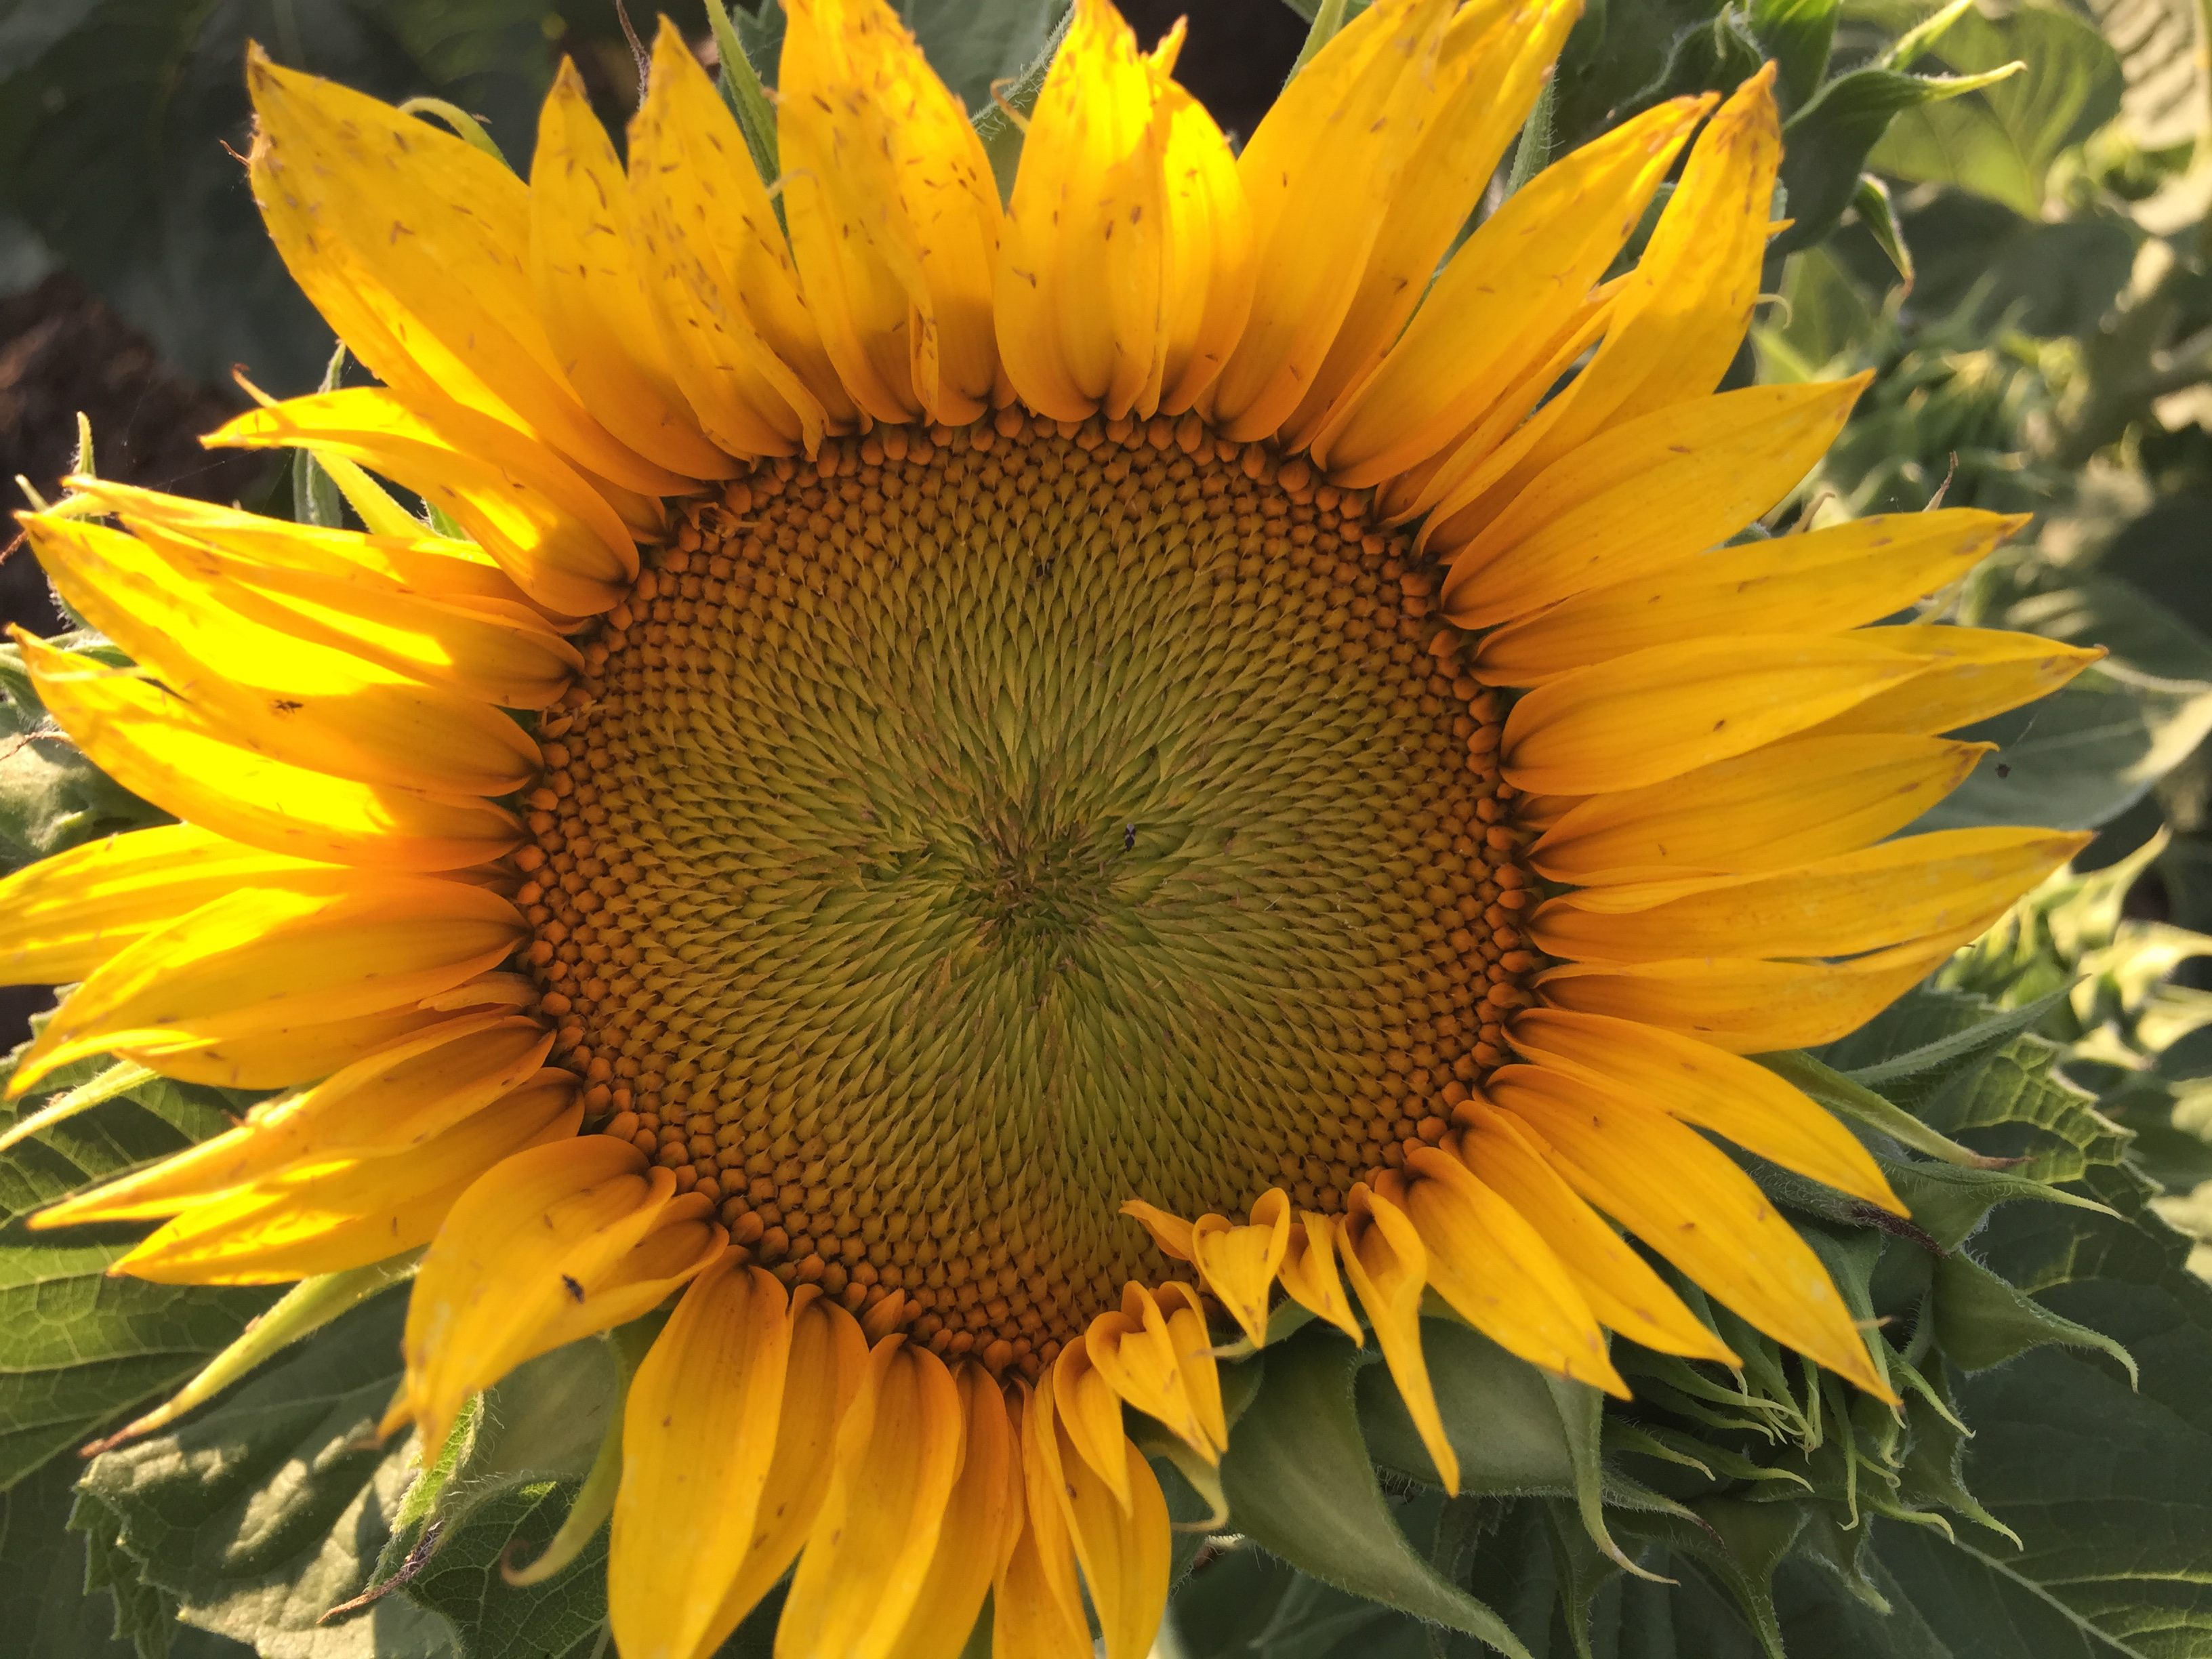
The photos above were all taken in June.

20160718-img_3086

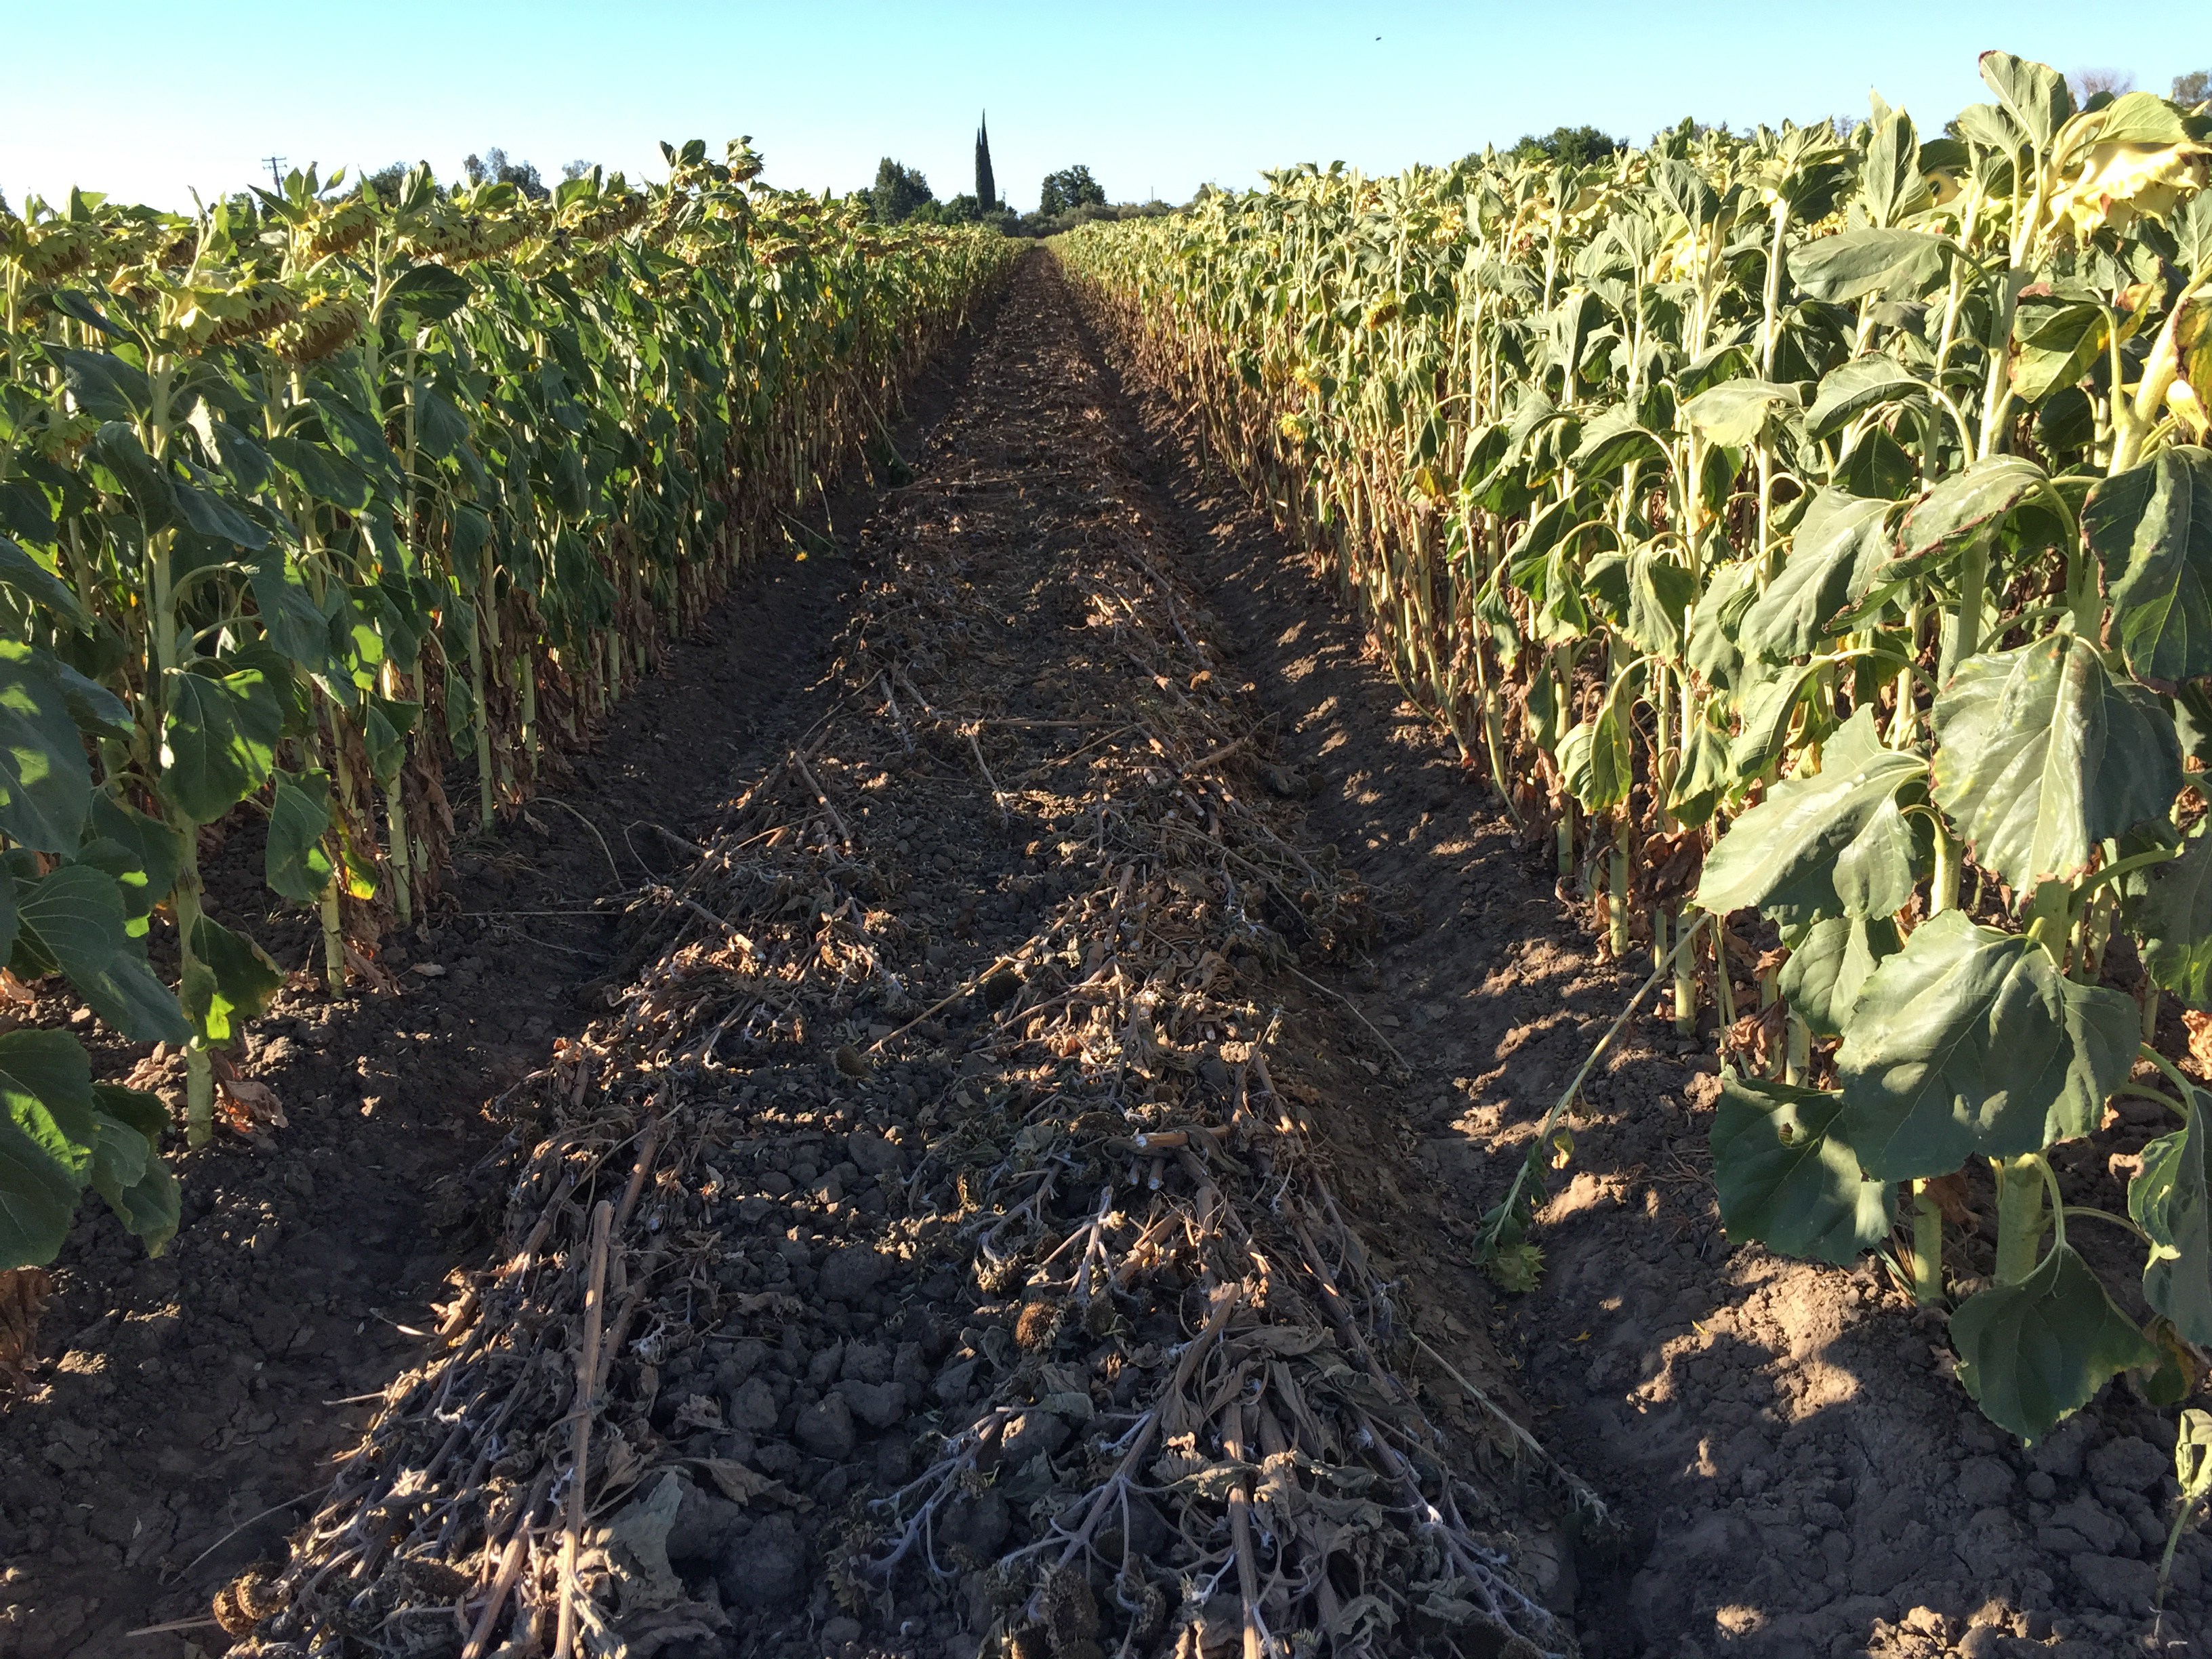
By mid-July the heads were drooping and the two rows of smaller plants were cut. The sole purpose of those sunflowers was to provide half of the genetics of the hybrid seed to be harvested from the larger plants.

20160718-img_3087

20160812-dsc_2070

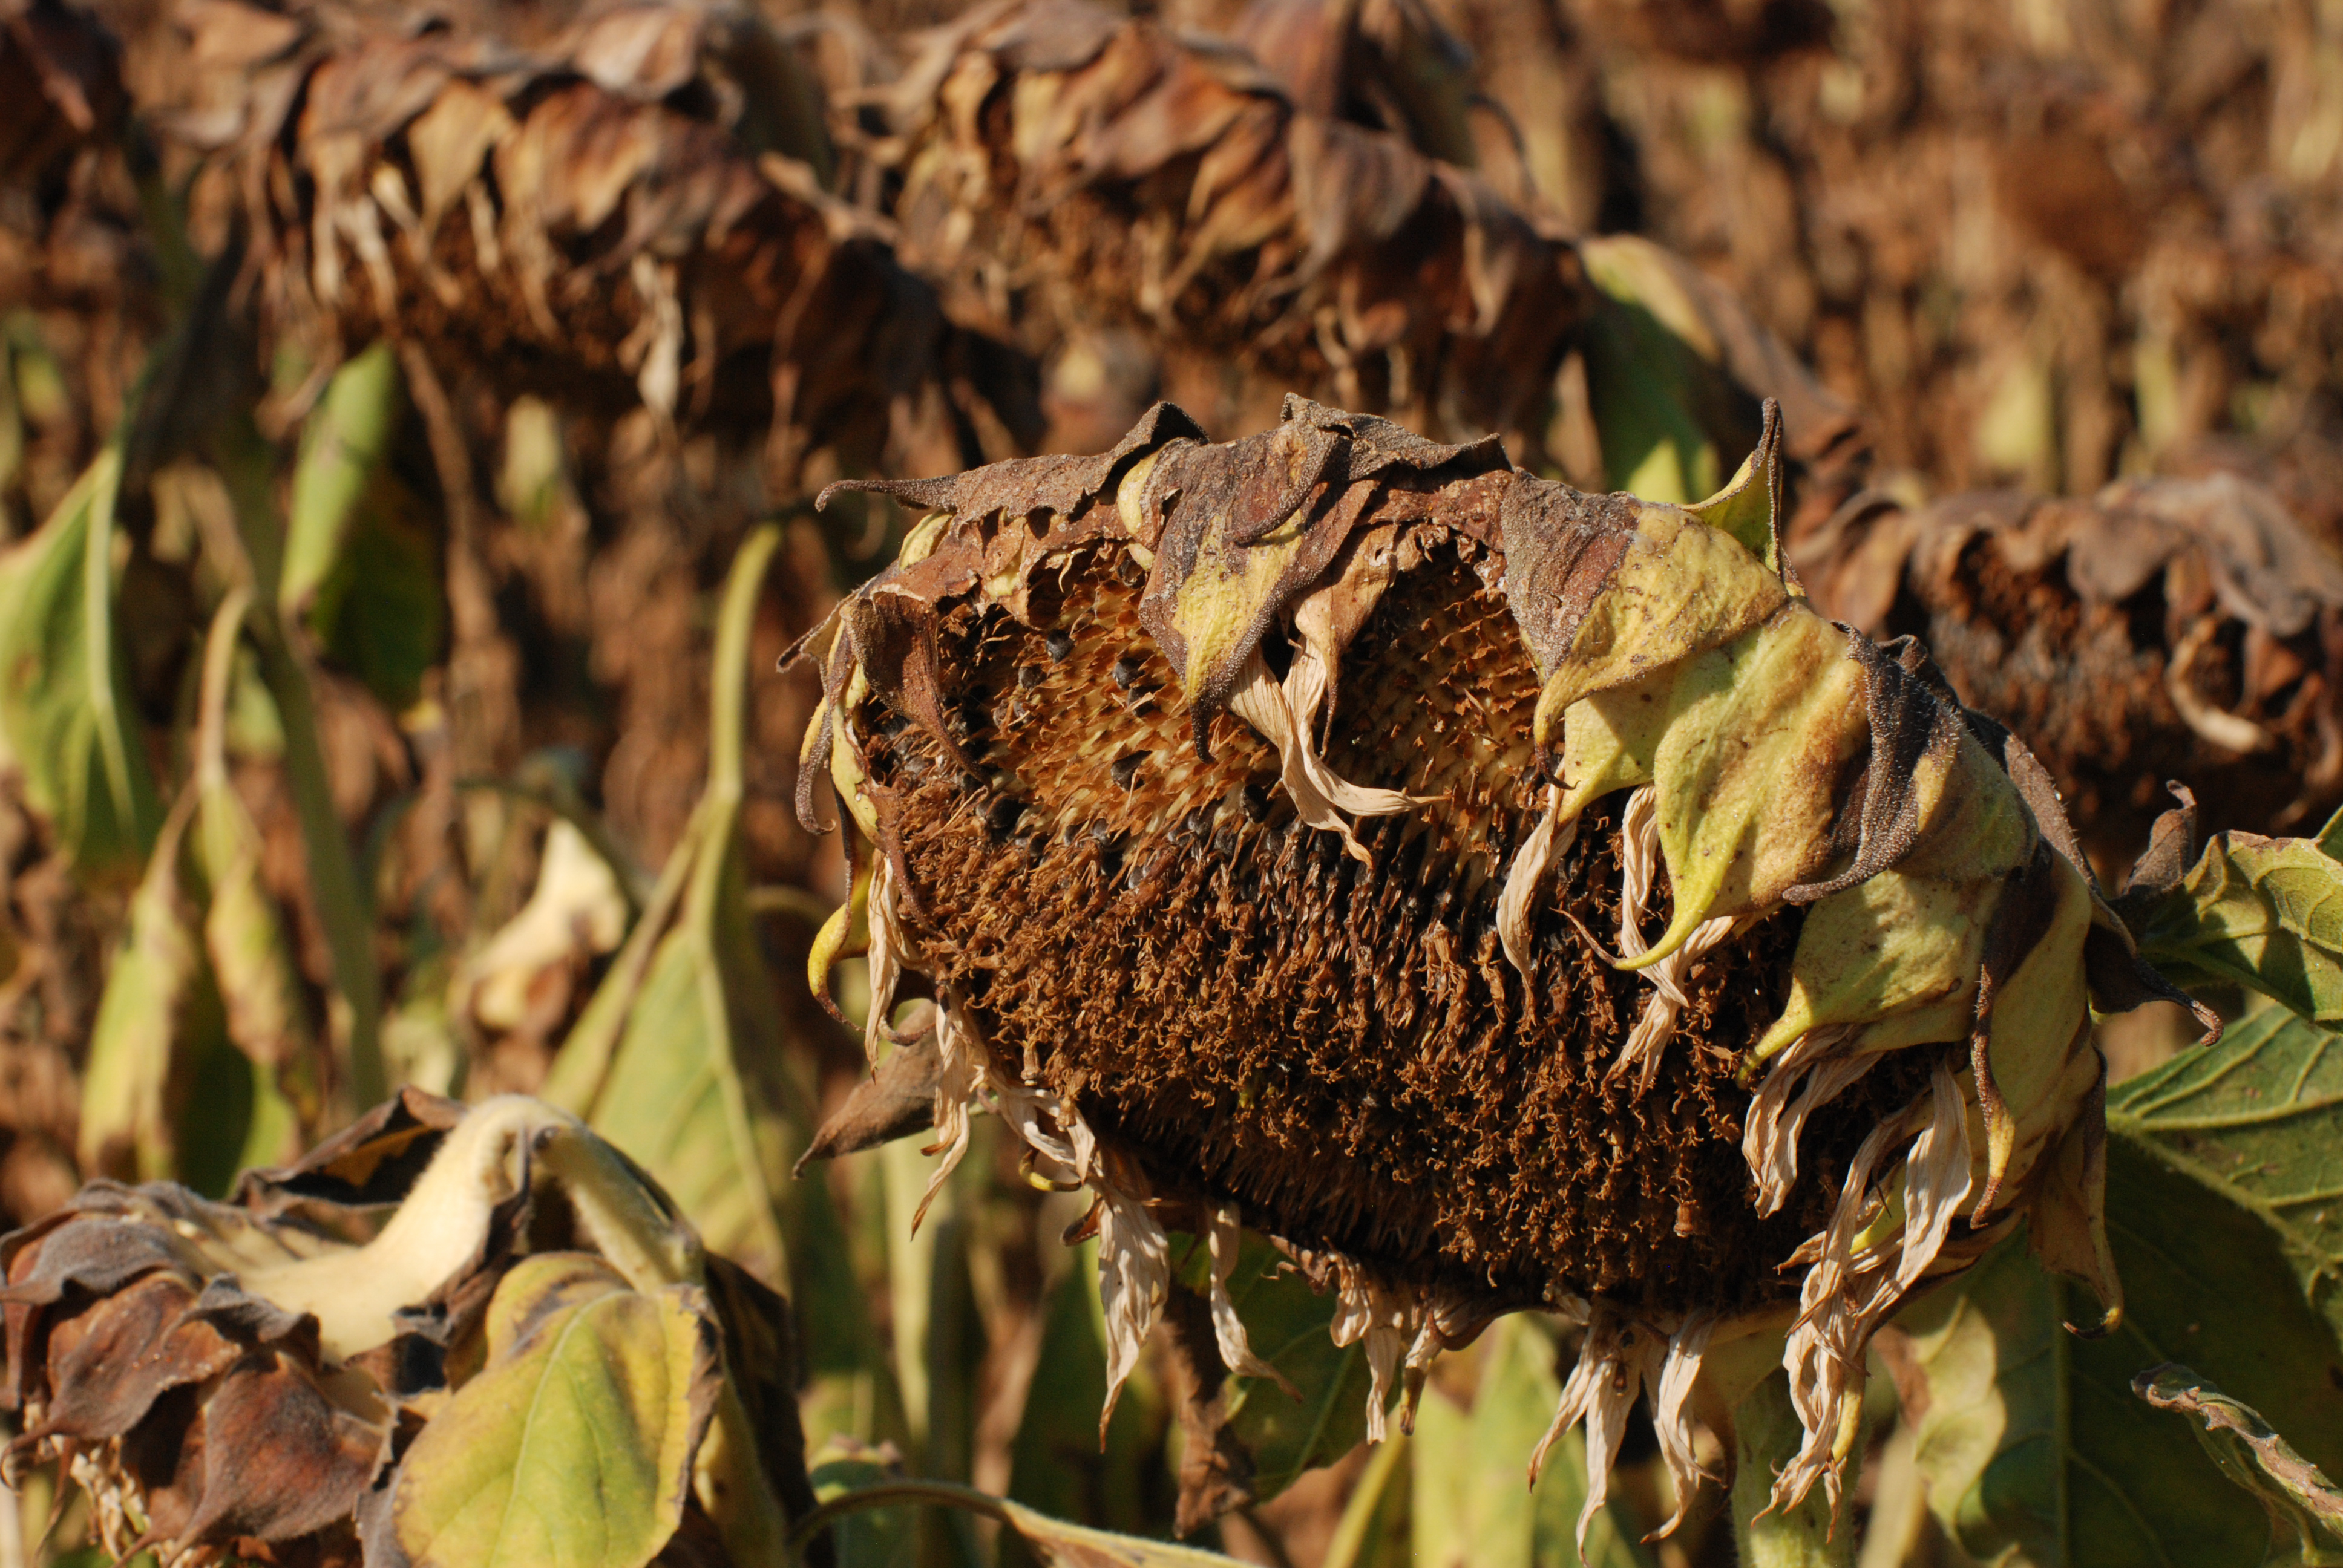
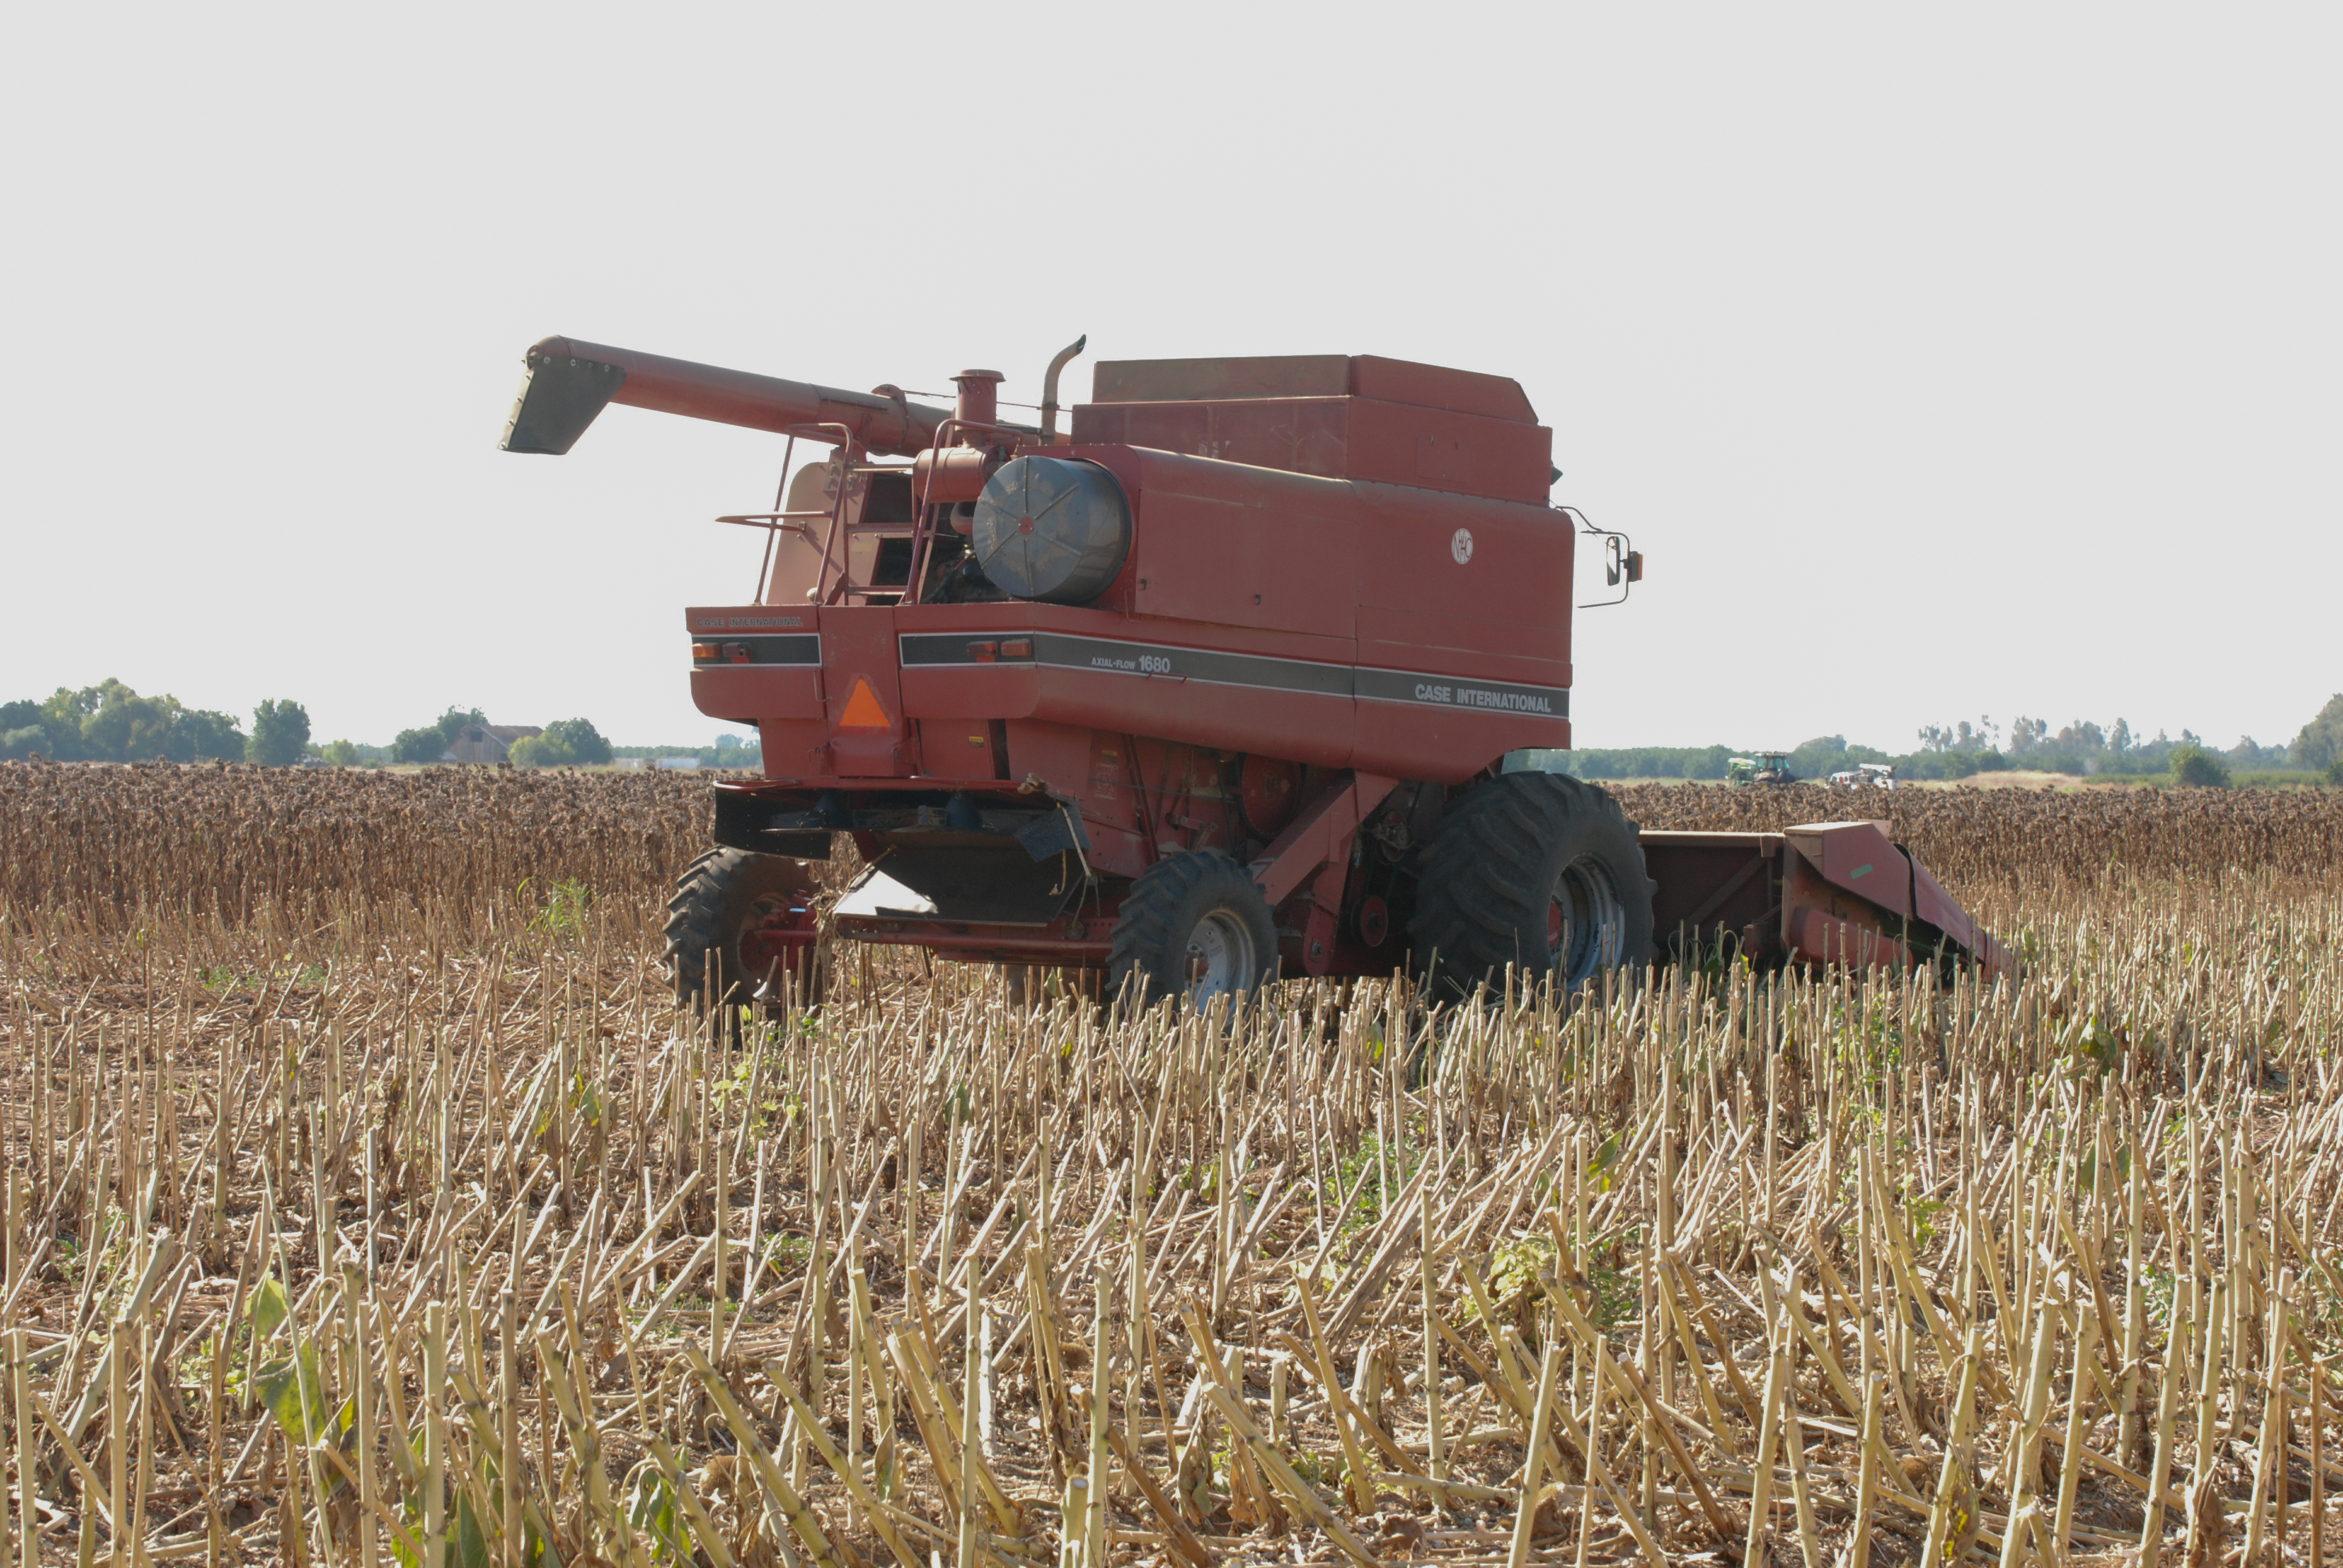
The seed was ready to harvest in mid-August.

dsc_2054

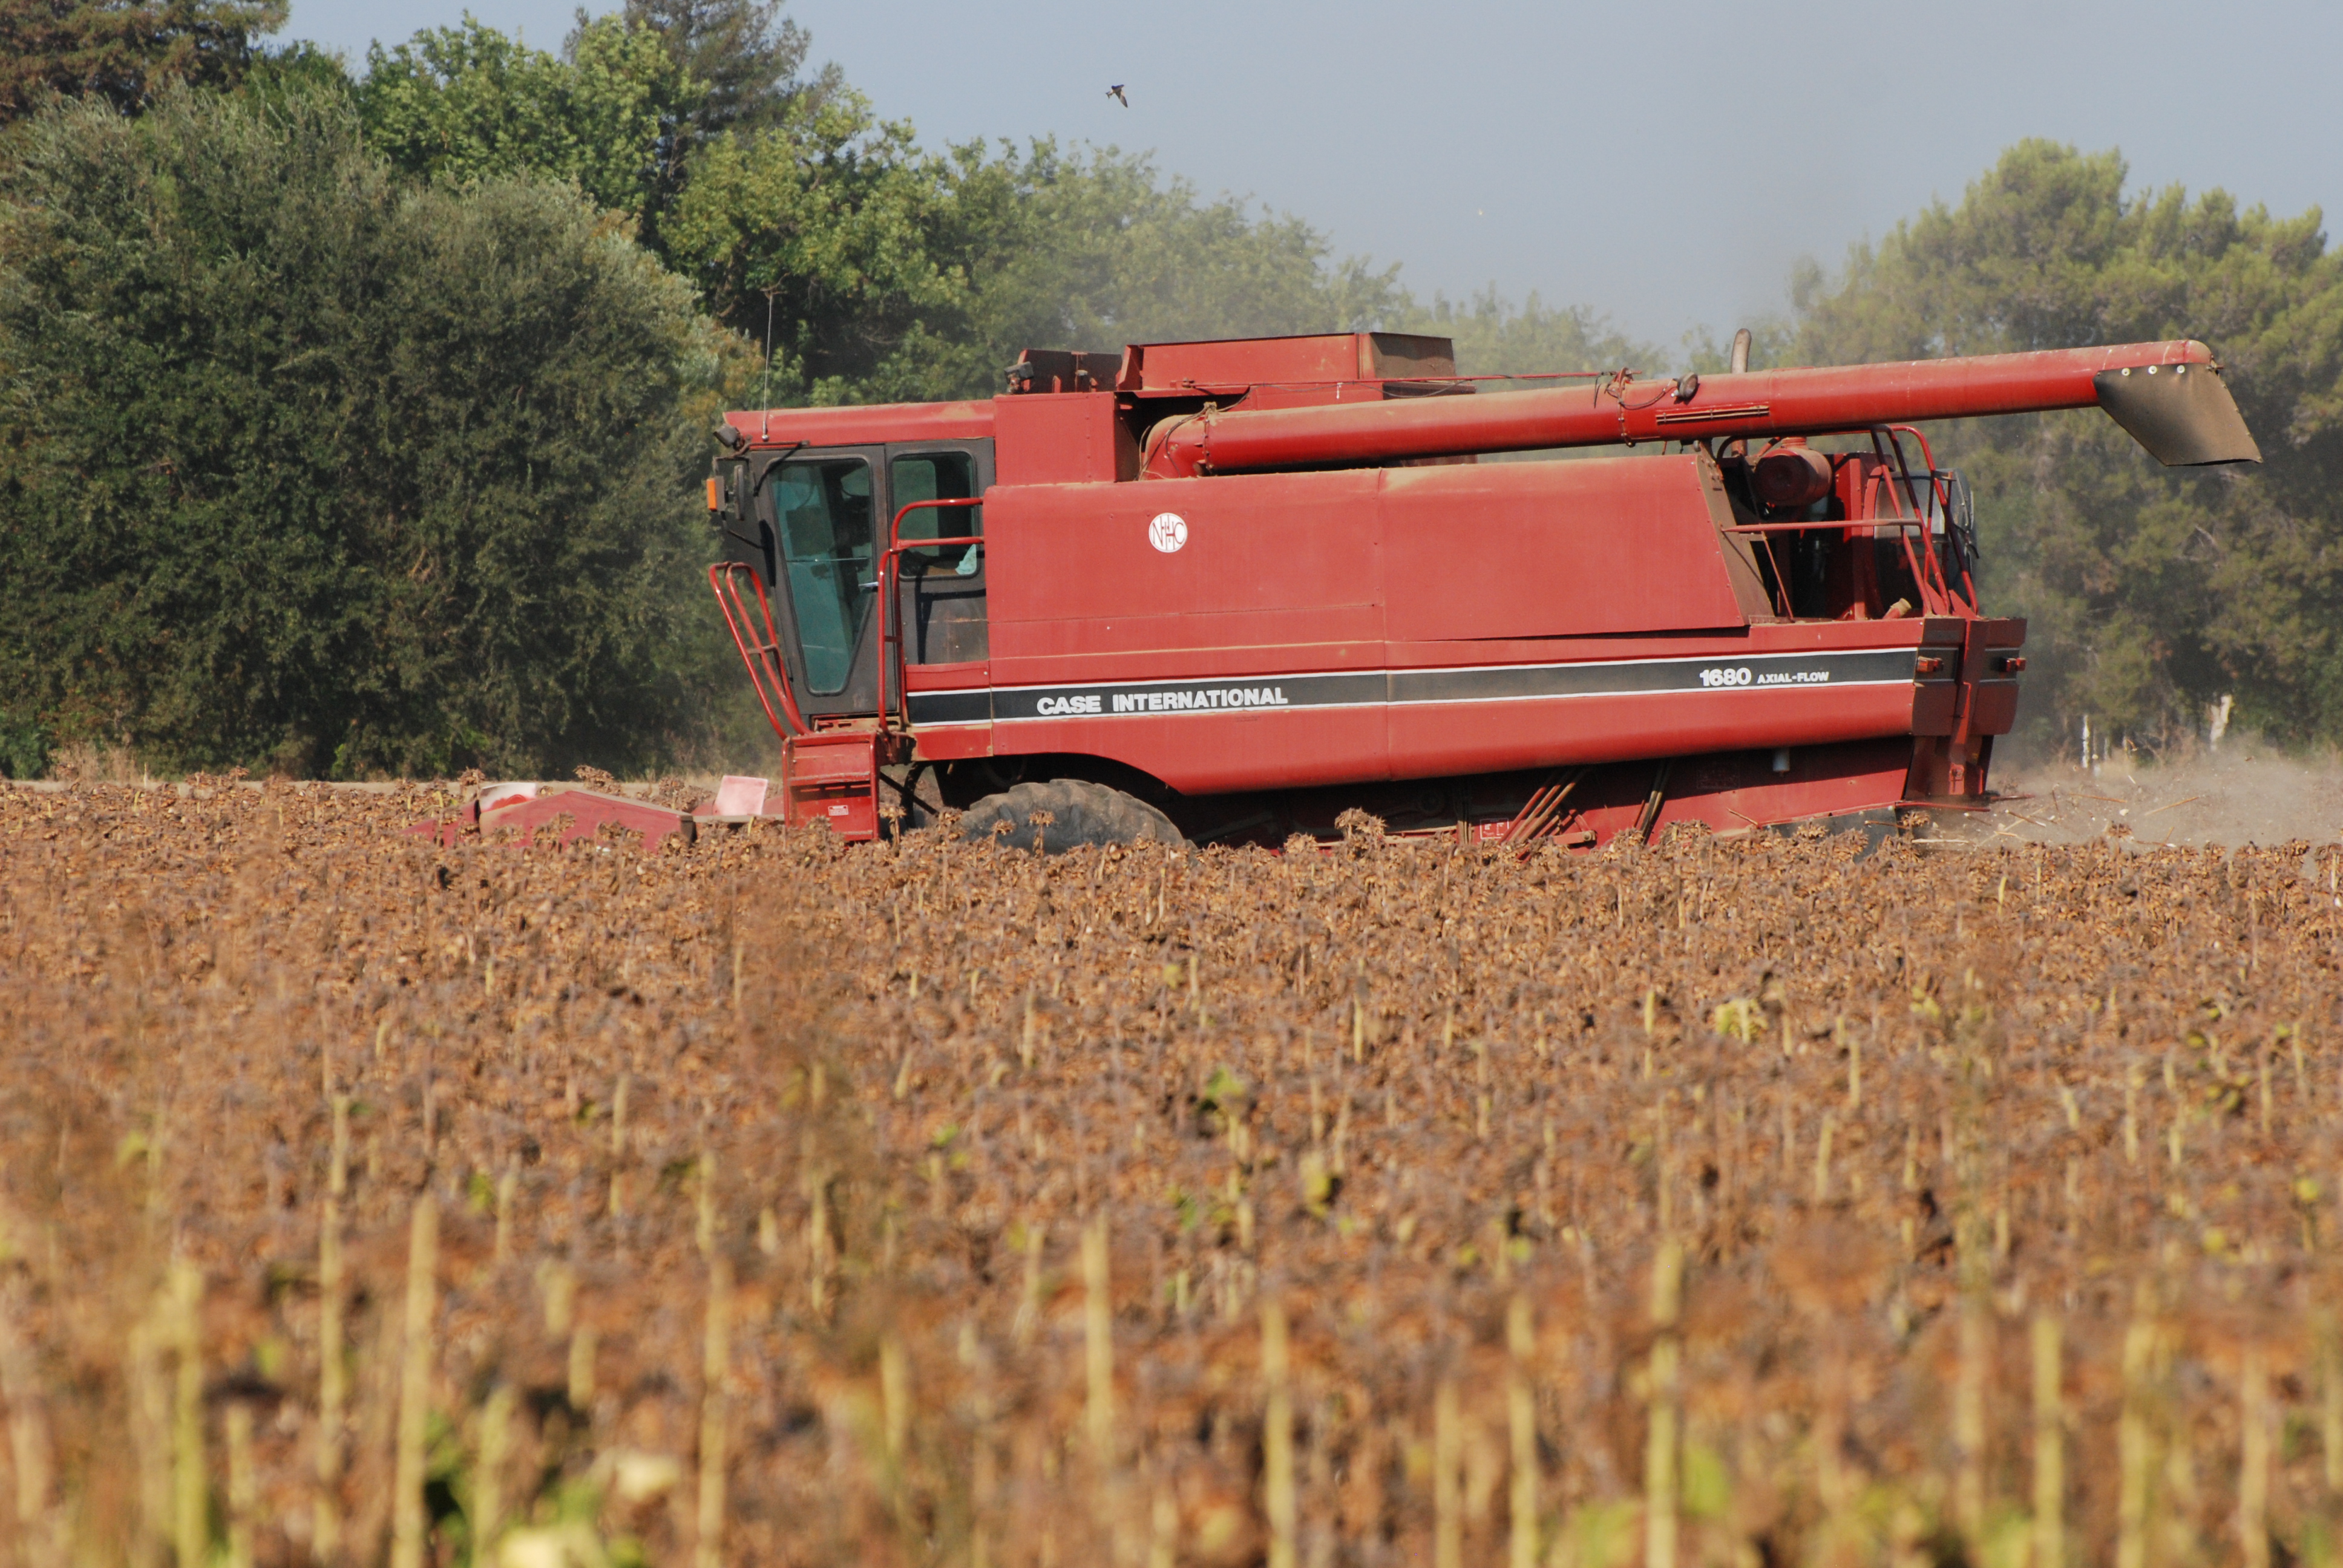
The harvester drove through the field, cutting the plants,…dsc_2061

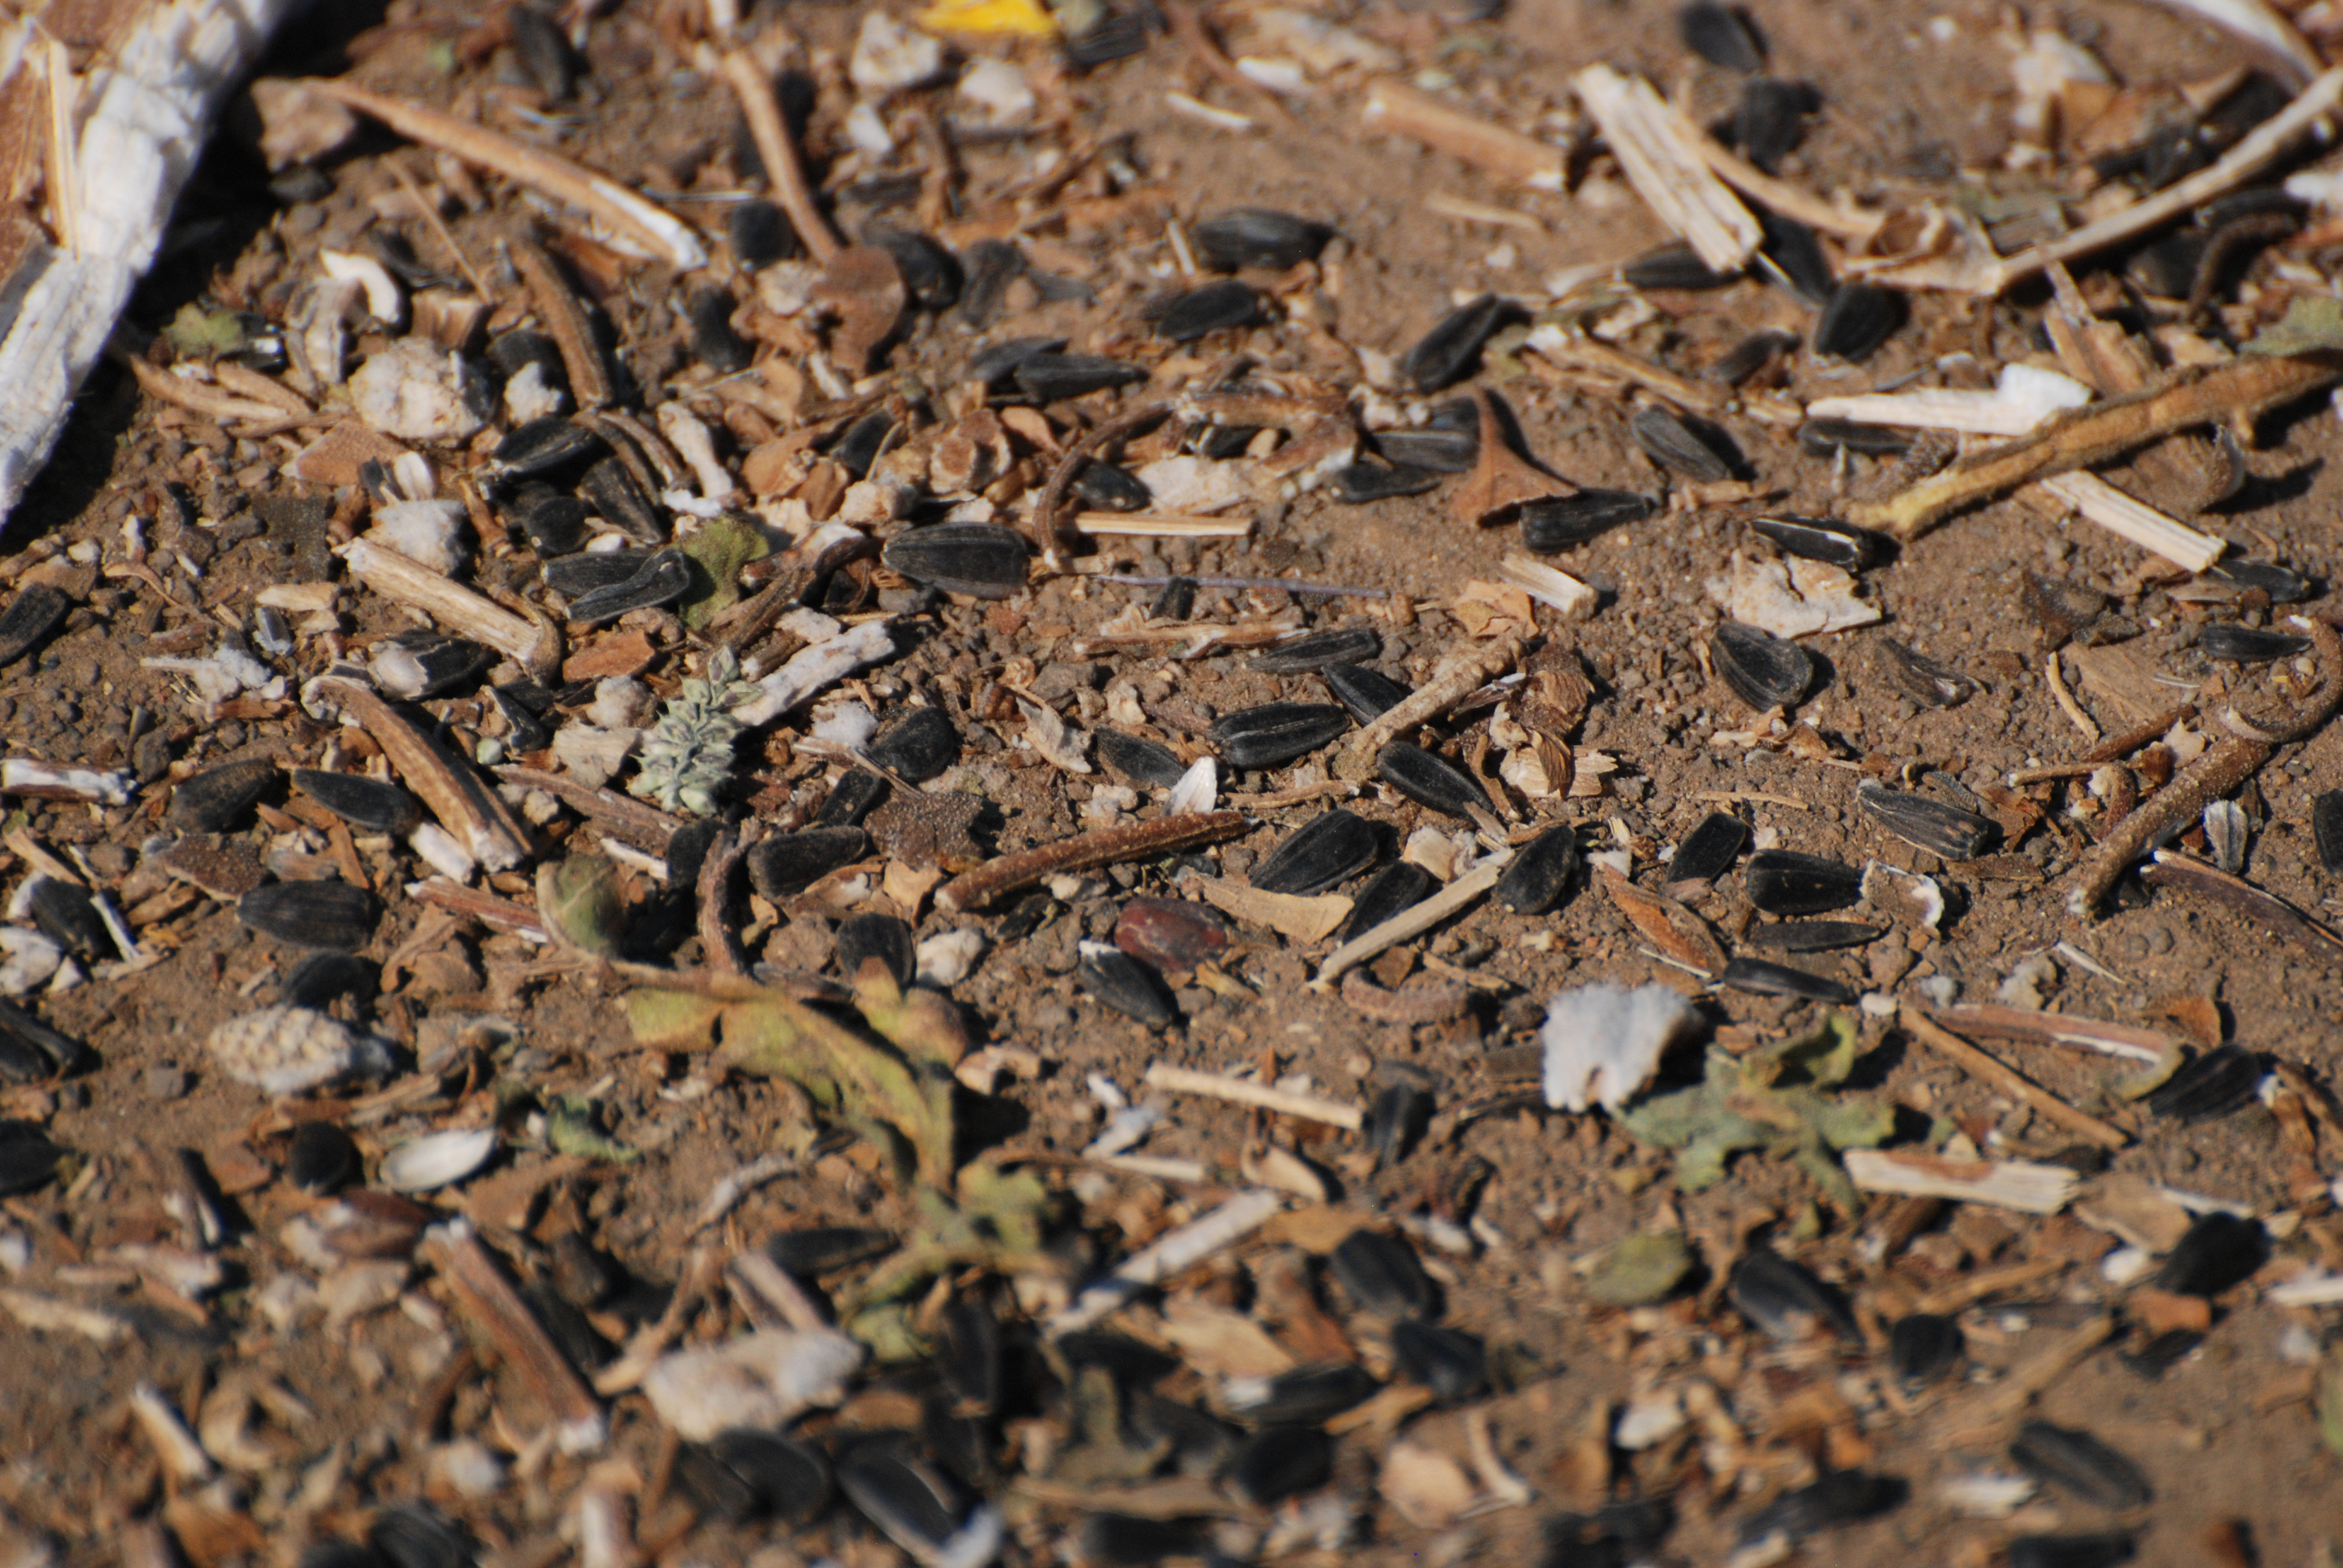
…sorting out the waste,…dsc_2055

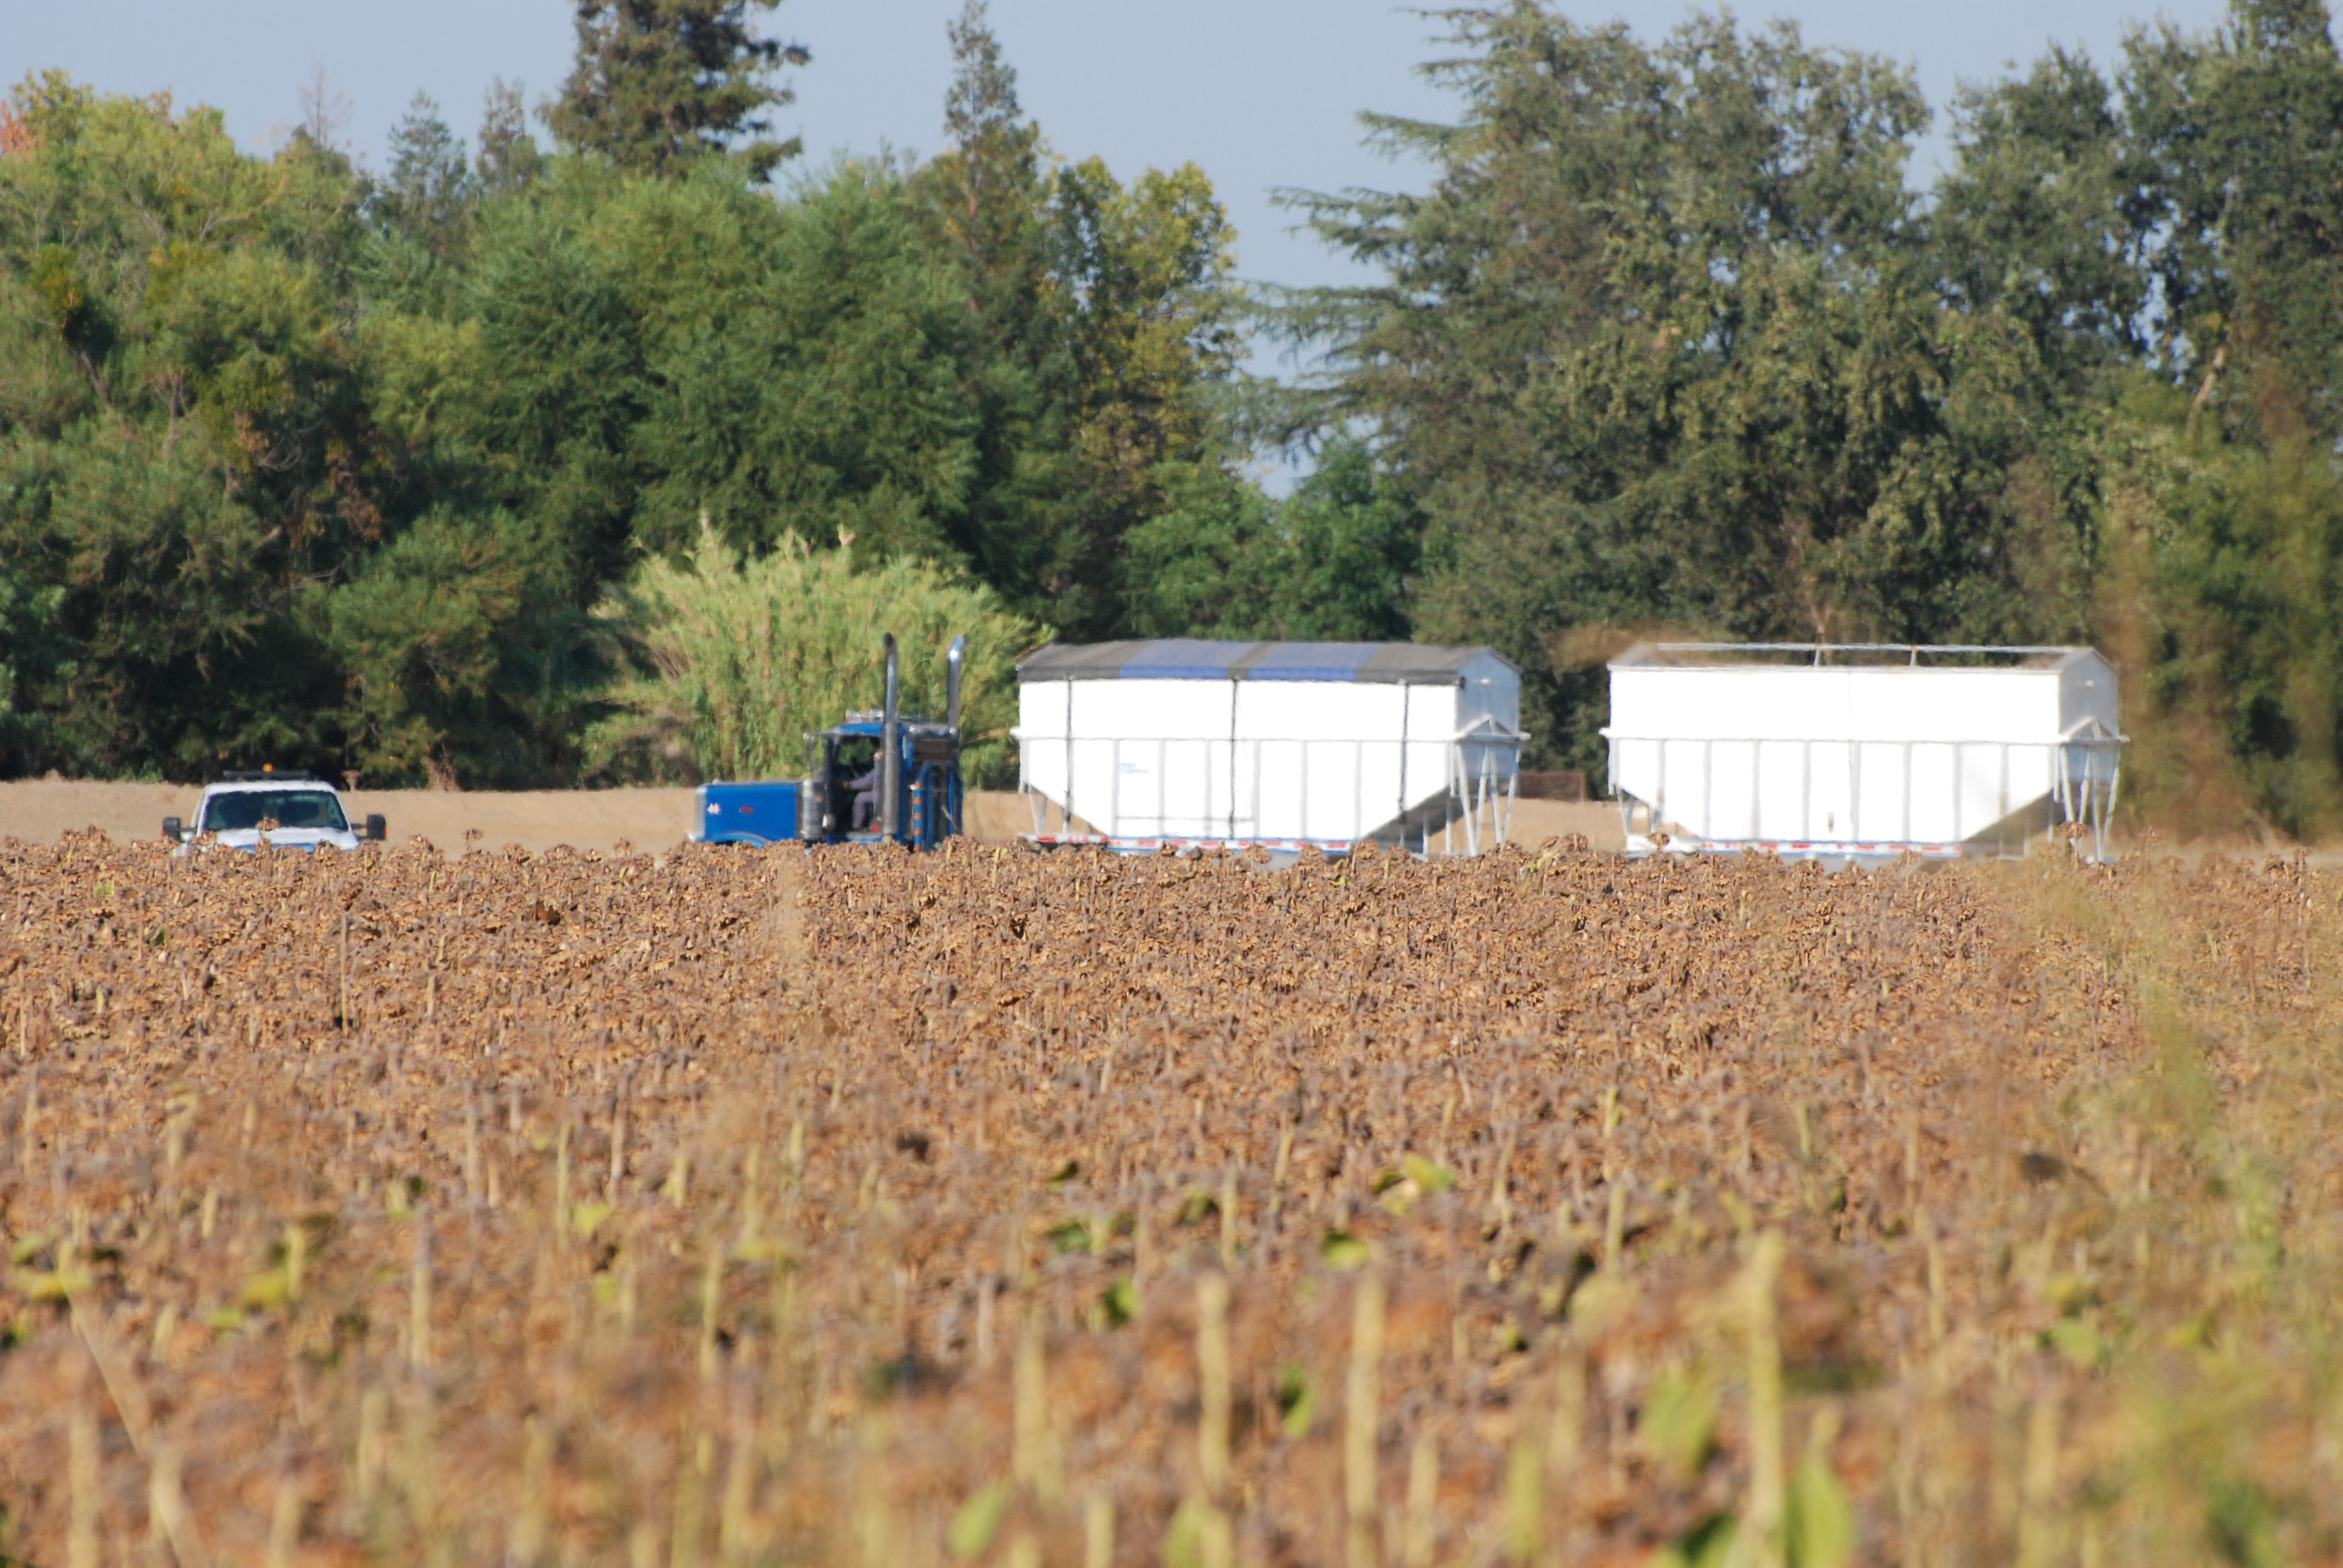
…and periodically dumping the seed into a waiting truck.

20160812-dsc_2071

20160812-dsc_2092

20160812-dsc_2135

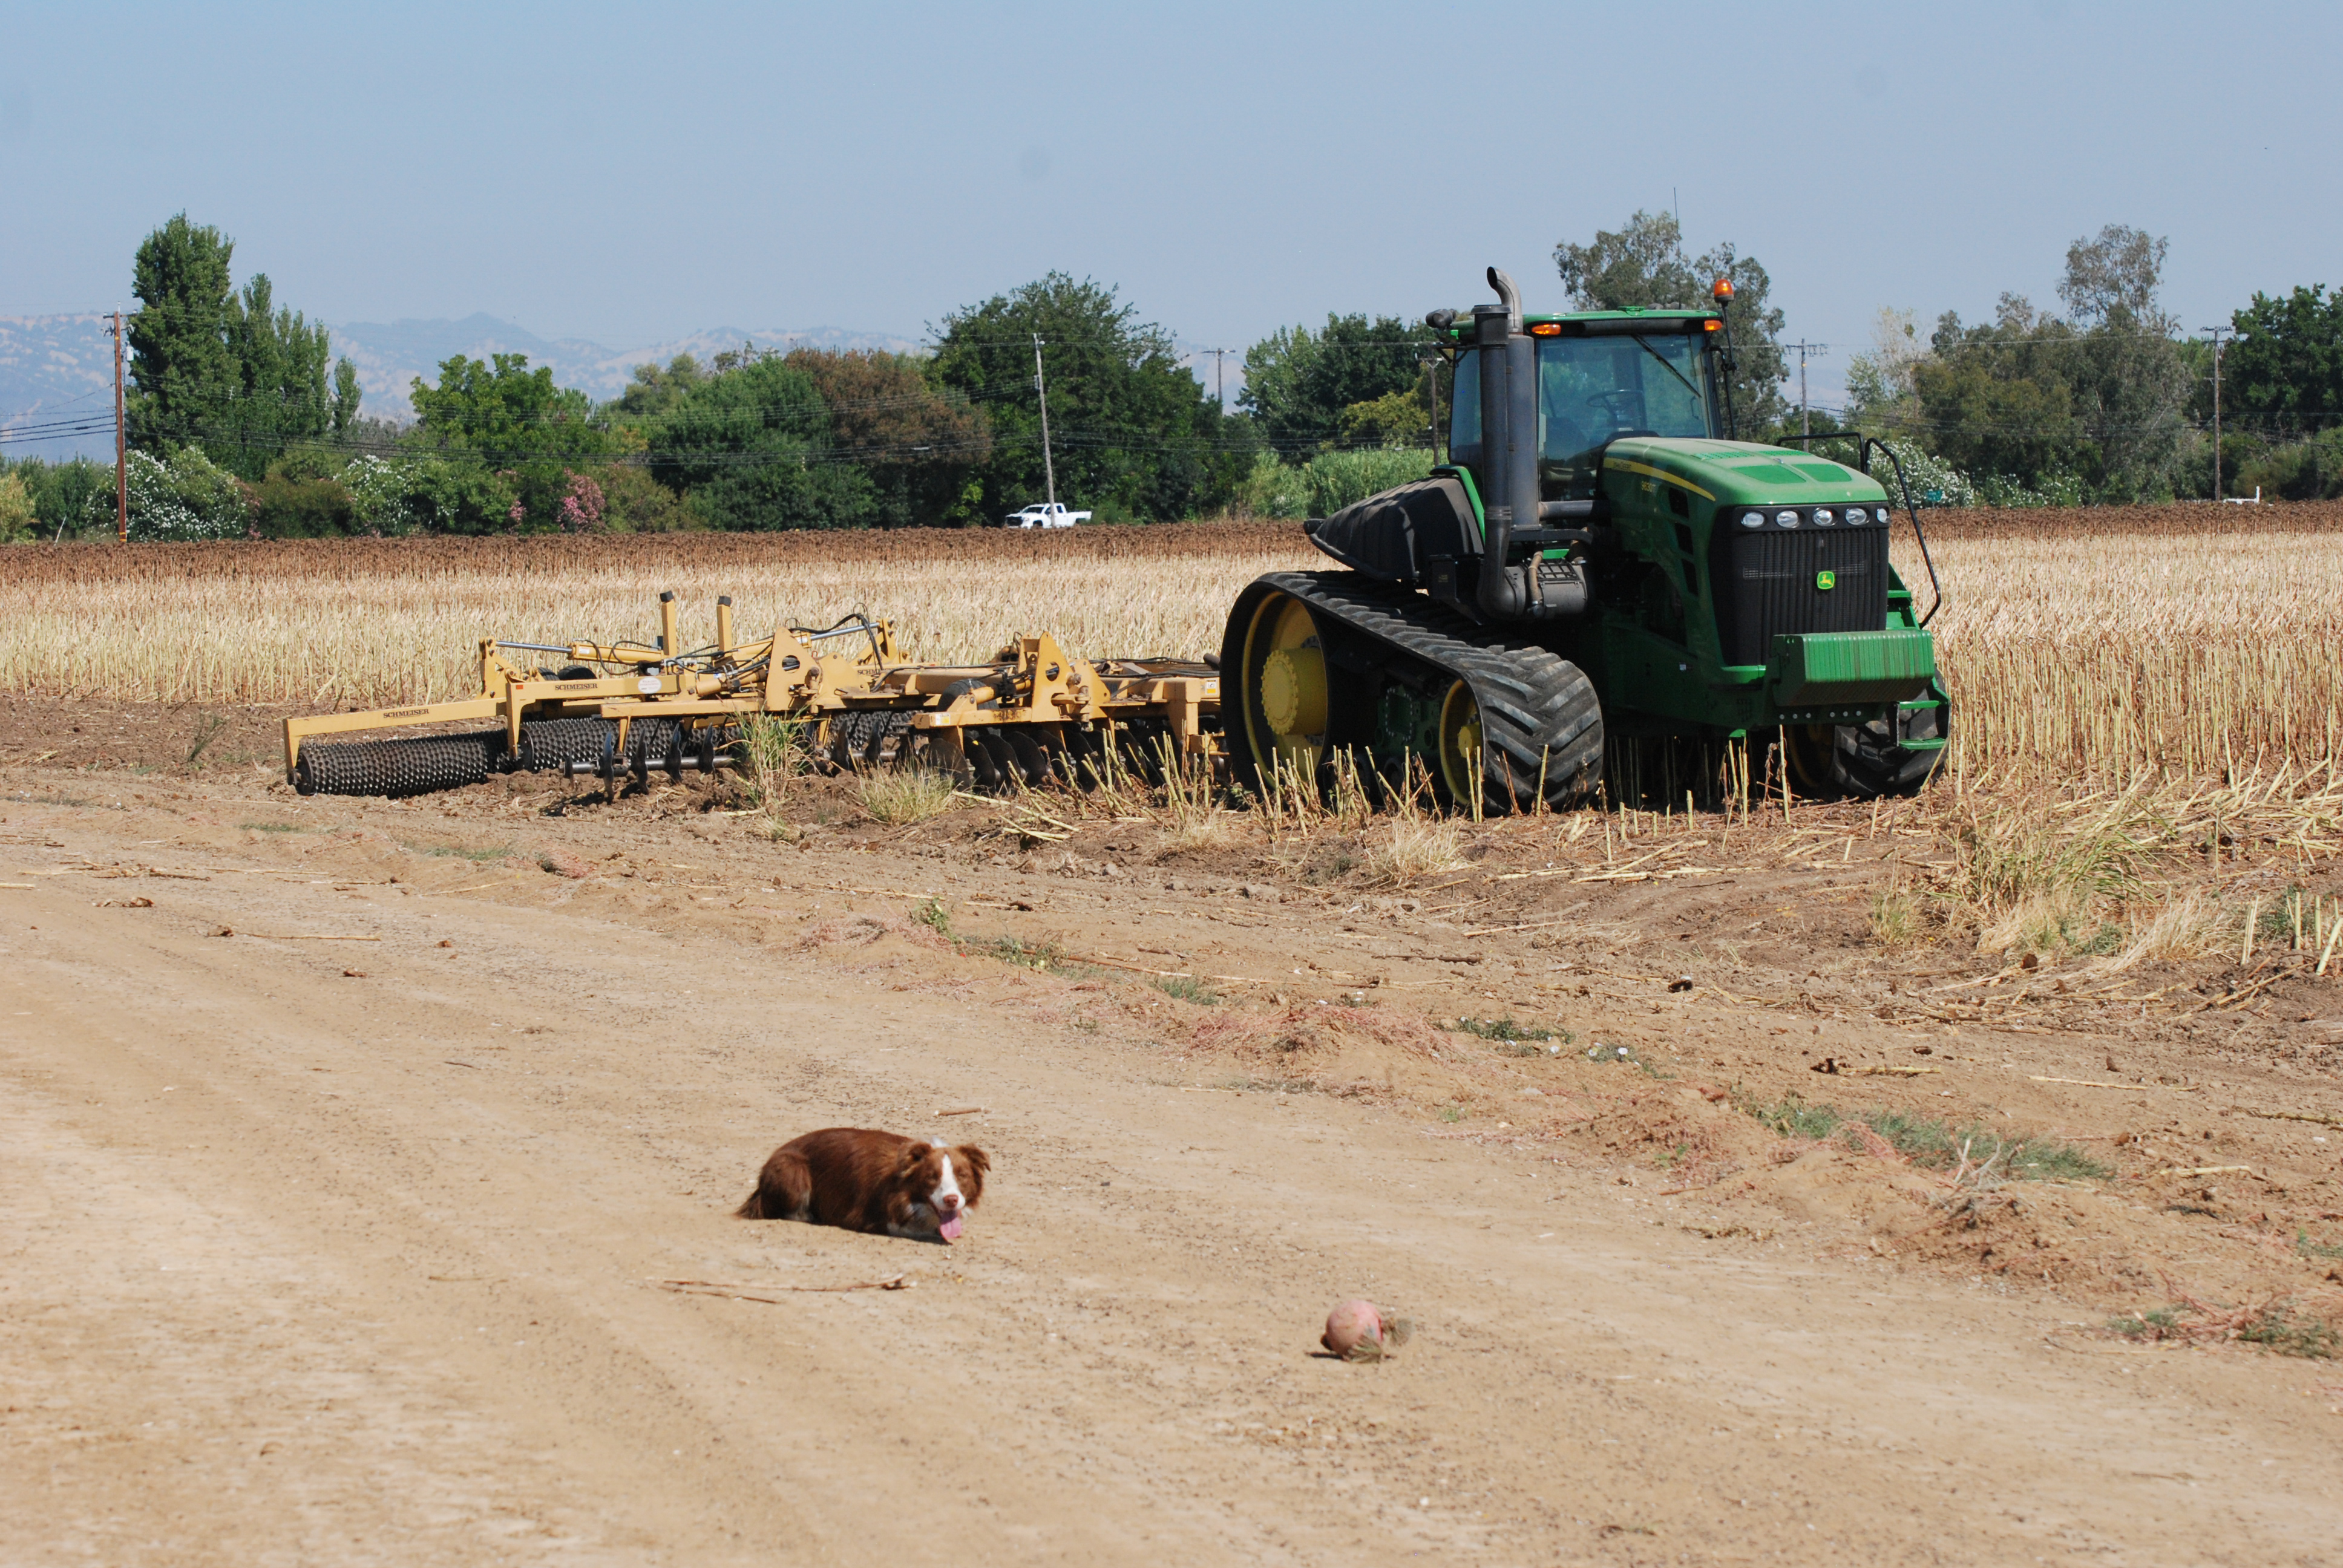
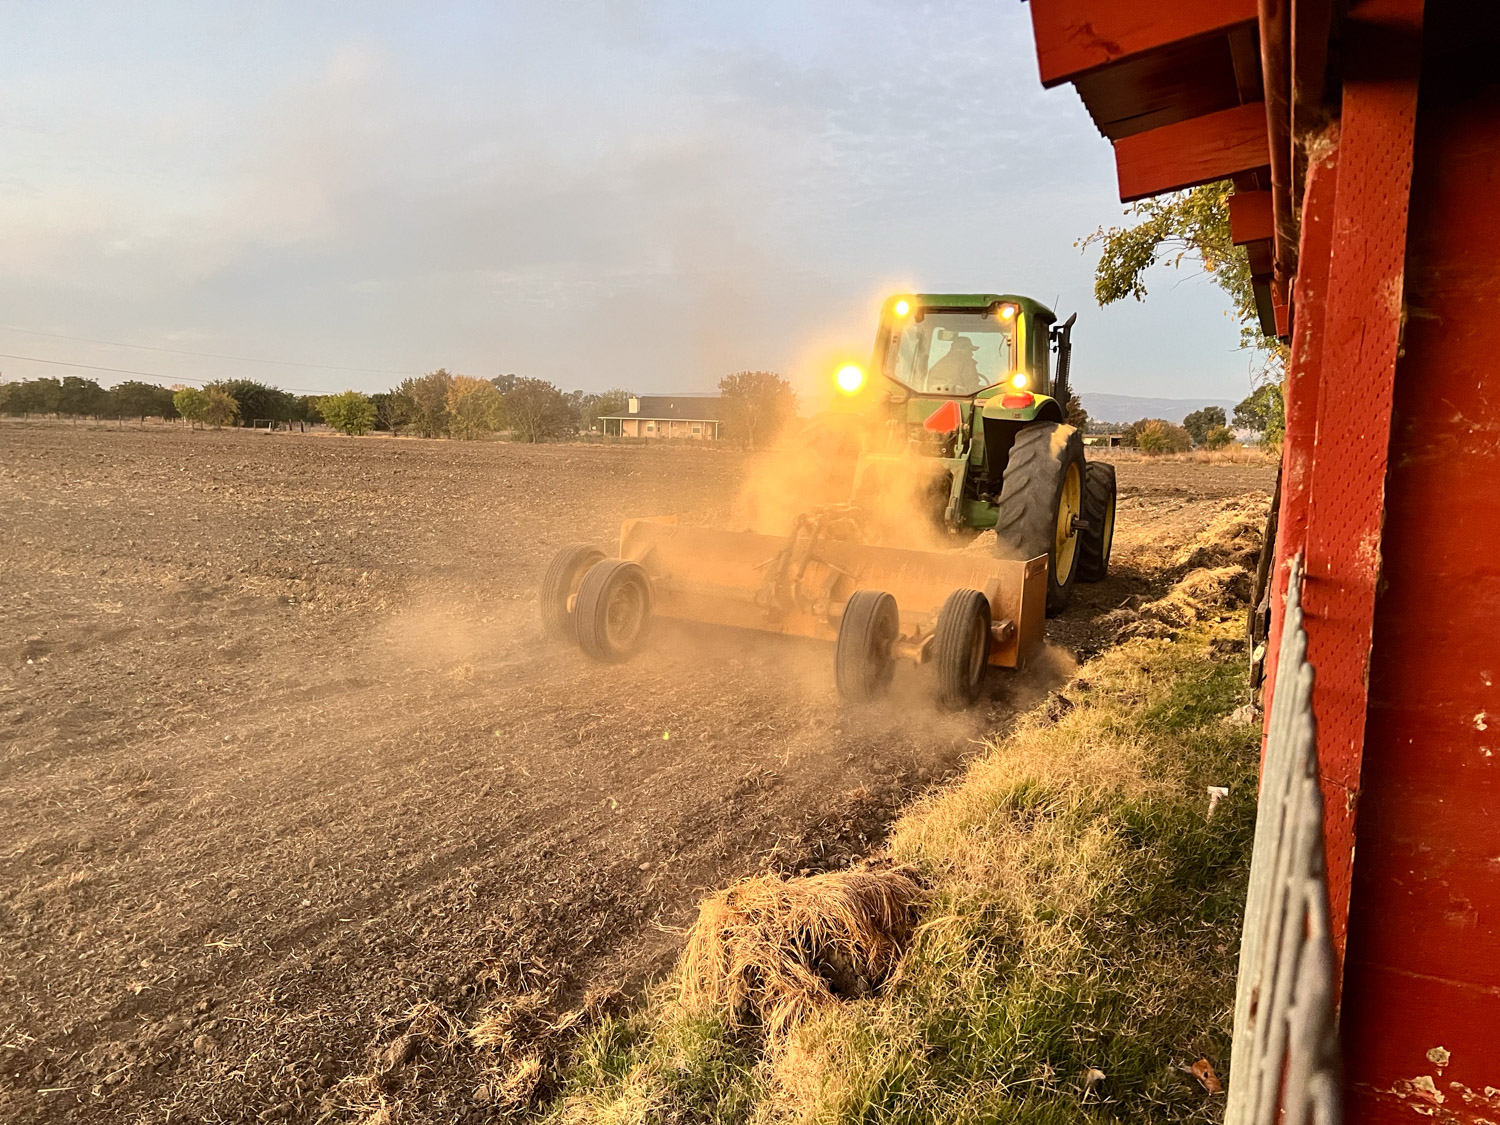
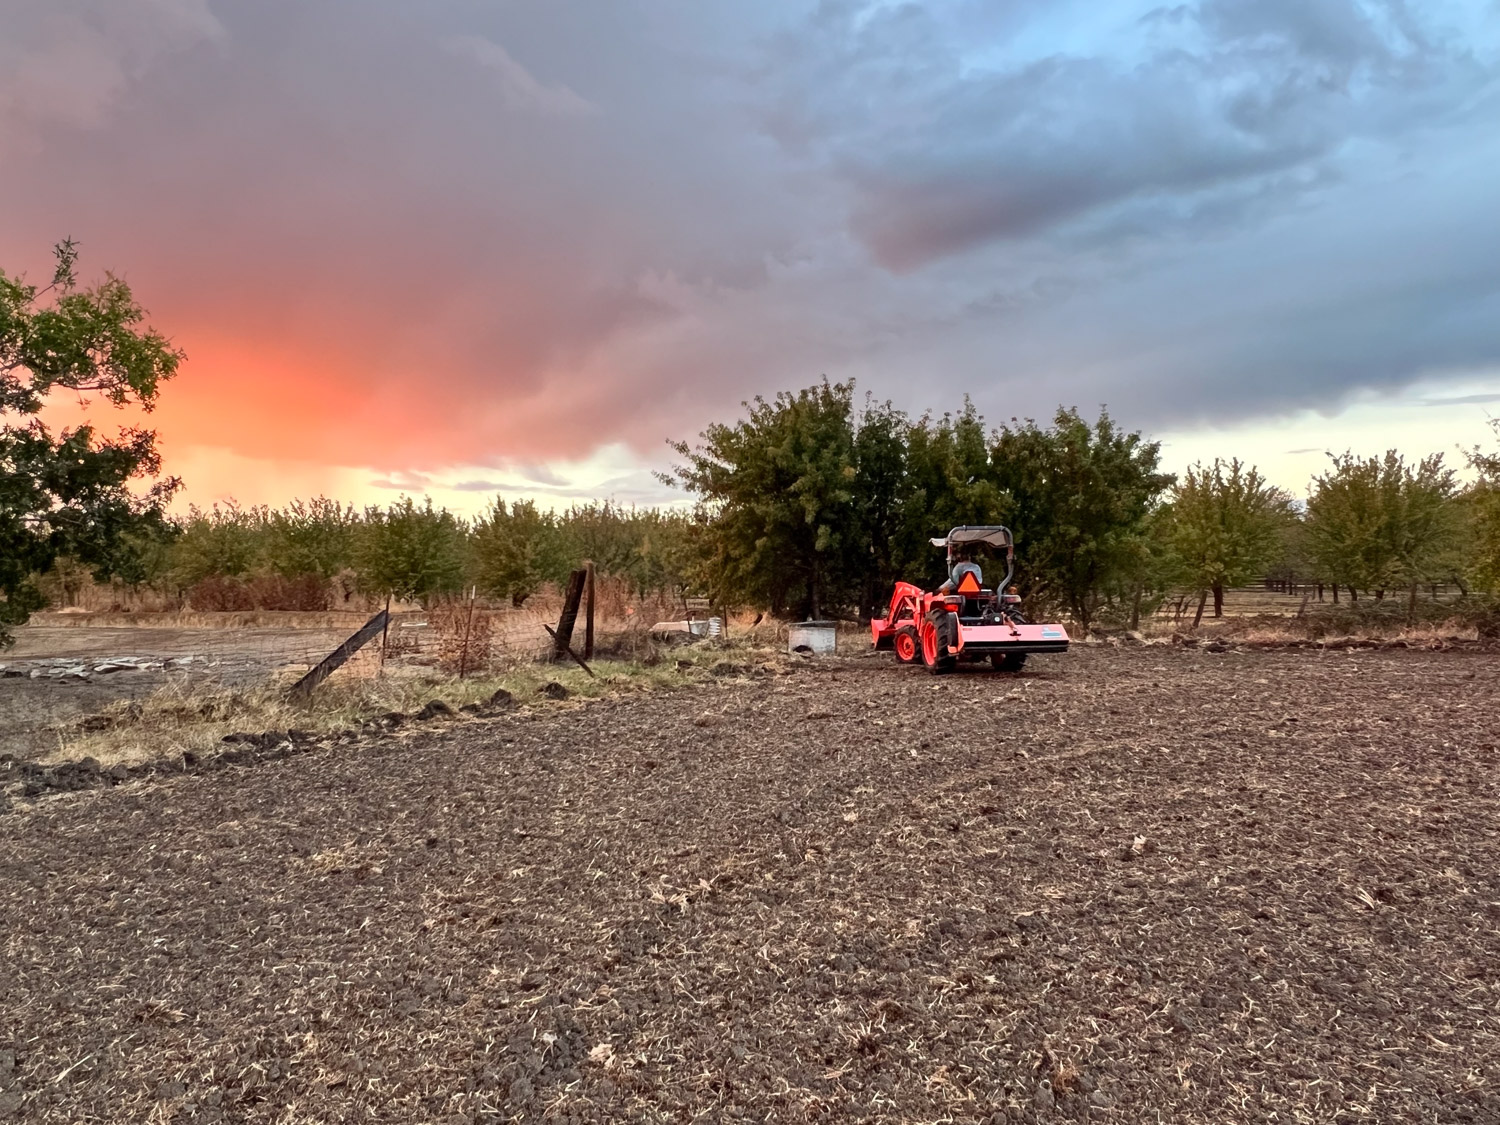
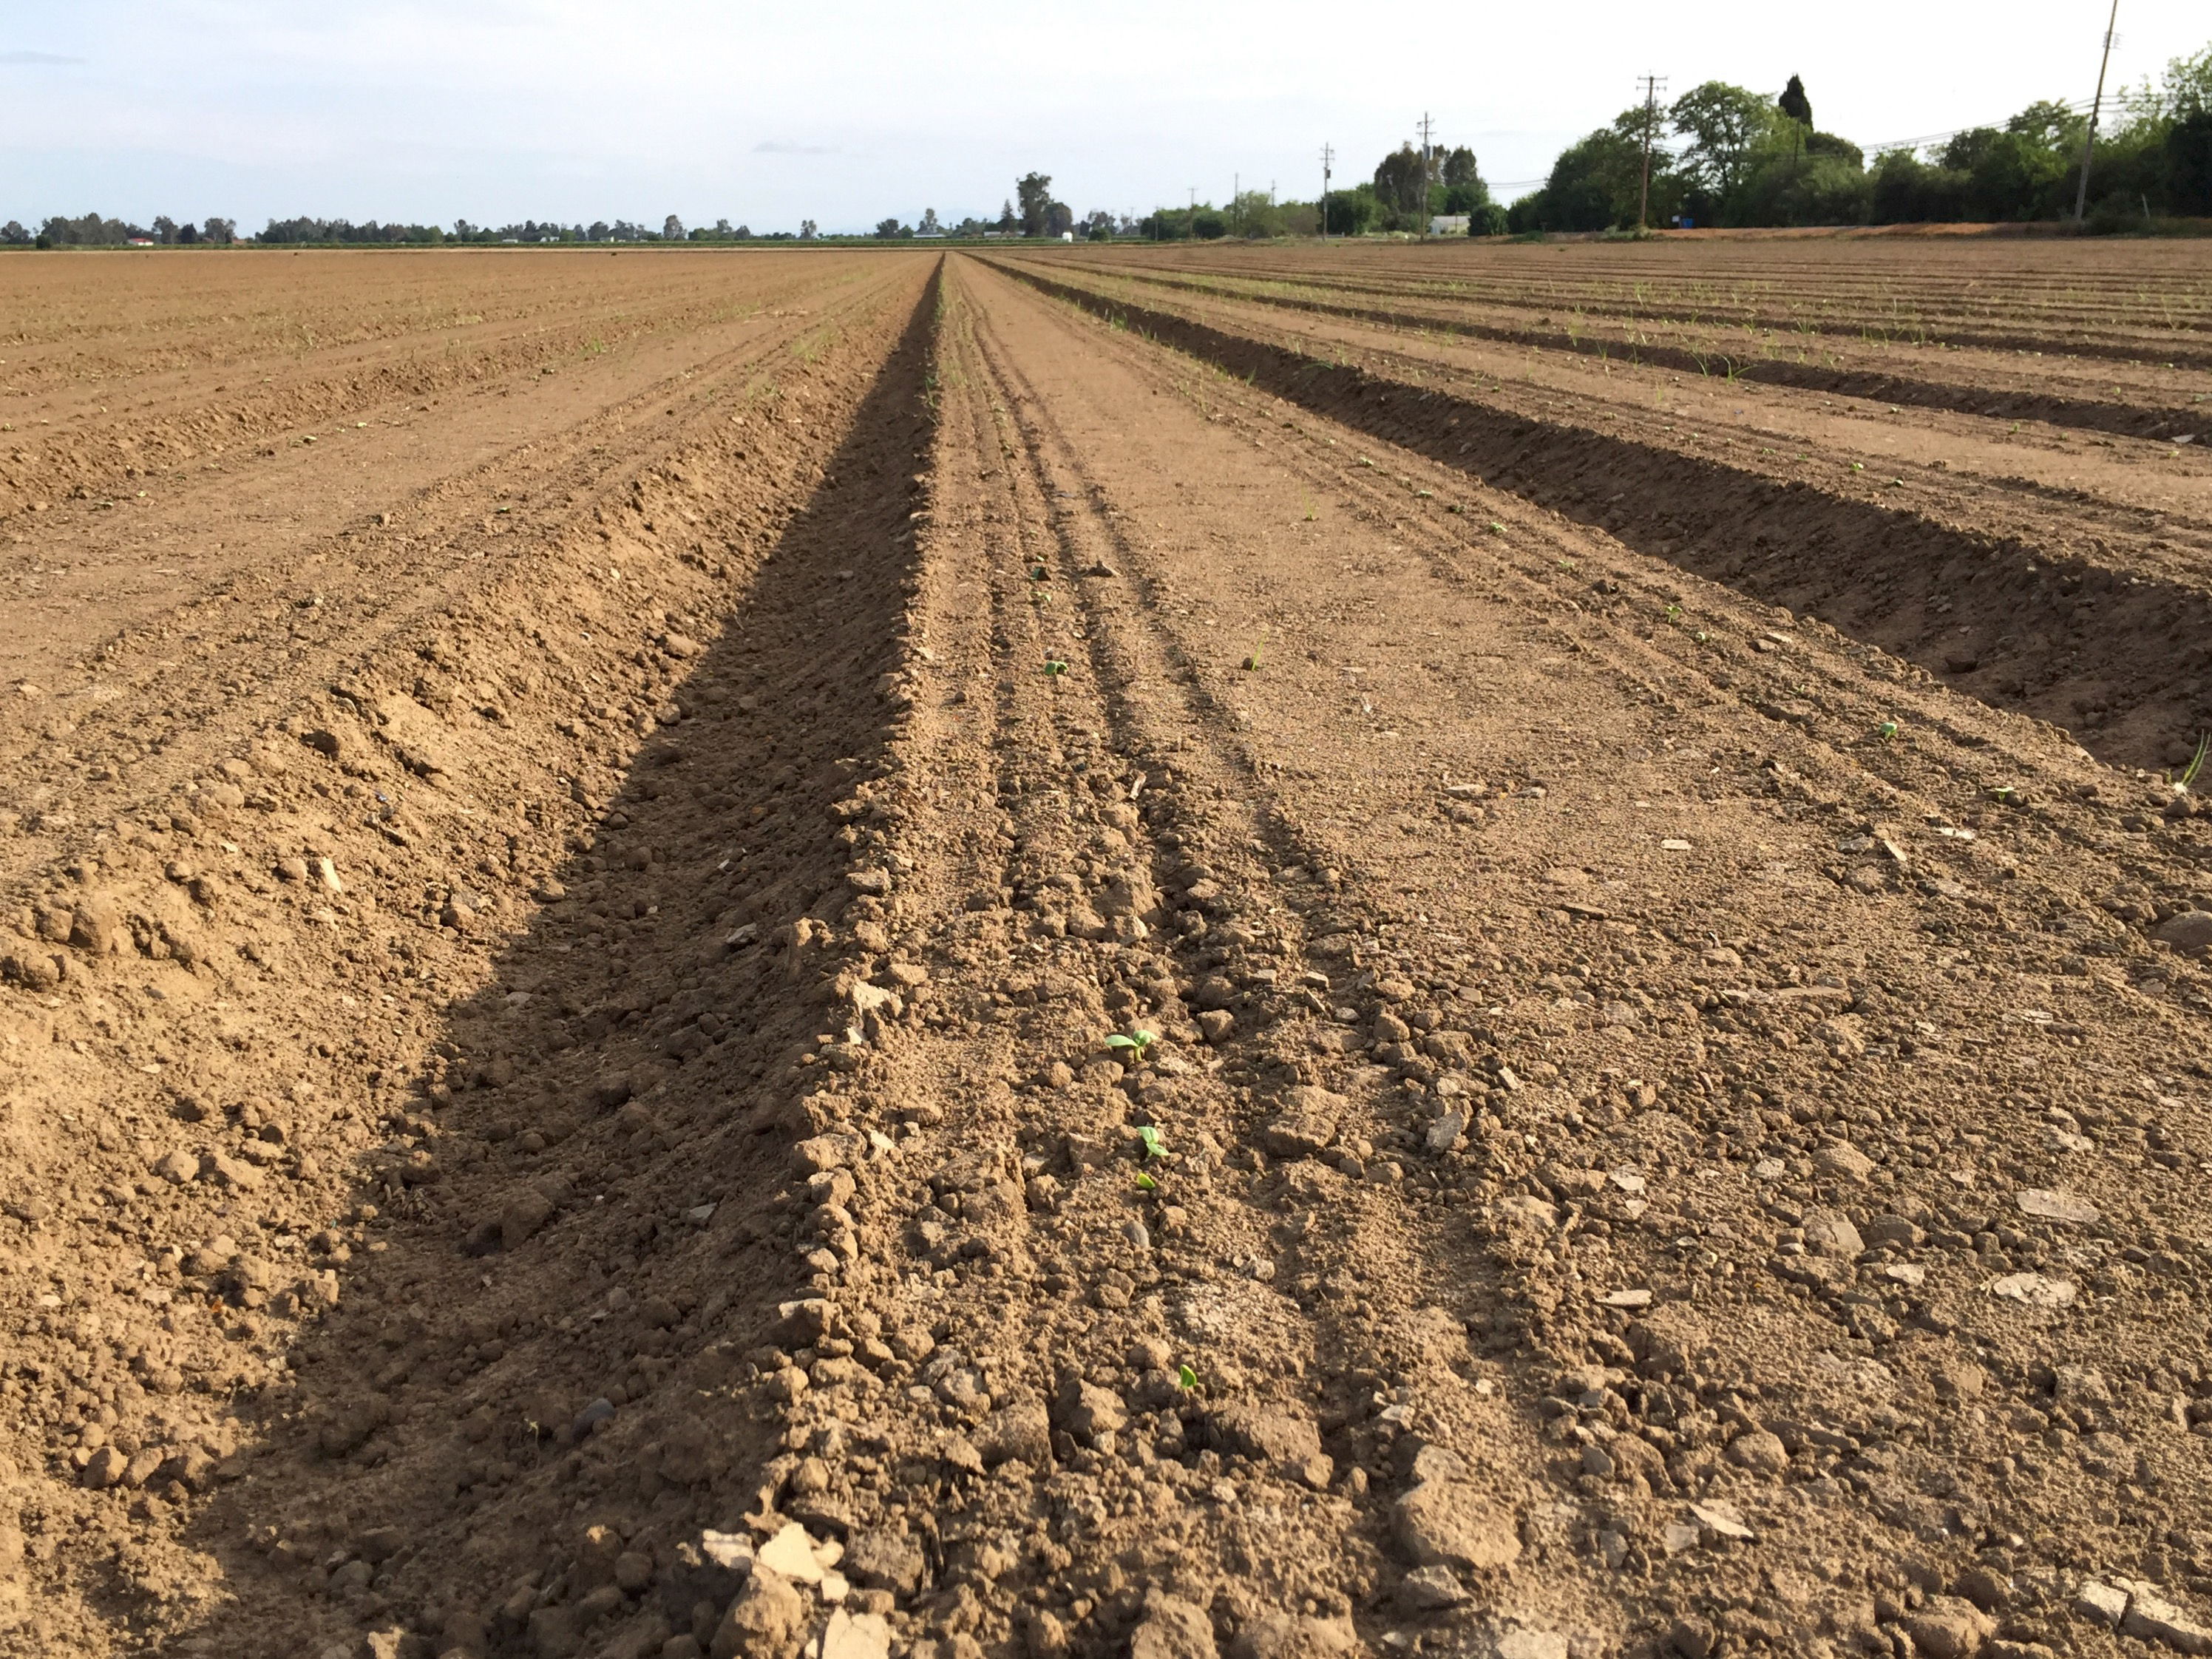
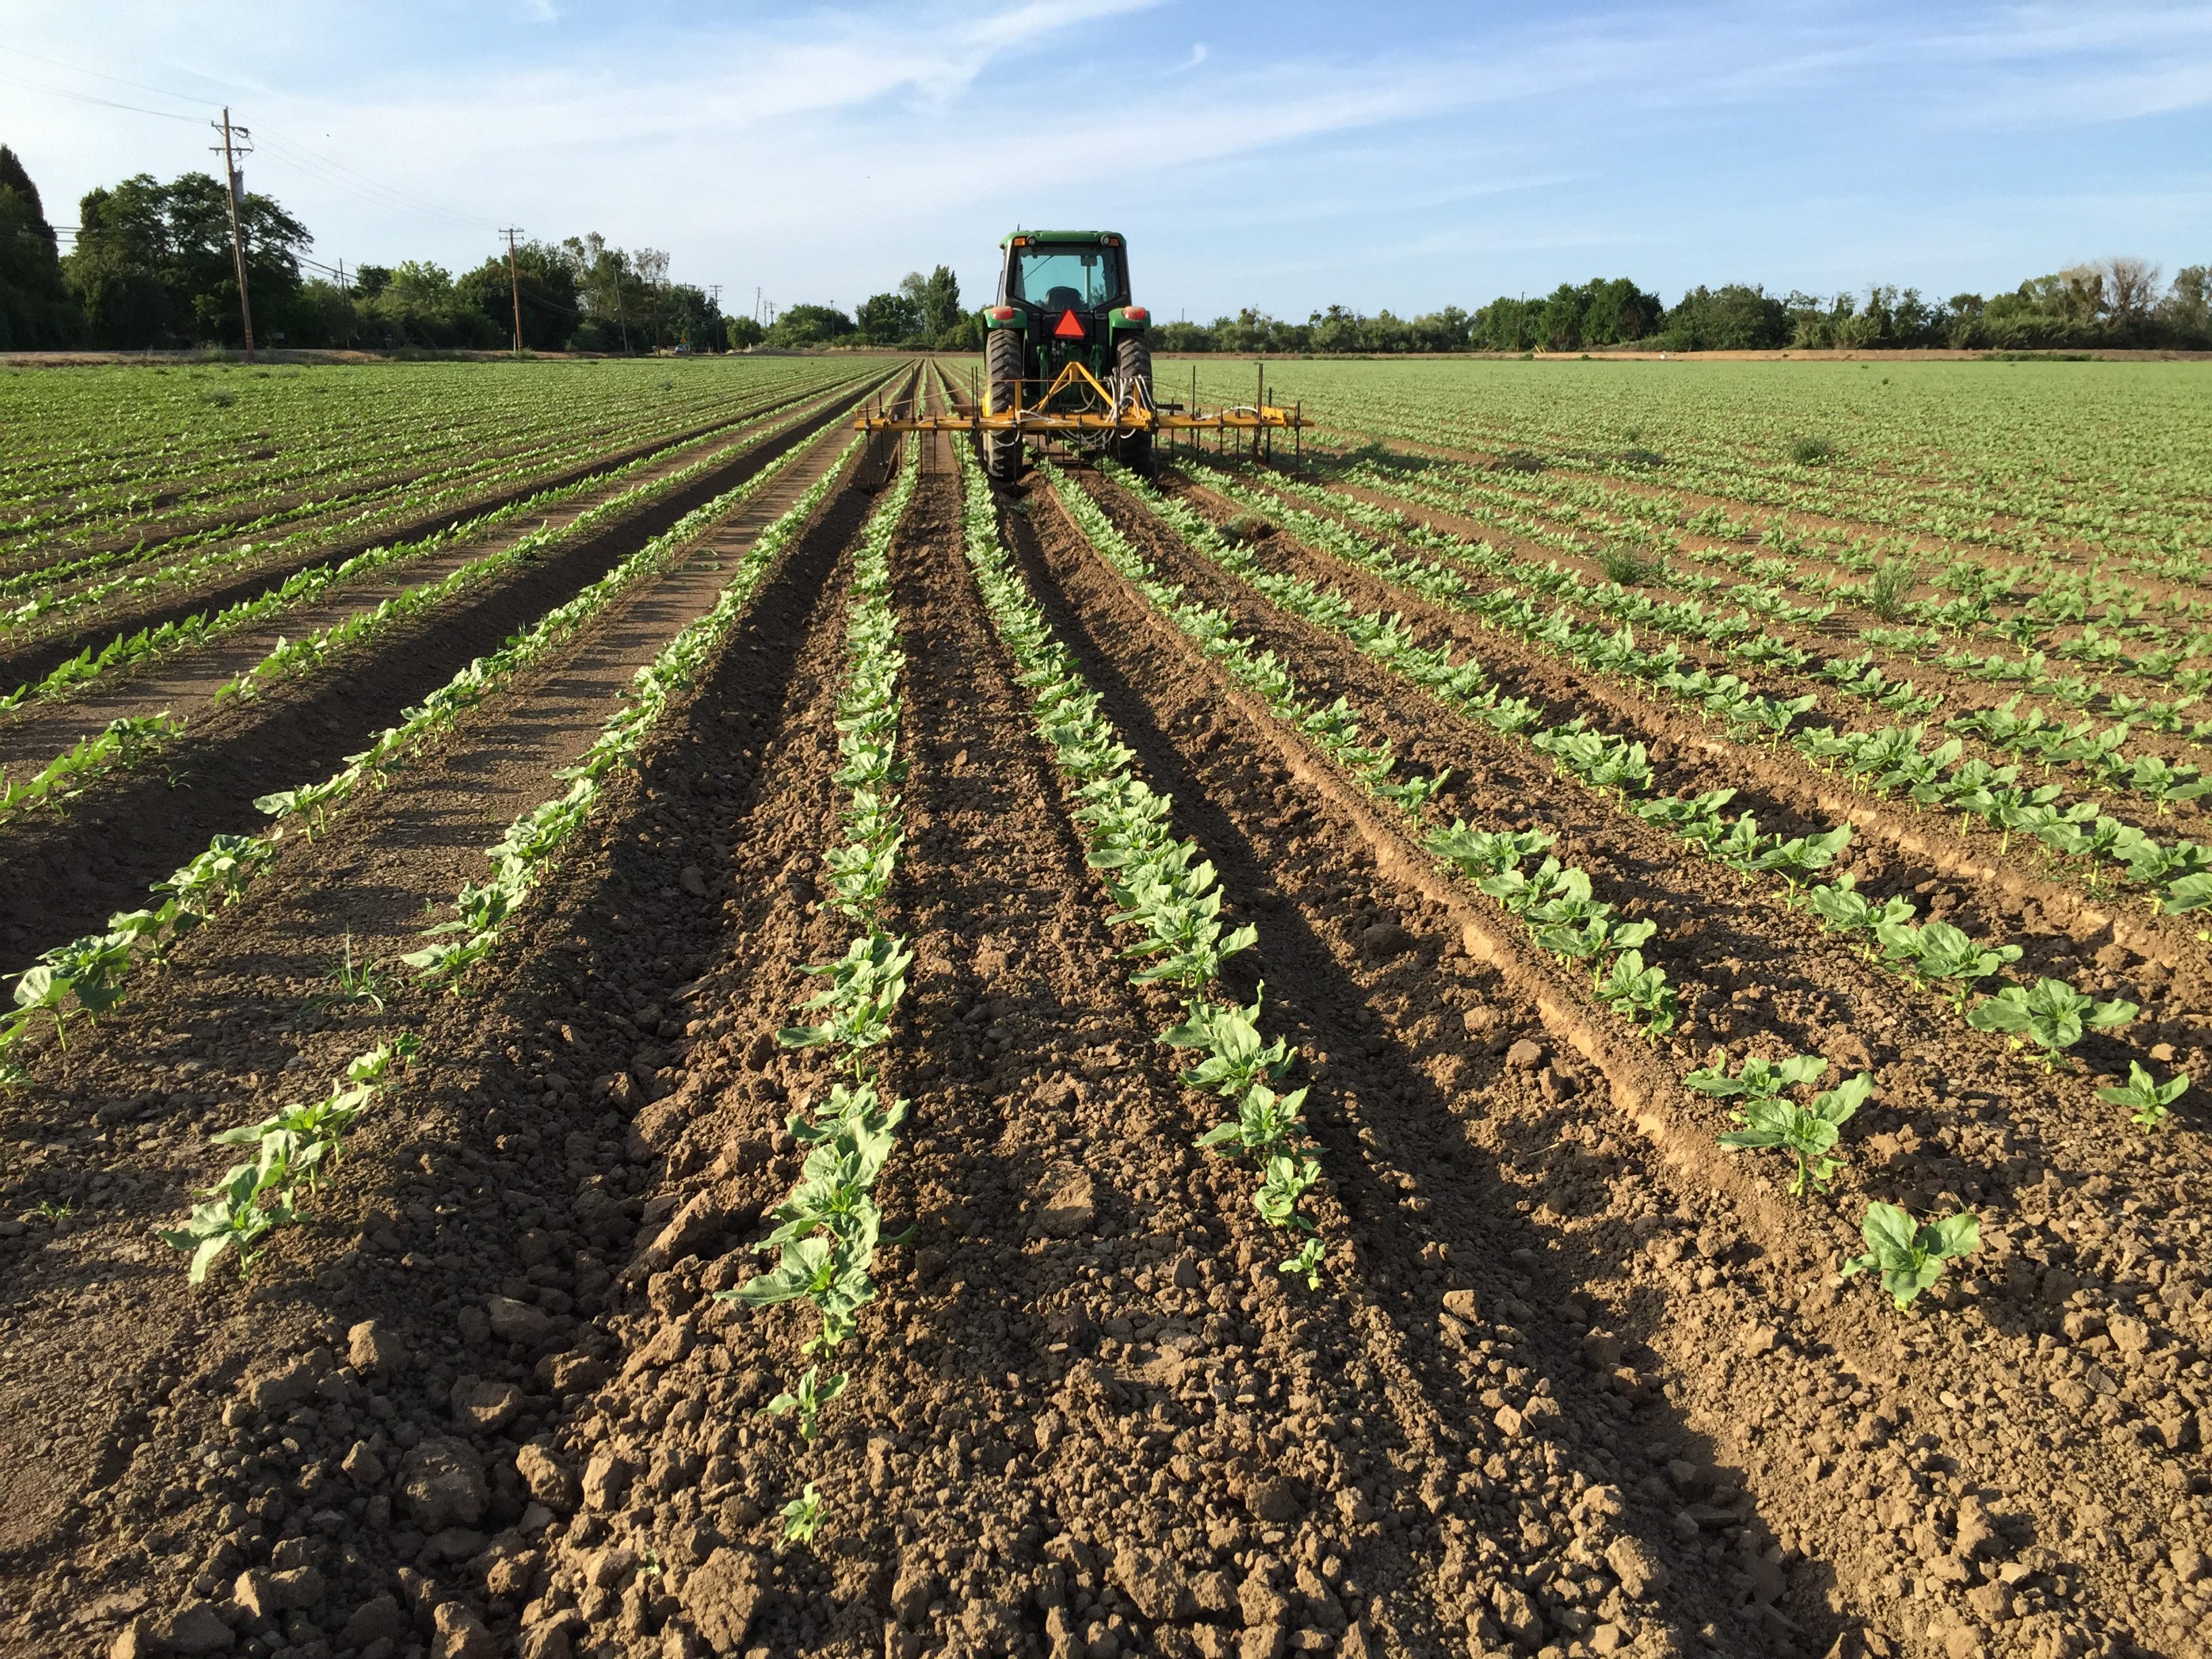
But the job isn’t over. While plants were being harvested in one part of the field the other part was being disked.

20160812-dsc_2136

20160825-img_3826

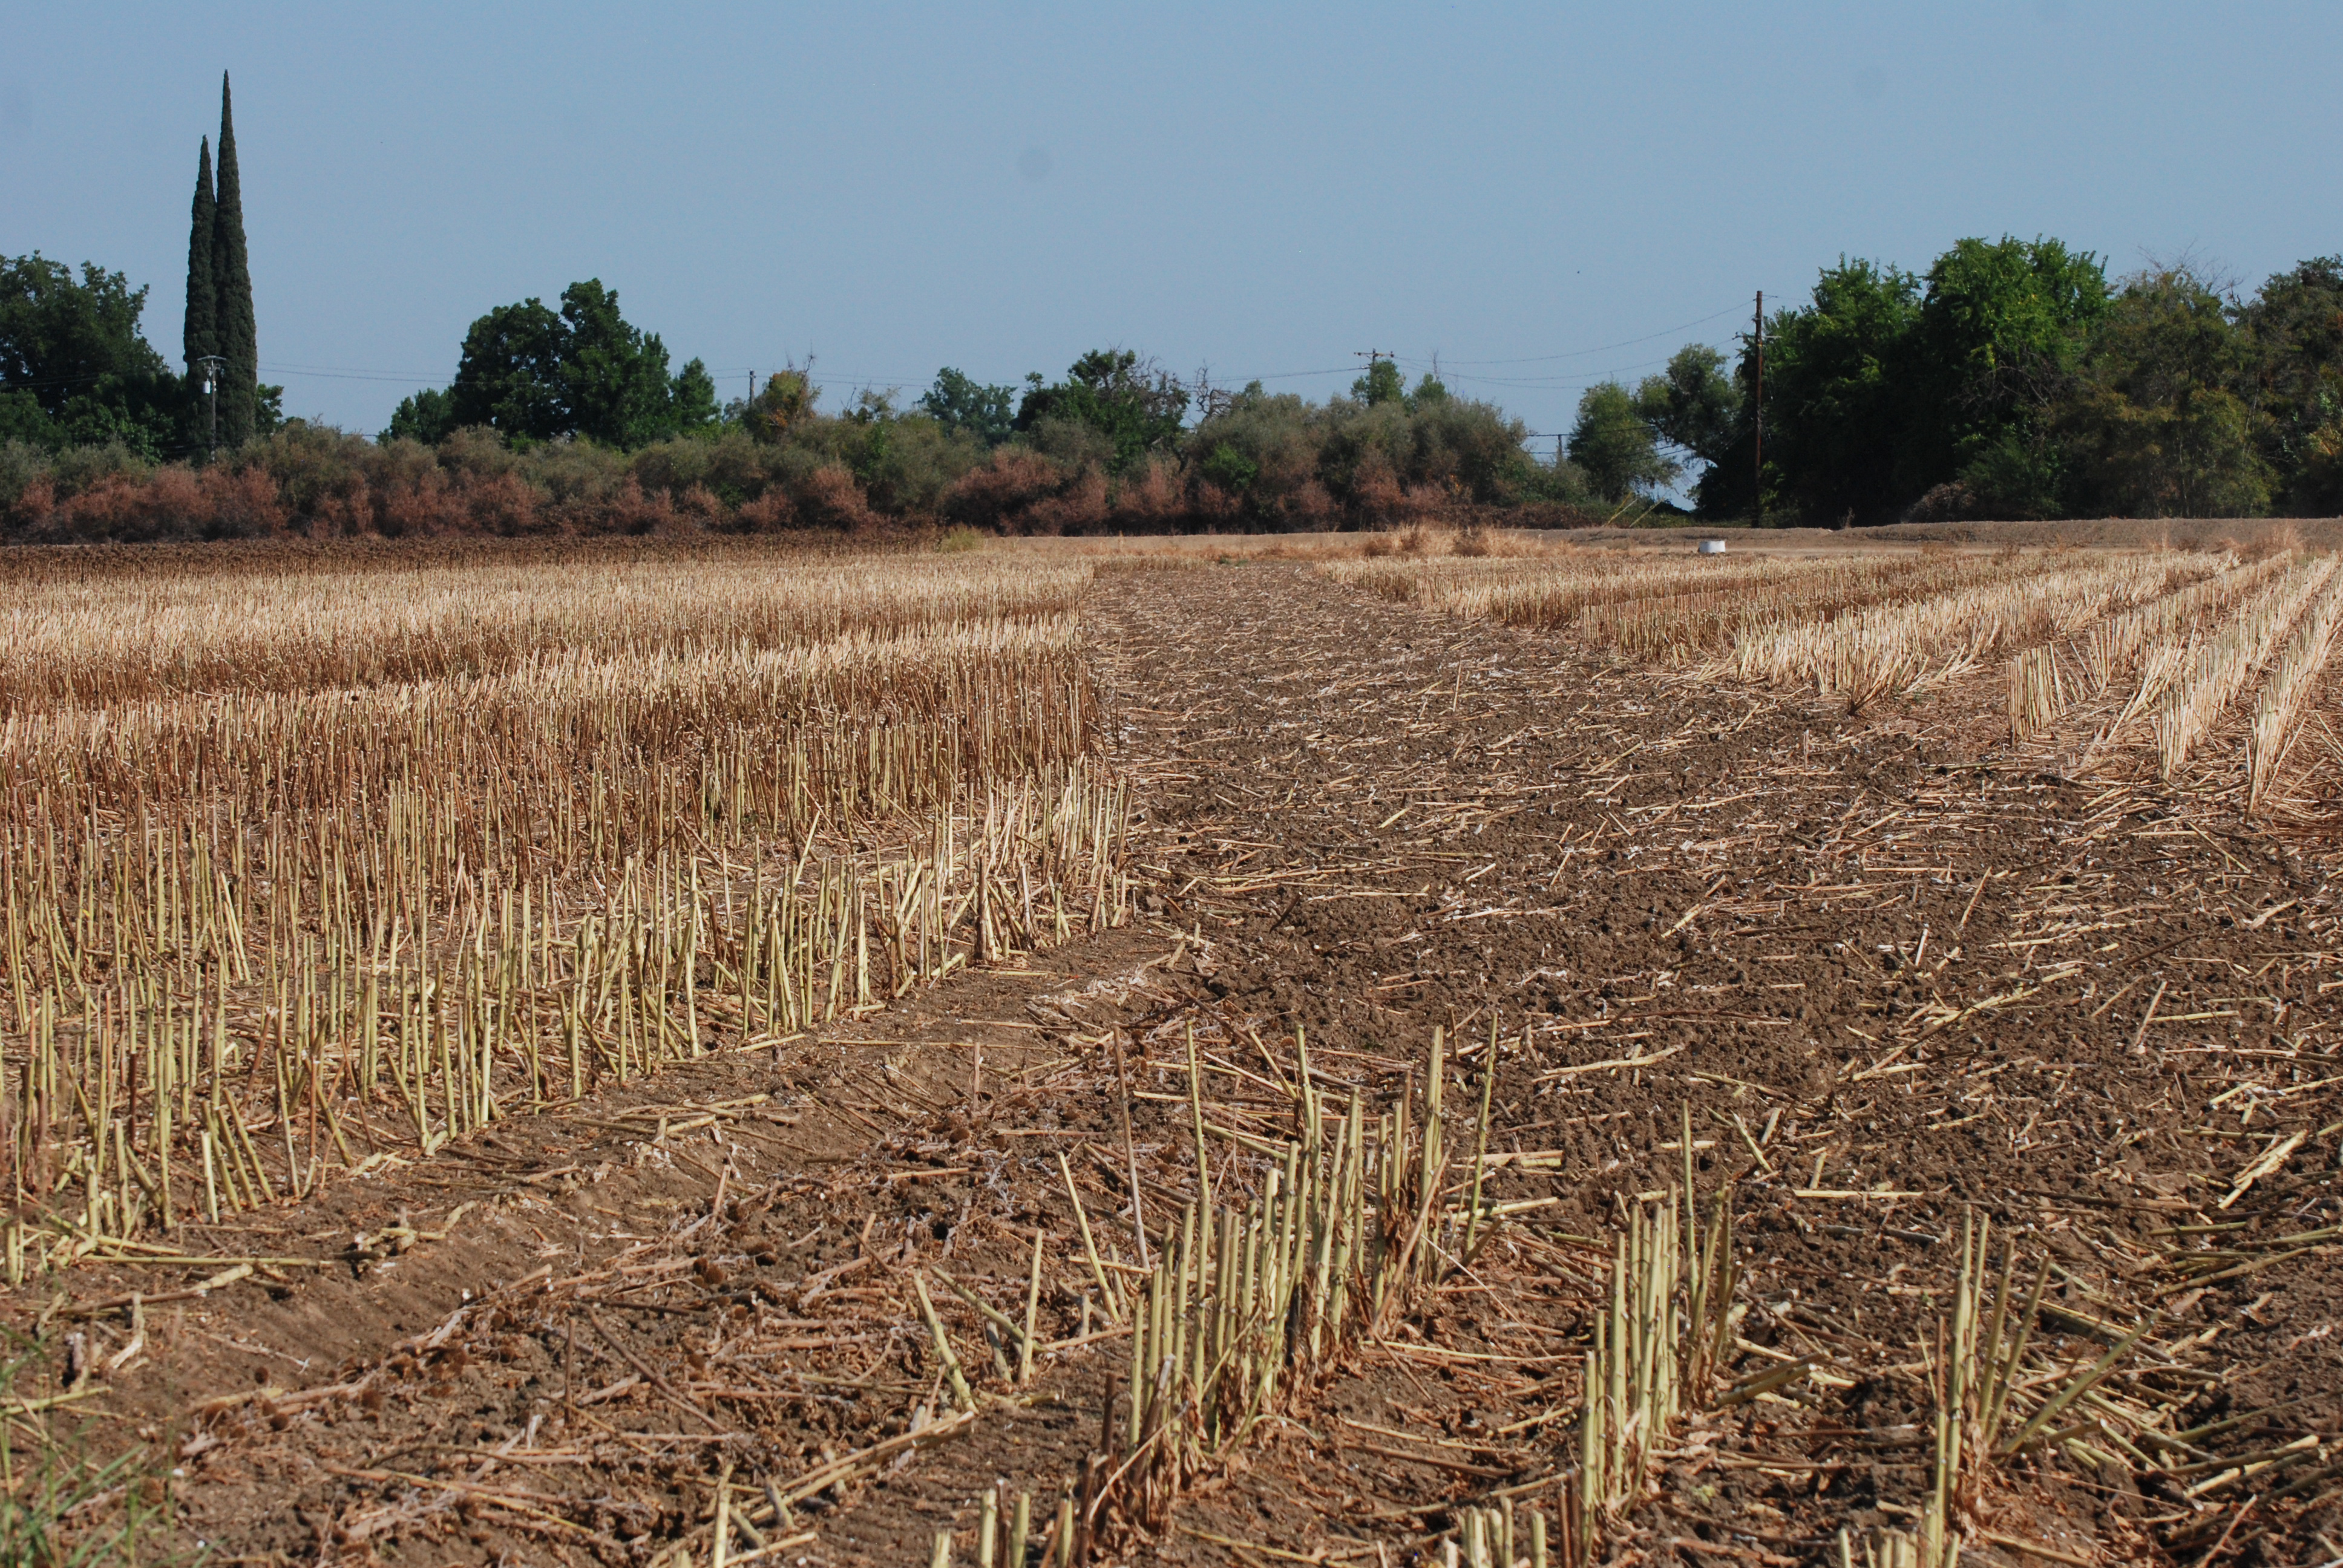
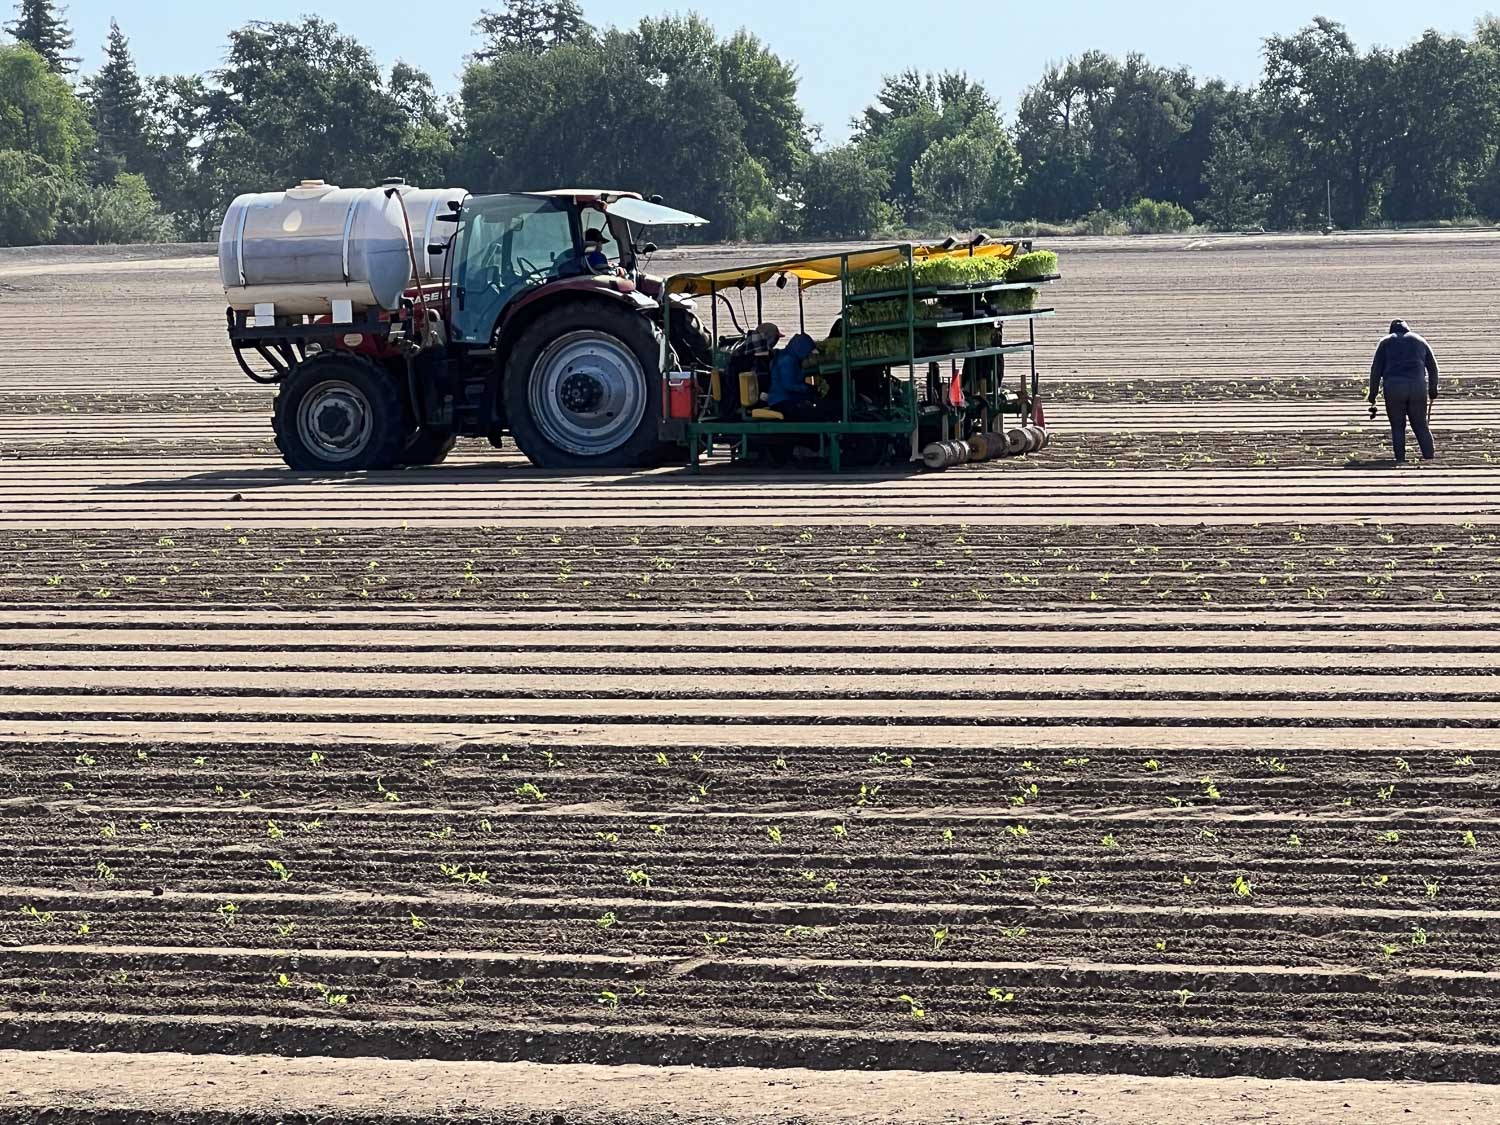
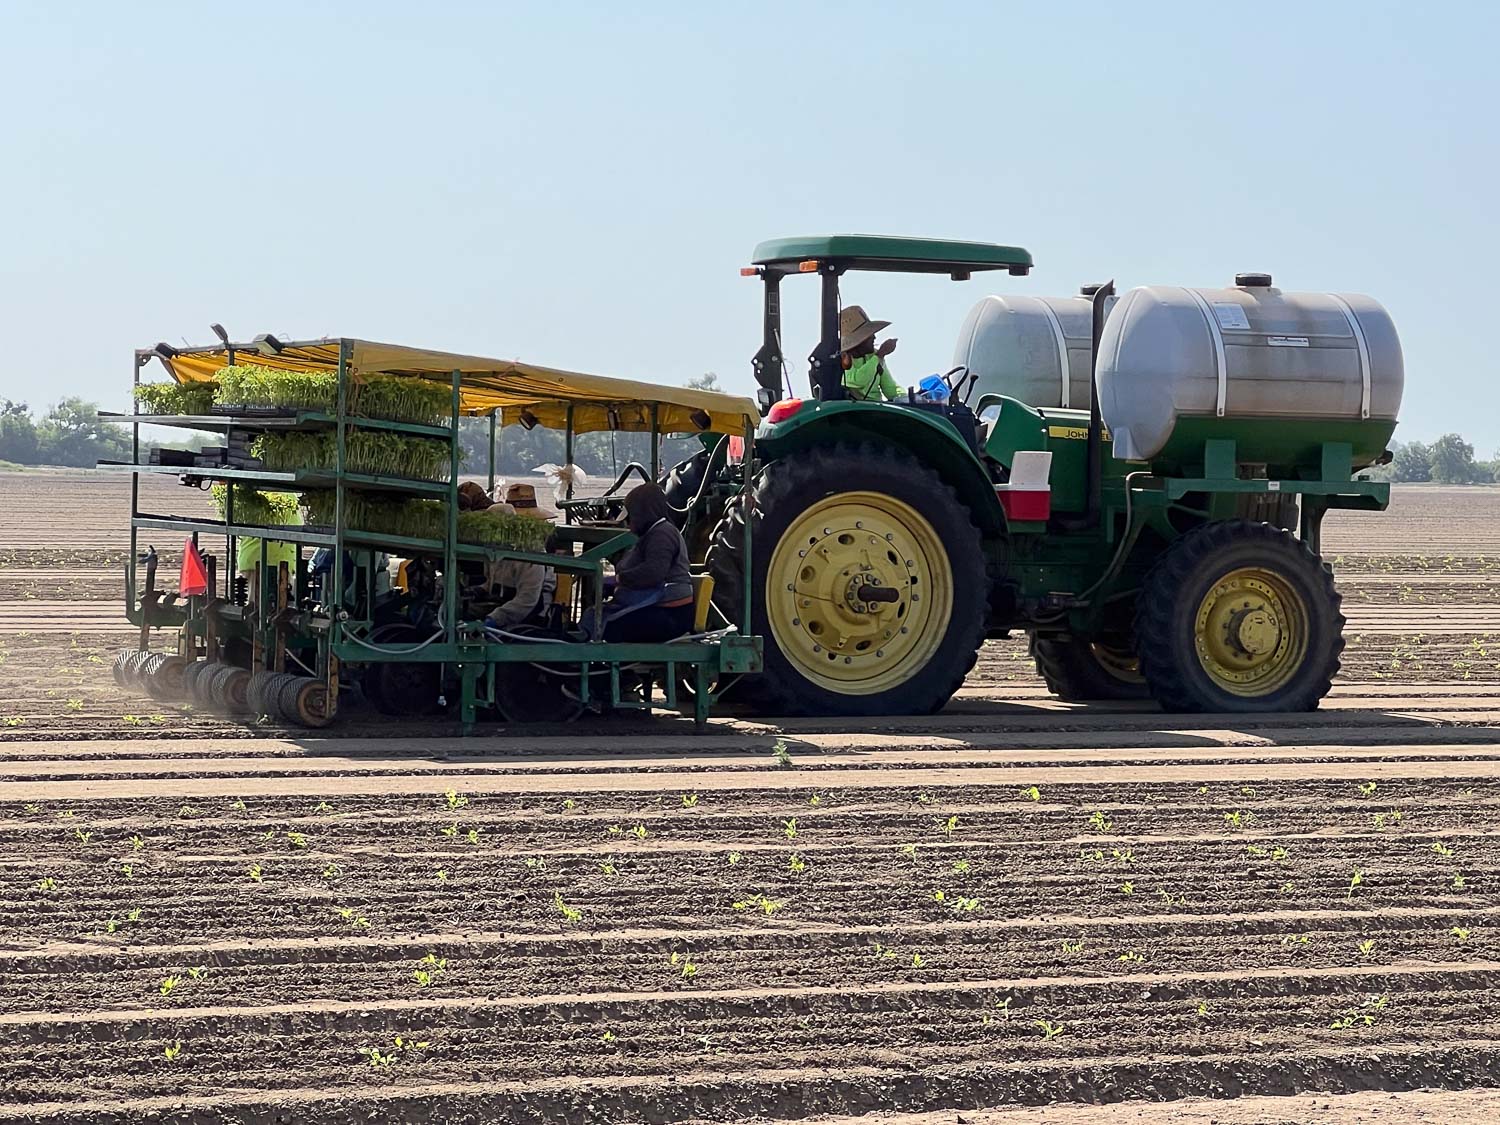
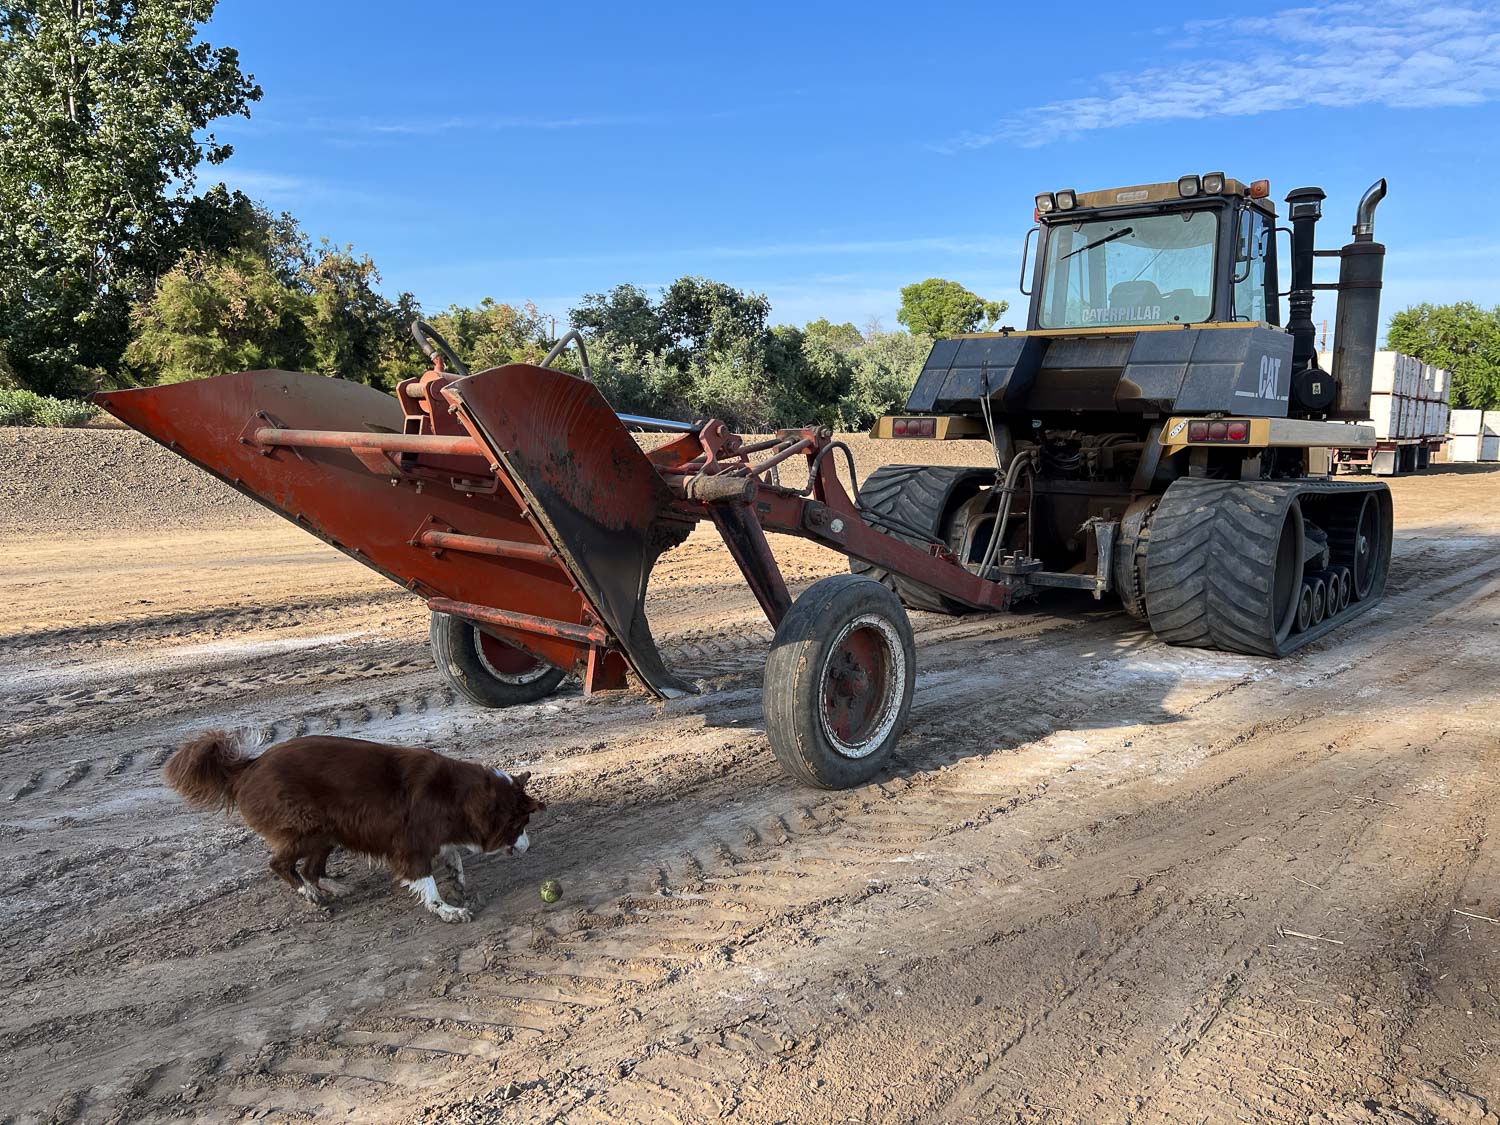
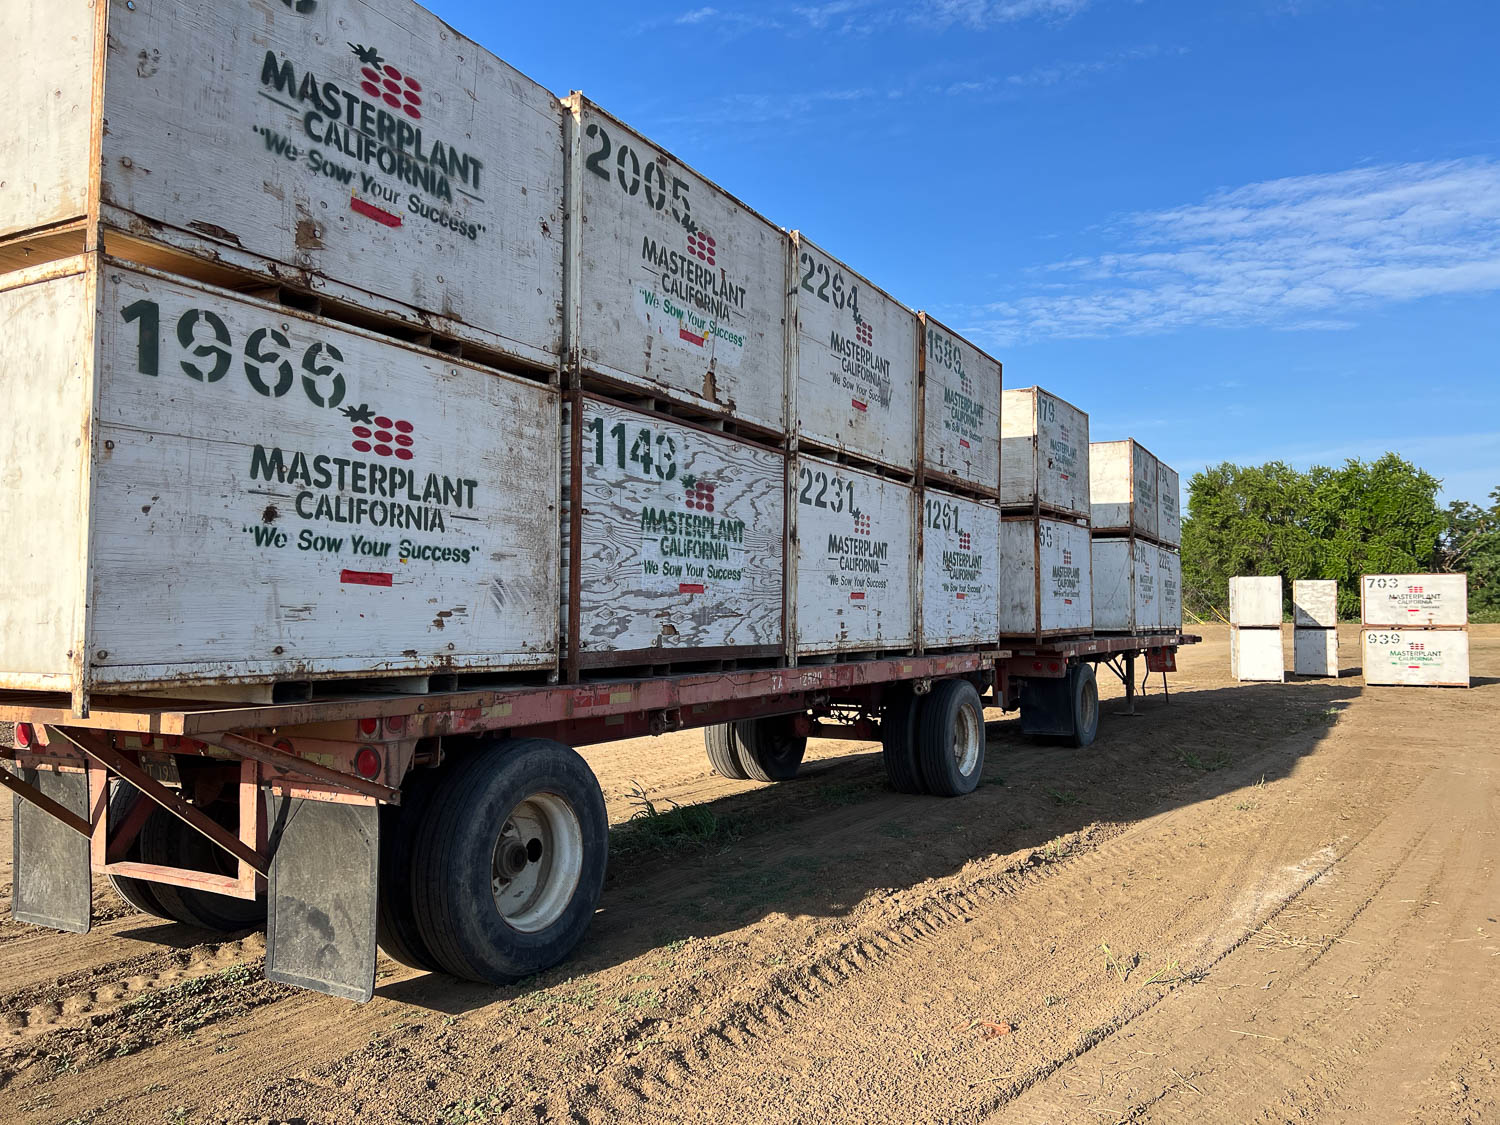
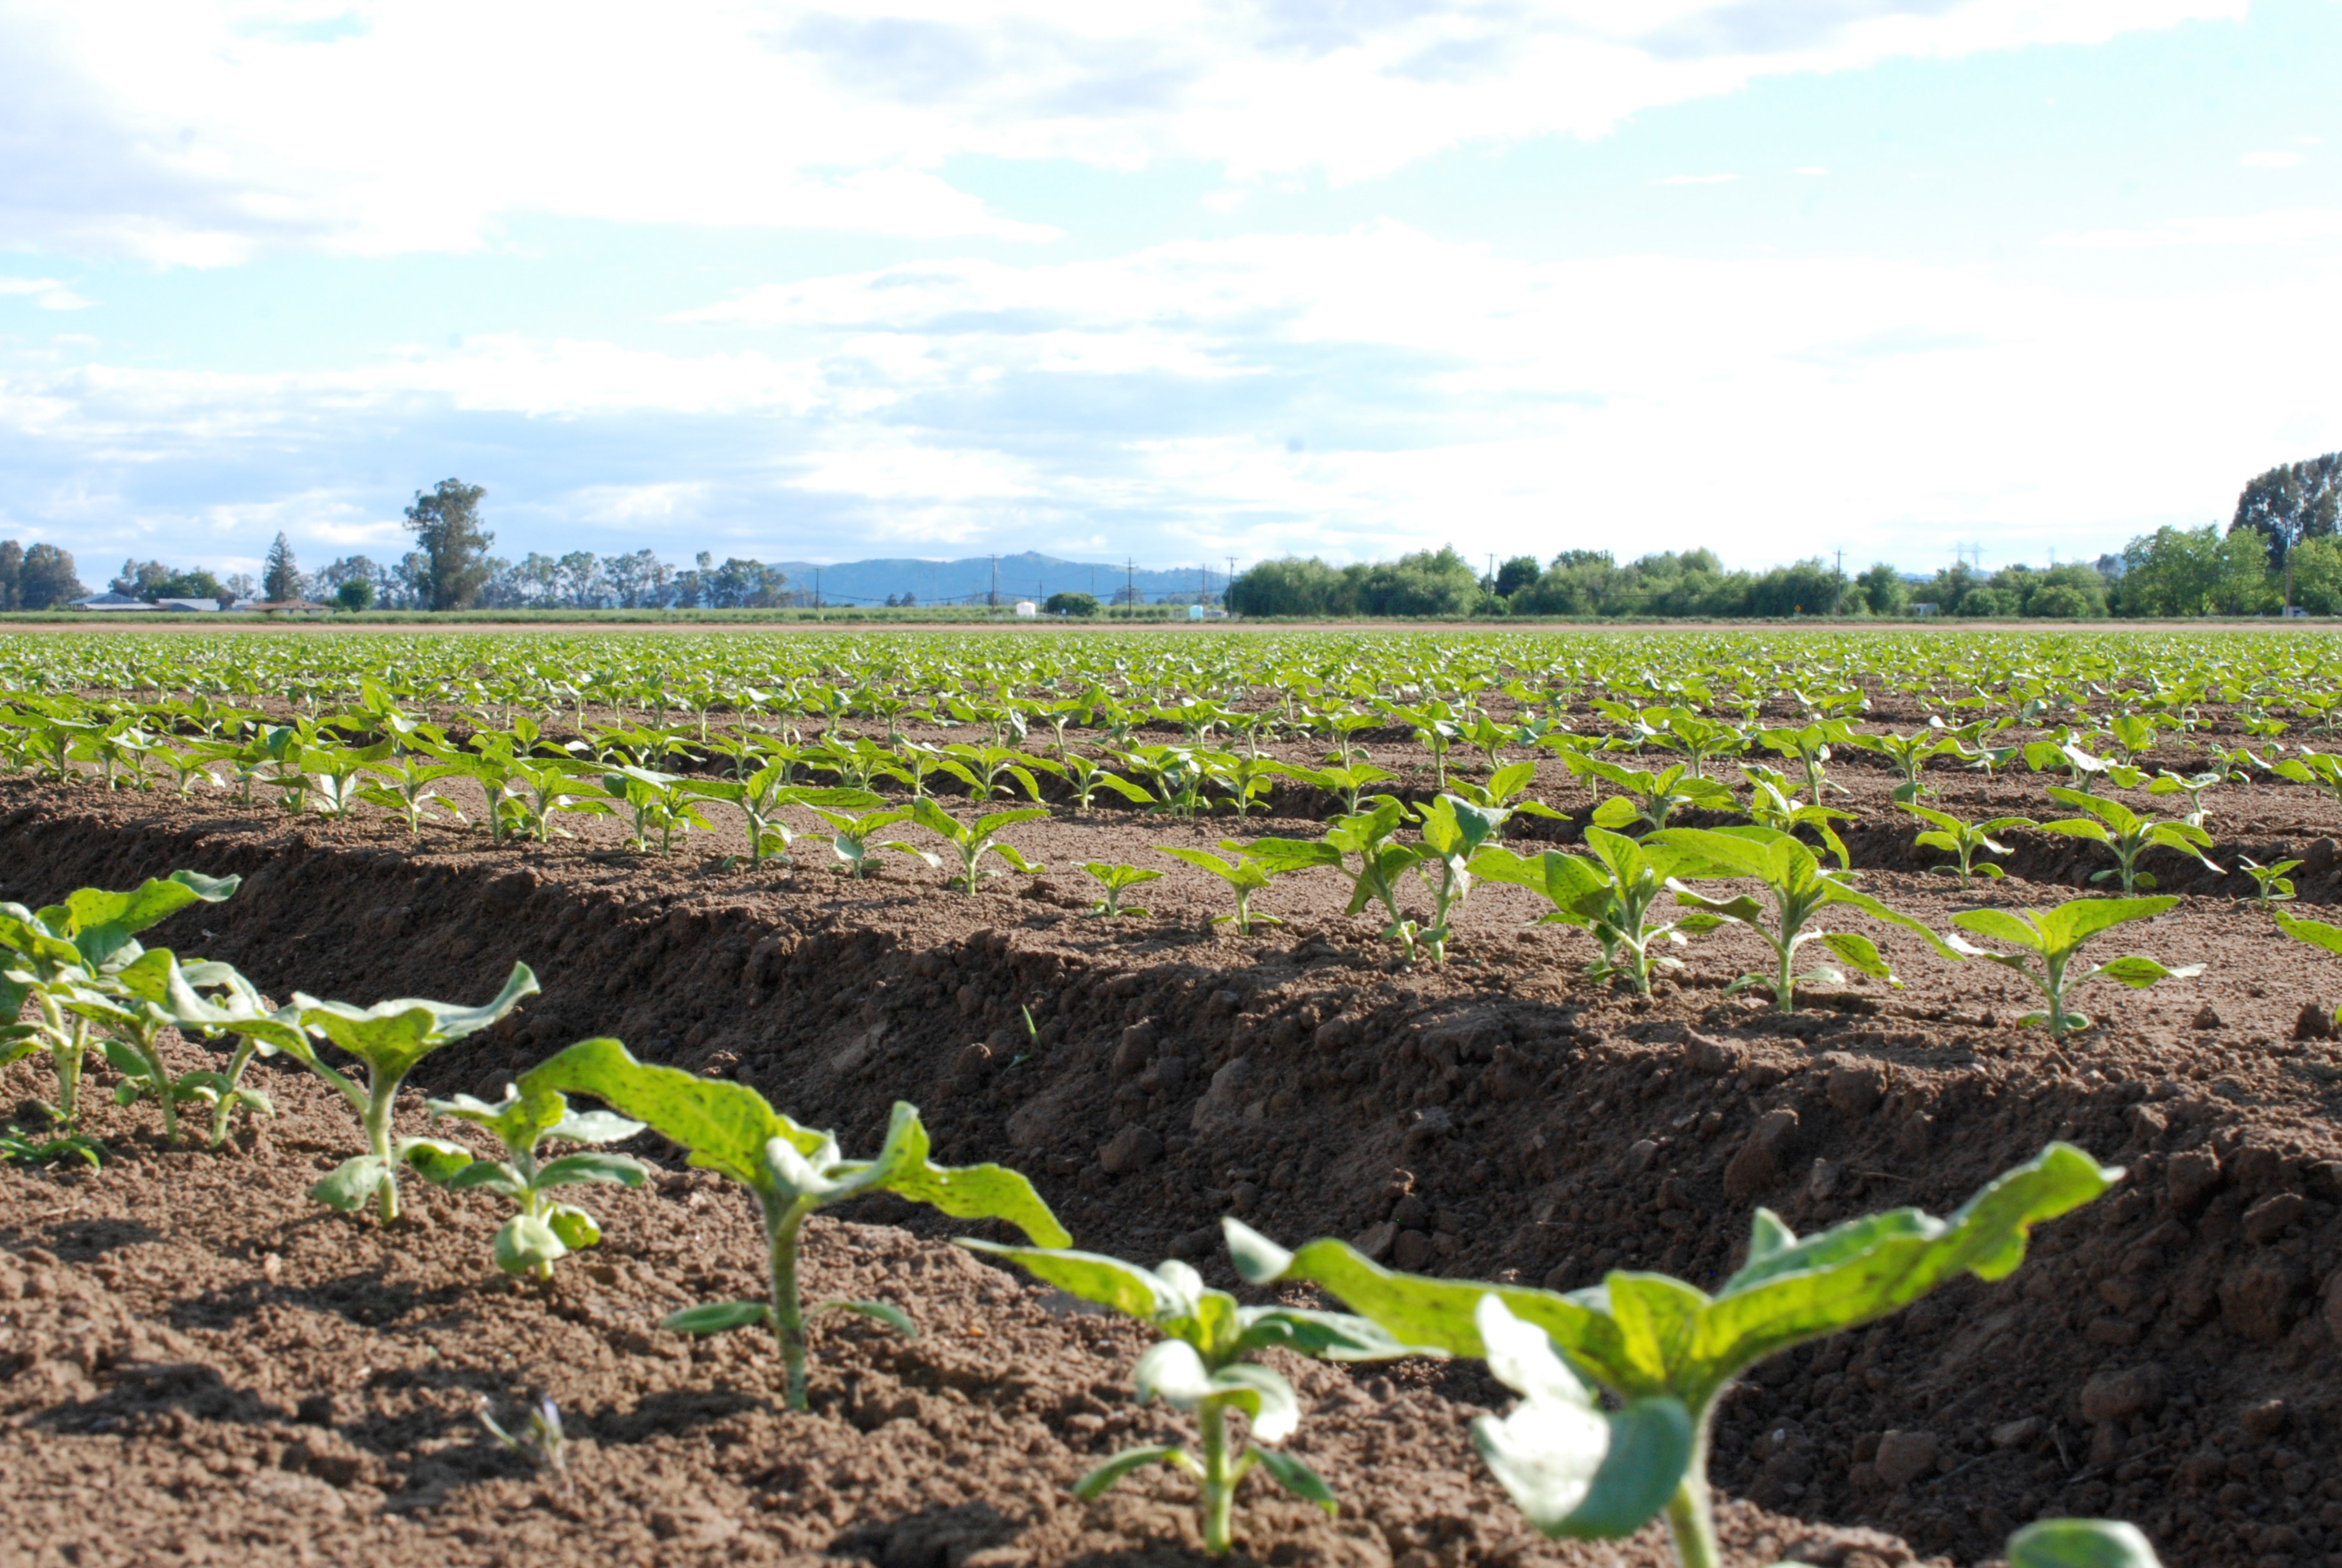
A month later the field is still being prepped to get ready for next year’s crop–tomatoes.

Sunflowers-April through June

We have only 10 acres here, but having the field Across the Road makes it seem as though we have much more. We are careful to be good neighbors and we are grateful that we have permission to spend time exploring that property. So I feel kind of like the crops grown there are mine although I have none of the work involved.  This summer’s crop was sunflowers–one of my favorites. I have way too many photos so I’ll break this into two posts.

img_0682

April 12. You can just see the tiny plants.

sunflowers-sprouting

dsc_8711

April 27

dsc_8423dsc_8669dsc_8674

20160502-img_1064

May 2. Cultivating.

20160611-img_1797

June 11. They’re growing up. I sound like a proud parent.

20160611-img_1799

The rest of the photos in this post were taken throughout June.

20160608-img_1758

20160615-dsc_0162

20160615-dsc_0193

20160615-dsc_0203

20160615-dsc_0206

20160615-dsc_0207

20160615-dsc_0208

20160611-img_1807

20160615-dsc_0209

20160615-dsc_0210