To read the whole story go to the previous blog post. In that post I showed the whole process of producing buttons from one horn. That day I took photos of two more horns and want to share those too.
This is another horn and the buttons created from it.
With that last horn I put the photos in a “gallery”. With this one I’ll do it my regular way. There is a lot of trial and error in figuring out how best to share photos here. So I’ll check my computer and my phone later and see what seems best. Feedback from anyone reading is appreciated.
All the buttons that don’t sell at Lambtown will be on my website–at least the ones on the cards. If you visit here or at a show you can look through the bo with all those extras and make up your own set.
Each year many of the lambs produced here end up in someone’s freezer. I wouldn’t be able o breed sheep if there wasn’t a market for these lambs. There were 88 lambs born this year. I selected some to keep, but most are sold to other breeders or for meat. I want to use the WHOLE sheep and buttons are one of the products that I can make.
These are just some of the horns from the latest lambs. I did not photograph the first step because I can’t take a photo while using a Sawzall (just looked that up–a reciprocating saw) and my blog would probably get black-listed if I had a photo of cutting horns off a dead sheep head. The second step is to put the horns in a bucket of water in the sun for a few days. There is a bony core and the living tissue between the bone and the outer horn needs to degrade enough that I can get those horns off.
From Wikipedia: A horn is a permanent pointed projection on the head of various animals that consists of a covering of keratin and other proteins surrounding a core of live bone. Horns are distinct from antlers, which are not permanent.
Look at what you can learn about by reading my blog. I read about horns or horn-like features on a variety of animals from giraffes to triceratops.
I took photos of the button making stages with three horns, but I think that’s too many photos to put in one post. I’ll start with this one which is unusual because it is mostly white.
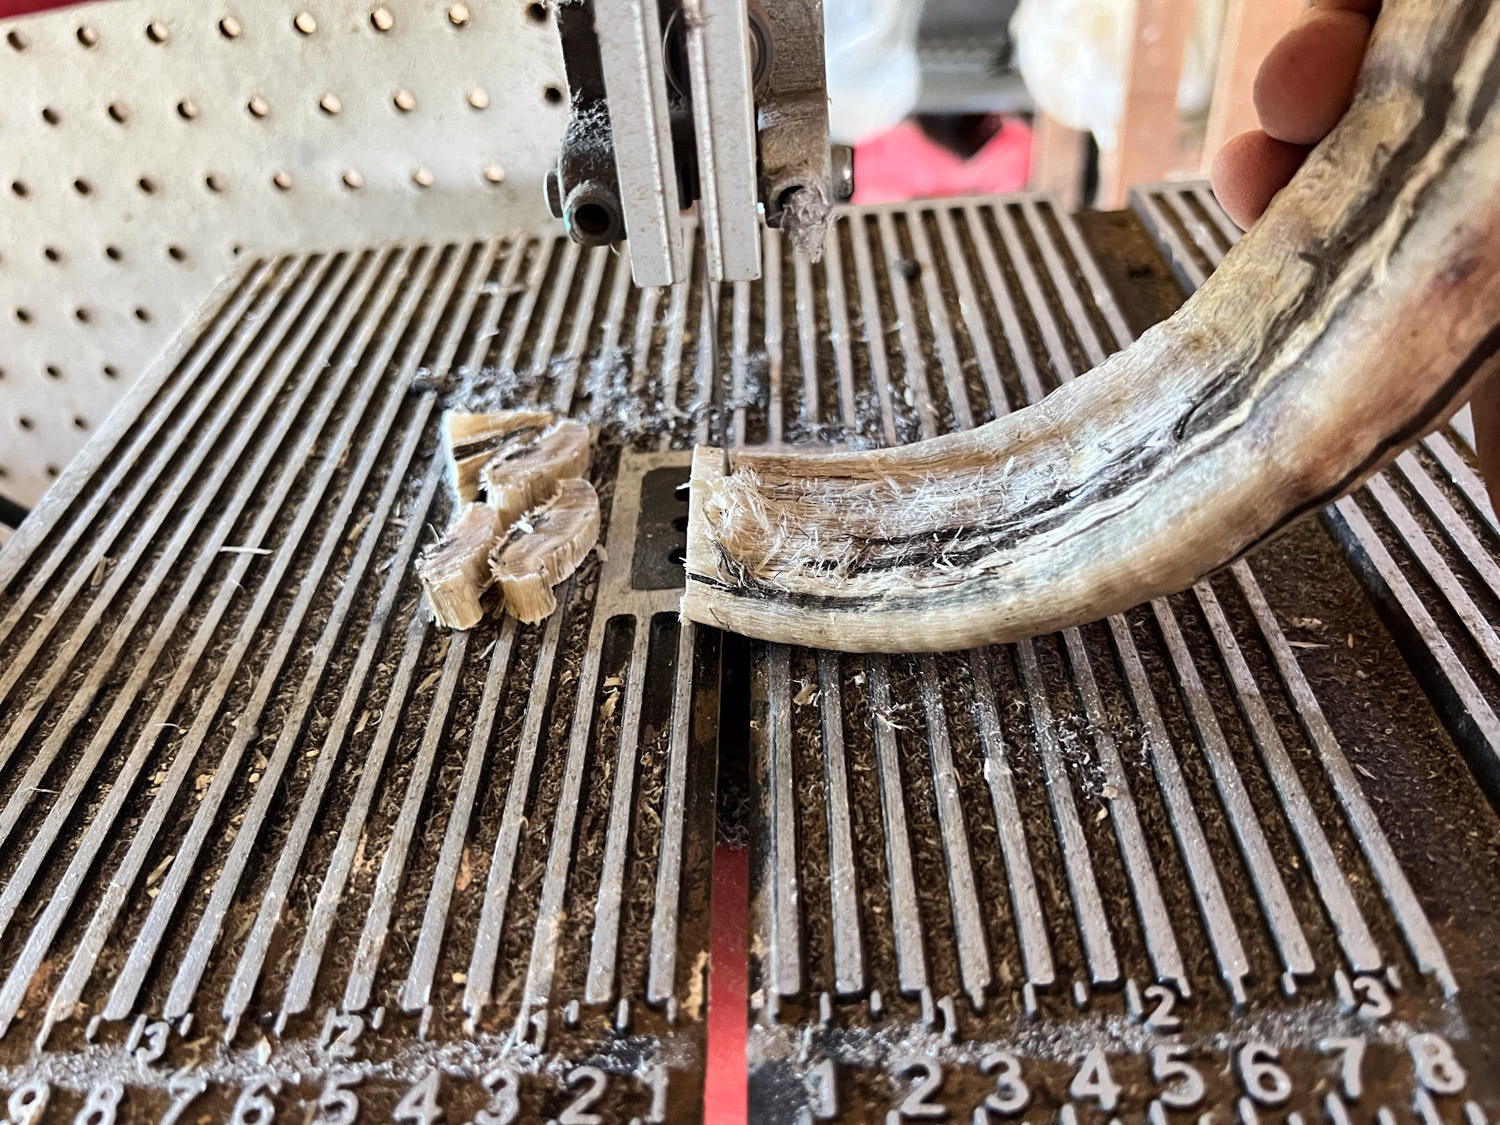
The first step (beyond what I described above) is to cut the horn into button shapes. I use a band saw.
The solid core makes buttons of interesting shapes. most people think of horns as round but you can see that the shape of these horns are anything but round.
Here are all the pieces I cut from that horn. The squarish shapes come from the hollow part of the horn that surrounded the core. I often try to make a few pieces that can be used with a shawl pin. I was told that I could call it an annular although that usually refers to a medieval brooch with a pin attached.
The next step is drilling holes, another step that is difficult to photograph while in progress.
All pieces after drilling the holes.
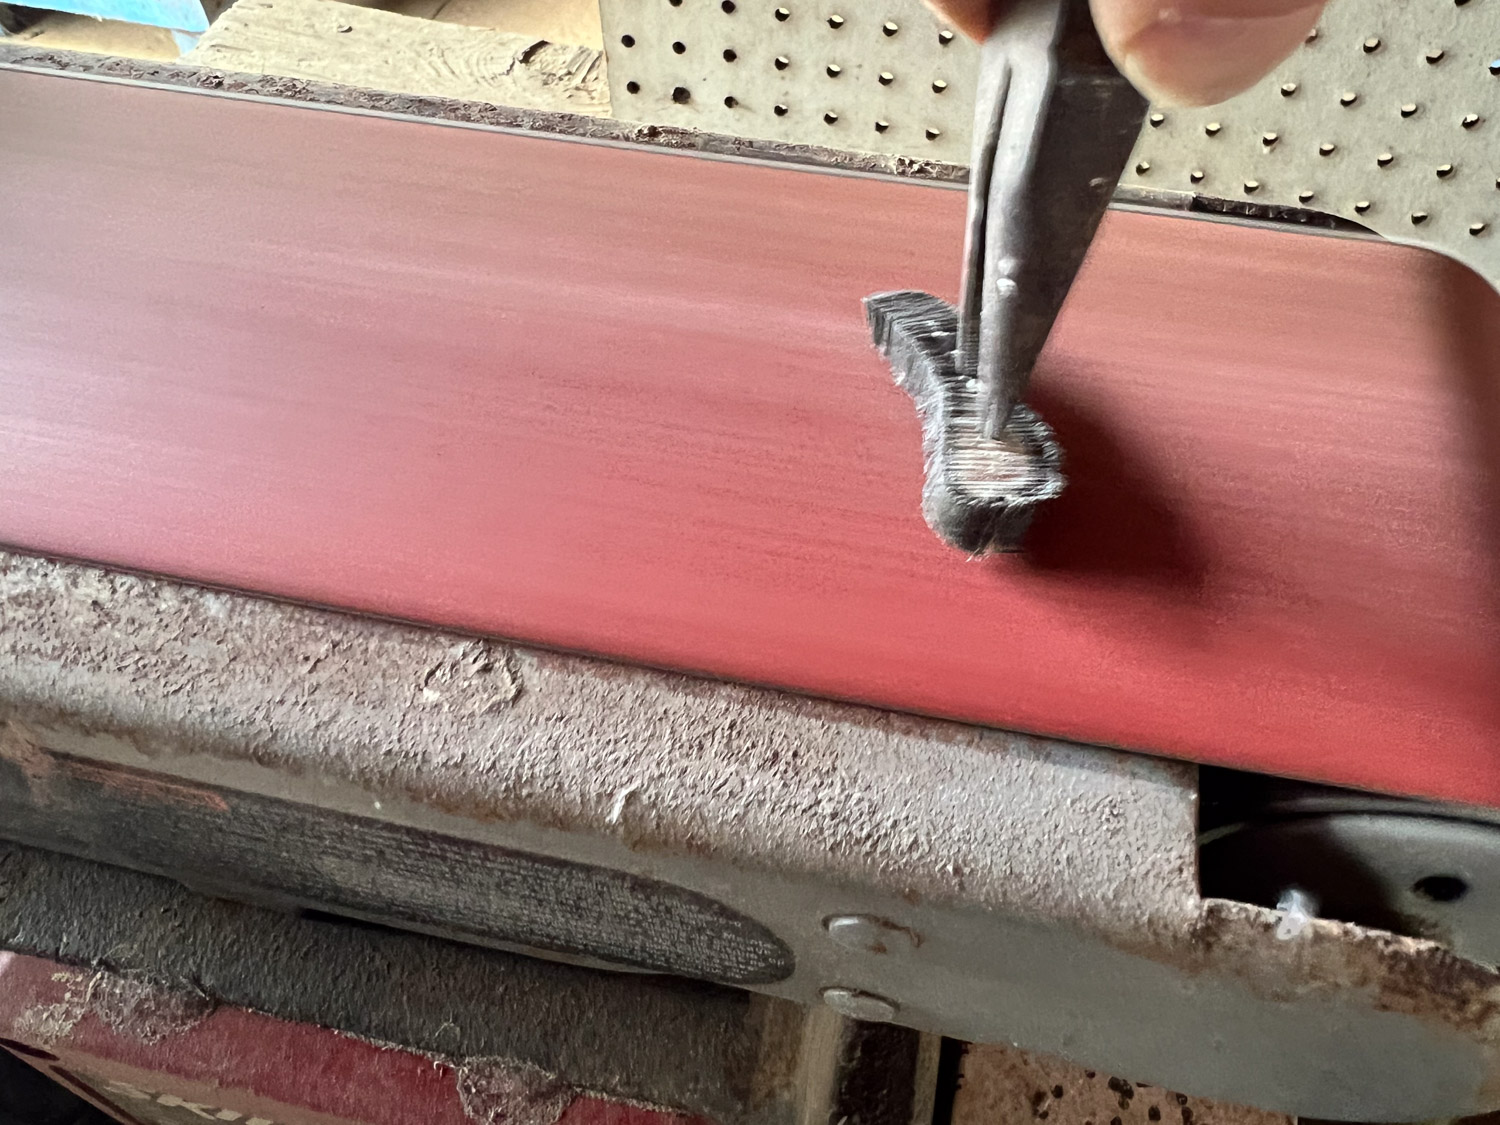
Then I move on to sanding using a belt sander. This is the step that takes me the longest. It’s difficult to get to all the edges.
I can’t use the pliers for all of it and I have been known to come away with nicely (completely) sanded fingernails.
Here are all the buttons from that one horn after sanding.
I have figured out the best way for me to apply a lacquer finish. I can put the buttons on wires that I dip in the lacquer and then I put poke the wires into styrofoam packing material saved from purchased items. These are the buttons made from three horns.
Throughout the process II keep track of the buttons that are from the solid part of the horns so I can match the up for sale. If I plan to sell buttons online I need to be able to identify individual buttons and sets. So the last step is to attach them to cards I have printed.
These buttons are not on the website yet because I’m going to wait until after Lambtown and post those that haven’t sold.
Deal with sheepskins. I got one batch in and one batch out. At first I got four boxes with 29 sheepskins that were not mine. Those went back to the tannery. Yesterday I got the boxes with my 30 sheepskins and I photographed them for my website (although they aren’t there yet). Not artsy photos, but I need to show the size and the color and this is how it has worked best for me. In addition I shipped off 42 more sheepskins and am keeping my fingers crossed that I get them back before December. That’s a pretty big investment and I need to be able to sell them before Christmas.
Weave a blanket for a customer using her handspun yarn that she sent me last year. I hate having things hanging over my head. When I was finally ready to get to it I opened the box that I though held her wool. Nope–there was something else in that box. Then I almost panicked wondering if it was possible that her yarn had ended up out in the big yard/estate sale that I had over Labor Day. Fortunately that was not the case.
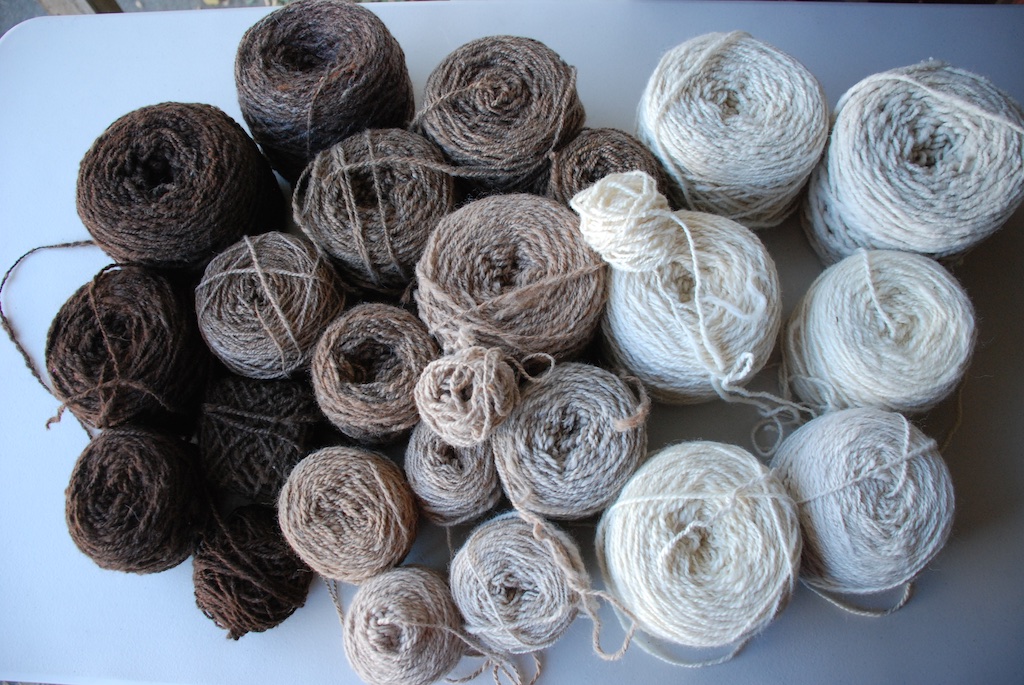
I had spent a lot of time thinking about how best to use this yarn. One worry was that using yarns that are very different is likely to result in tension issues and different elasticity in the finished piece (showing up as ruffly places where it should be smooth and flat). I’m glad that I waited to plan this blanket because one of the last emails that I had from the spinner had the word “gradient” in it. That gave me the inspiration for how to wind the warp and weave it.
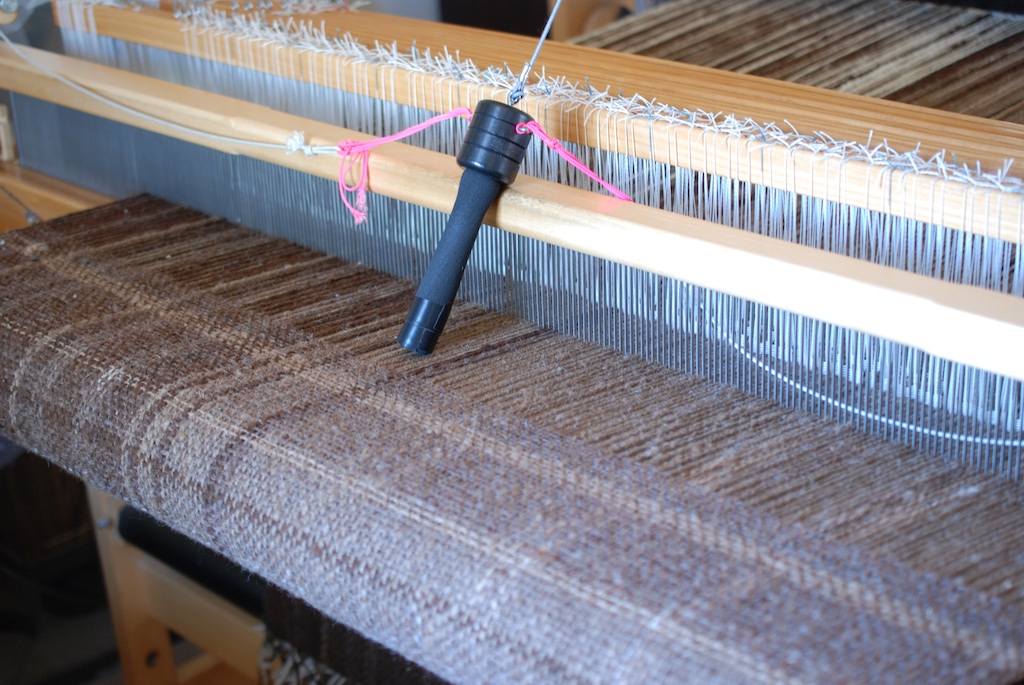
I made a gradient from the darkest brown all the way to white in the warp and then I wove with the same pattern. This is double width so this photo shows only the half that goes from dark to mid-brown. The lighter half is underneath. After weaving and unfolding the blanket…
…this is what you get. This is not a very good photo but I just don’t have a good place to take a photo of a full size blanket spread out. I am really pleased with this piece and am inspired to do some more like it.
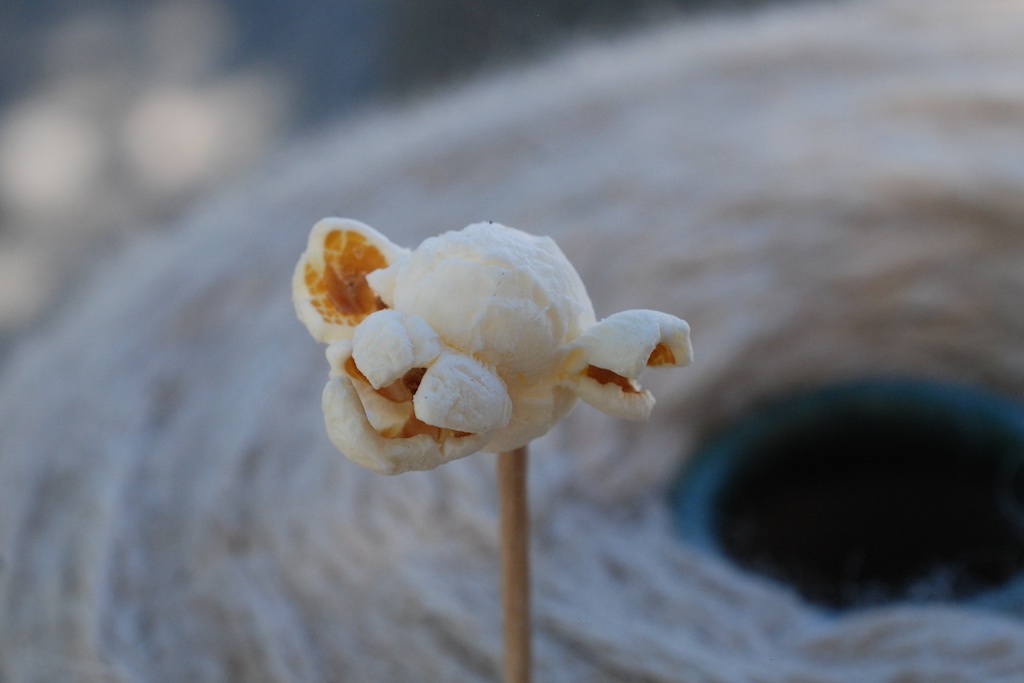
One last thing. At Spinners Night Out one of the spinners said that her husband had made a discovery in his bowl of popcorn:
I made new buttons this week. This is a multi-step process and after each step I know that I have not priced my buttons too high. If I were to show all the steps the first photo would be the head of a sheep (butchered for meat). Then there would be the photo of cutting the horns off the dead head. (Lately this step has been done by the person who butchers sheep, but I used to have to do that myself.) The next step is letting the horns sit in a bucket of water for a week or so. The hotter the weather the better, because the slimy parts that are between the bony core and the outside horn get rotten and smelly and then I can pull the outer horn off. Then I’m left with this:
I use a band saw to cut the horns into button shapes. That was a huge improvement over the table saw. I could easily cut a finger off with the band saw but it is probably not as likely as with the table saw. These are pieces that are ready for the next step:
I still need to drill holes and sand these buttons. Then I finish each button with polyurethane.