Stars and Stripes in Black and White AND New Jacob Yarn

Three days in a row with a blog post! I’m on a roll.

I didn’t write about my newest yarn because I wanted to have all the details. Here it is, although not on the website yet.

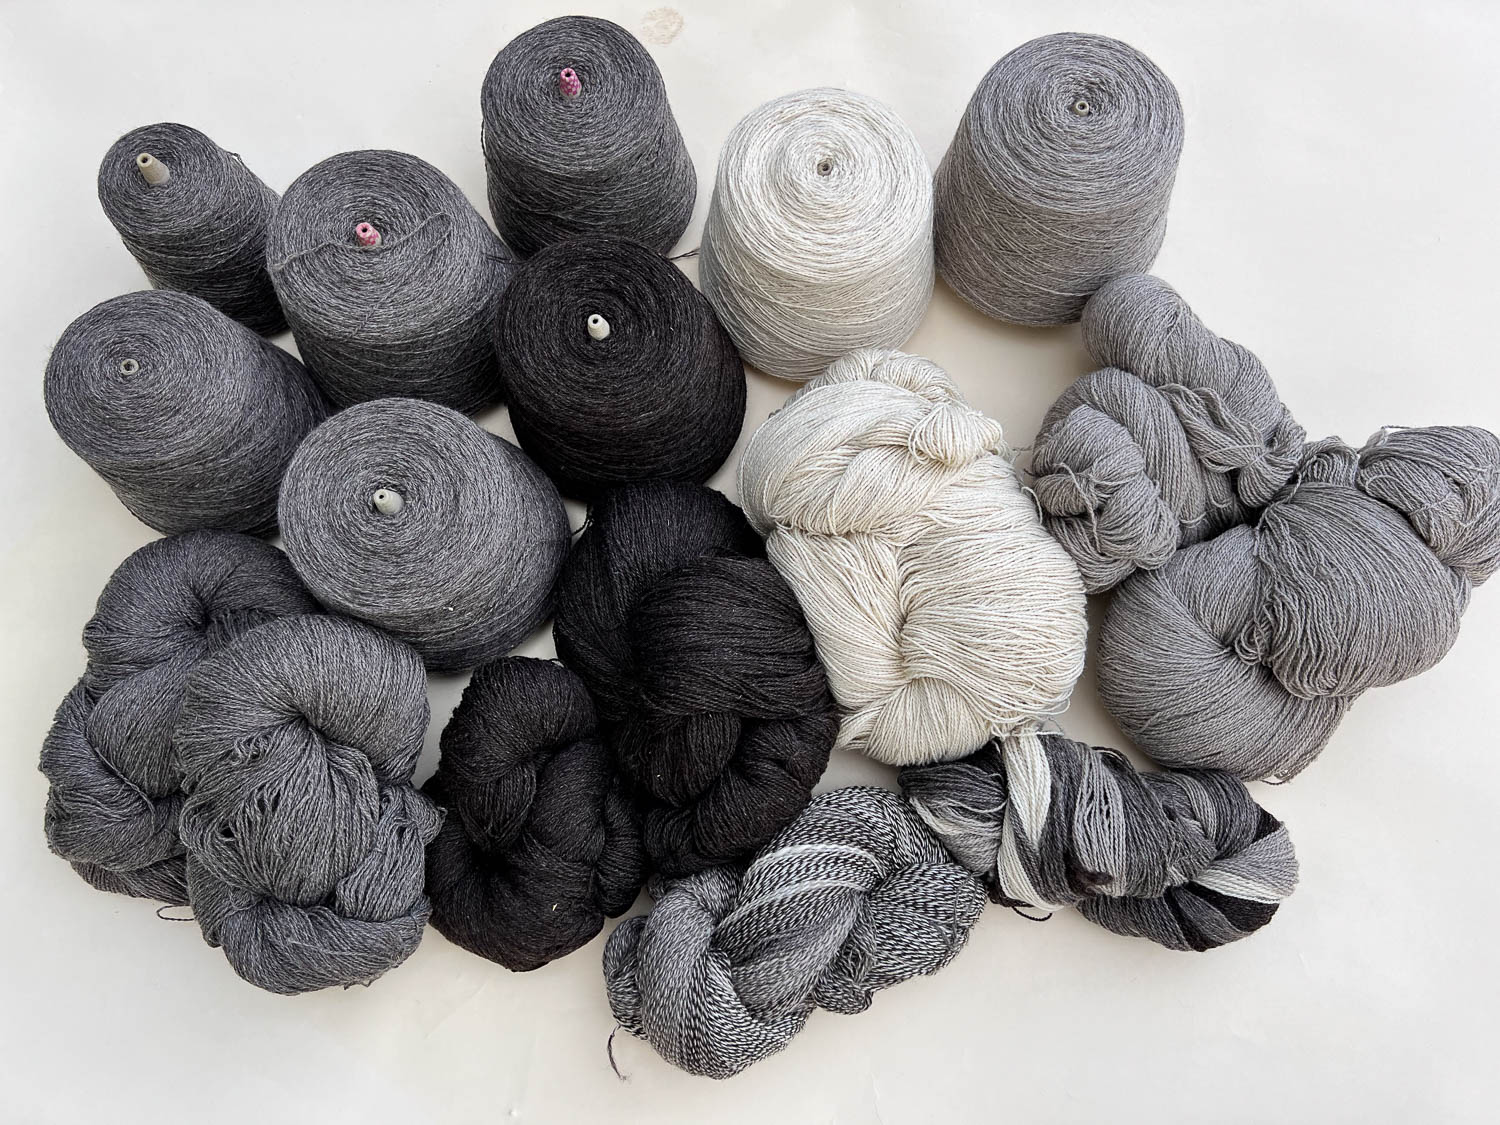
I shared this photo in a previous post. I just picked up the yarn from Valley Oak Mill a week or two ago. This is the last of the 2023 Jacob fiber.

The first thing I need to do before planning a weaving project and before listing the yarn for sale is evaluate the yarn. Measuring wraps/inch (WPI) is one step.

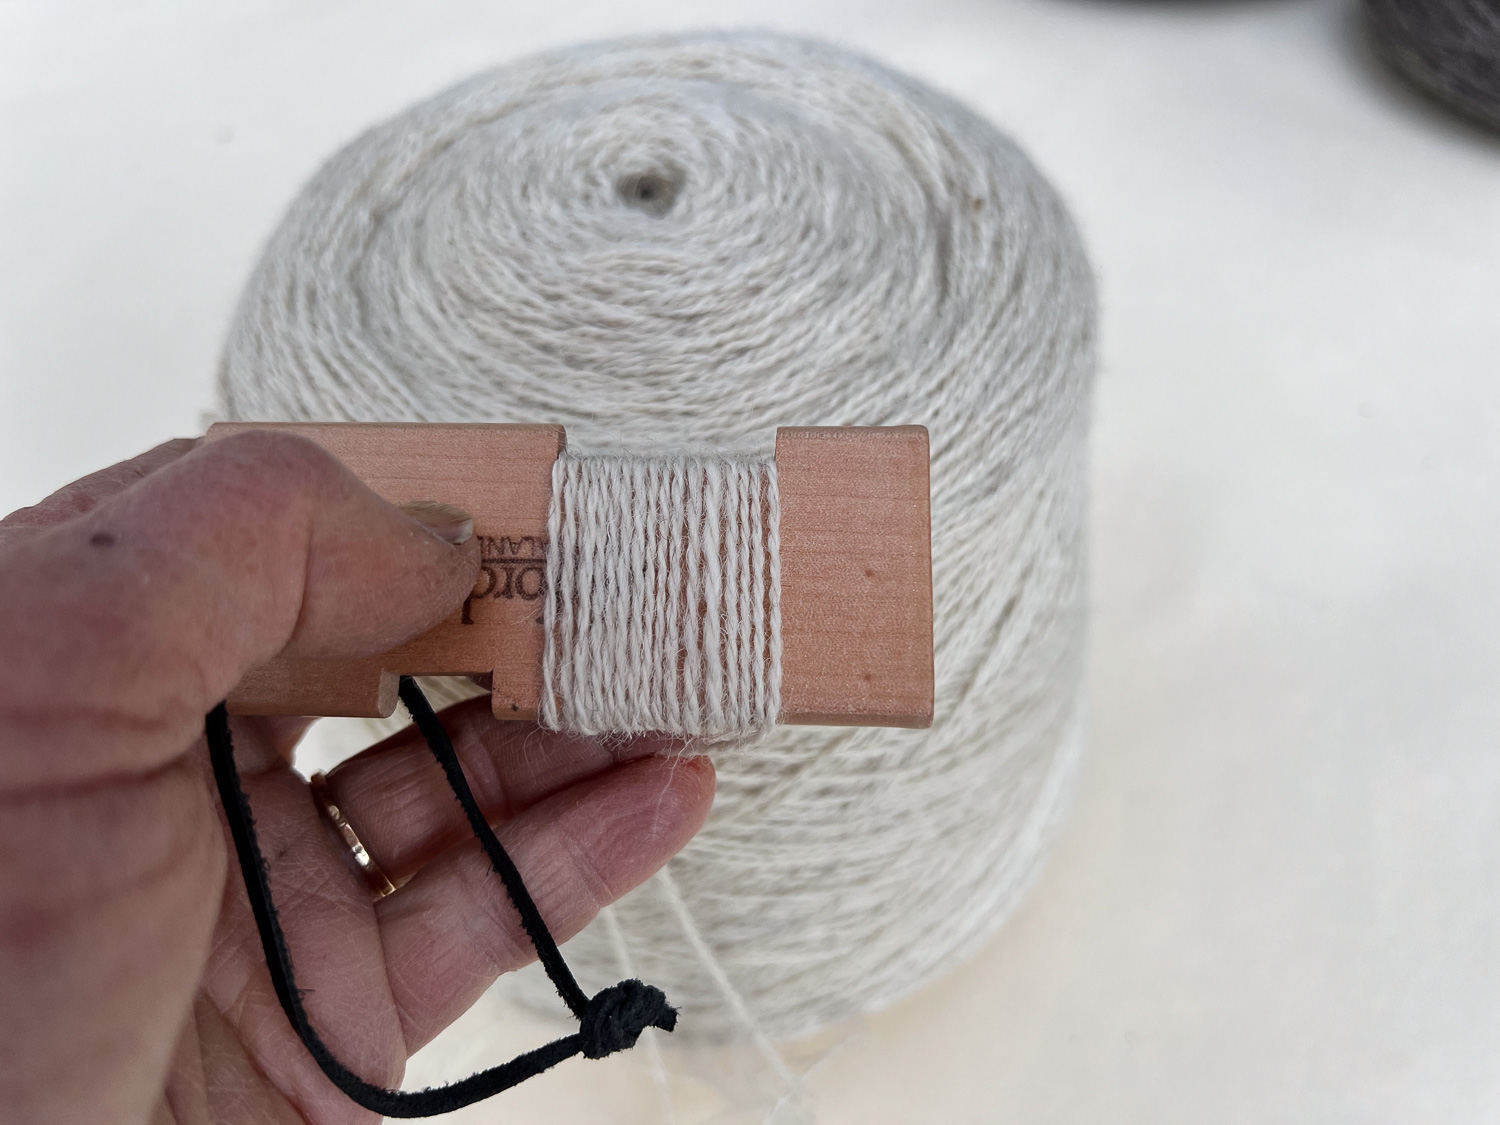
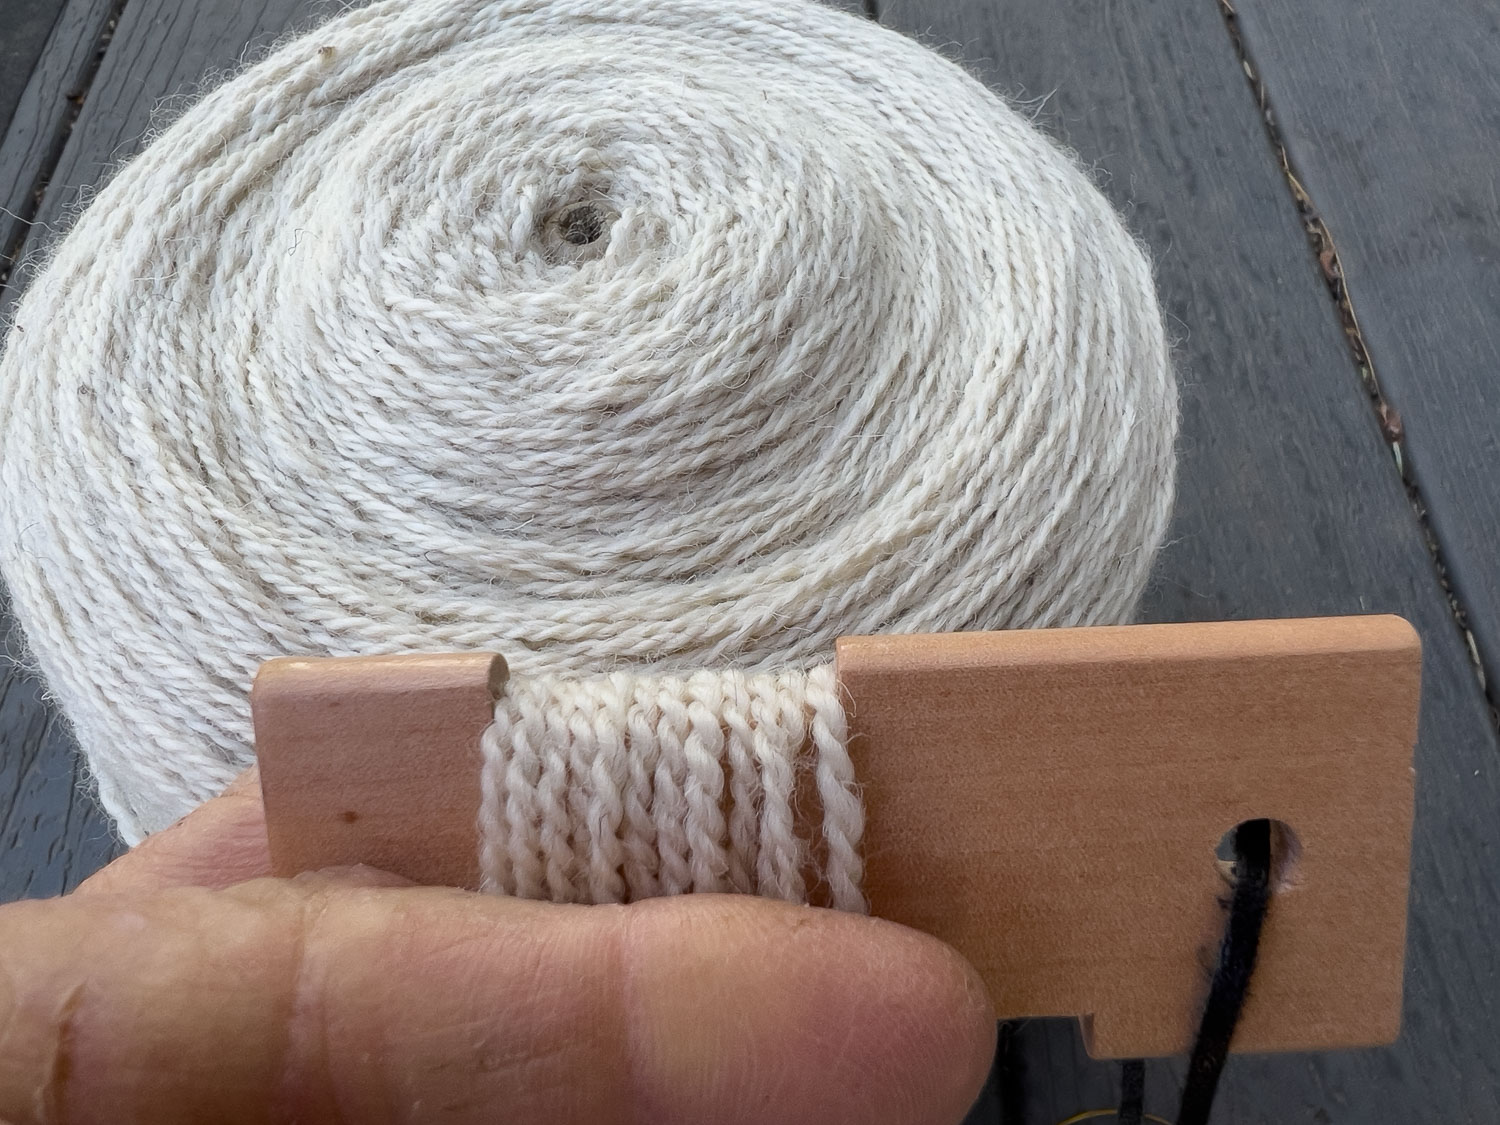
Look at what I finally figured out–how to put photos side-by-side. It only took 20 minutes of trial and error and I don’t know if I can do it again. Now if I could just figure out how to change the size of the spaces .

The point of this is to show the wpi measurements for the same yarn before and after wetting. The yarn on the left is wound straight from the cone. The sample yarn on the right shows the WPI after the yarn has “bloomed”. I soak the skeins in water for about five minutes and then spin them out and let them dry. It is important to plan a project based on what the yarn will look like when the knitted or woven or crocheted project is wet finished. In the case of all these yarns they measured 17 WPI when wound from the cone and 12 WPI after washing. That’s a big difference.

Here is how the black yarn looks.

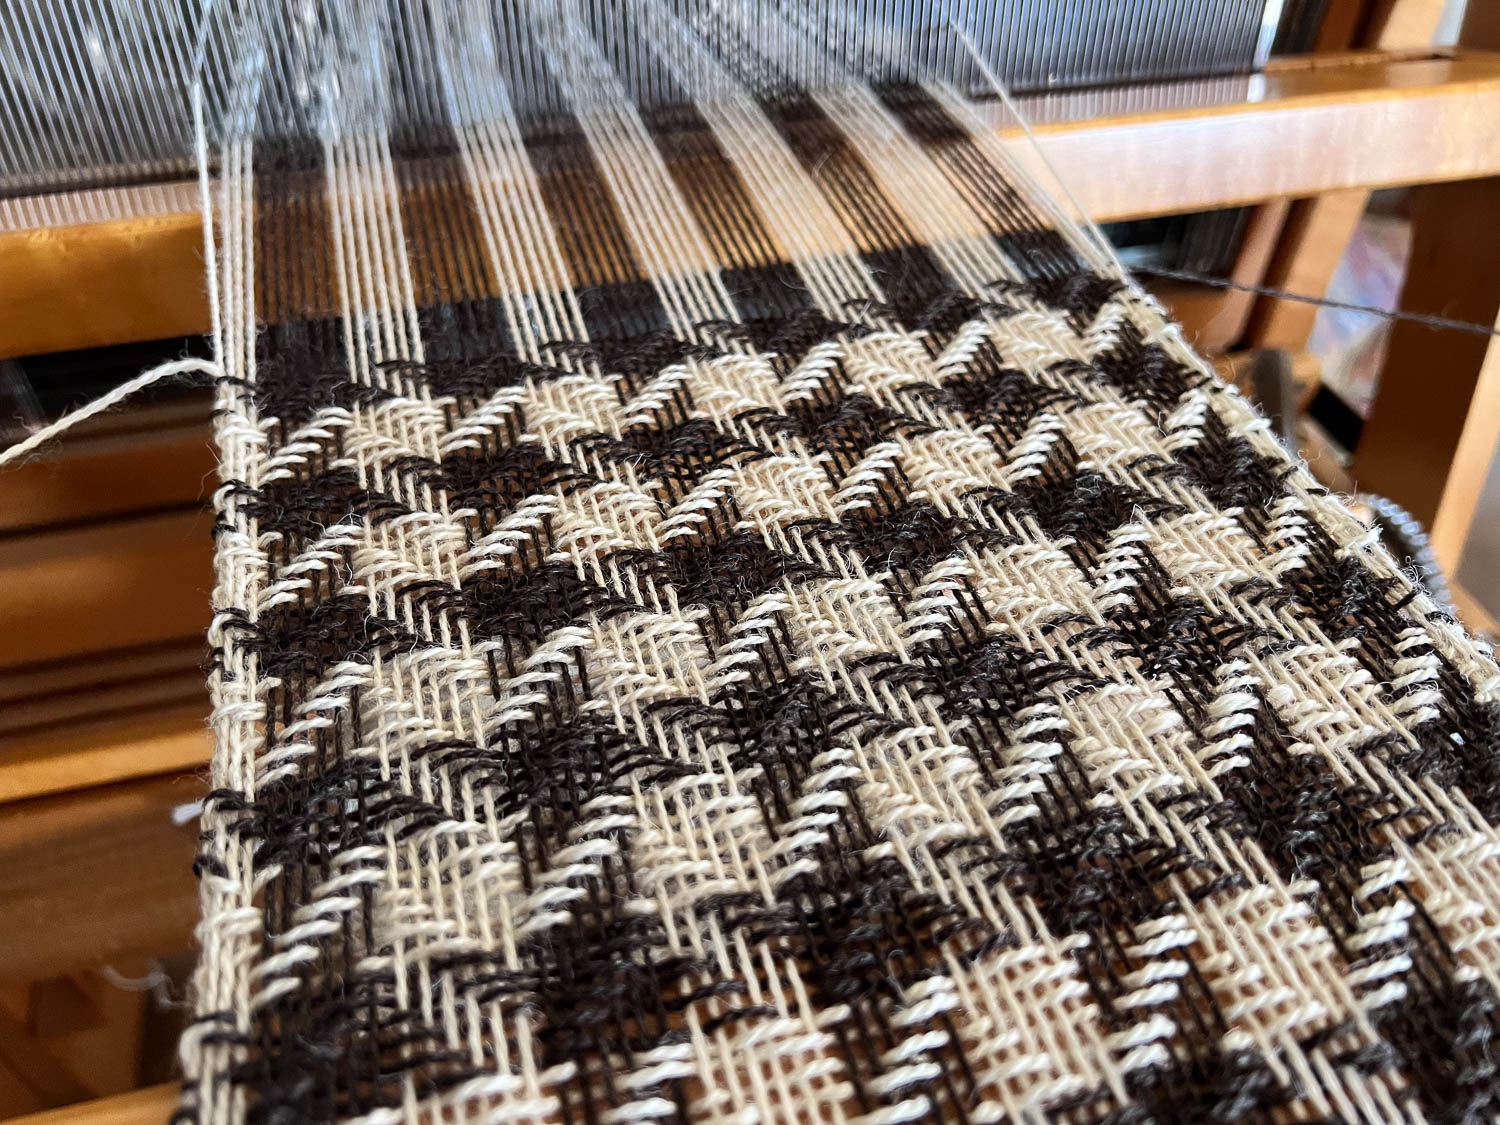
Here is this yarn on the loom. I sett it at 8 epi (ends per inch) based on the 12 WPI measurement. It looks very open but remember that the yarn is under tension on the loom and it has not been wet finished. It will bloom as in the photos above.

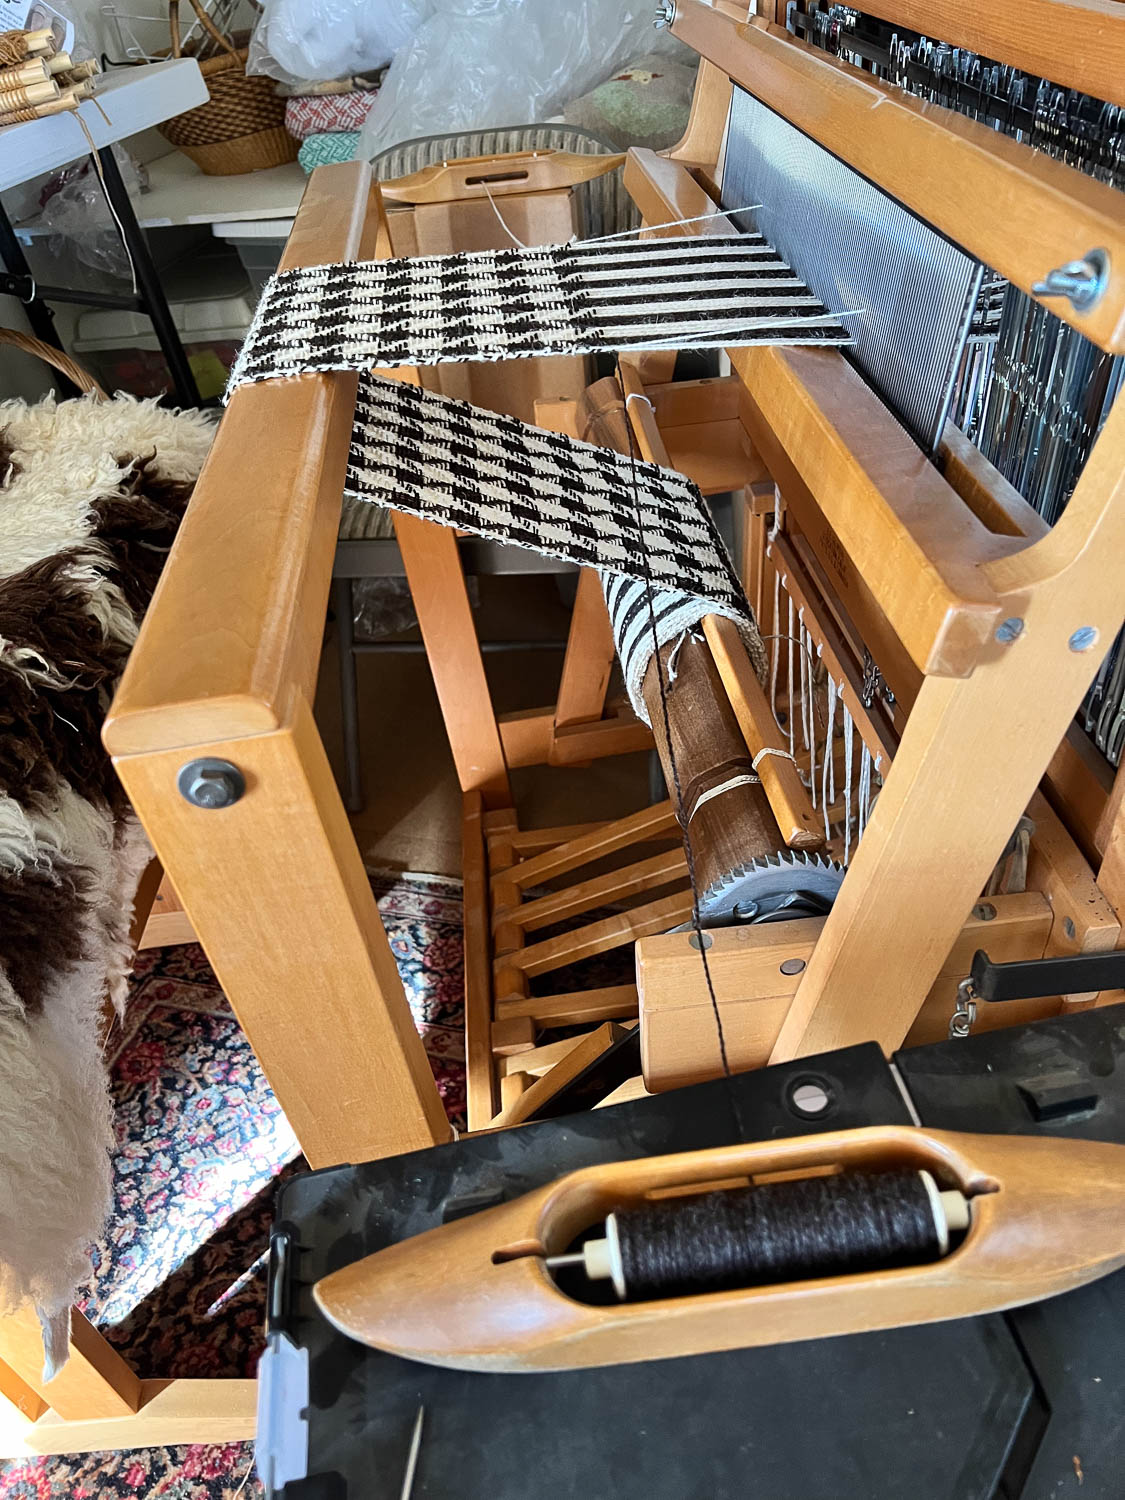
The stars appear due to alternating 6 dark threads and 6 light threads in warp and weft AND the weave structure. Without the two colors you wouldn’t see stars and without the weave structure (tie-up and treadling) you would see a plaid. There is a trick to weaving this without cutting the yarn every time you change color and keeping the selvedges neat. I put boxes at the right height at each side of the loom and rest the unused shuttle there where I can reach under the yarn when I catch the active shuttle for six picks.

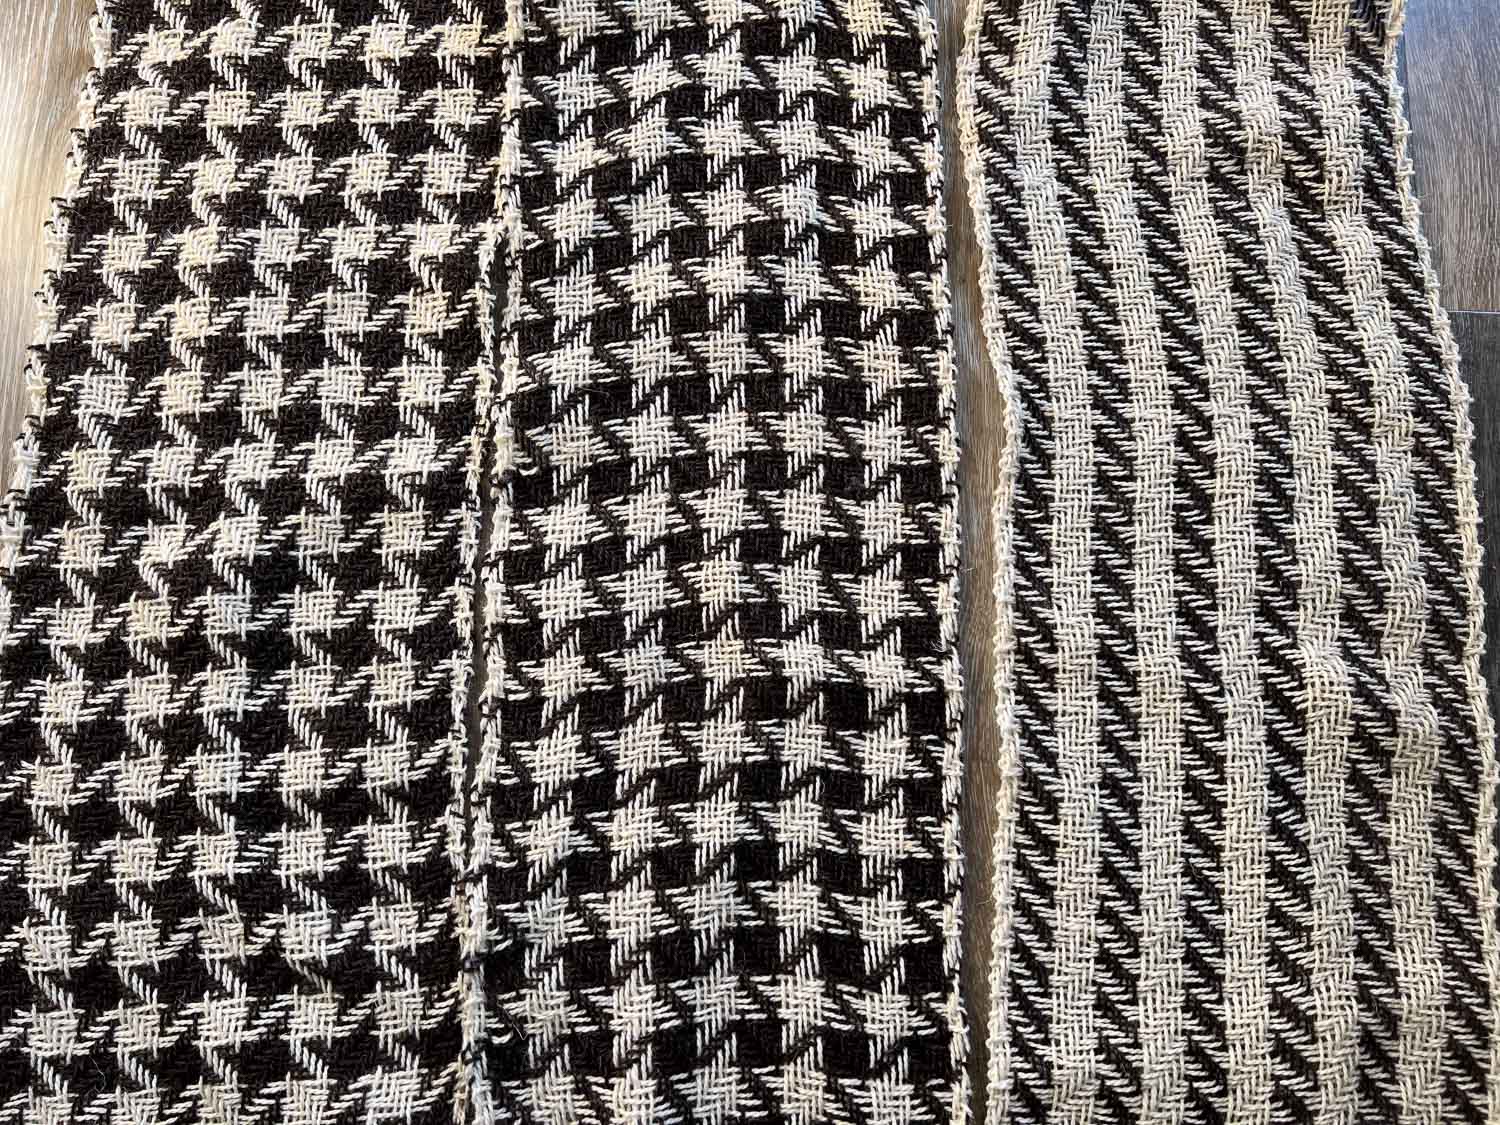
This is how the scarves look off the loom, not yet wet finished. The stars are black on one side of the scarf and white on the other.

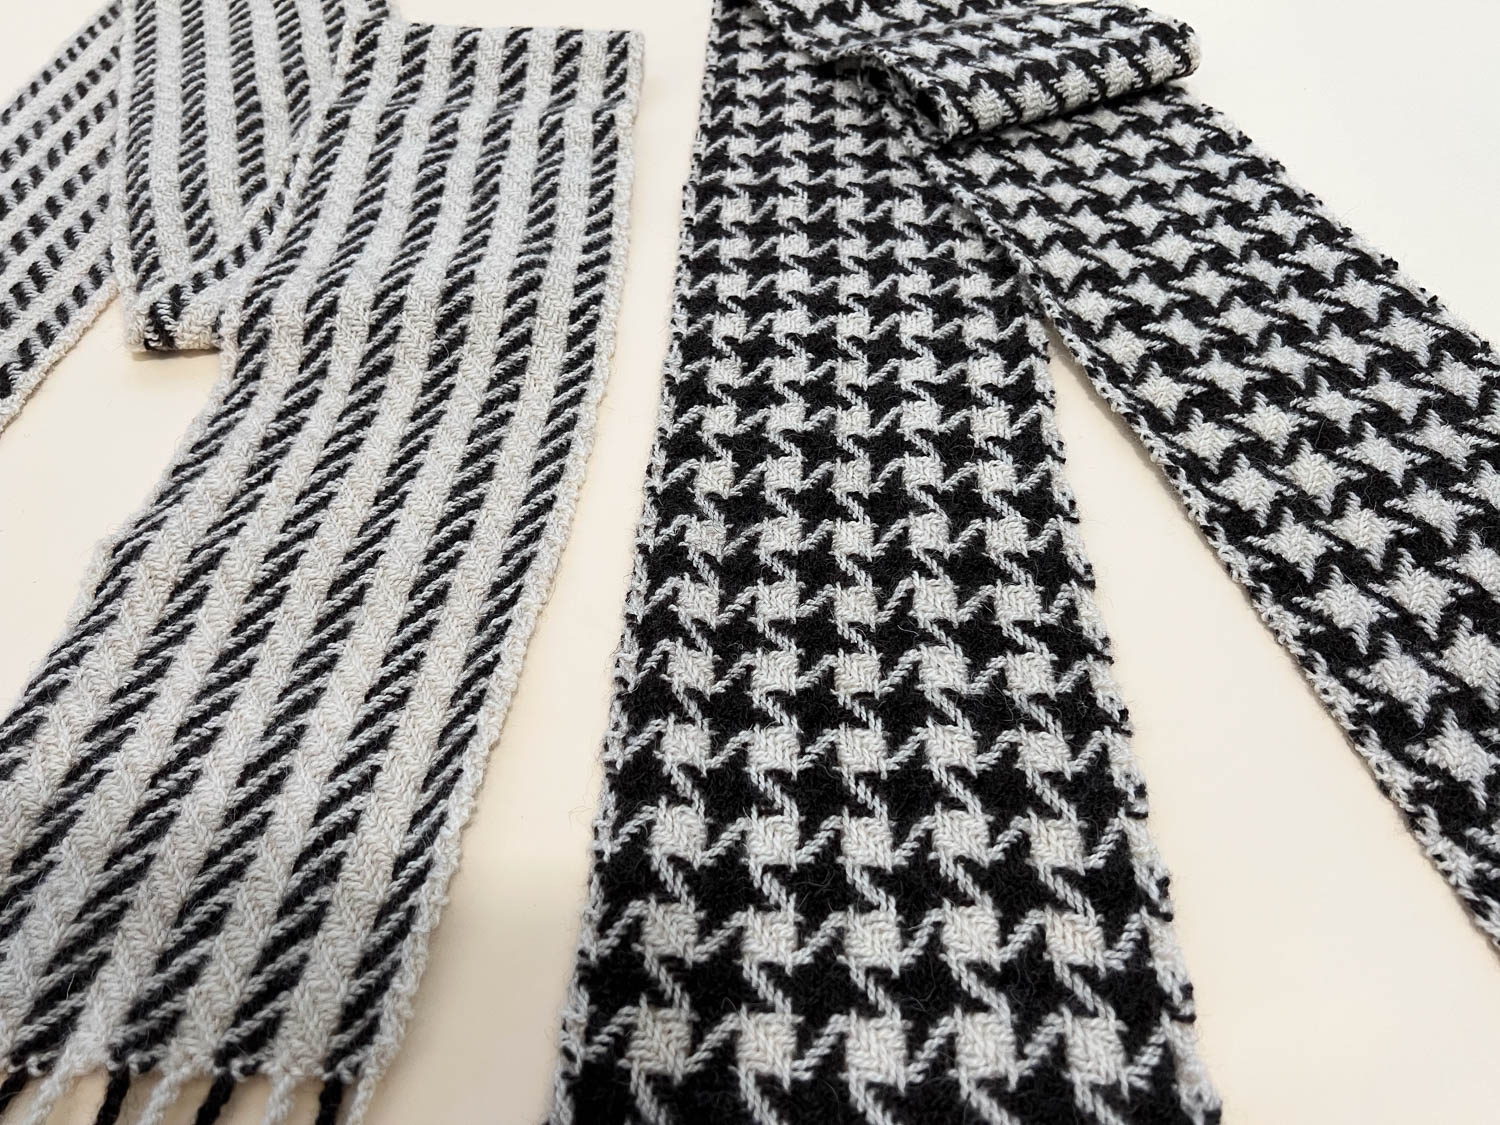
Here are the finished scarves. I have two of the stars scarves and one of the stripes. They may be sold this weekend but I can make more before Christmas. I wonder if I should try other colors. I could use the Timm Ranch naturally dyed yarn or Ashford yarn. I’d like to weave some in cotton as well. Too many ideas, too little time. If you’d like one let me know soon.

Wedding Shawl Commission

Last month I posted the following photo that shows the array of yarns that were chosen by a friend for her daughter’s wedding shawl.

My friend originally planned to weave the shawl herself but then commissioned me to weave it.

This is the warp on the loom. I was concerned that the white weft was going make the shawl too white. No need to worry. It came out just right.

In this close-up you can see the variety of yarns used in the warp. The weft is relatively fine with a regular slub that helps keep the yarns in place even though the shawl is loosely woven.

My favorite model just happened to be here before my friend was to pick up the shawl. (That’s my daughter visiting from VT.)

I got the report back from my friend: “My daughter loves her wedding shawl!! She says it’s the most beautiful shawl she has ever seen!!  That’s a compliment from my very fussy and stylish daughter!”

Still weaving

I haven’t written about weaving lately, but I’m still working at the loom. I have orders from 3 regular customers for 9 baby blankets. I just finished a warp with 10 blankets.

Last week I finished an order for wool throws. This customer had her yarn spun at Yolo Wool Mill and wanted 5 different blankets. Sometimes it is necessary to add a lot of spinning oil to the wool during processing. The yarn isn’t very appealing in that state, but woven blankets aren’t truly finished until they are ‘wet finished’. In wet finishing  the  oil is removed and the blanket is fulled. Take a look at the before and after photos of these blankets.

I calculated a sett of 5.5 epi. I used a 6-dent reed and left every 12th dent open. After I started weaving I worried that you would see that empty space in all 5 blankets and that would distract from the woven pattern. I didn’t need to worry.  In the photo below you can sort of see that line, but when you see the blanket you focus on the diagonal twill and don’t even notice the vertical line.

Above is the before and after of another twill blanket.

Plain weave. Before fulling is above and after fulling is below.

This is one of my favorite weave structures. I was concerned about the finishing of this blanket. The yarn that I got from the mill was on cones and in skeins. The skeined yarn was so much oilier than the coned yarn  it almost seemed to be a different batch. You can see the difference in the photo. In fact, there was so much tacky grease that I had to pull a length of yarn out of the shuttle with every pass or my end-feed shuttle would go flying off the loom (guess that’s because I have a fly-shuttle loom!) because the yarn wouldn’t feed out properly. I was relieved after I washed the blanket that there was no difference in the fulling of the two yarns.