To read the whole story go to the previous blog post. In that post I showed the whole process of producing buttons from one horn. That day I took photos of two more horns and want to share those too.
This is another horn and the buttons created from it.
With that last horn I put the photos in a “gallery”. With this one I’ll do it my regular way. There is a lot of trial and error in figuring out how best to share photos here. So I’ll check my computer and my phone later and see what seems best. Feedback from anyone reading is appreciated.
All the buttons that don’t sell at Lambtown will be on my website–at least the ones on the cards. If you visit here or at a show you can look through the bo with all those extras and make up your own set.
Each year many of the lambs produced here end up in someone’s freezer. I wouldn’t be able o breed sheep if there wasn’t a market for these lambs. There were 88 lambs born this year. I selected some to keep, but most are sold to other breeders or for meat. I want to use the WHOLE sheep and buttons are one of the products that I can make.
These are just some of the horns from the latest lambs. I did not photograph the first step because I can’t take a photo while using a Sawzall (just looked that up–a reciprocating saw) and my blog would probably get black-listed if I had a photo of cutting horns off a dead sheep head. The second step is to put the horns in a bucket of water in the sun for a few days. There is a bony core and the living tissue between the bone and the outer horn needs to degrade enough that I can get those horns off.
From Wikipedia: A horn is a permanent pointed projection on the head of various animals that consists of a covering of keratin and other proteins surrounding a core of live bone. Horns are distinct from antlers, which are not permanent.
Look at what you can learn about by reading my blog. I read about horns or horn-like features on a variety of animals from giraffes to triceratops.
I took photos of the button making stages with three horns, but I think that’s too many photos to put in one post. I’ll start with this one which is unusual because it is mostly white.
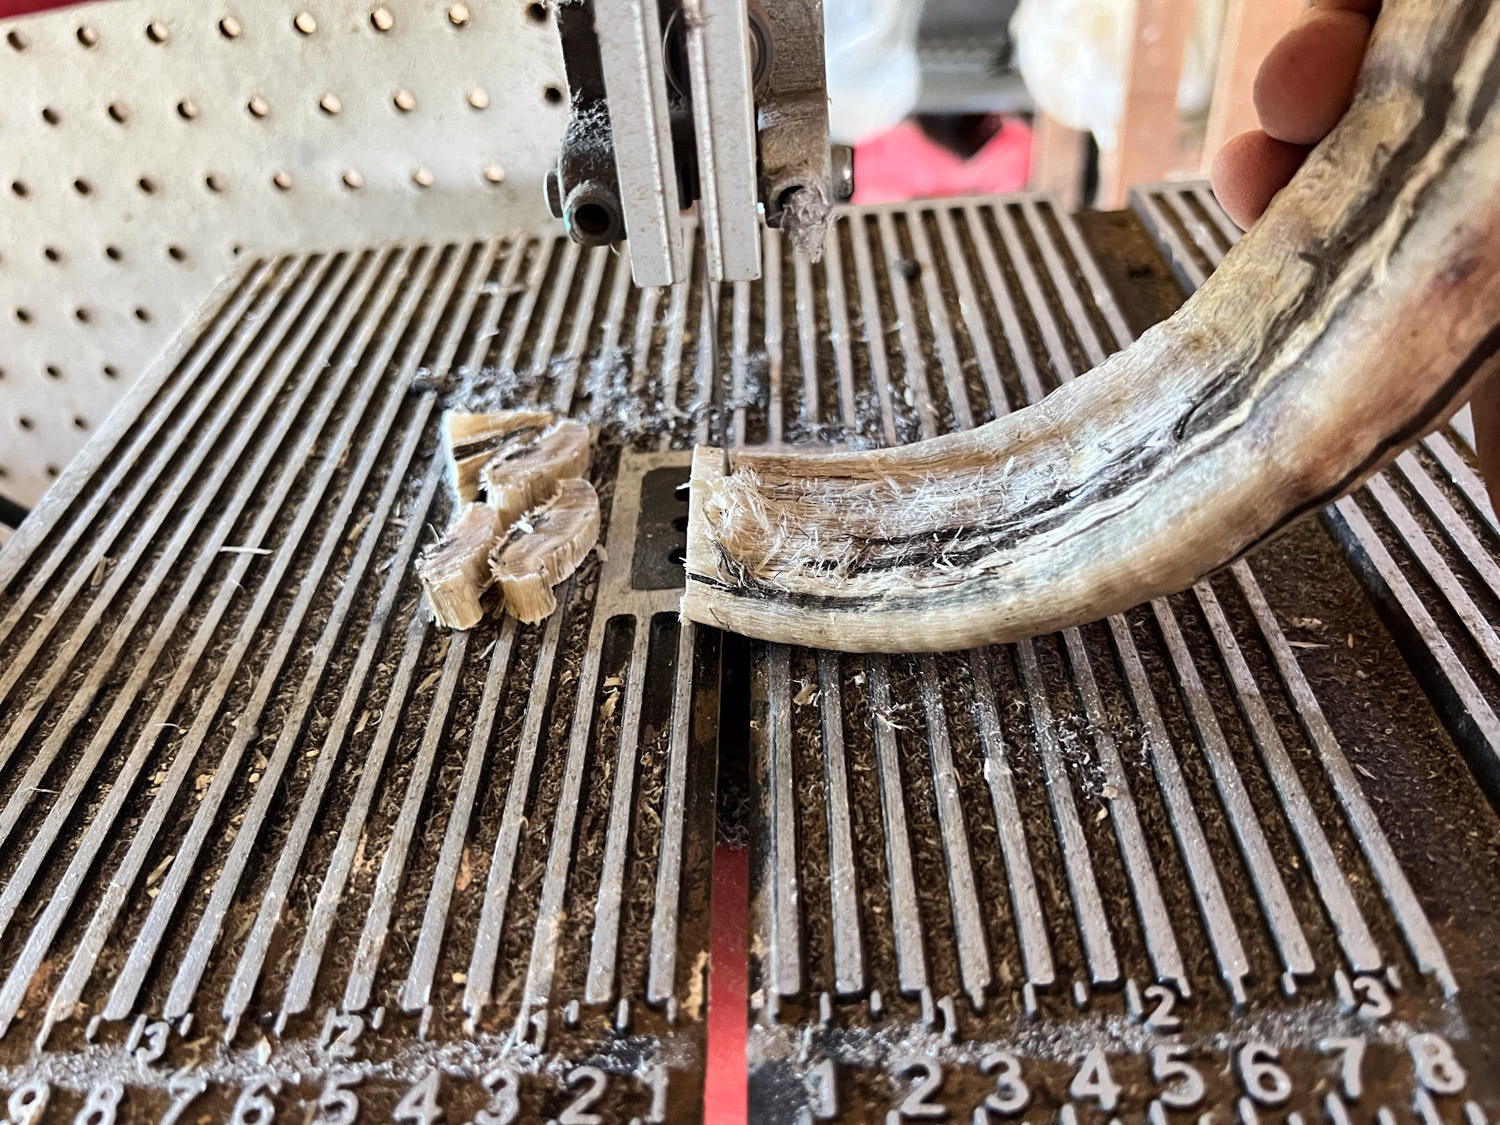
The first step (beyond what I described above) is to cut the horn into button shapes. I use a band saw.
The solid core makes buttons of interesting shapes. most people think of horns as round but you can see that the shape of these horns are anything but round.
Here are all the pieces I cut from that horn. The squarish shapes come from the hollow part of the horn that surrounded the core. I often try to make a few pieces that can be used with a shawl pin. I was told that I could call it an annular although that usually refers to a medieval brooch with a pin attached.
The next step is drilling holes, another step that is difficult to photograph while in progress.
All pieces after drilling the holes.
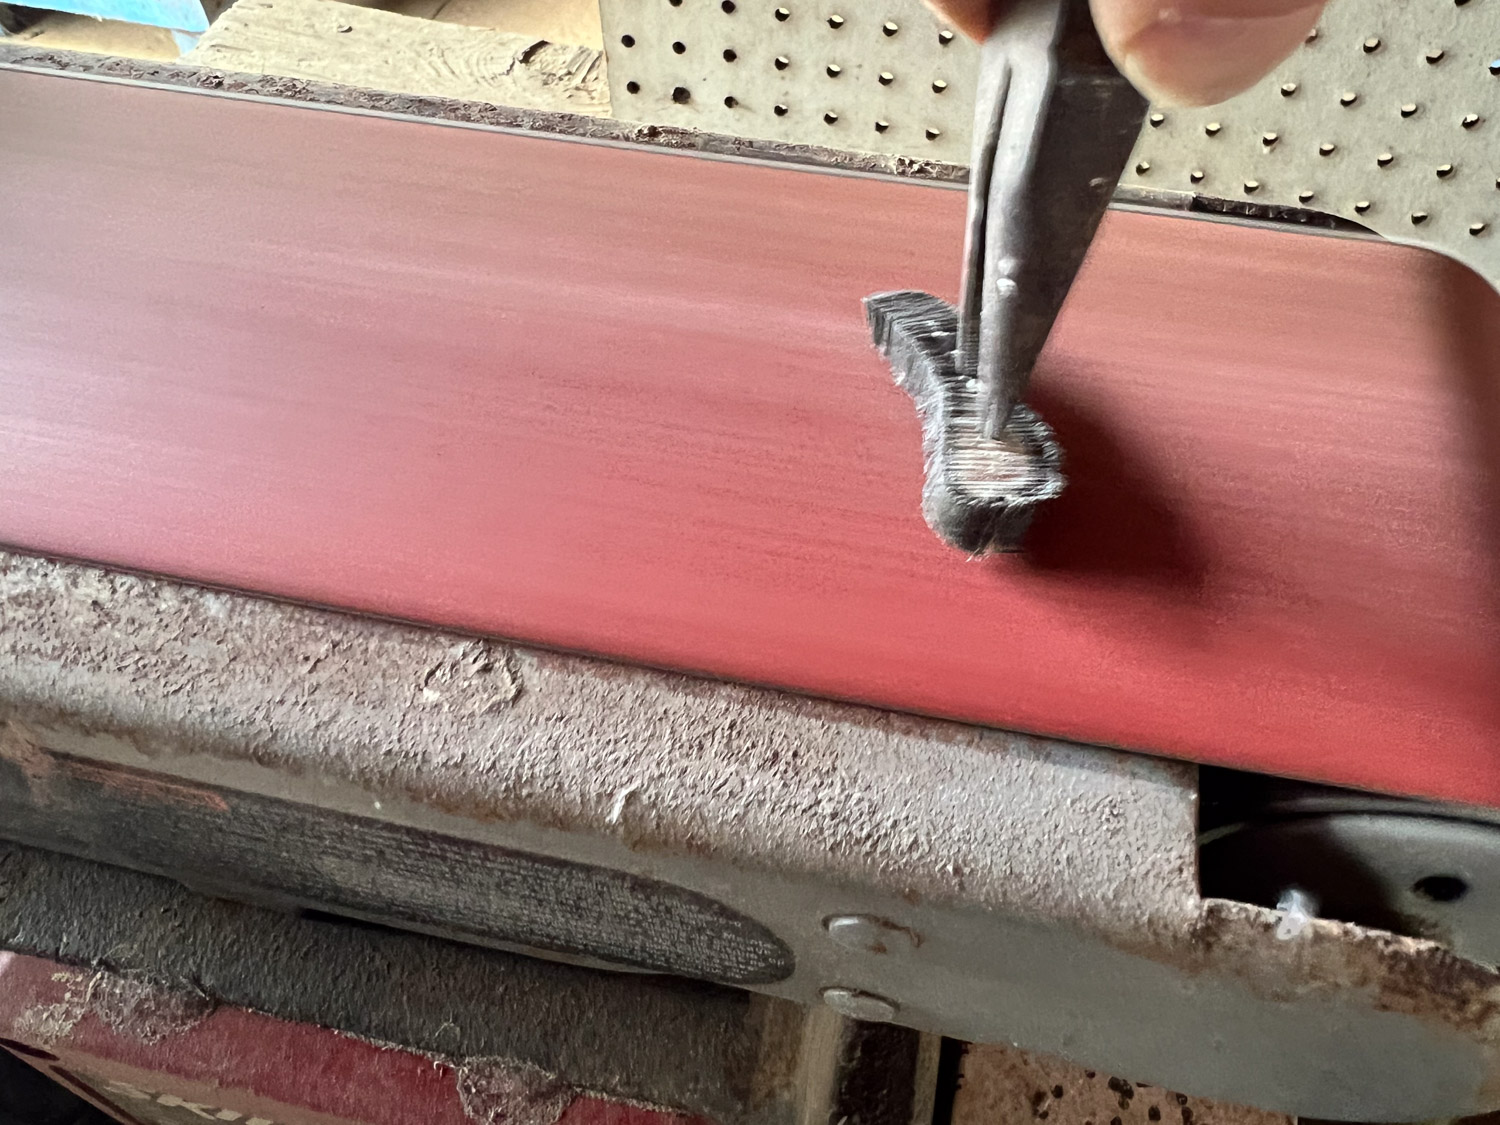
Then I move on to sanding using a belt sander. This is the step that takes me the longest. It’s difficult to get to all the edges.
I can’t use the pliers for all of it and I have been known to come away with nicely (completely) sanded fingernails.
Here are all the buttons from that one horn after sanding.
I have figured out the best way for me to apply a lacquer finish. I can put the buttons on wires that I dip in the lacquer and then I put poke the wires into styrofoam packing material saved from purchased items. These are the buttons made from three horns.
Throughout the process II keep track of the buttons that are from the solid part of the horns so I can match the up for sale. If I plan to sell buttons online I need to be able to identify individual buttons and sets. So the last step is to attach them to cards I have printed.
These buttons are not on the website yet because I’m going to wait until after Lambtown and post those that haven’t sold.
Yesterday I spent time with sheep and weaving and ecoprinting and computer. I did more of the same today but didn’t take any weaving photos.
I changed the fence today to move the sheep into a separate paddock. You can’t tell from this photo but there are 8 paddocks that run north-south on this half of the property. There are 3-wire electric fences that keep the sheep in and I change the net fences at the two ends to open or close paddocks. Notice the hot-air balloons. It’s that time of year. There are four in this photo.
This looks like a lot of grass. It is a lot of grass, but it’s not the desirable grass and forbs I’d like. There is a lot of bermuda grass and dallisgrass. Those two take over this time of year. The sheep don’t like them when they get too coarse and head out. Then they go dormant in the winter and choke out the winter/spring annuals that I’d like to see. At least it’s green right now. That’s because we irrigate–there is no summer rain here.
Close up of one of the balloons. Who remembers Rusty? Blog post from 2011. Rusty even had his own blog for several years. I just got distracted and read back through some of it. Rusty was a pretty good writer and I enjoyed reading through his posts just now. I wonder if I could get Ginny to write a blog.
Anyway, about Rusty. He was afraid of these balloons. During “balloon season” he wouldn’t leave the house first thing in the morning. He knew that they’d be gone by mid-morning and then he would go out. Ginny doesn’t mind the balloons, but she is sure gun-shy and that’s a problem with all the recreational shooting around here.
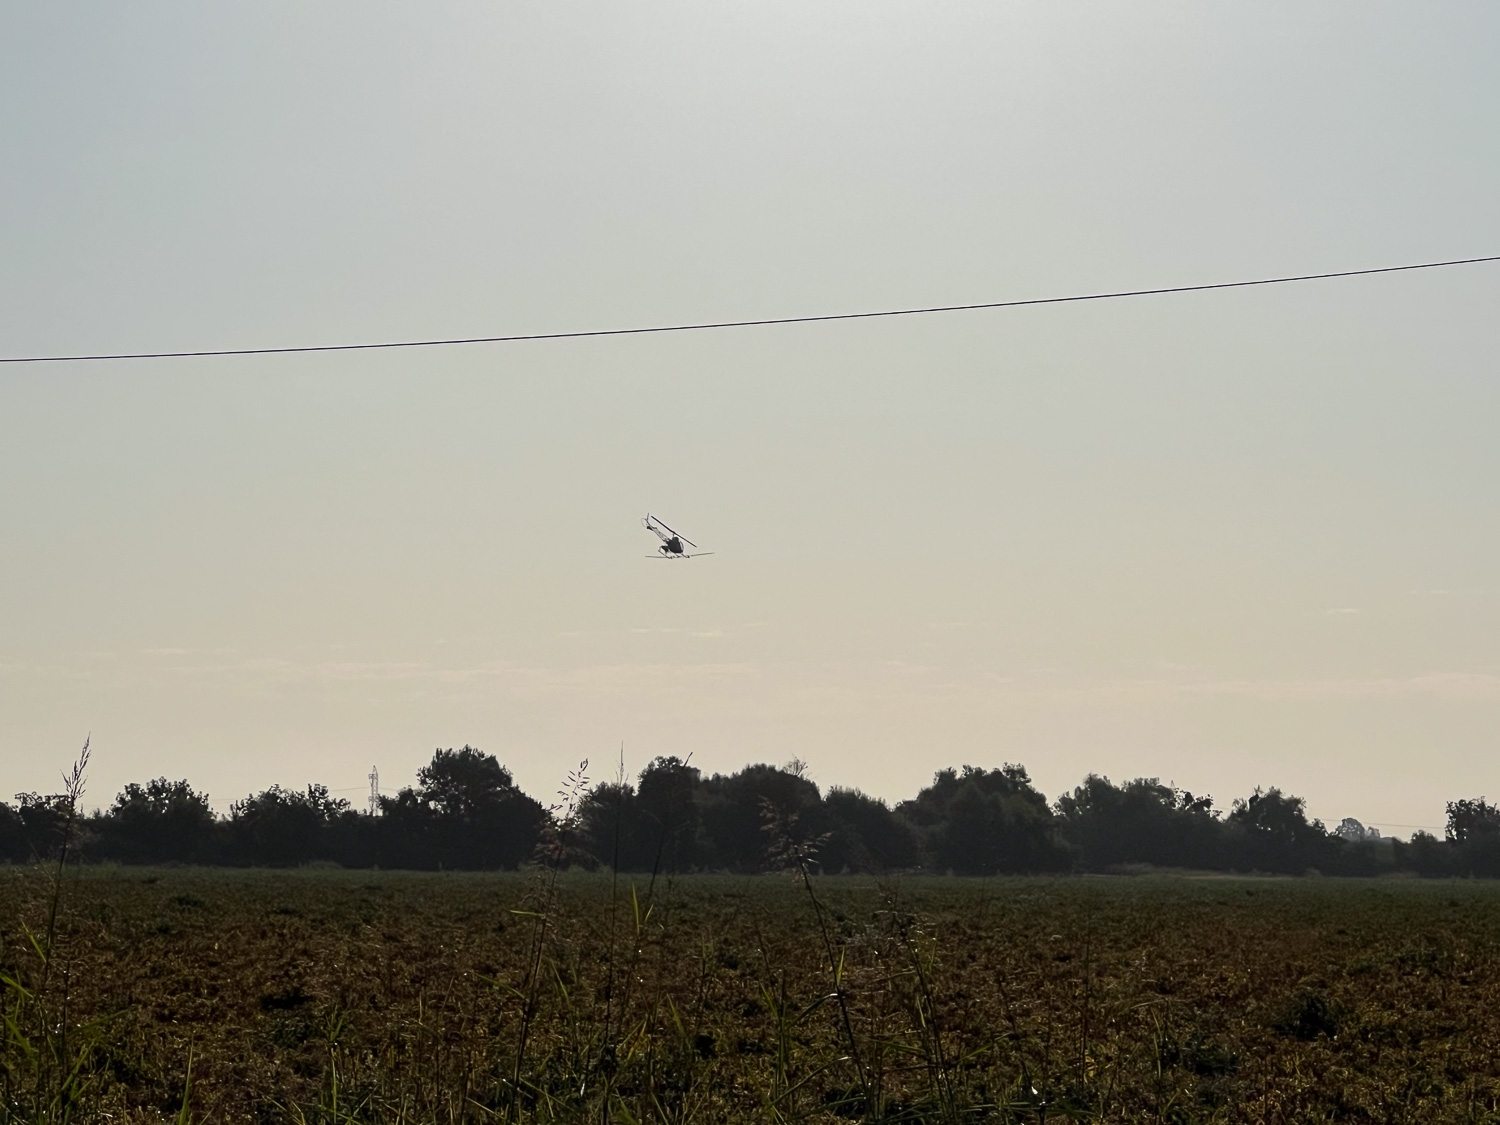
Speaking of things in the sky, this is the third time there has been a helicopter spraying the tomato field across the road.
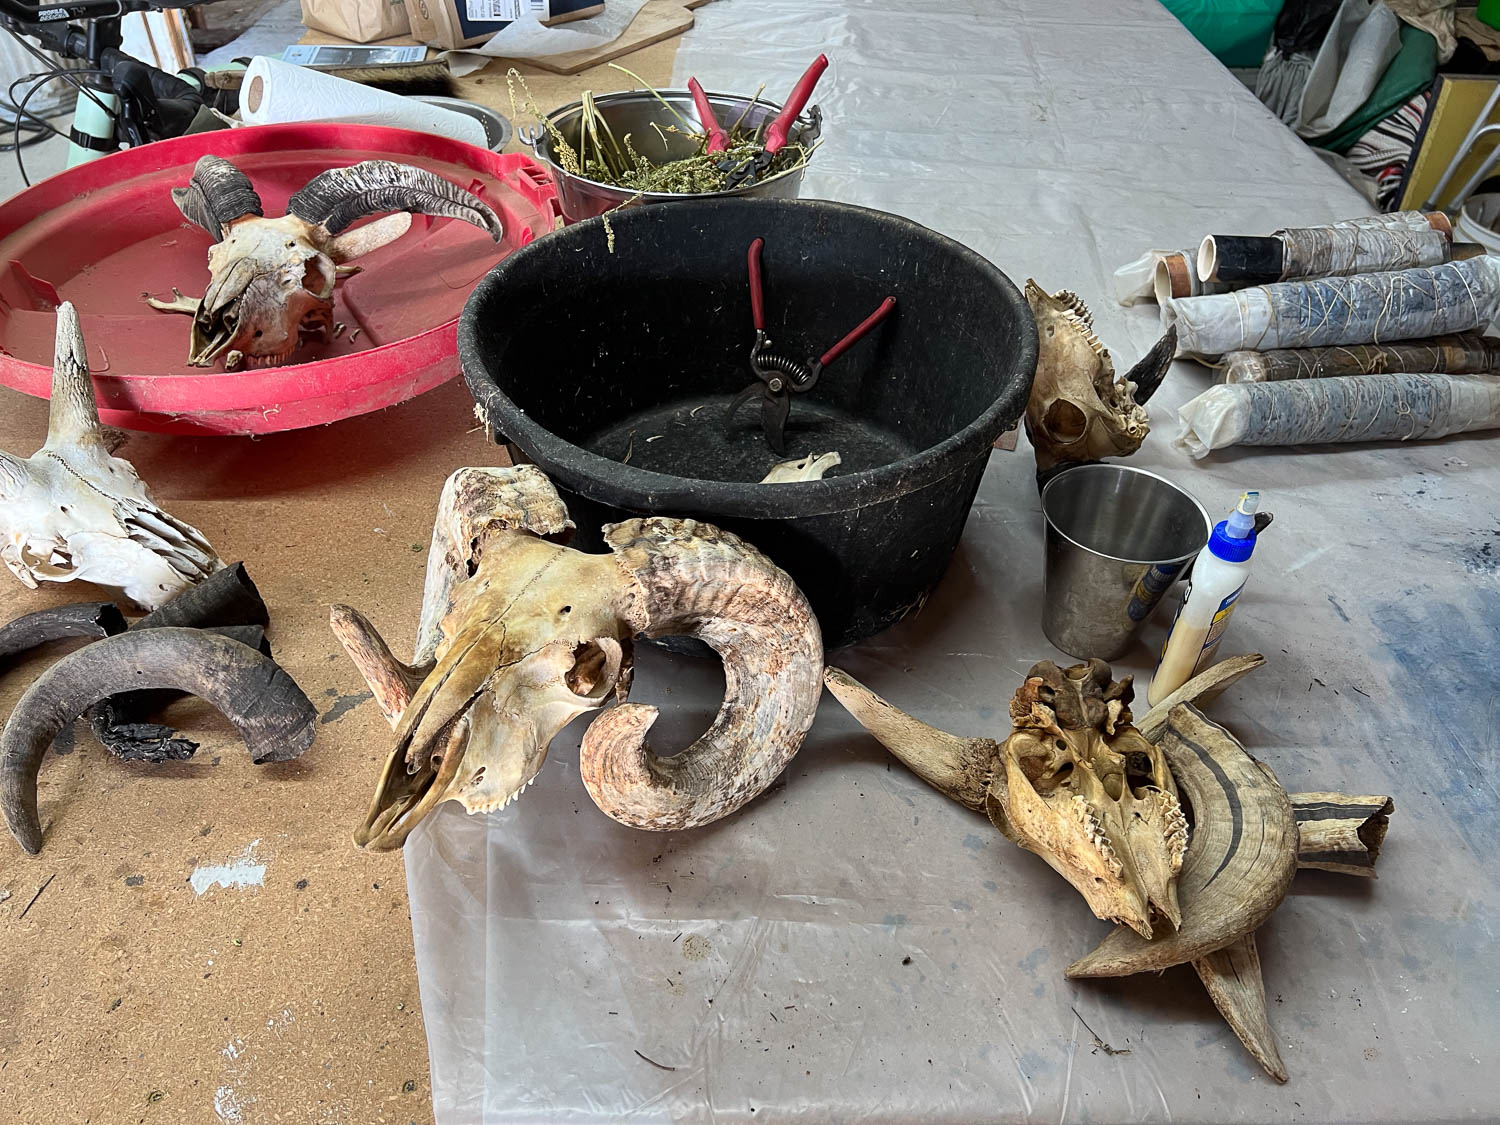
Before I went to the house after this morning’s chores I wanted to unroll the ecoprints from yesterday (see yesterday’s blog post). I have taken over this work table in the garage. The ecoprints are still rolled up on the right of the table. This is a look at the other projects I have going on–getting these skulls in some shape that I can sell them.
While I was working on the ecoprint scarves this morning I had a pot cooking with a couple of skulls to see if I could get them cleaned up better.
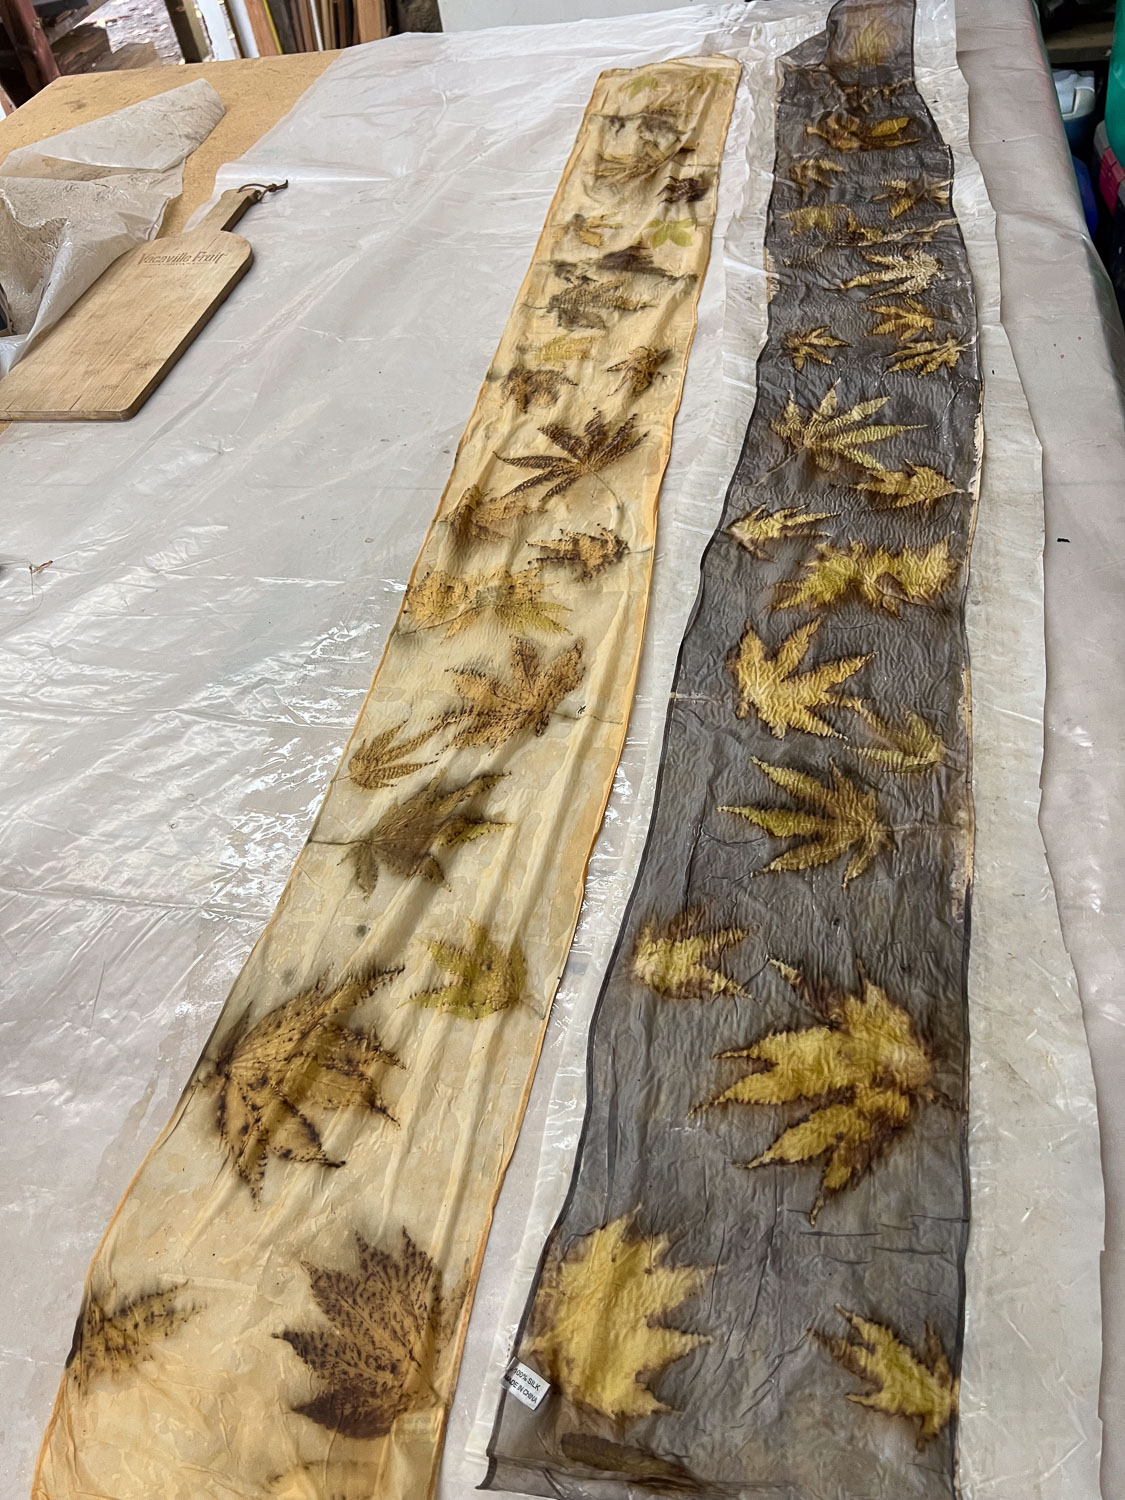
Here is a pair of square scarves. The photos in yesterday’s post show scarves with leaves or flowers in place. I put a second scarf on top of each of those and then roll them around a PVC pipe to steam. These photos show the pairs of scarves after unrolling. This pair has cosmos leaves and flowers. I am always fascinated by the different looks on the two scarves.
This one is all cannabis leaves (supplied by a friend). These don’t have that classic look of the ones below because by the time I got to this, the remaining leaves had started to fold up and at that point it is very tedious to spread them out again, especially with all these small ones.
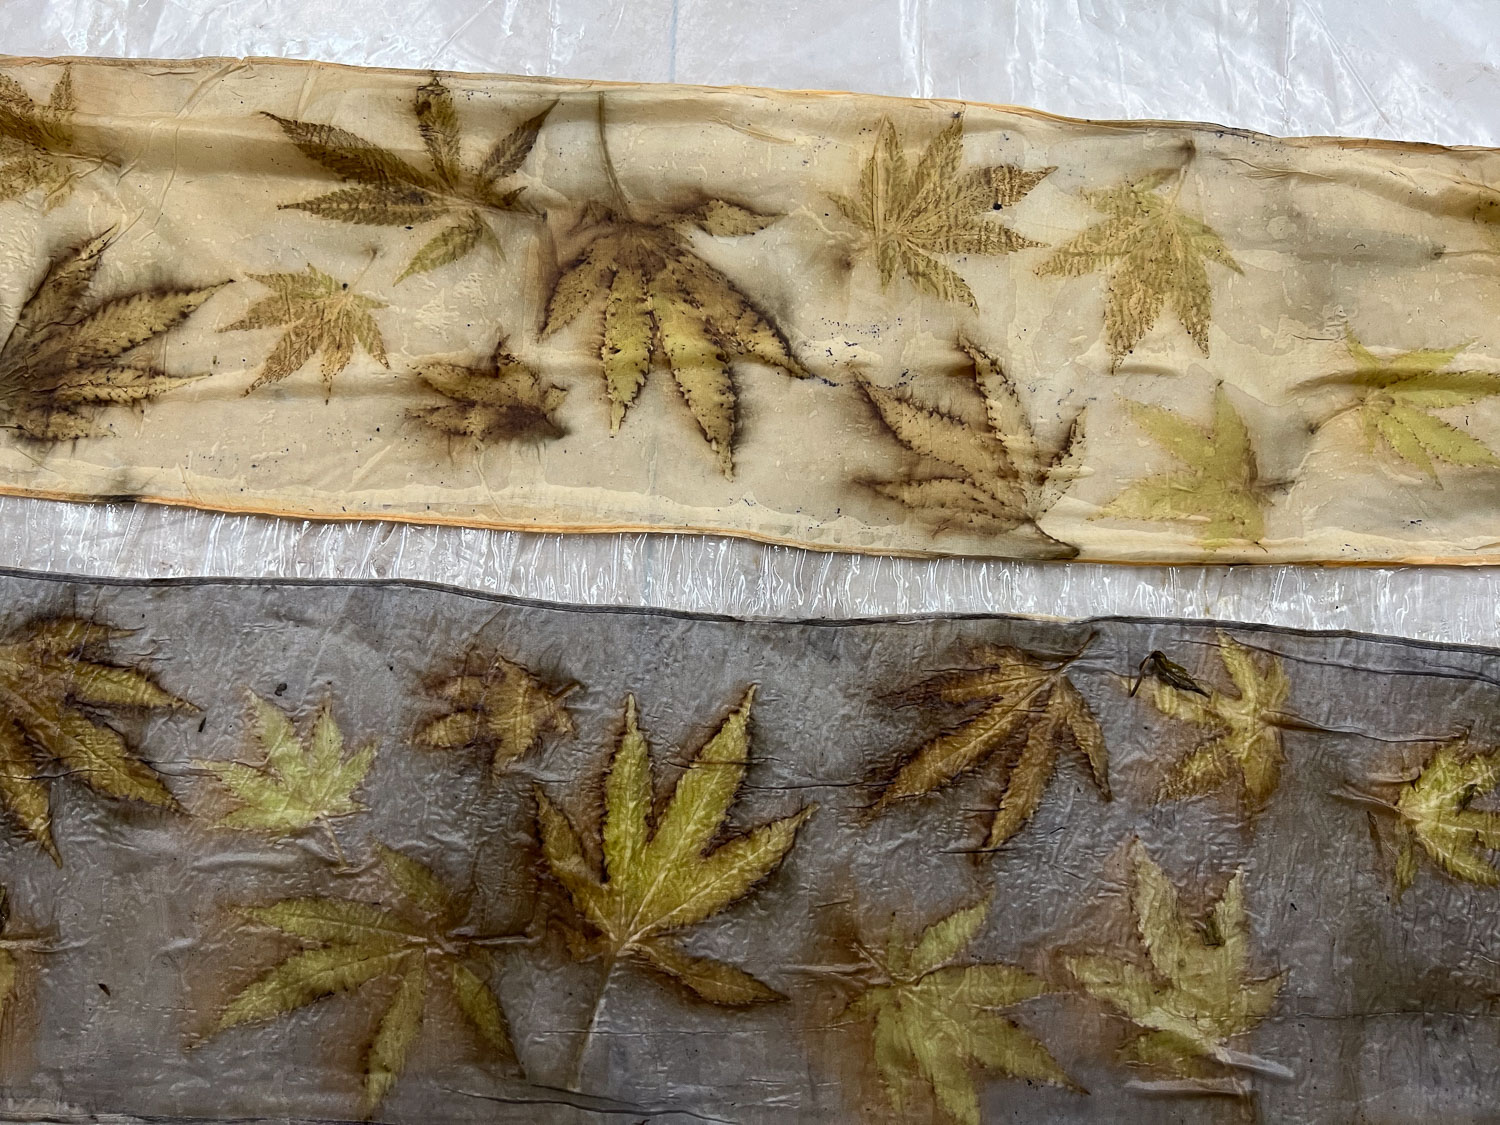
Cannabis leaves in the more classic look.
Another set of cannabis leaves with a close-up below.
Some plants print on one scarf and create a resist on the other. These are printing on both scarves.
No, I am not selling cannabis. These are purple hollyhocks and cosmos flowers that I have added to my website and will have at Lambtown.
Tomorrow is a Farm Day and we’re setting up breeding groups! I need to look at my list one ore time.