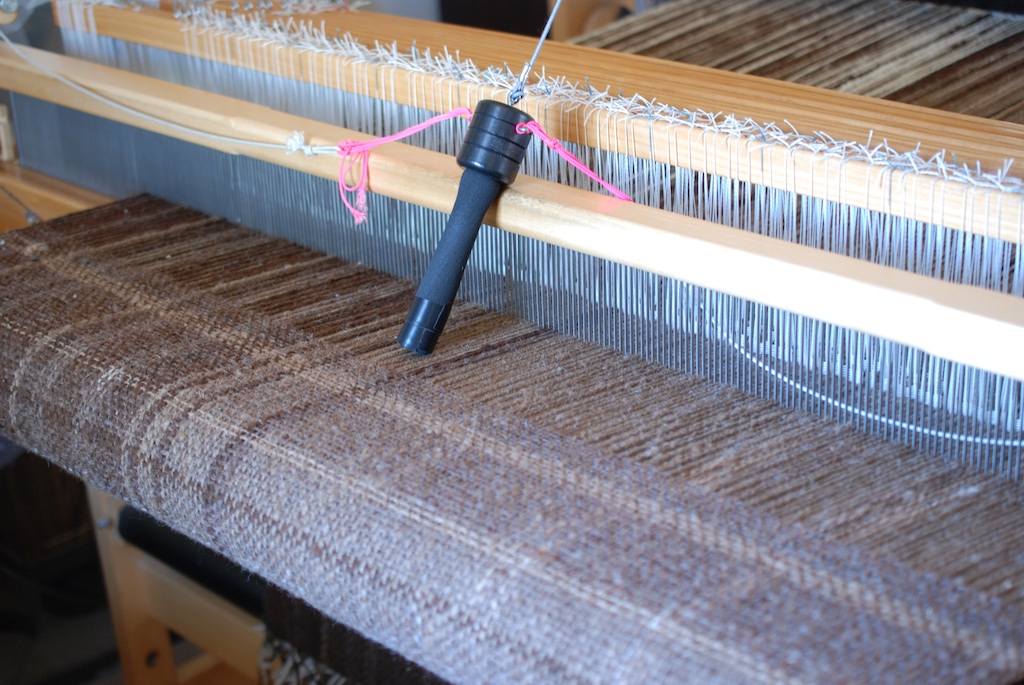
These photos may seem to be unrelated, but that’s how my life is right now…or maybe all the time. Farm Club members were here on Saturday to help set up breeding groups. Too busy to get photos then. Sunday I demonstrated weaving at an alpaca farm for their open house for National Alpaca Farm Day (remembering at 6 the evening before that I needed to get a loom warped for that). Today I worked on lots of odds and ends, mostly working towards being ready for Lambtown this weekend. So this is odds and ends.
Clancy got to work right away on Saturday. (For the record, he is a BFL registered as Liongate Aylan, but I started calling him Clancy because I couldn’t remember that name. Clancy stuck.)
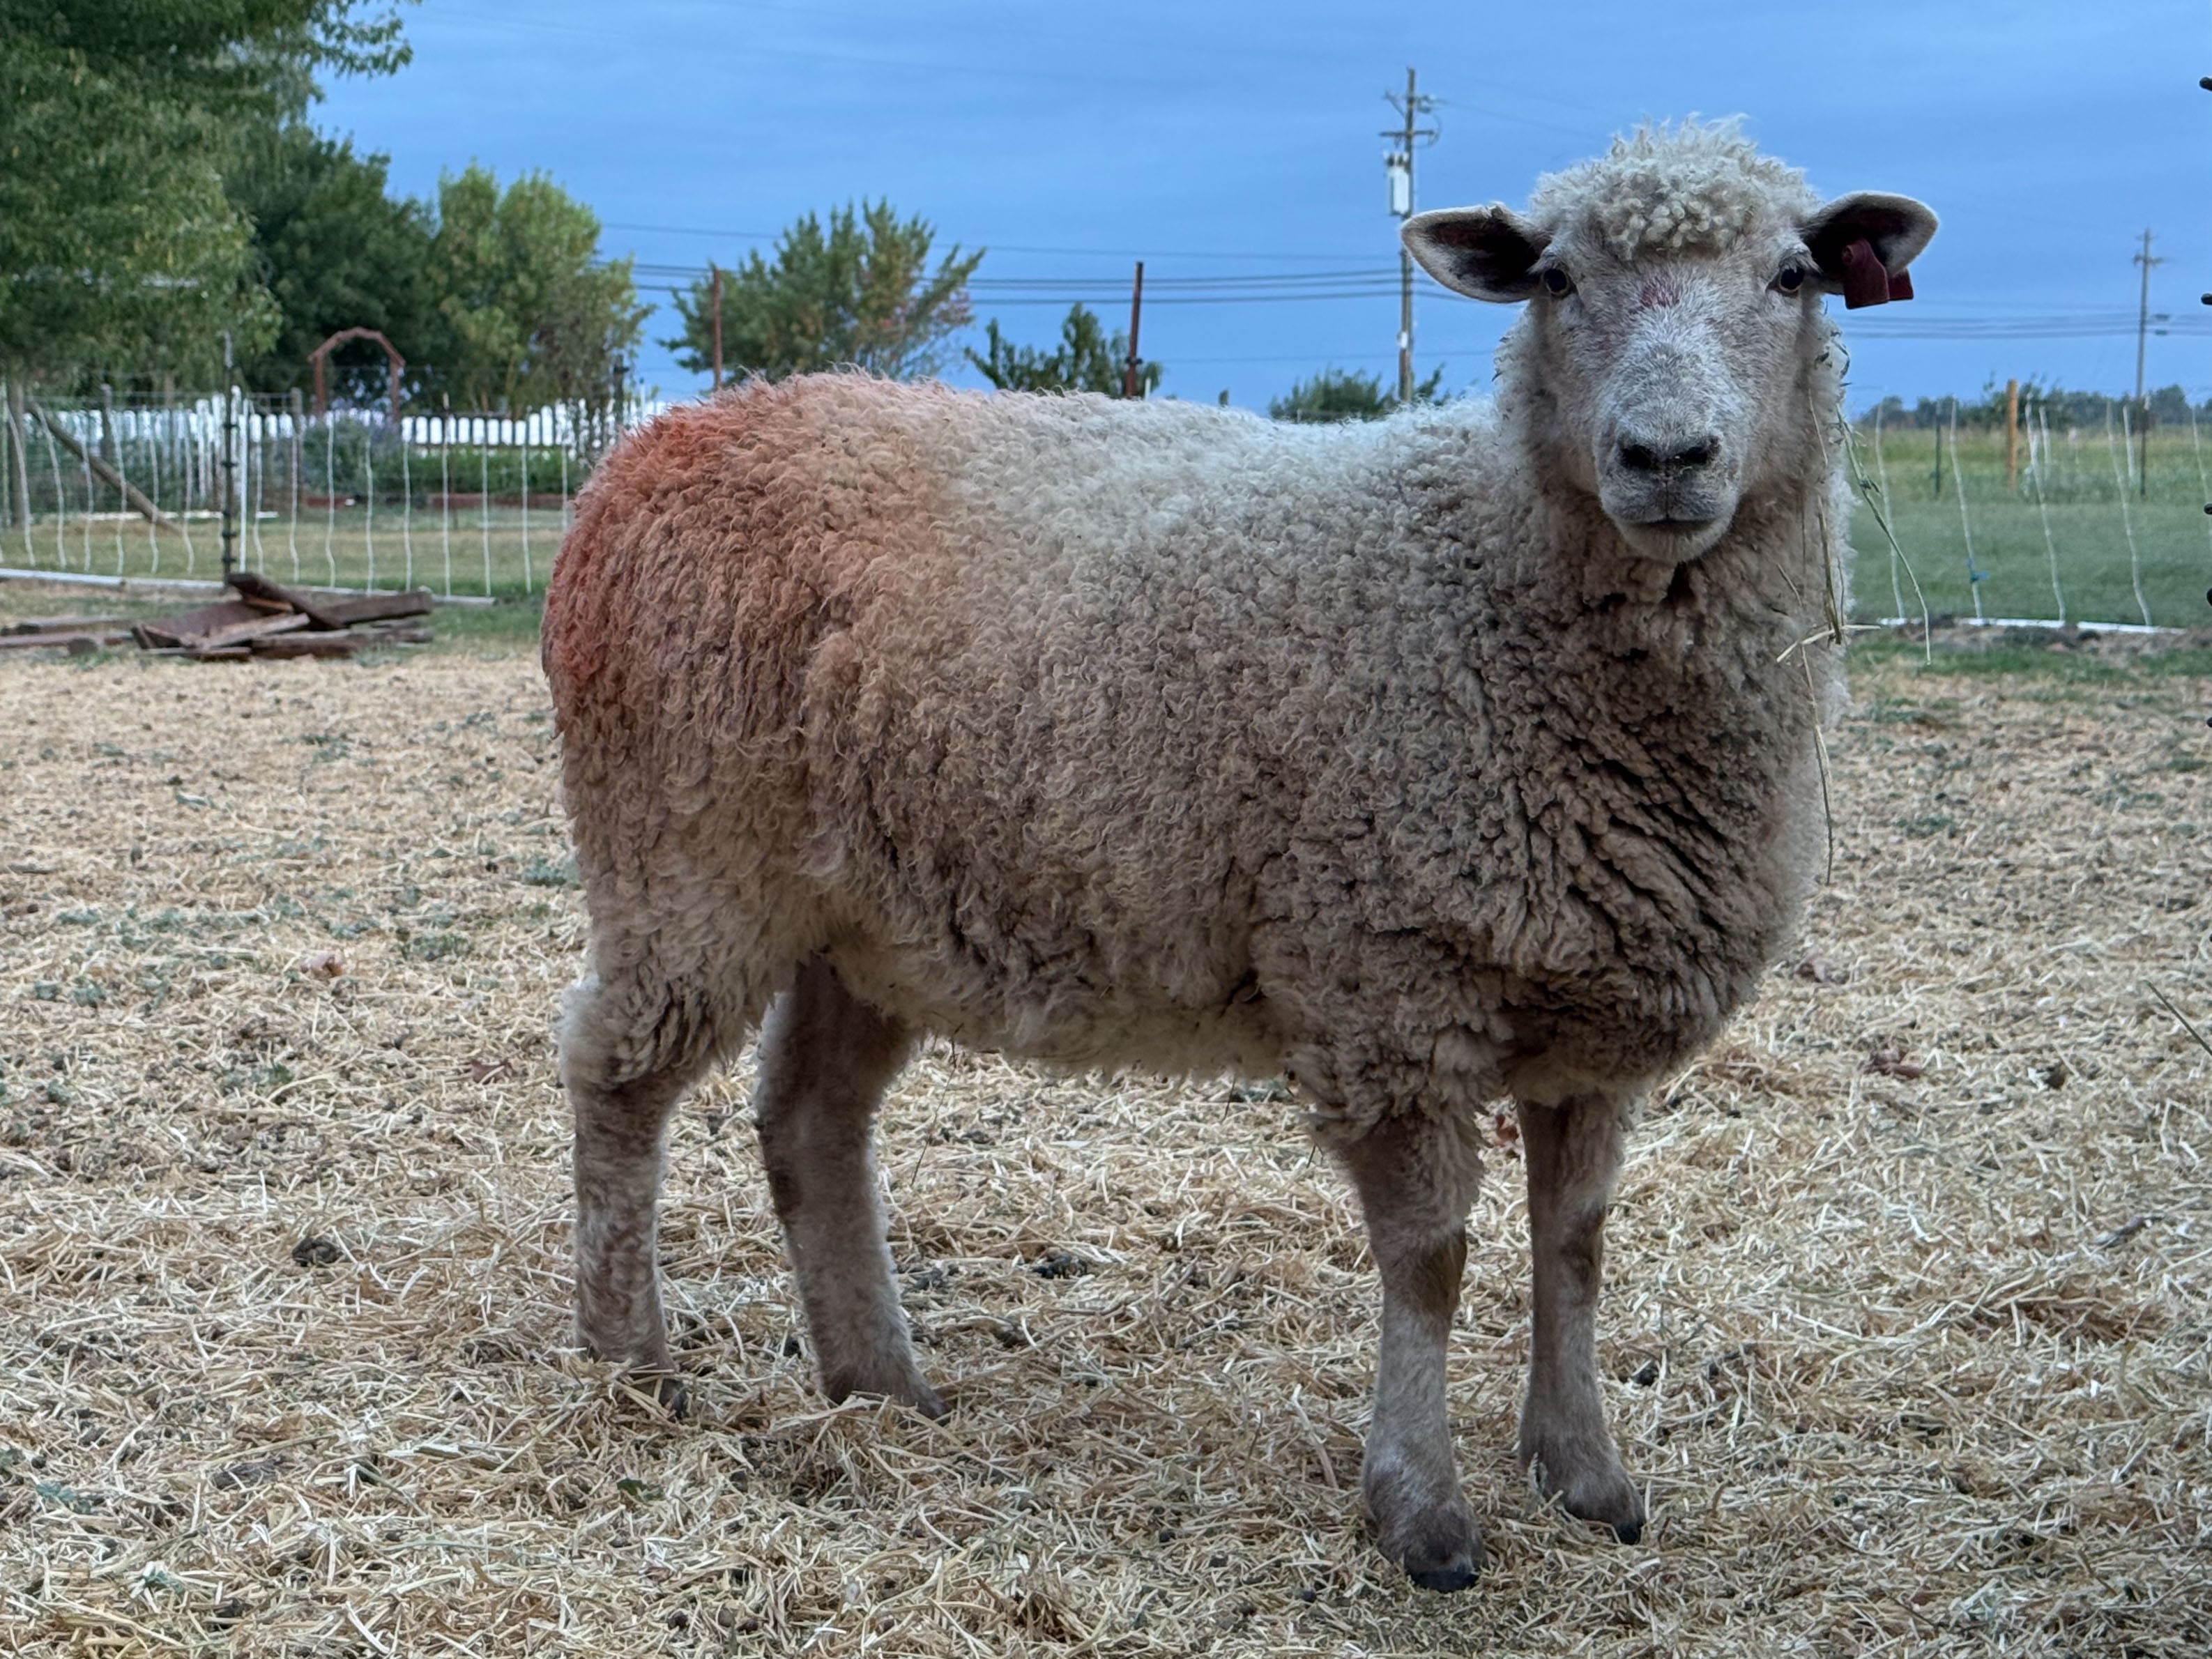
This is one of the ewes I picked up in Napa last week. That’s a story for another blog post when I have time. She is with Clancy’s group.
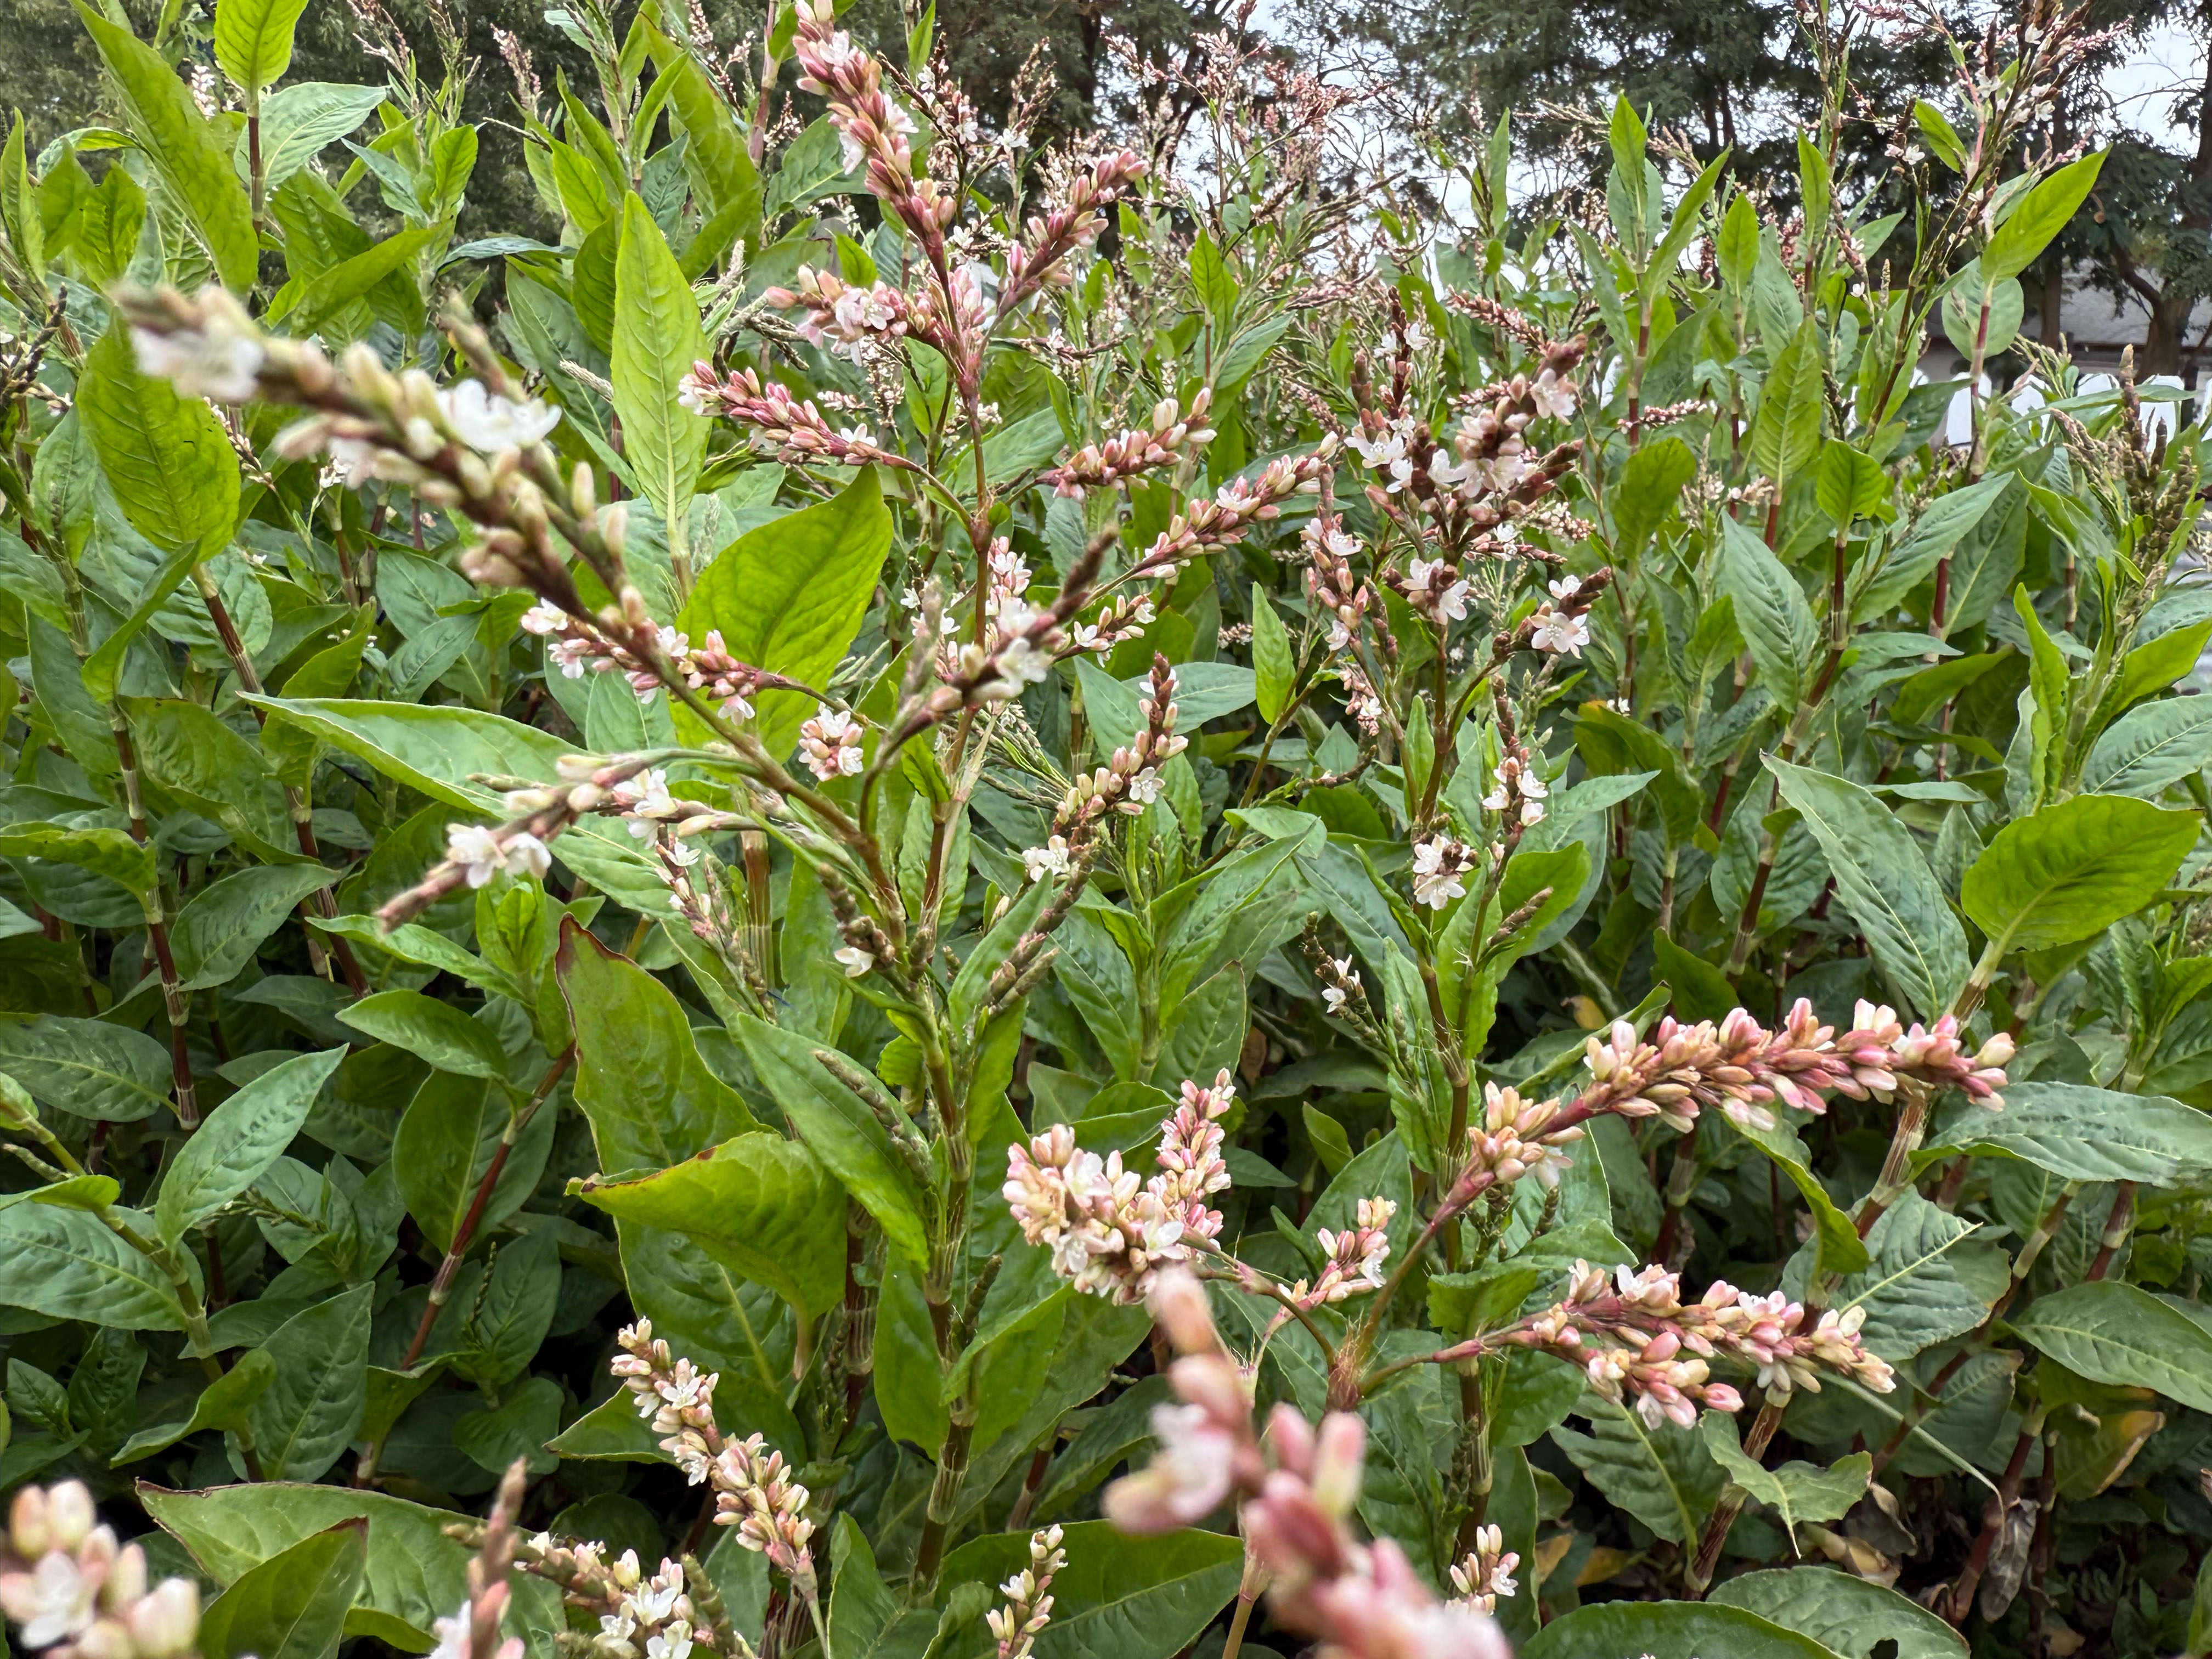
Indigo is flowering. I spent so much time trying to keep the indigo thriving during the summer that I want to make sure I use more of it for dying before it’s too late.
This is today’s fresh leaf indigo dyepot. That yarn will be blue when it is out of the pot and dry.
I made buttons over the last few weeks but hadn’t finished them yet. I use lacquer in a satin finish. I could only find semi-gloss locally and had to order what I wanted. There are also two skulls that I cleaned as well as I could and wanted to apply lacquer to the horns.
I load the buttons onto wires that I can dip in the can of lacquer and then spread them to drip and dry. This is one way to get some use out of styrofoam packing material.
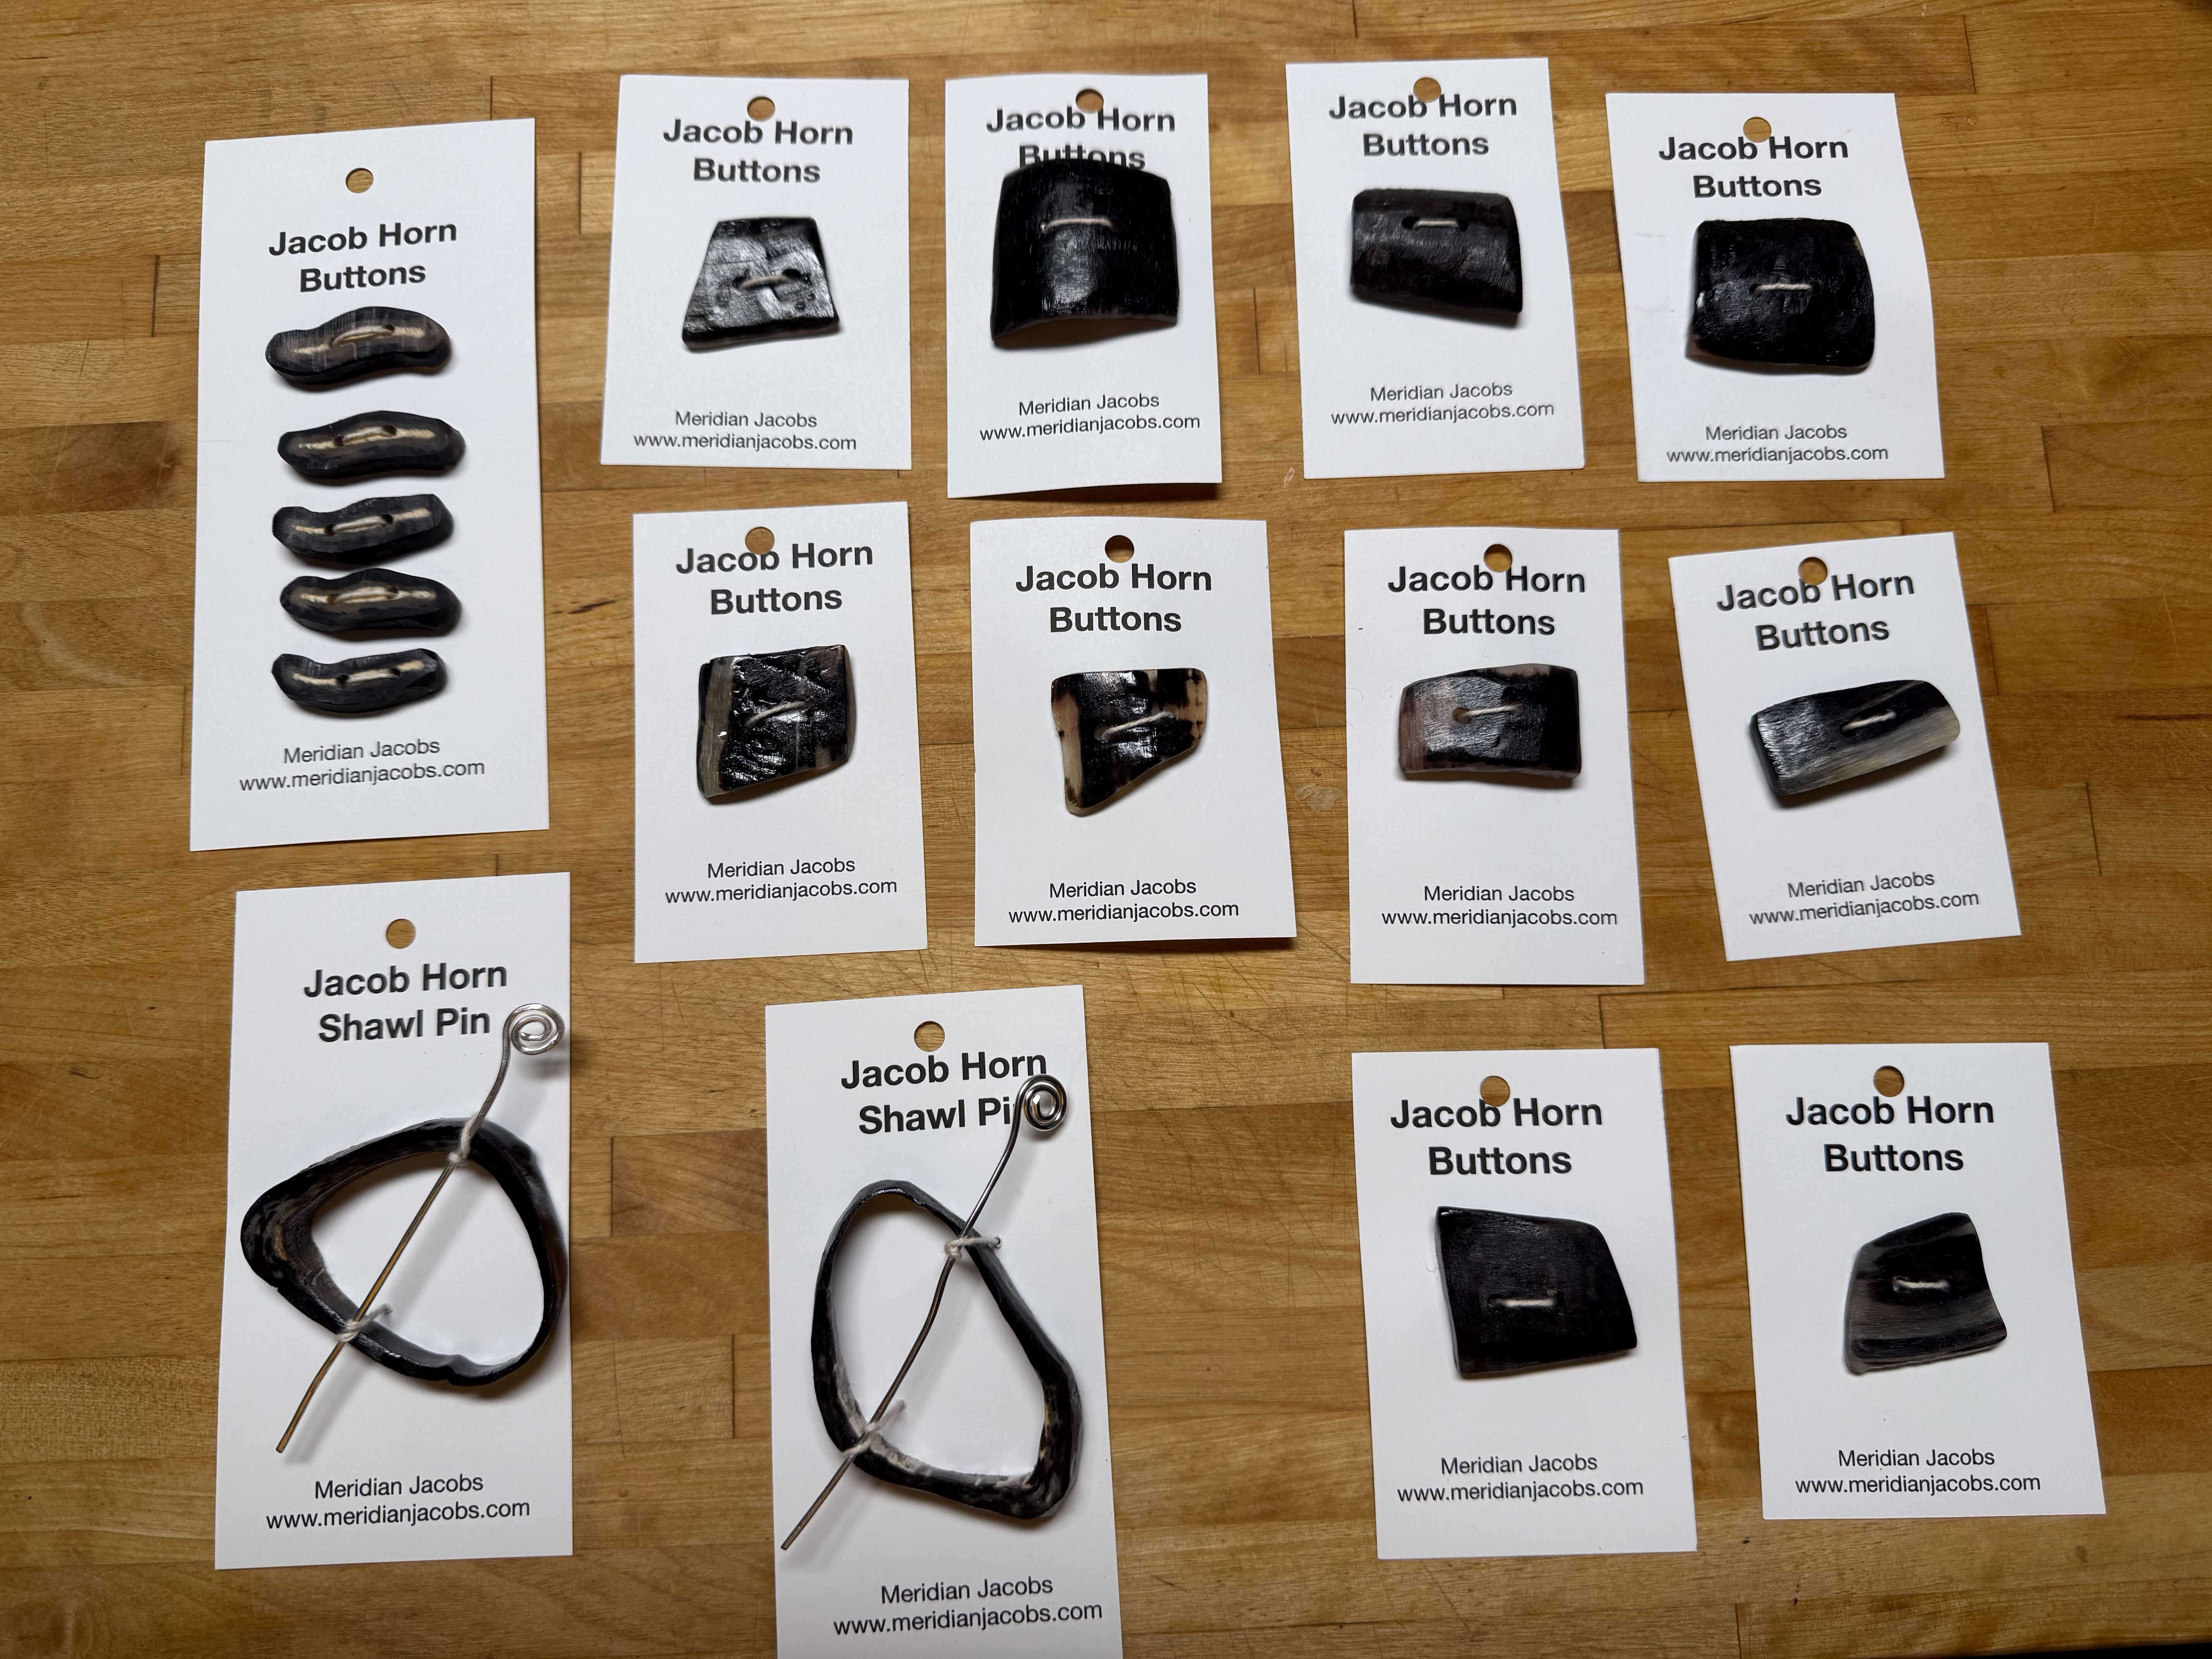
These are buttons and shawl pins that I finished a couple of weeks ago. When I couldn’t find the satin lacquer I used semi-gloss and also polyurethane. I think I like the satin finish best, but I’ll find out at Lambtown if it even makes any difference.
I spent a lot of time this week using a new app that will completely remove the background from photos.
This is another example. I wanted these photos for the new weaving class on my website.
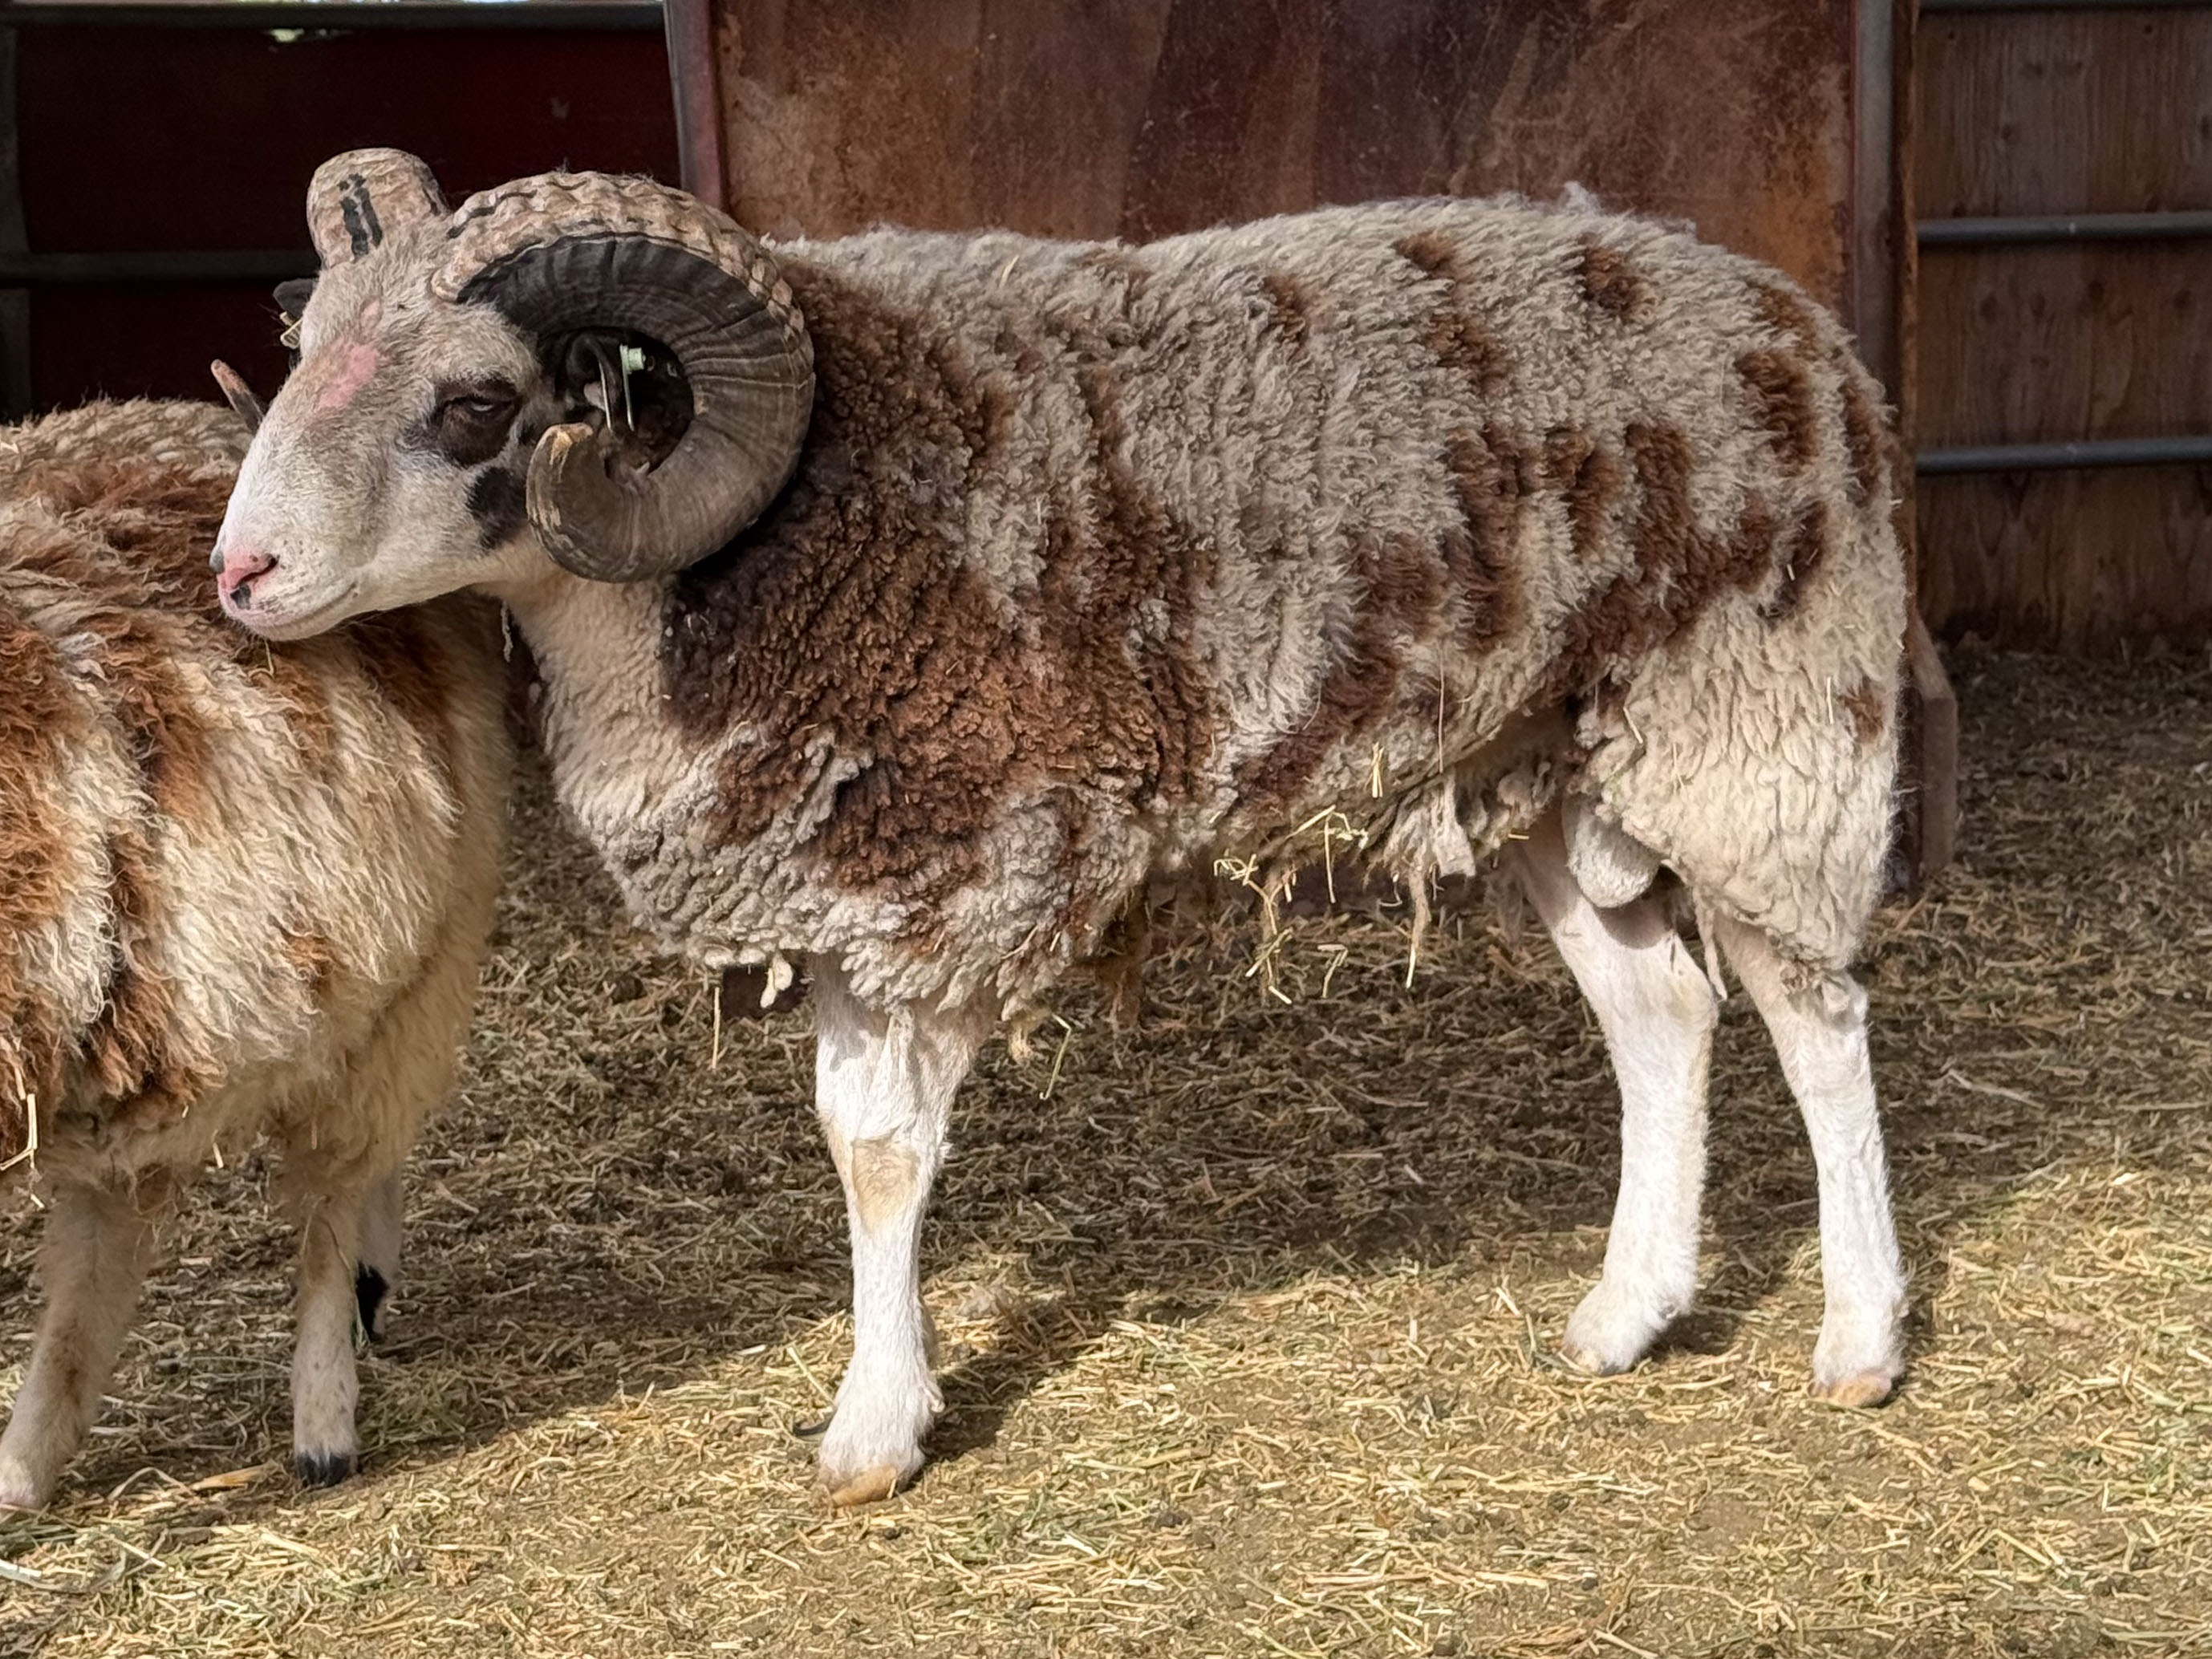
One more sheep thing. I have two registered adult rams that I need to sell. There are four rams out with ewes now and these are extra this year. This one is Hurricane. Rams are on the website here.
To read the whole story go to the previous blog post. In that post I showed the whole process of producing buttons from one horn. That day I took photos of two more horns and want to share those too.
This is another horn and the buttons created from it.
With that last horn I put the photos in a “gallery”. With this one I’ll do it my regular way. There is a lot of trial and error in figuring out how best to share photos here. So I’ll check my computer and my phone later and see what seems best. Feedback from anyone reading is appreciated.
All the buttons that don’t sell at Lambtown will be on my website–at least the ones on the cards. If you visit here or at a show you can look through the bo with all those extras and make up your own set.
Each year many of the lambs produced here end up in someone’s freezer. I wouldn’t be able o breed sheep if there wasn’t a market for these lambs. There were 88 lambs born this year. I selected some to keep, but most are sold to other breeders or for meat. I want to use the WHOLE sheep and buttons are one of the products that I can make.
These are just some of the horns from the latest lambs. I did not photograph the first step because I can’t take a photo while using a Sawzall (just looked that up–a reciprocating saw) and my blog would probably get black-listed if I had a photo of cutting horns off a dead sheep head. The second step is to put the horns in a bucket of water in the sun for a few days. There is a bony core and the living tissue between the bone and the outer horn needs to degrade enough that I can get those horns off.
From Wikipedia: A horn is a permanent pointed projection on the head of various animals that consists of a covering of keratin and other proteins surrounding a core of live bone. Horns are distinct from antlers, which are not permanent.
Look at what you can learn about by reading my blog. I read about horns or horn-like features on a variety of animals from giraffes to triceratops.
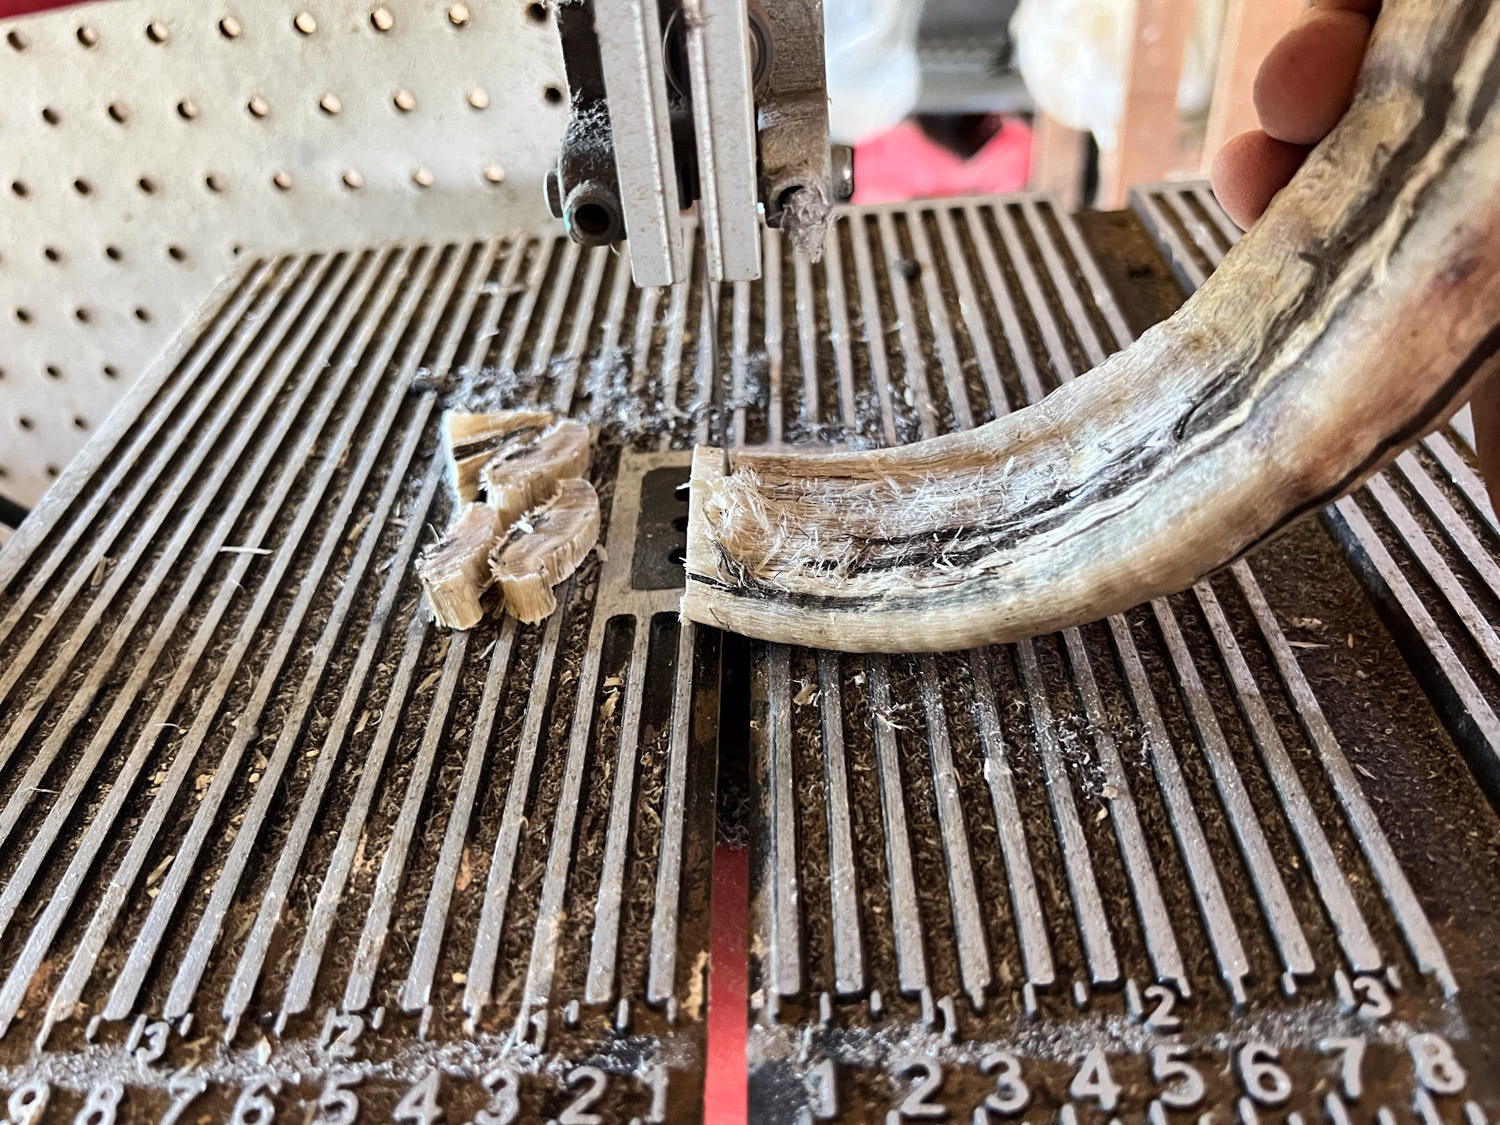
I took photos of the button making stages with three horns, but I think that’s too many photos to put in one post. I’ll start with this one which is unusual because it is mostly white.
The first step (beyond what I described above) is to cut the horn into button shapes. I use a band saw.
The solid core makes buttons of interesting shapes. most people think of horns as round but you can see that the shape of these horns are anything but round.
Here are all the pieces I cut from that horn. The squarish shapes come from the hollow part of the horn that surrounded the core. I often try to make a few pieces that can be used with a shawl pin. I was told that I could call it an annular although that usually refers to a medieval brooch with a pin attached.
The next step is drilling holes, another step that is difficult to photograph while in progress.
All pieces after drilling the holes.
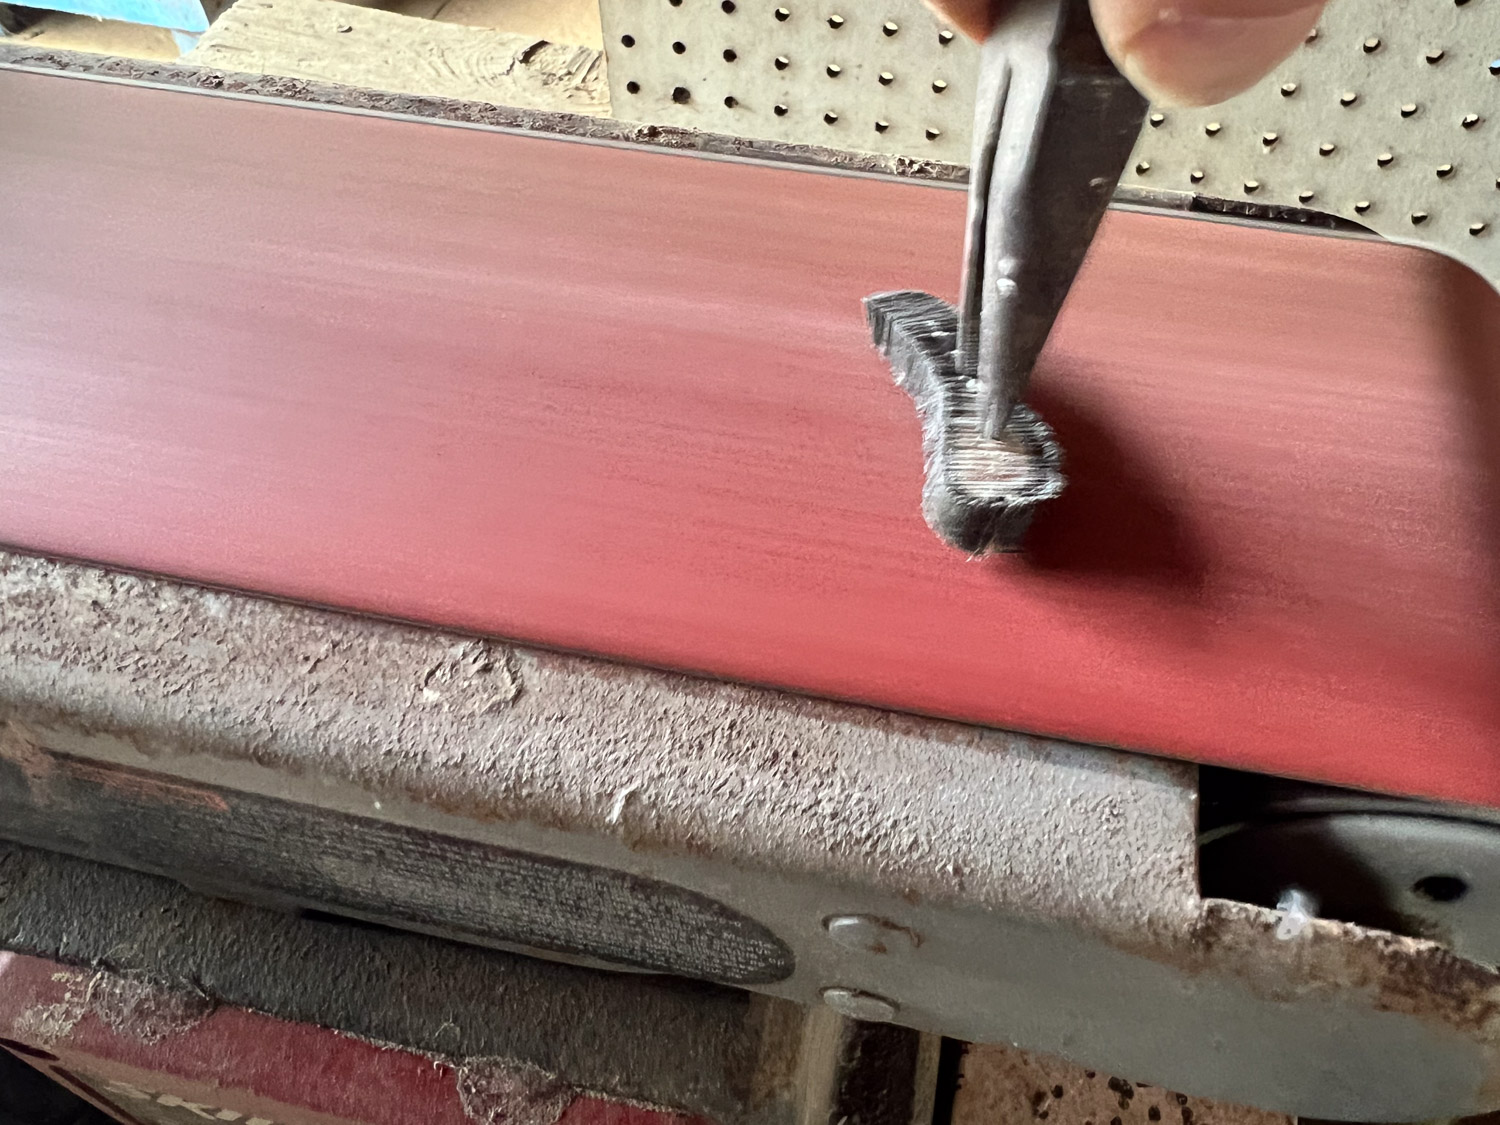
Then I move on to sanding using a belt sander. This is the step that takes me the longest. It’s difficult to get to all the edges.
I can’t use the pliers for all of it and I have been known to come away with nicely (completely) sanded fingernails.
Here are all the buttons from that one horn after sanding.
I have figured out the best way for me to apply a lacquer finish. I can put the buttons on wires that I dip in the lacquer and then I put poke the wires into styrofoam packing material saved from purchased items. These are the buttons made from three horns.
Throughout the process II keep track of the buttons that are from the solid part of the horns so I can match the up for sale. If I plan to sell buttons online I need to be able to identify individual buttons and sets. So the last step is to attach them to cards I have printed.
These buttons are not on the website yet because I’m going to wait until after Lambtown and post those that haven’t sold.
I should be weaving. I planned to listen to a new book and weave today. This is what I did instead.
Anytime you have a sheep in for medical care it takes a little more time. Hazel spent Thursday night at UCD VMTH (Should I to spell it out? U.C. Davis, Veterinary Medicine Teaching Hospital). I took her in because the night before and Thursday morning she looked like the photo below.
I had texted the veterinarian I usually use and she thought that Hazel should go in. She never acted sick other than not wanting to eat because her mouth was so sore. We still don’t have a diagnosis because we’re waiting on blood tests. No matter which, if any, come back positive, the care would be the same. Isolation and TLC. Hazel is not happy about being locked in. I put a couple of sheep across the aisle from her so that she’s not totally alone. She is getting meloxicam and a slurry of something that includes lidocaine to coat her mouth to reduce the pain so she’ll eat.
After cleaning the barn and dealing with other sheep I faced the two skirting tables holding skulls in various states of cleaning. I am not very good at this but there is a value to the skulls and I need to make it work.
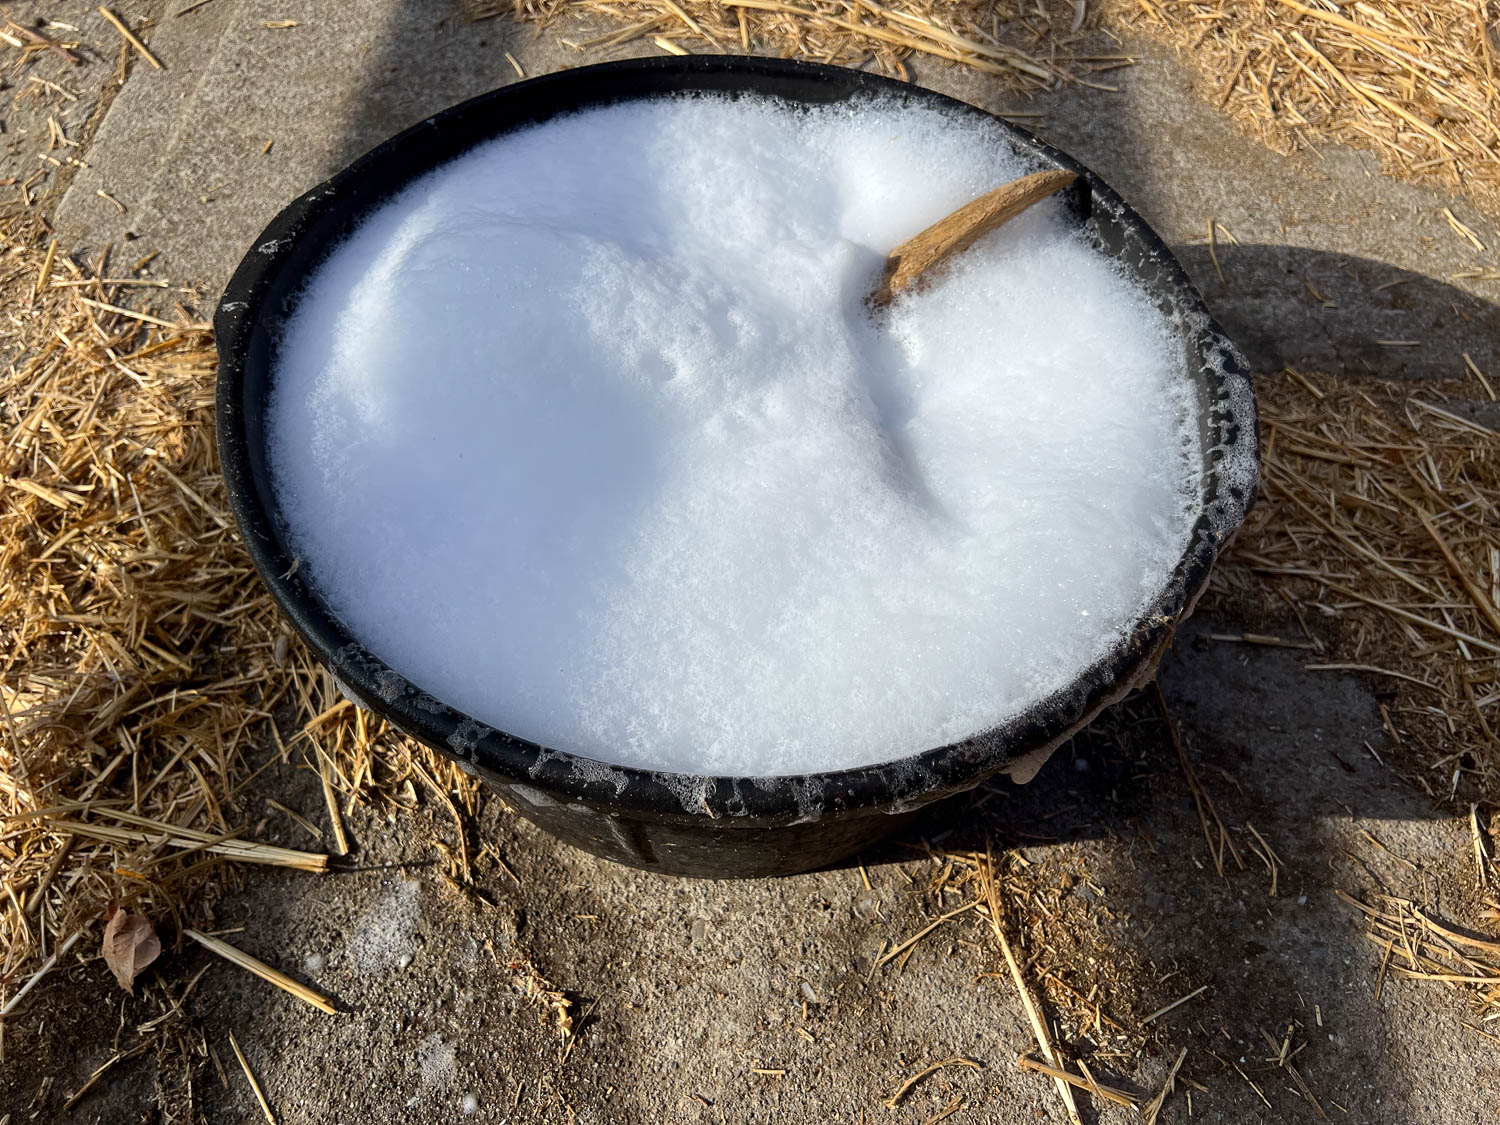
I had planned to boil some of them and see if I could get them cleaner that way. I brought two up to the garage and started a pot.
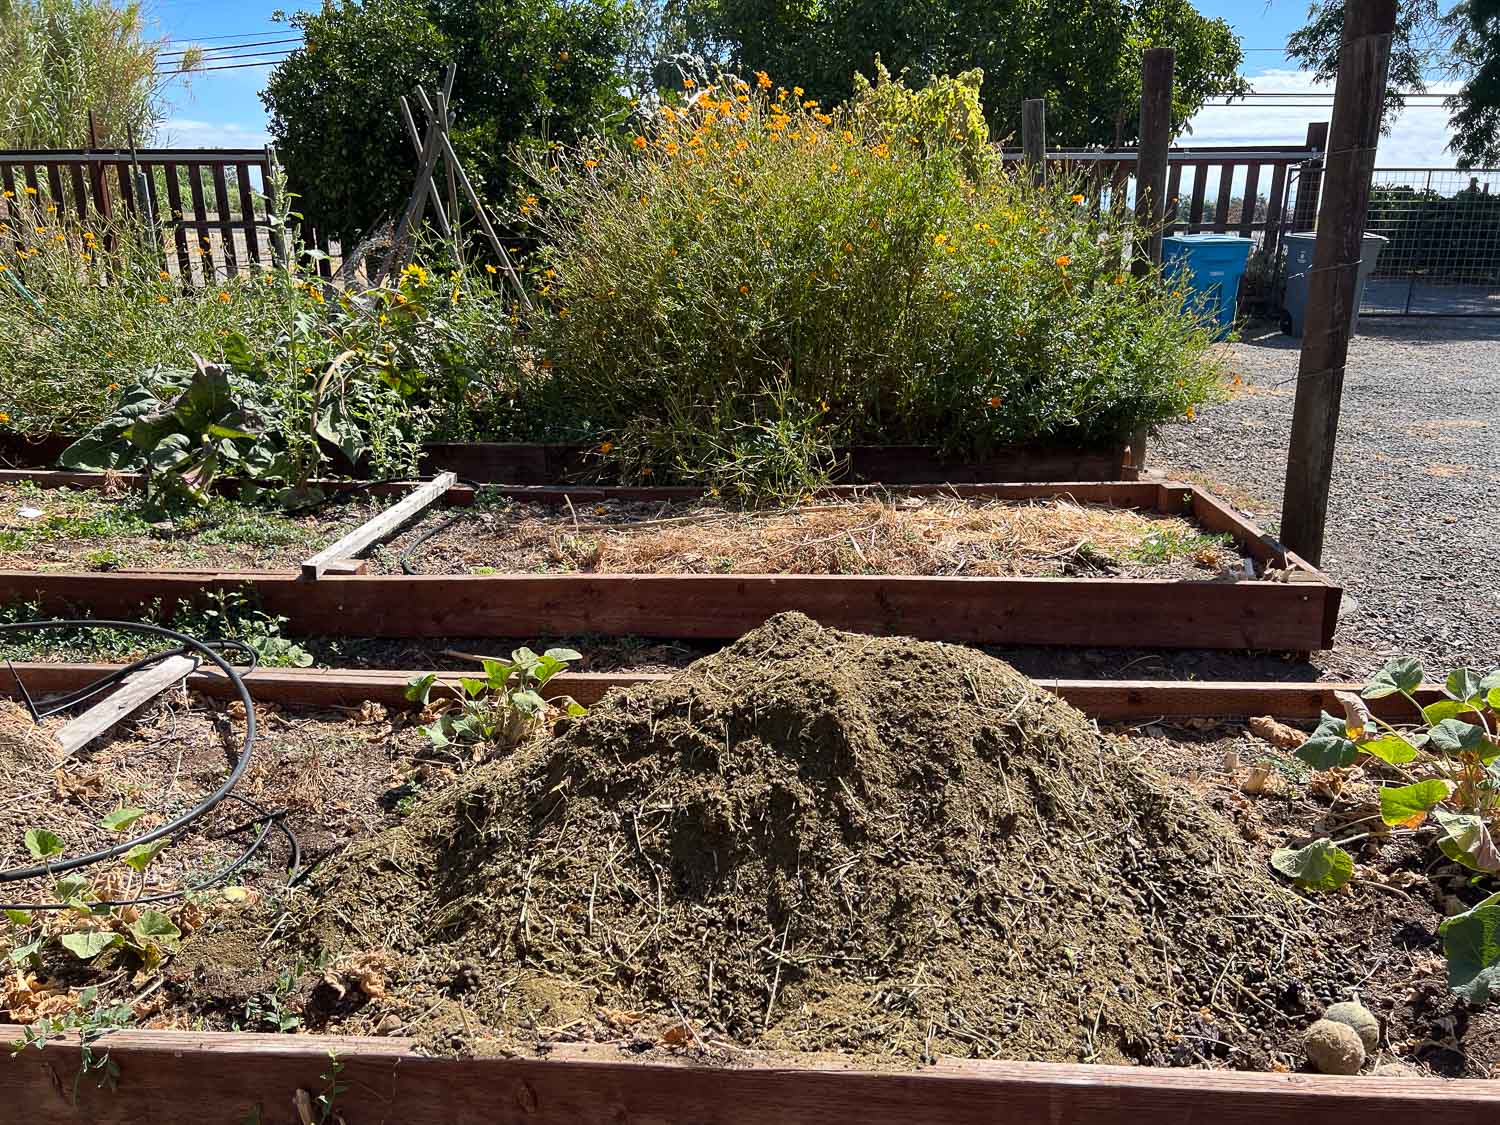
After I got that started (and started the timer on my phone so I wouldn’t forget) I dumped the wheelbarrow load in the dye garden where I had cut out the old dead hollyhock stalks.
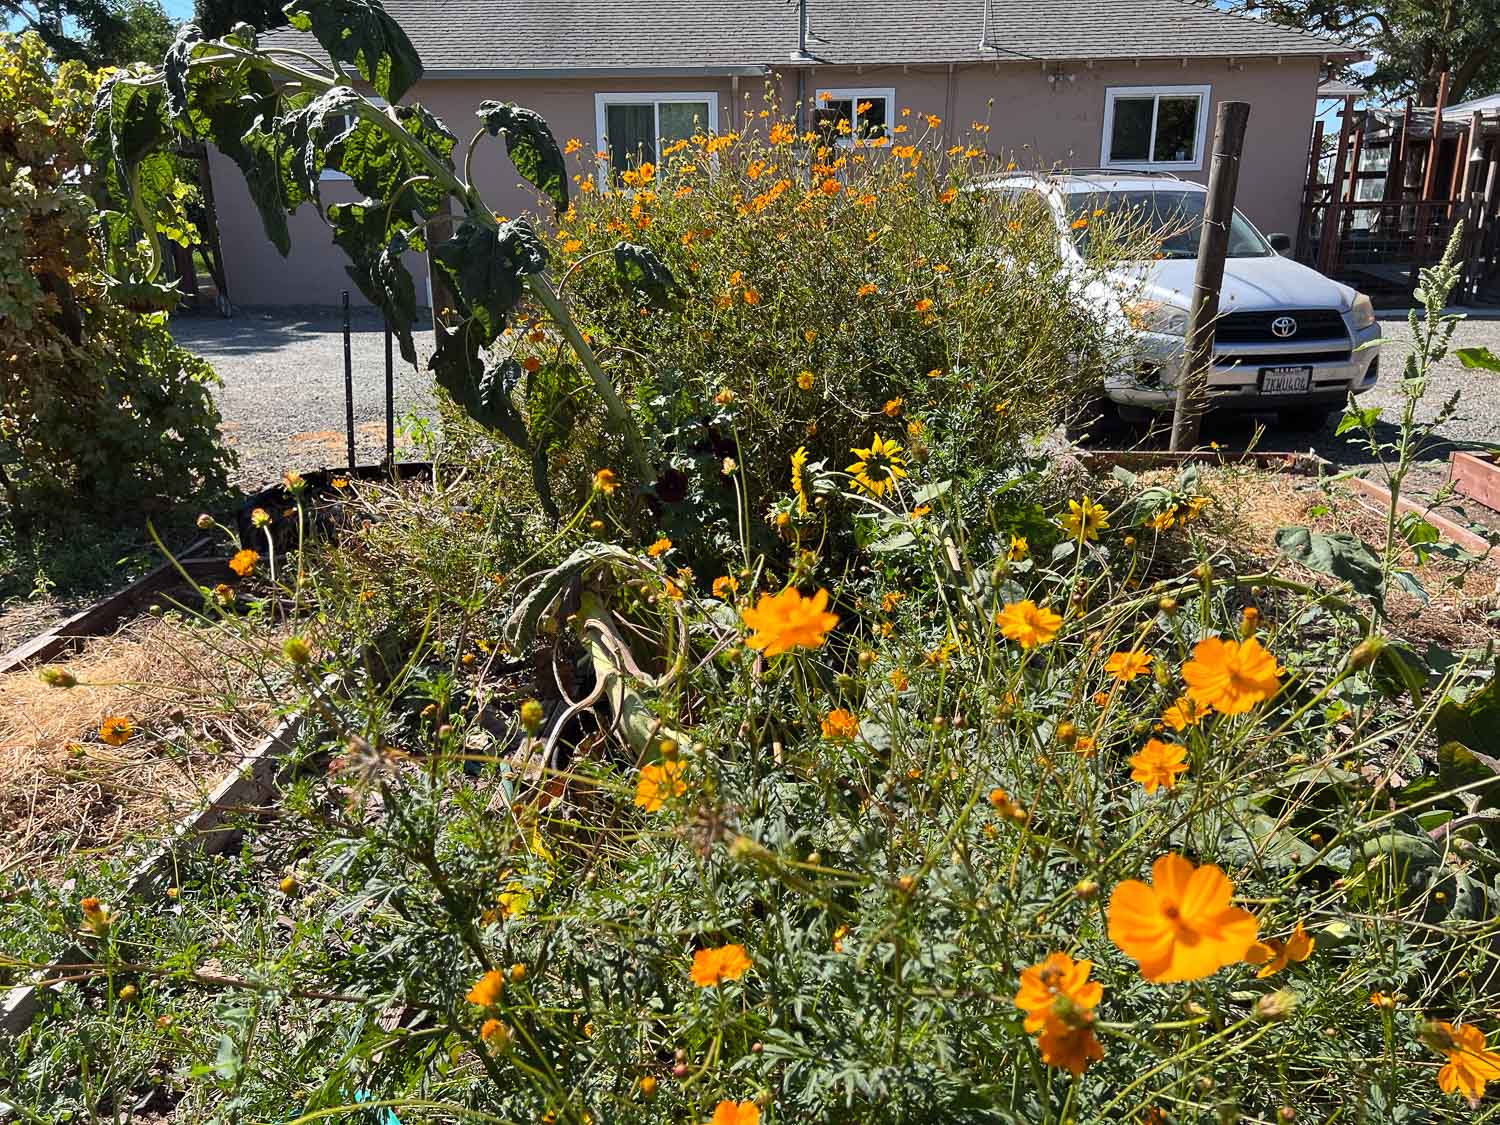
This is a different view of the cosmos that you can see in the photo where the hollyhocks were. I took this after I picked cosmos today…or maybe while I was in the middle of it. It still seems like there are a lot, but not as many as earlier. Notice the sunflower that came up from last year’s seeds. It’s hard to tell in this photo but it is massive. There are two branches at the bottom. One is leaning left and the top is bent over. You can barely make out the head of the sunflower just above where you see the gravel driveway in the photo. The other fell over very early in the season and that is what looks like a big branch coming toward me in the lower half of the photo. If you look to the right of that between the close cosmos and the big stand of cosmos you can pick out smaller sunflower heads. Those are growing off that big branch that goes all the way to the right side of the photo. I took this photo to show the hollyhock that was planted just behind the row of cosmos. It is now flowering but you can only see if if you know where to look right at the base of that leaning sunflower. This was a lot of writing to explain a not very interesting photo. This is one of my dye garden plots.
One of my goals today was to photograph more products for my website and for the website that will be for Fibershed producers nationwide. (!!) I’ve been weighing fresh cosmos as I pick the flowers and after they are dried so I can sell dried flowers with a recommendation of how much you need to dye a give amount of yarn. I have dyed enough yarn with these flowers now to know that you can start with a 1:1 ratio (weight of fresh flowers to yarn) and have plenty of color left in the dye pot for more. I wanted to do another batch after I found my gram scale. I don’t want to try and measure smaller quantities in tenths of ounces. At that 1:1 ratio this should dye 4 ounces of yarn (oops, I just recalculated and it should be 113.4 gm.
I have been keeping a spread sheet and have seen that the weight of dry cosmos is .19 that of fresh cosmos. So here is enough dried flowers to dye 4 ounces of yarn. I need to continue to take photos of the process to add these to the two websites.
I set up two dye pots and turned them on low figuring that I could keep track of those while I took more photos.
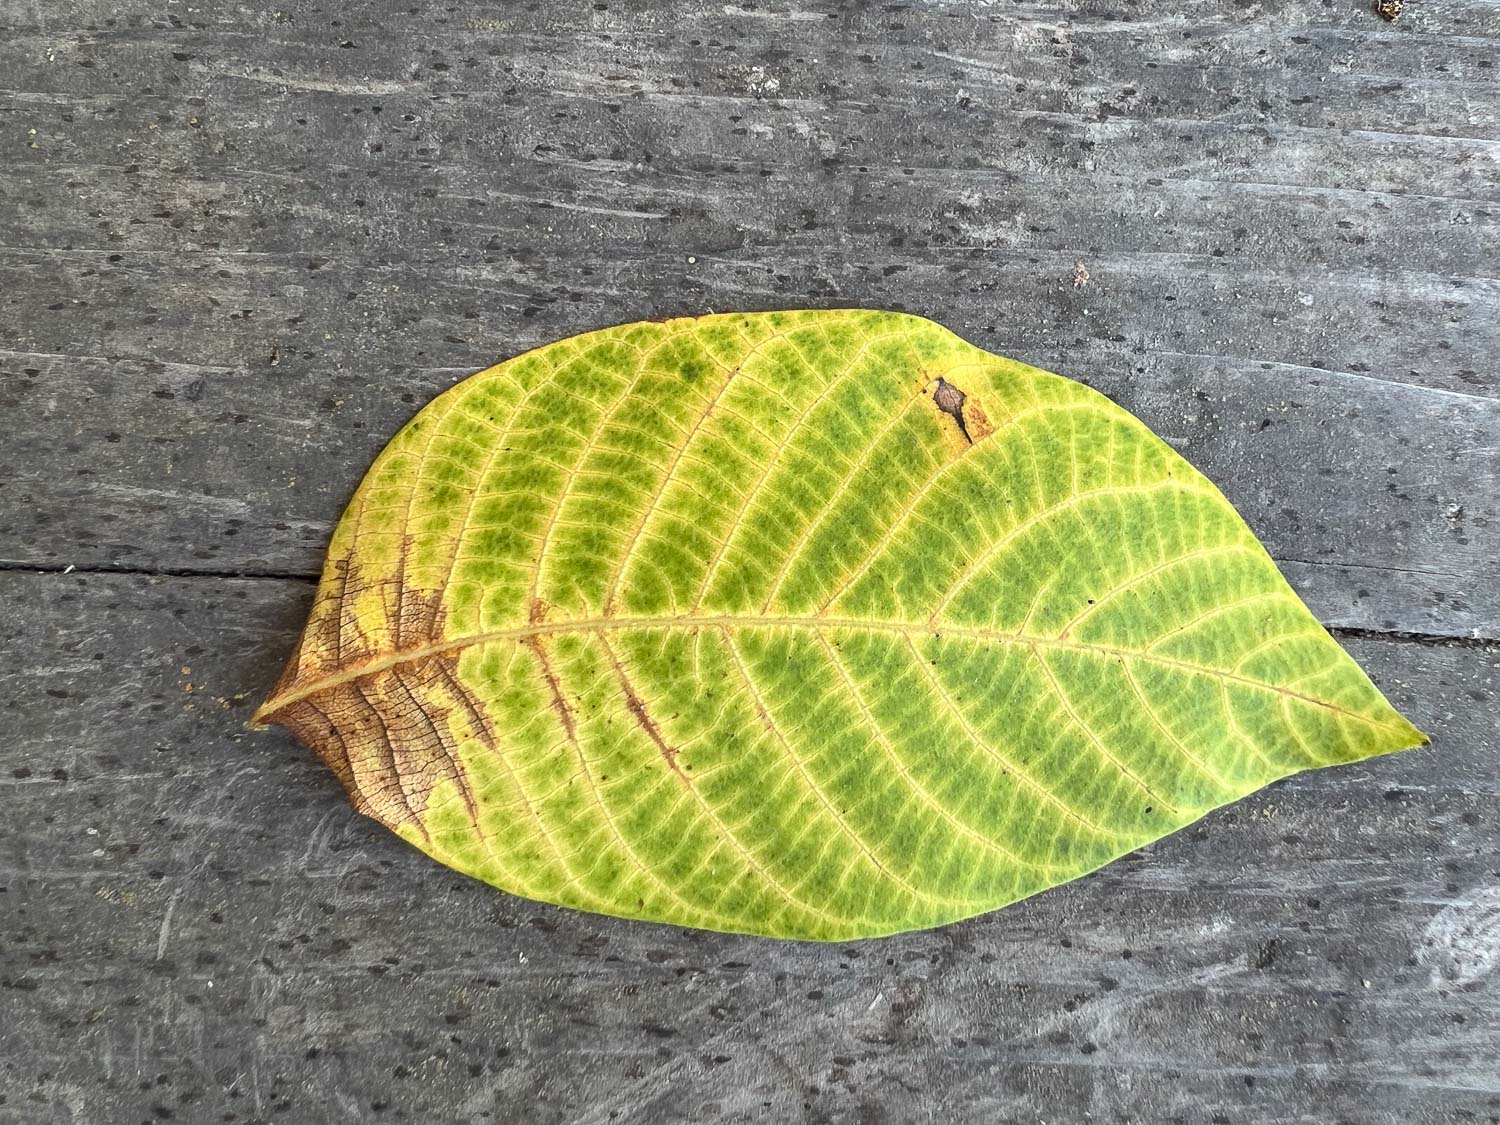
In the meantime I got distracted by this interesting leaf! Great weaving pattern and colors!
Moving on to buttons. I need to update what I have on my website and add them to the new website.
The template for the sale products on my website uses horizontal photos. If I use a square photo it is cropped. That is why some of the weaving tools, looms, etc are not the way they should be –I used photos provided by Schacht and Ashford. But the new website, as well as that of the Artery, which I’m helping with, needs square photos. So I am taking two sets of photos or taking the horizontal photos with enough room around them that I can also crop to square. Very annoying. I know I could change the template I use on the Squarespace platform but do I have the energy to figure it out without having to change all the other stuff I have on there? Not right now. Maybe never.
My goal is to get these listed on my website before I send this blog post so that I can include a link, but that may not happen tonight. [I am proof-reading now and know that I won’t get to that. If you’re interested in some check back or see me at Lambtown next month.]
We’re trying to have a consistent background for photos and I’m using this manila paper. (Want to know about Manila paper? Read this blog post.)
More distractions. These sheep were looking through the fence near where I’m taking photos. I really need to figure out the breeding line-up. This is a topic for another post (as are most of the topics in this one). But this introduces one of the contenders for breeding in two weeks. This should be another post because I’ll explain why I don’t have any adult 4-horn rams to use now and have only a couple of choices here and it’s really too early to know for sure. Back to photos.
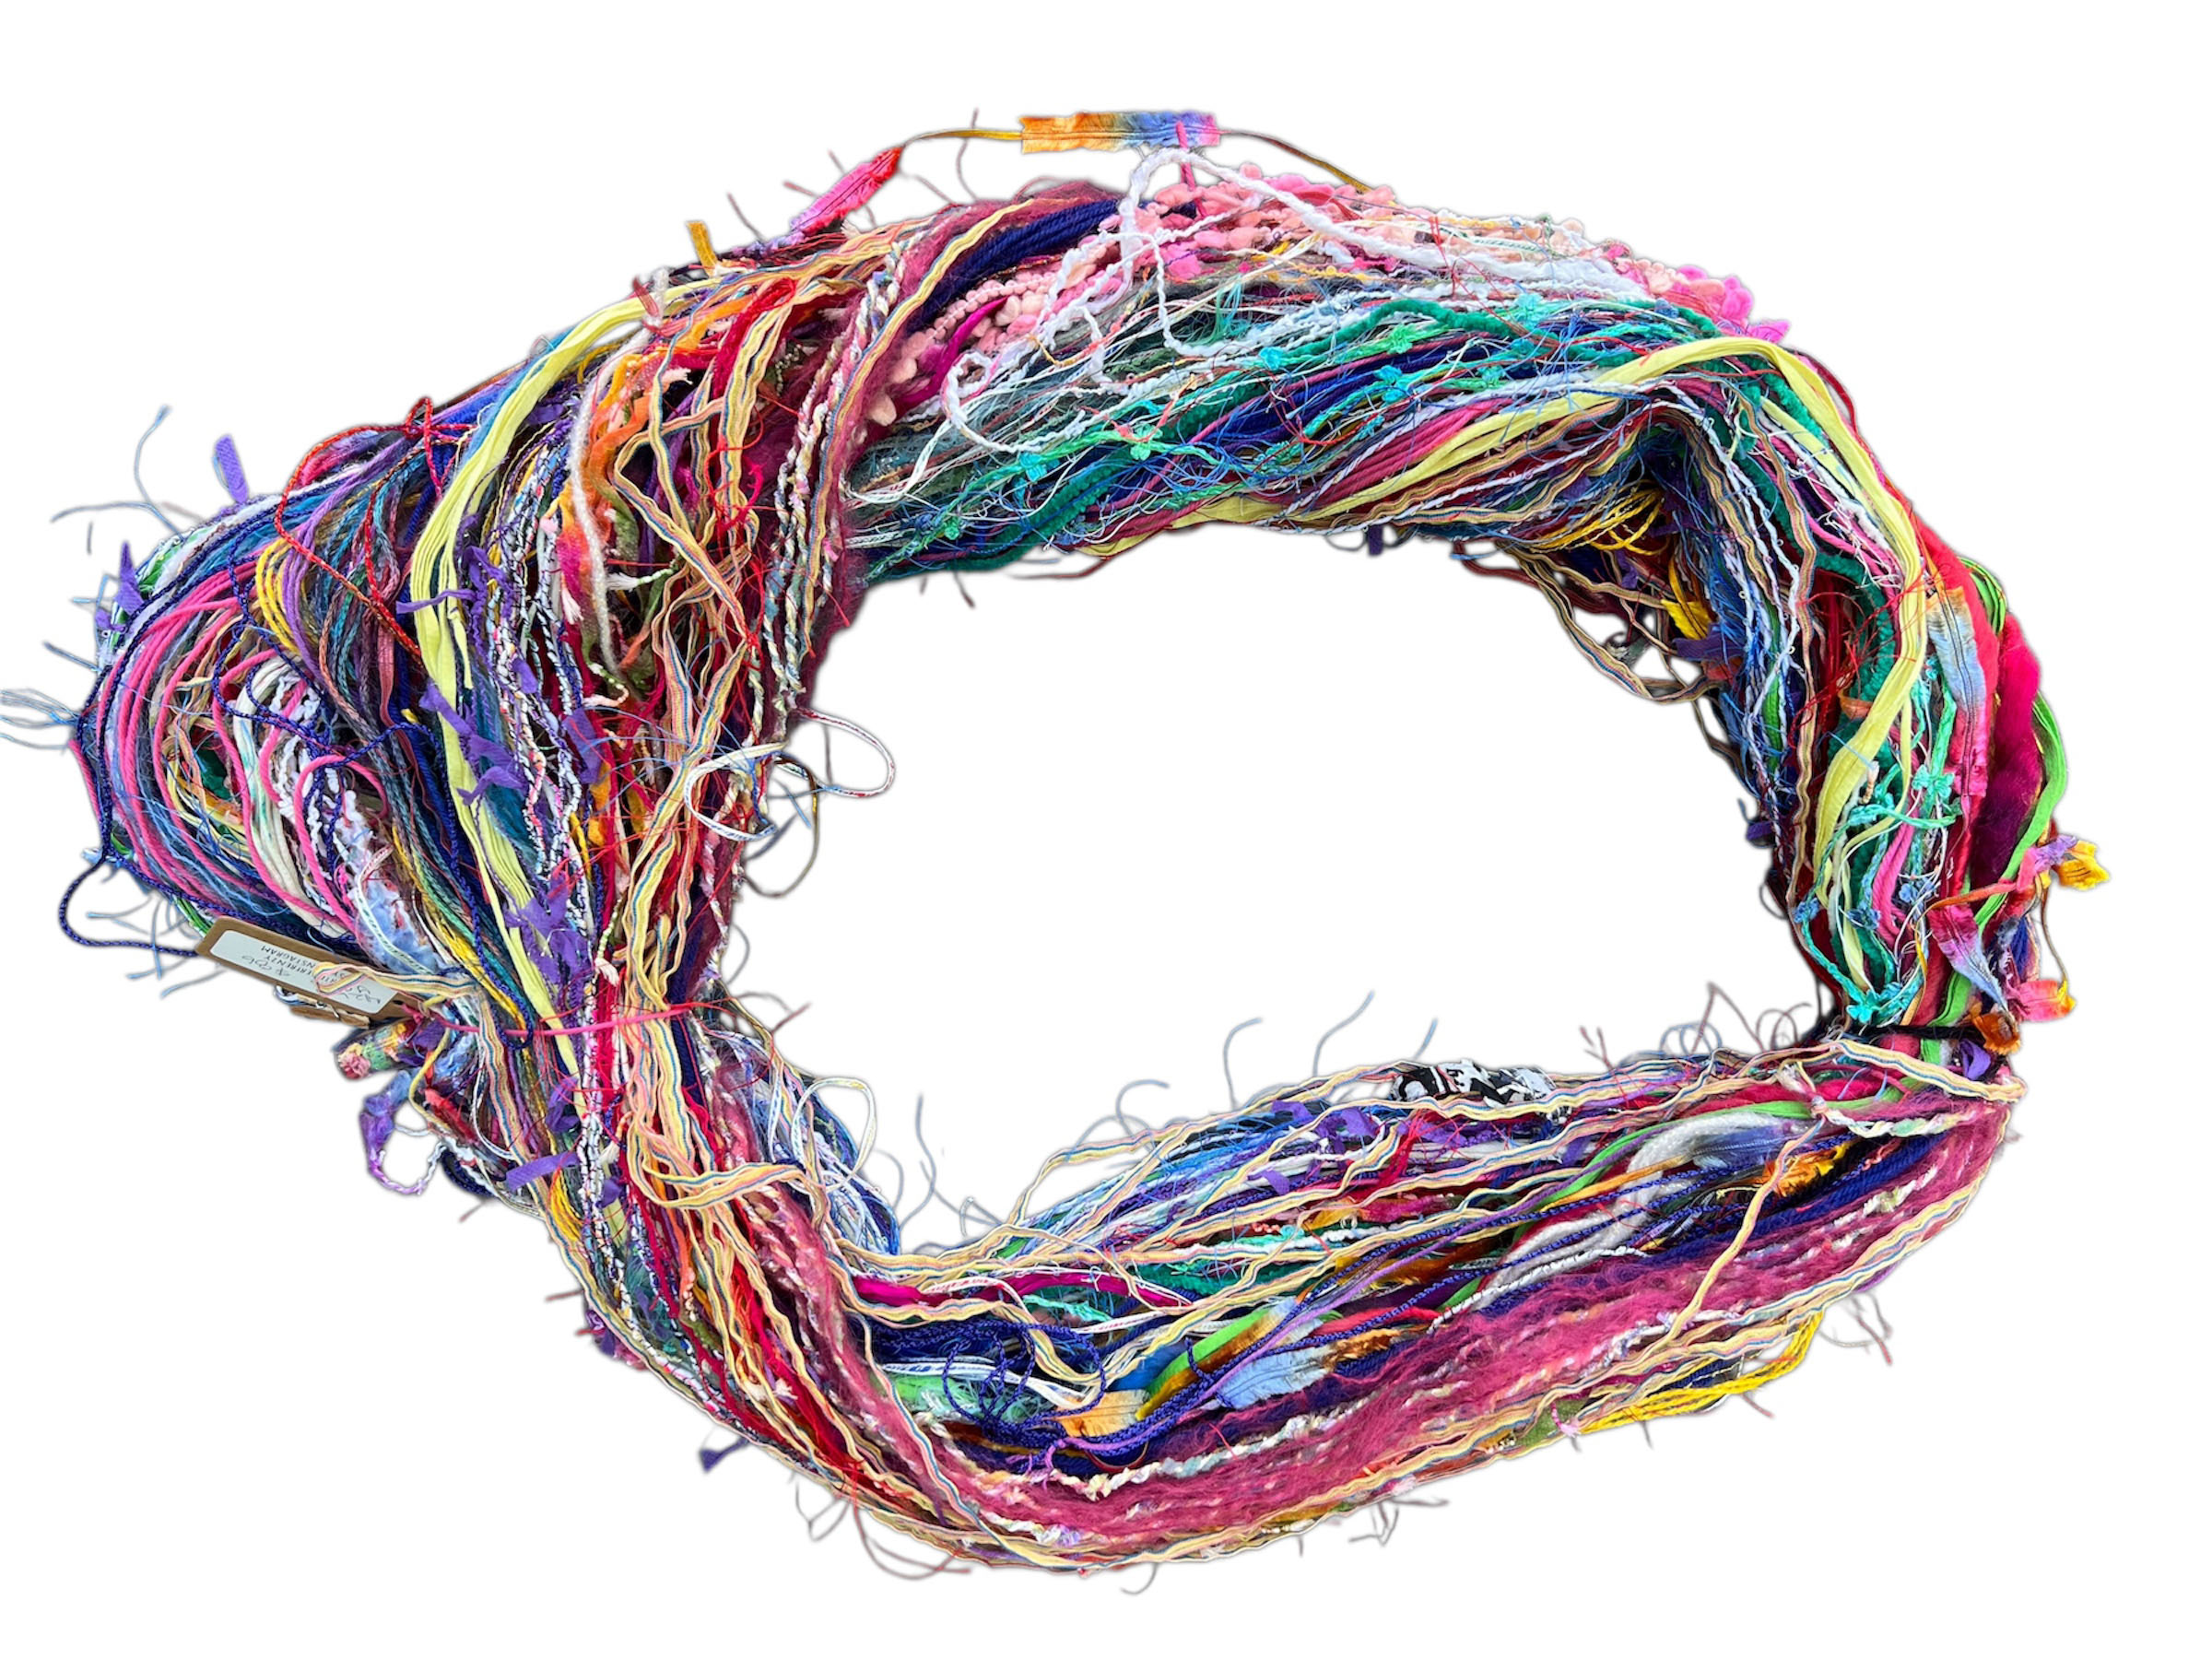
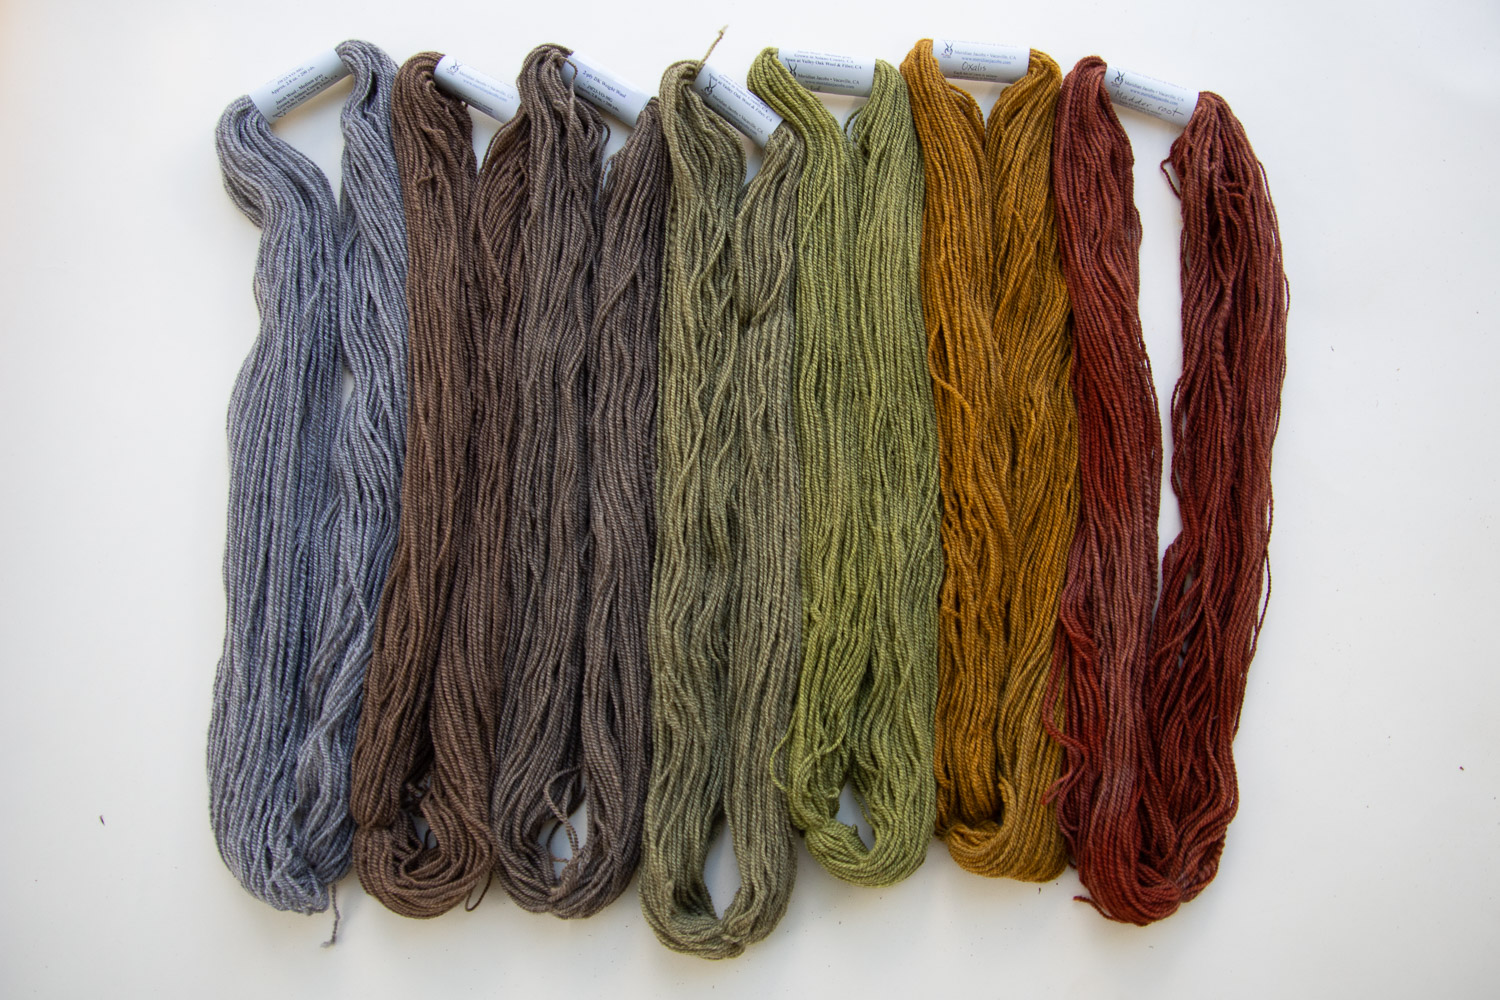
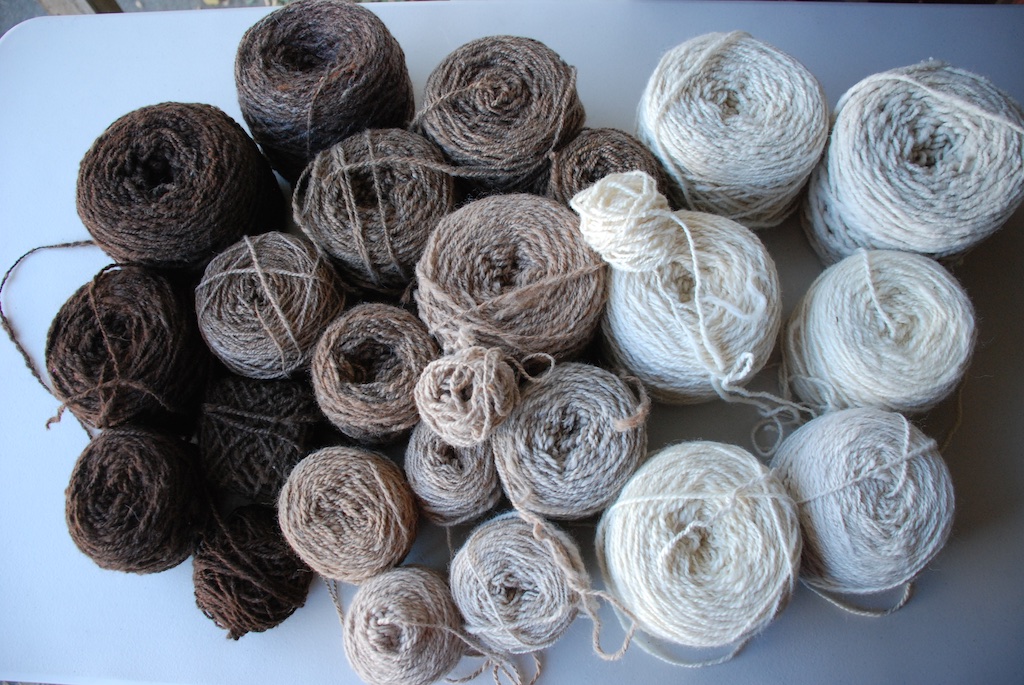
At the State Fair I had a display of natural dyeing. (See how it looked in this blog post.) It’s time to do something with those yarns. I may weave with some but I wanted photos for yet another blog post and I may try to sell them online. These yarns are the base yarns I used for the display. That is gray Jacob yarn spun spun at Valley Oak Mill, Jacob britch yarn that I don’t have listed on the website, 4 ounce skeins of TR yarn spun at the Mendocino Mill, and 1 ounce skeins of TR yarn spun in Wyoming. I’d better update those listings before I post this. They all went in a variety of natural dyes. I’m only showing a little of that here.
This is the oxalis dye pot. I decided that if I want to sell these as groups it makes more sense to sell the same yarn together instead of the same color. If you try to use all those yarns in one project you’ll have challenges. The britch wool has little elasticity and the Timm Ranch wool has lots. It’s better to use like yarns together and mix up the colors.
So this is the batch of gray yarns that went in all the dye pots. I’ll put these online but it won’t be tonight.
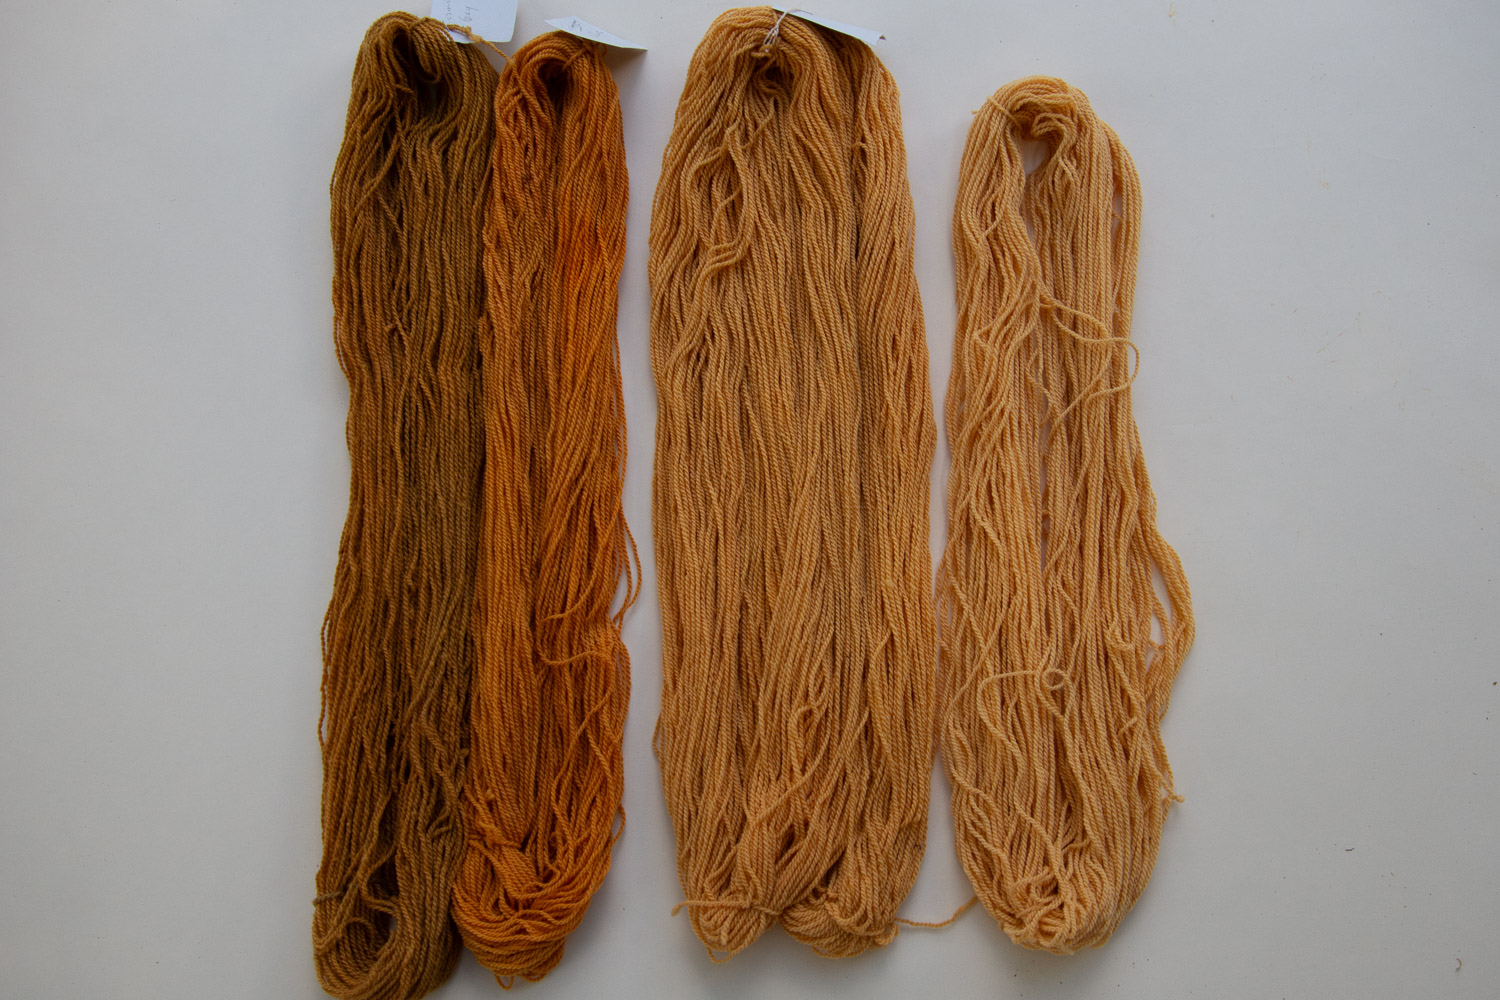
Back to what was going on in the kitchen. This is the previous batch of yarn from dyeing 4 ounces of fresh cosmos flowers–a gray skein and a white skein were the first 4 ounces in the dye pot. I used 4 ounces more the next day. I dyed a two ounce skein after that in the same pot.
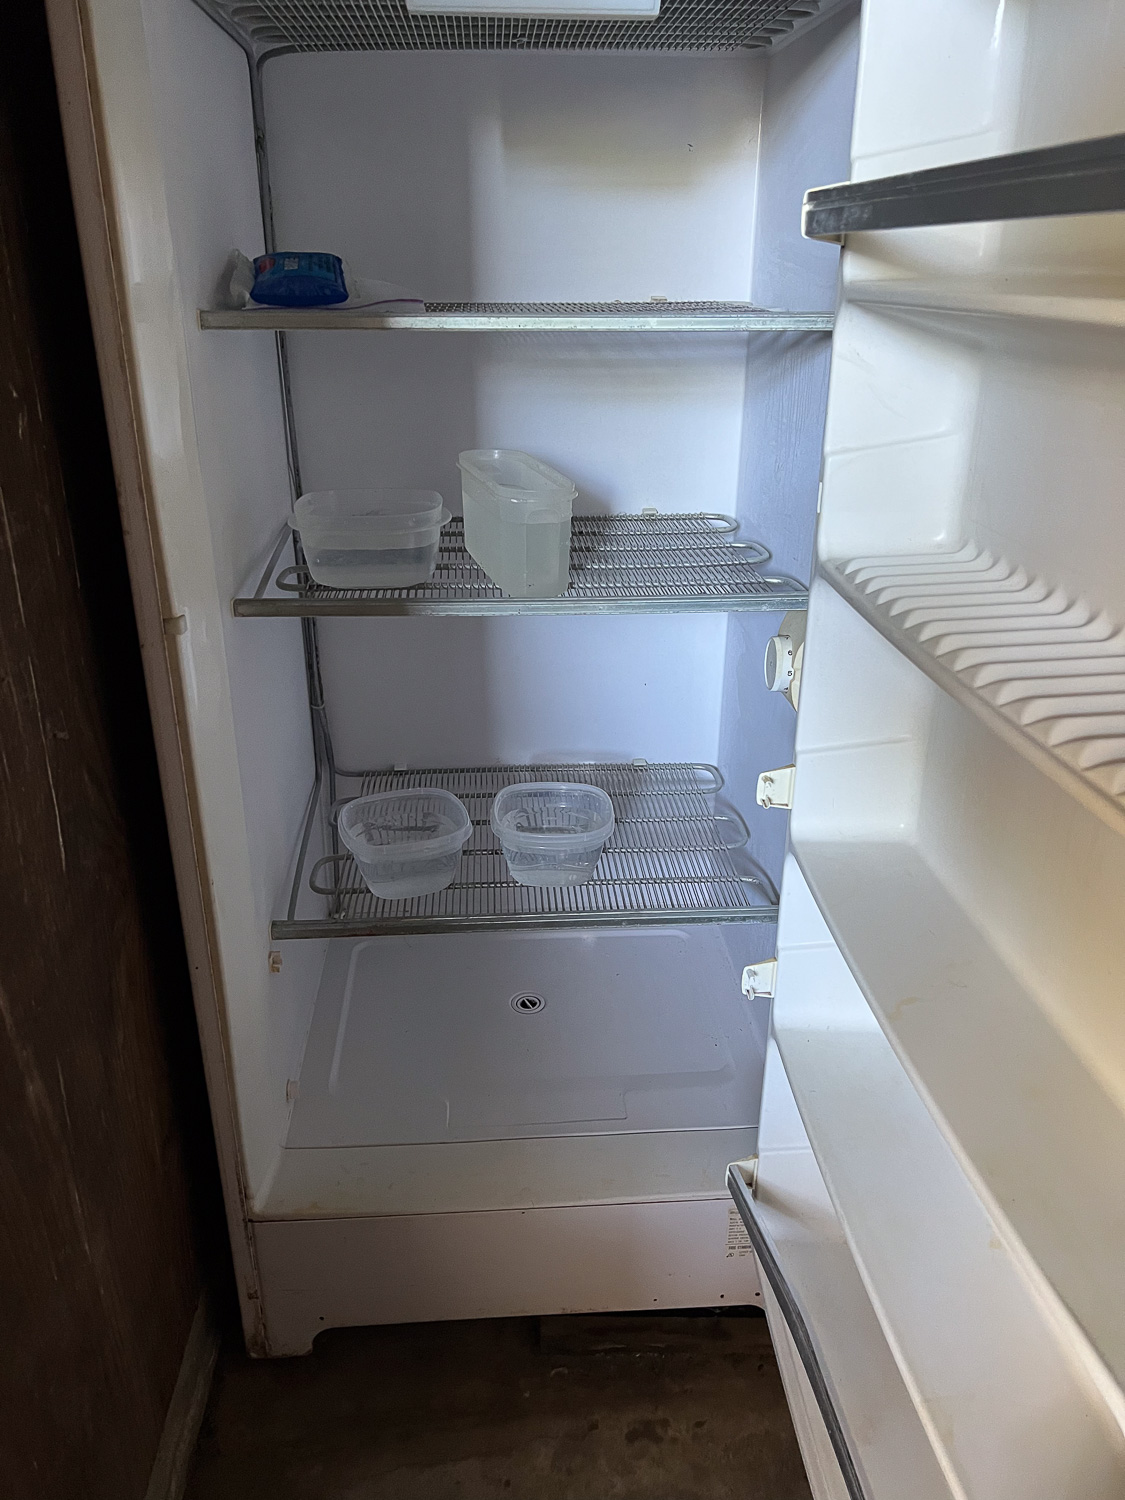
This seems like a random change. There are two freezers in the garage and last week we found them leaking. The power strip they were using failed. Needless to say that was a mess and that’s why we cooked a turkey 3 days ago and are still eating it. Fortunately there was a lot of random stuff in the freezers–yarn that had been there for years to kill any potential bugs, parts of butchered sheep that Dan hadn’t figured out how to cook and that had been there a long time, etc. So most was thrown away. I salvaged my pomegranate juice and the turkey which had not completely thawed. Today I cleaned the freezer while keeping an eye on the pot with the skulls. I put some containers of water in there to use for indigo dyeing tomorrow.
At this point, about 12:30, I came to the house for breakfast. I added yarn to those cosmos dyepots and worked on the computer while paying attention to them.
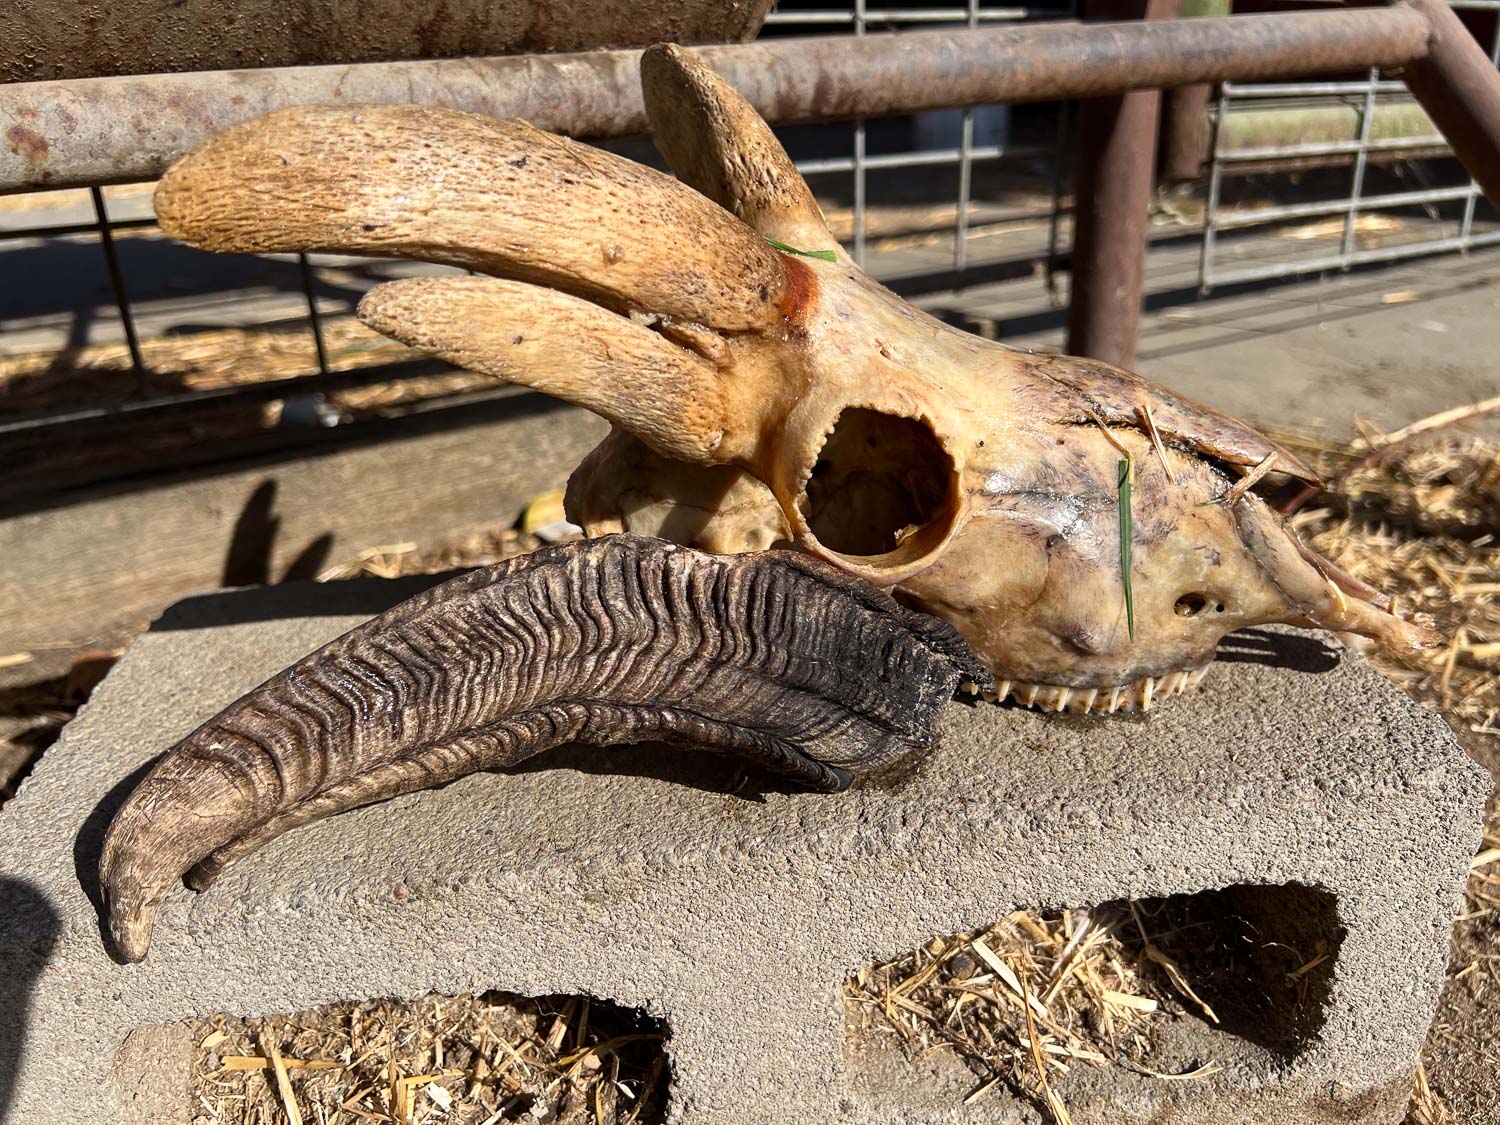
This afternoon I took the skulls out of the pot to see how well they were cleaned. I spent a lot of time picking pieces off. It is interesting to see what a fused horn ram skull is like. You can see the fusing of the outer part of the horn on this side.
There are three horns on this side.
I’ve been reading up on how to do a better job with the skulls. The next step after cleaning off the stuff that isn’t bone is to degrease. This is how I left the skulls–in Dawn liquid.
Deal with sheepskins. I got one batch in and one batch out. At first I got four boxes with 29 sheepskins that were not mine. Those went back to the tannery. Yesterday I got the boxes with my 30 sheepskins and I photographed them for my website (although they aren’t there yet). Not artsy photos, but I need to show the size and the color and this is how it has worked best for me. In addition I shipped off 42 more sheepskins and am keeping my fingers crossed that I get them back before December. That’s a pretty big investment and I need to be able to sell them before Christmas.
Weave a blanket for a customer using her handspun yarn that she sent me last year. I hate having things hanging over my head. When I was finally ready to get to it I opened the box that I though held her wool. Nope–there was something else in that box. Then I almost panicked wondering if it was possible that her yarn had ended up out in the big yard/estate sale that I had over Labor Day. Fortunately that was not the case.
I had spent a lot of time thinking about how best to use this yarn. One worry was that using yarns that are very different is likely to result in tension issues and different elasticity in the finished piece (showing up as ruffly places where it should be smooth and flat). I’m glad that I waited to plan this blanket because one of the last emails that I had from the spinner had the word “gradient” in it. That gave me the inspiration for how to wind the warp and weave it.
I made a gradient from the darkest brown all the way to white in the warp and then I wove with the same pattern. This is double width so this photo shows only the half that goes from dark to mid-brown. The lighter half is underneath. After weaving and unfolding the blanket…
…this is what you get. This is not a very good photo but I just don’t have a good place to take a photo of a full size blanket spread out. I am really pleased with this piece and am inspired to do some more like it.
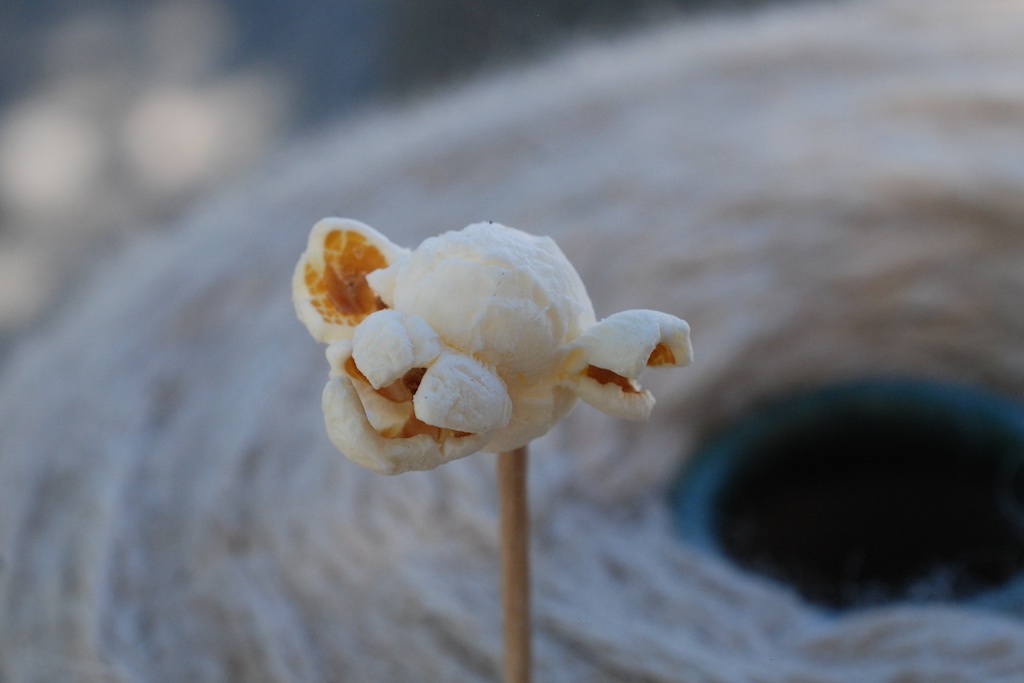
One last thing. At Spinners Night Out one of the spinners said that her husband had made a discovery in his bowl of popcorn:
I made all these buttons this week. Here are better photos.I think I have a new audience for my buttons….…How about using them for sorting practice for little kids? You can sort by shape, color, and size. You can arrange them in order of size. So they’re not just for sweaters anymore! But at $6/button this would be a pricey sorting kit.