I thought I wrote about my mulberry harvest but I can’t find that post so I’ll include it here. I was going to tell the story about harvesting mulberries and dropping the bowl after touching the electric fence and then trying again only to have a sheep tip the bowl over. I’m sure I wrote this post–maybe its the one that as I as writing I ran out of room in my 15 year old free WordPress account and had to figure out what to do. Here’s that story.

The mulberry tree.

I have learned that mulberries ripen over time and you can continue to harvest for quite awhile. The berries fall off very easily when ripe, but that also means that a lot fall simply because it’s windy. Also, this tree is very tall. If I wanted to be serious about the harvest I’d need to put down a clean sheet or tarp and then try hitting the branches with a long tool of some kind. This is not in a convenient spot for that since the branches hang over either side of a fence and the irrigation ditch is under part of it. And don’t forget the electric fence.

I did end up with a couple of pies after two different harvest times.

The idea for this post started because of thinking ahead to the blackberry harvest. I know that the blackberries are usually ripe during State Fair. It looks like we’re right on track for that because they aren’t ready yet. State Fair is at the end of the month.

Look at the harvest that we’ll have–although I can’t reach a lot of those. There happens to be an irrigation ditch in front of this too. It’s dry most of the time, but it still makes it more difficult to reach the top half of these. We’ll be gone for up to a week after the fair so my farm sitters may benefit most from this harvest.

Here’s an unusual harvest. I list puncture vine seedpods on the website for use in craft projects.

There was an order today so I had to go find some more outside the pasture fence.

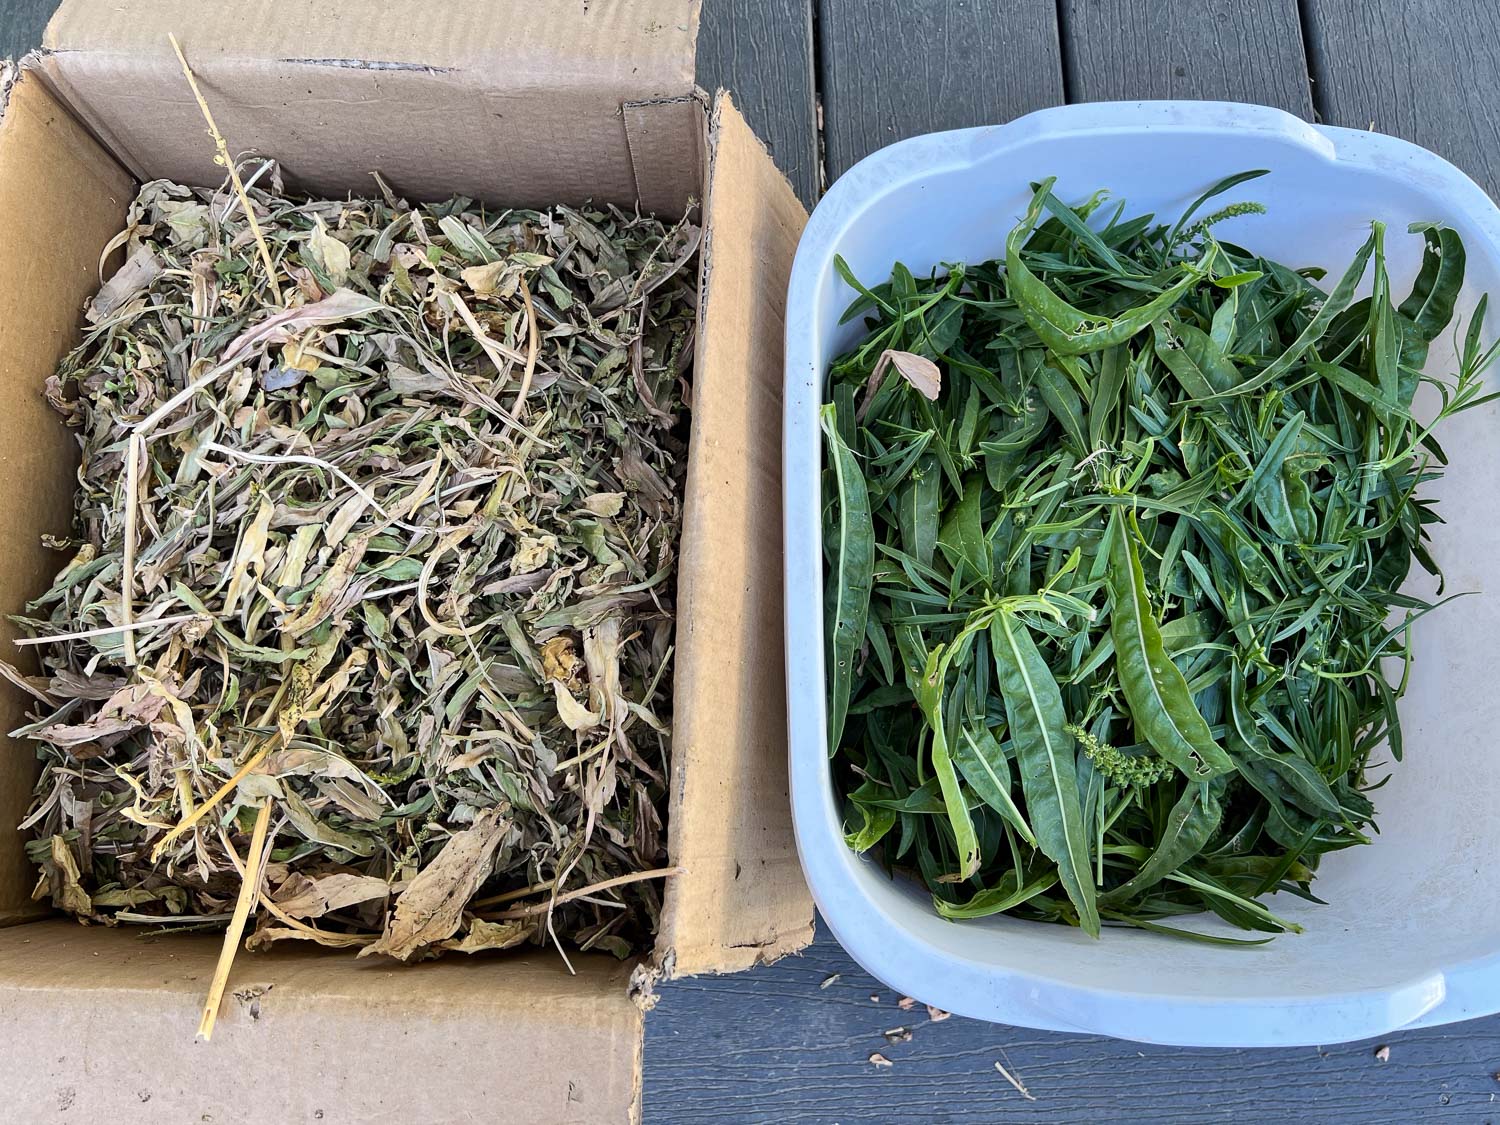
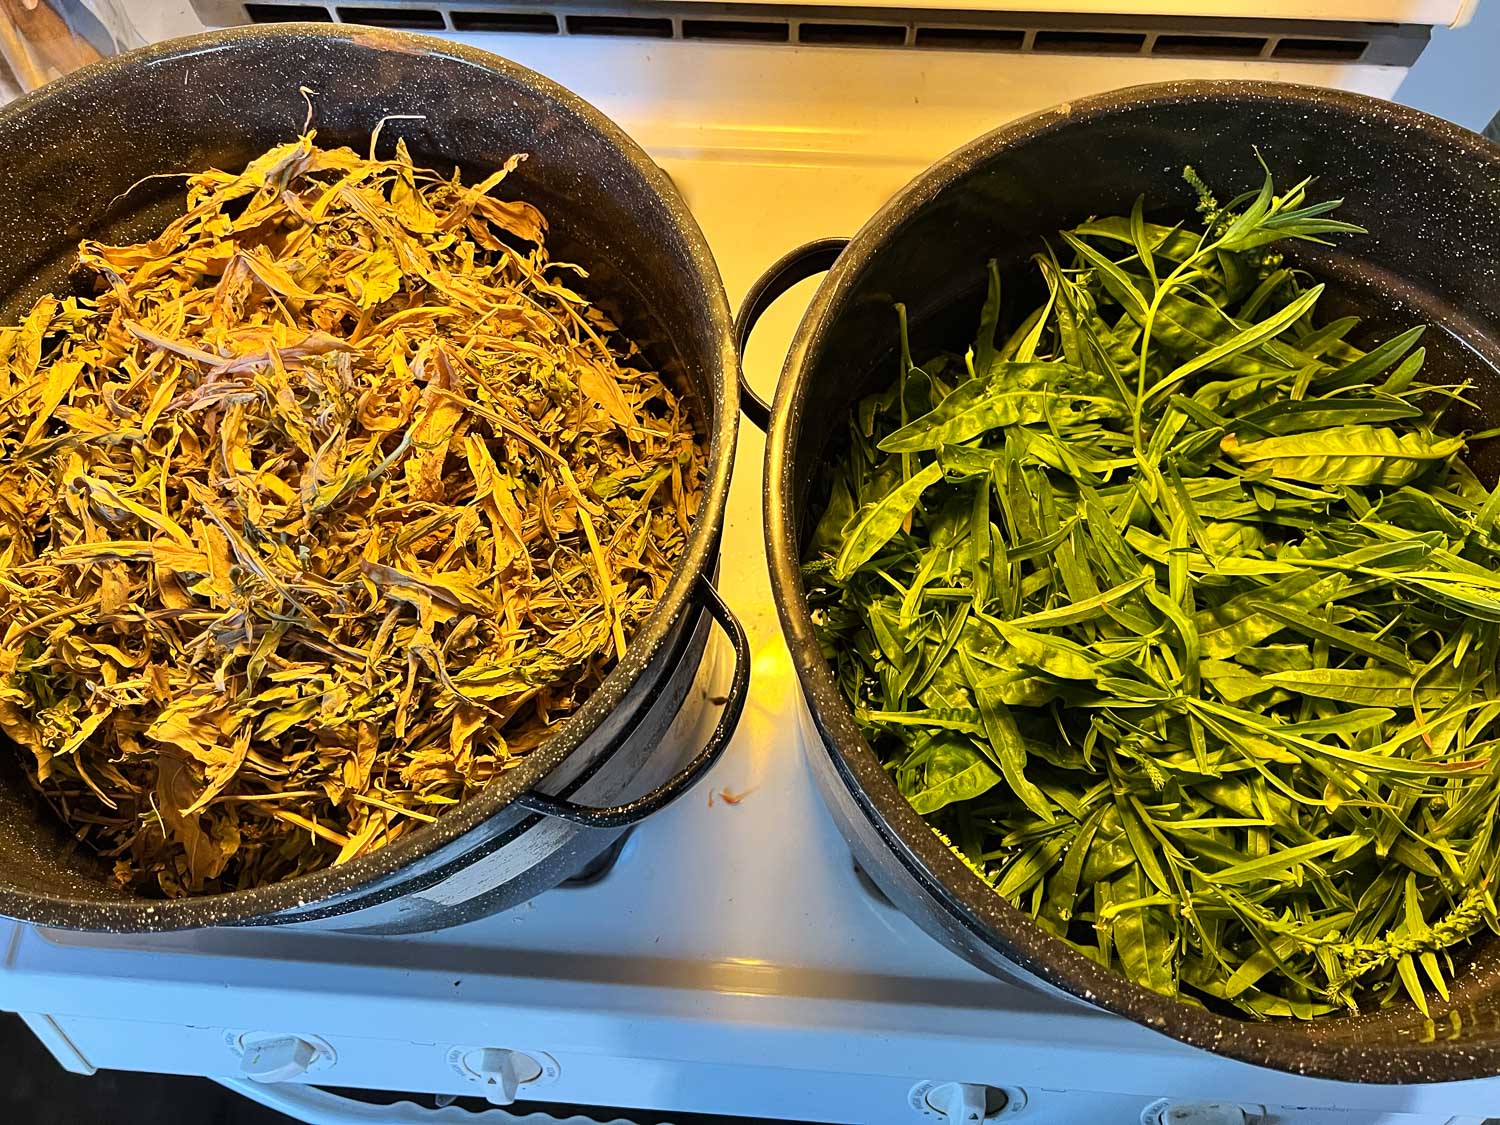
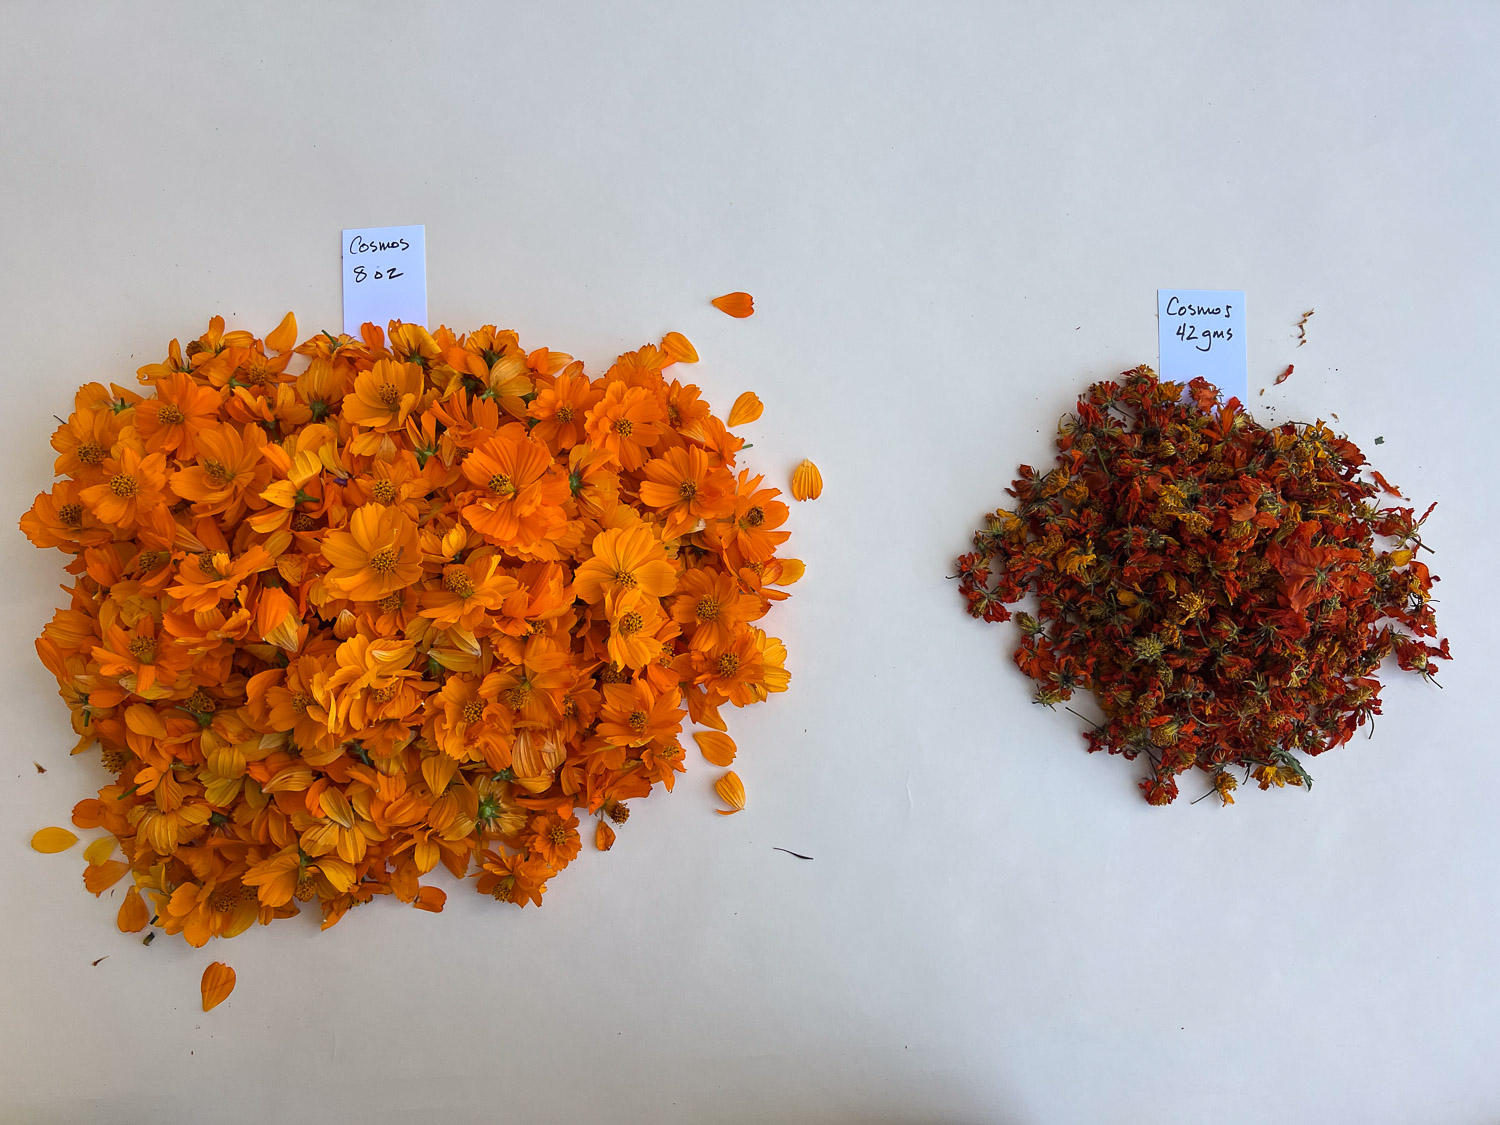
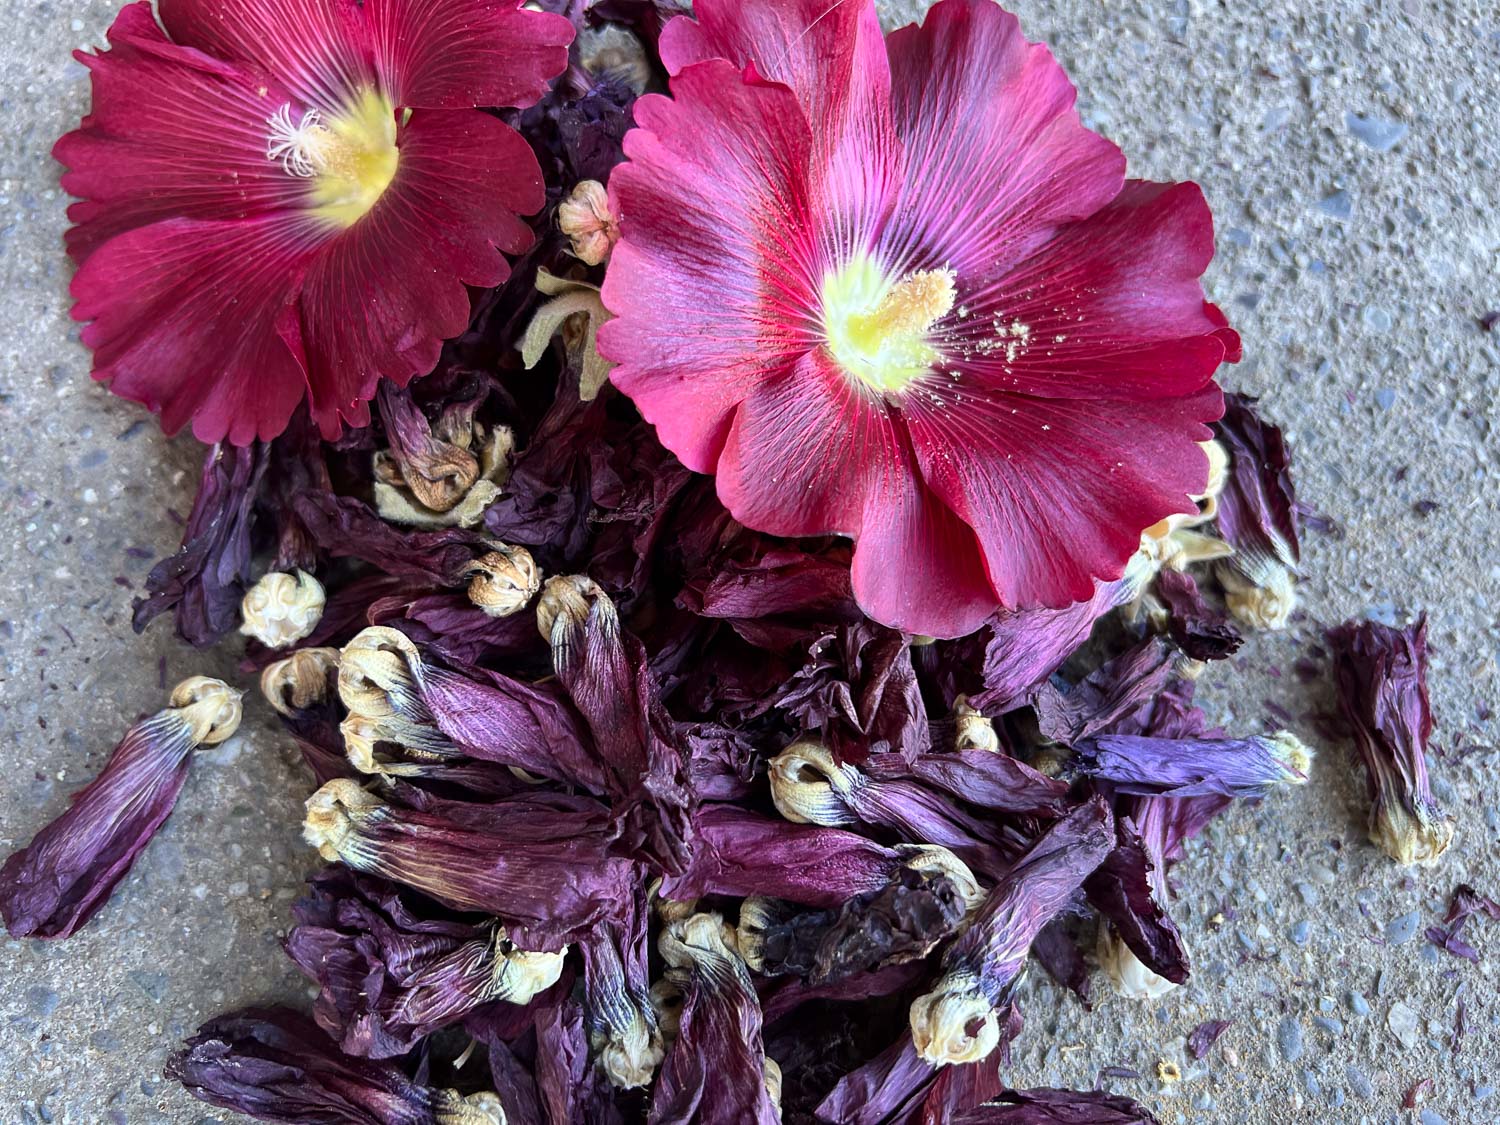
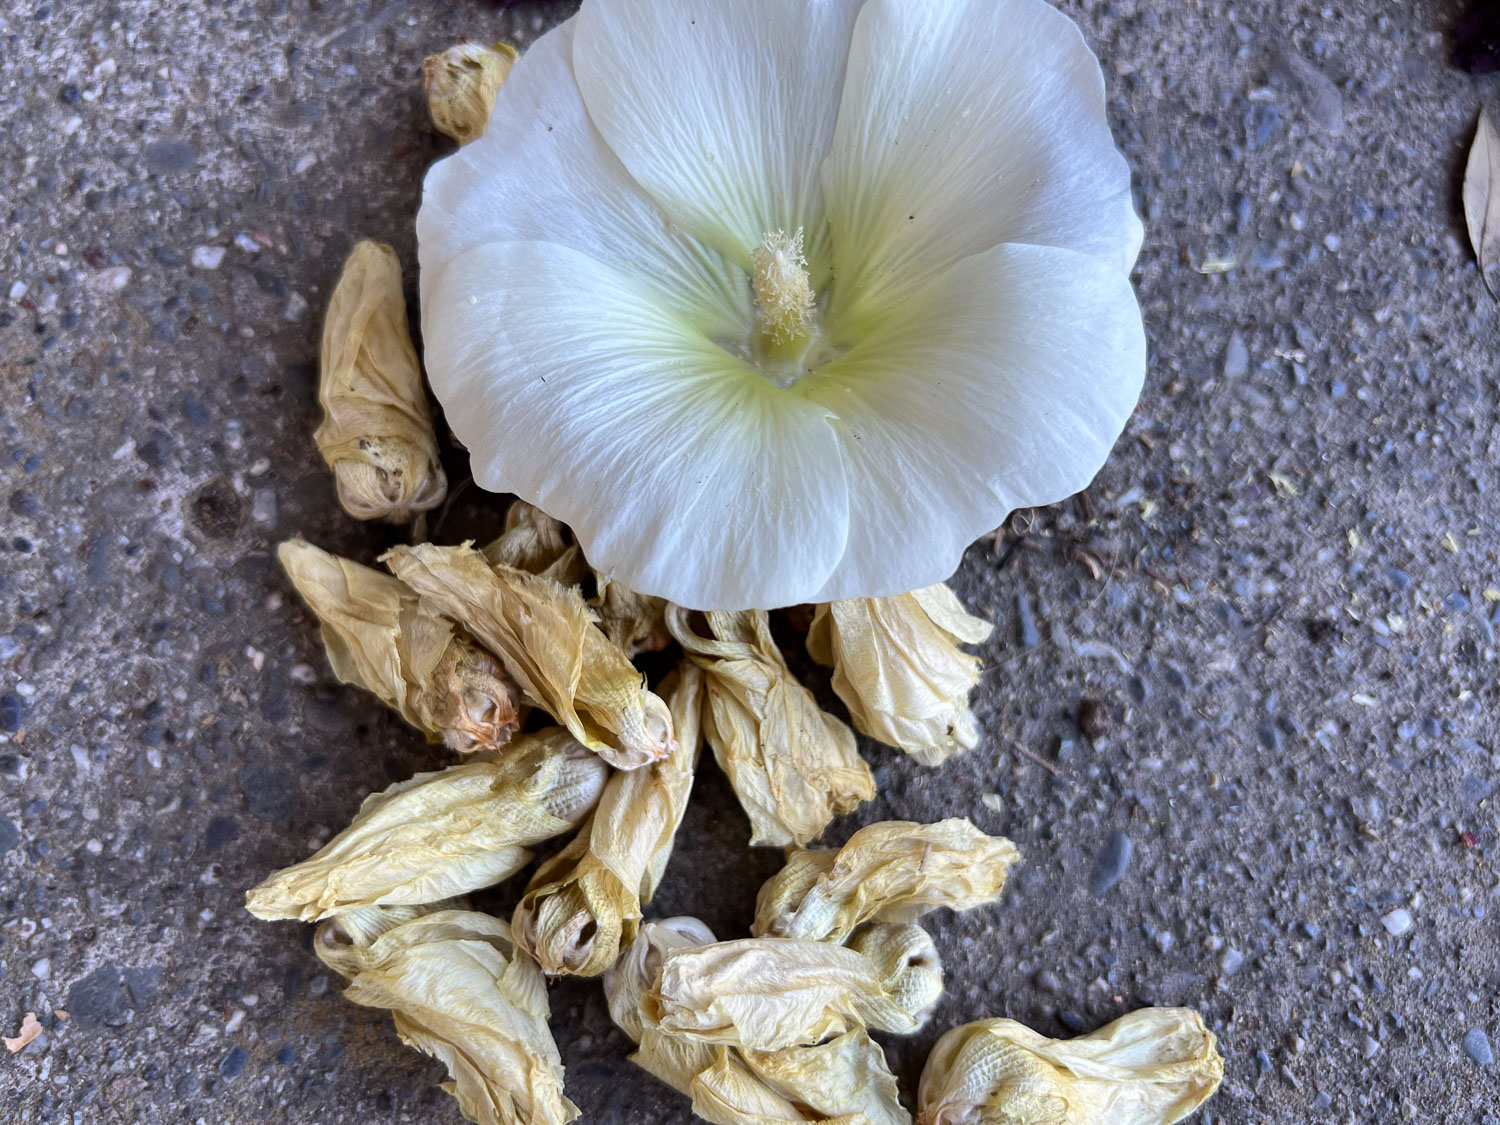
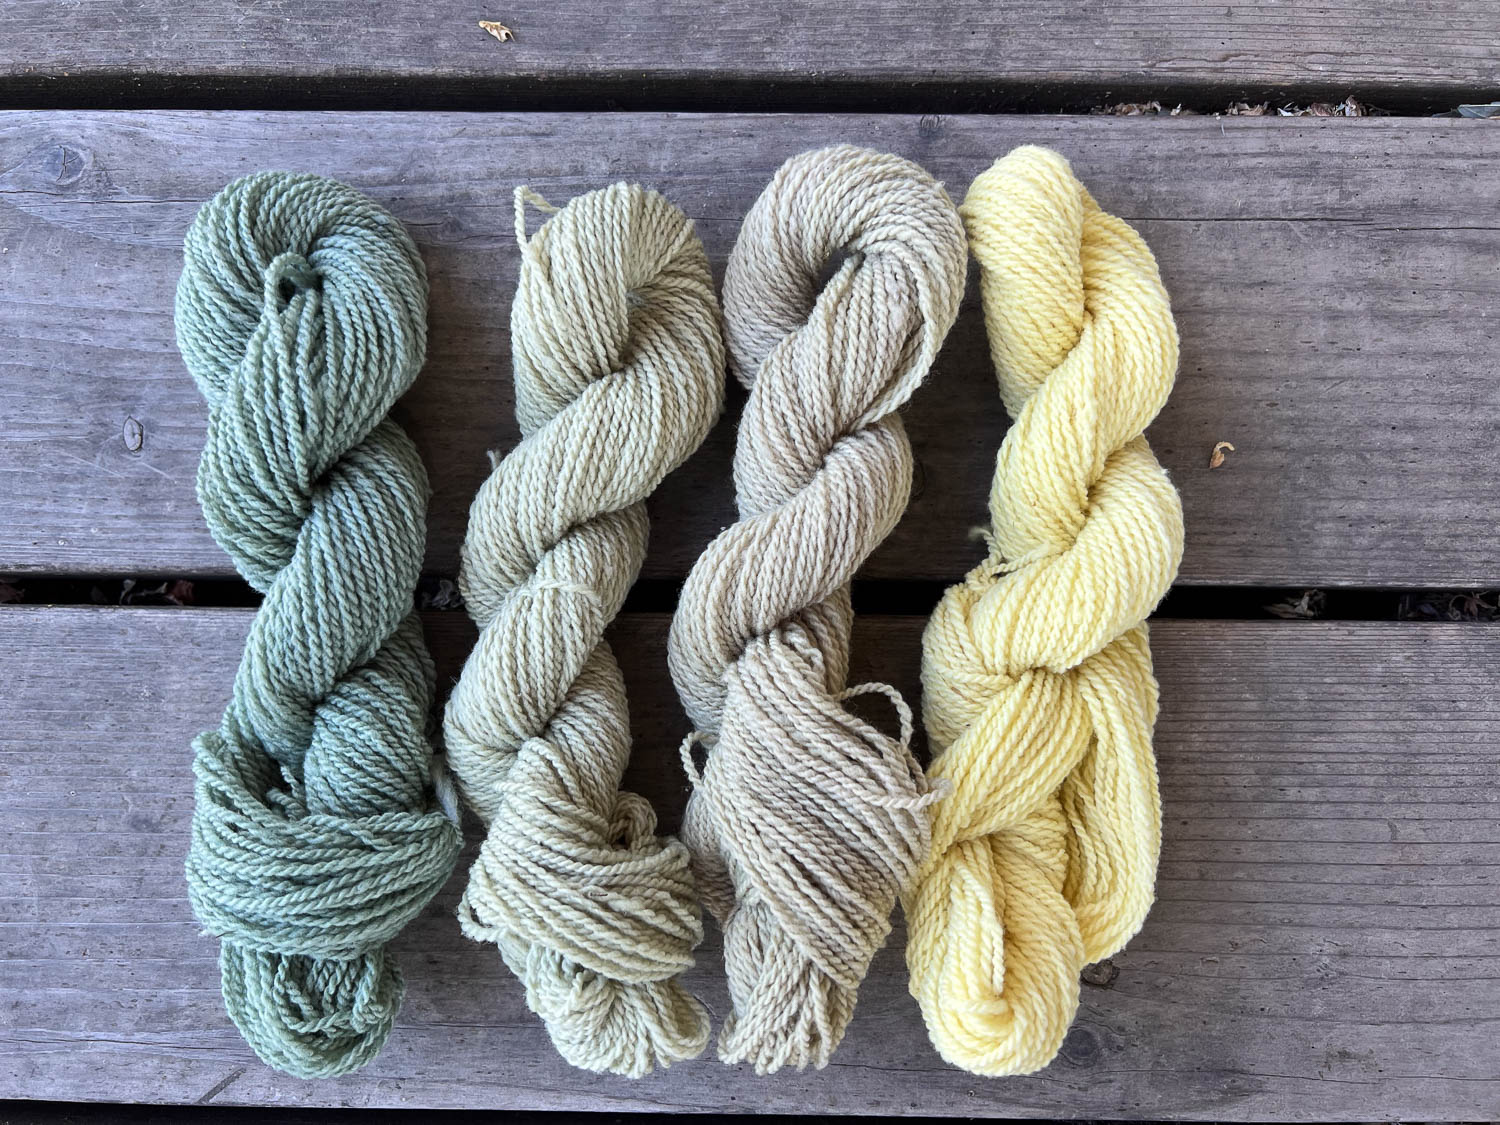
Dye plant harvest is beginning. I don’t have time to do any trying right now so I’m weighing the fresh flowers and drying them. This is Cosmos. Some of this is for sale here on the website. That is from last fall, but the dried flowers dye just as well as the fresh ones.

Dahlia flowers are also ready to harvest. They will continue to bloom if I can keep up with watering during this heat wave.


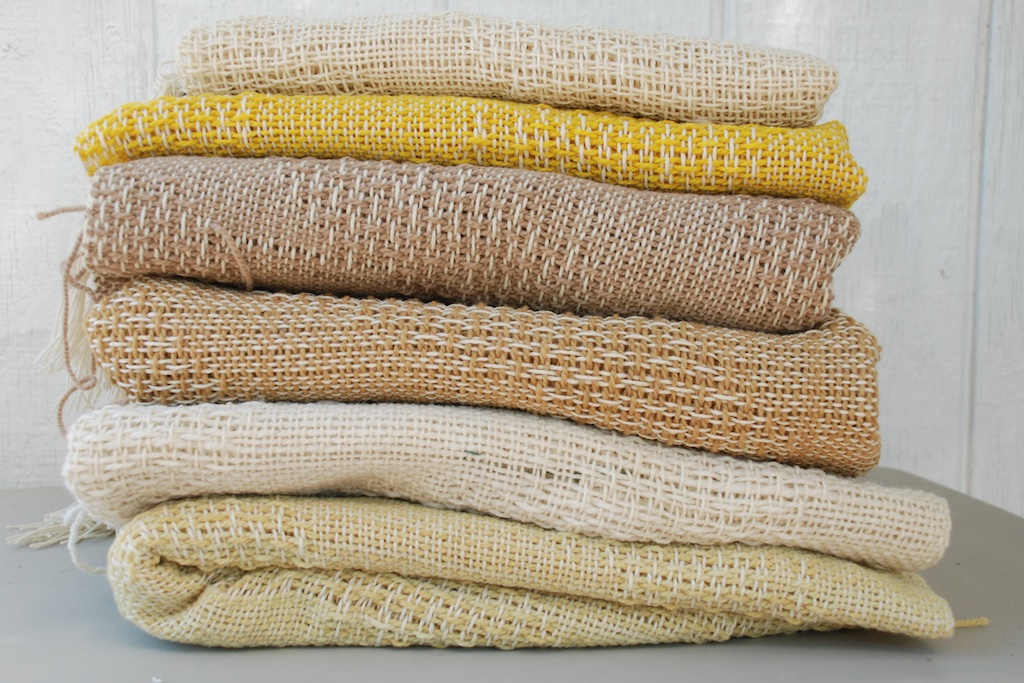
 This is my latest warp. I wound 13 yards of mixed
  The other thing to notice about this photo is that the last piece woven on it is so much narrower than the others. This was the fourth shawl on the warp. The one before this one is a different weave structure (advancing twill treadling), but the first two are the same structure as the fourth one. The only difference is the weft yarn. The first three shawls were woven with 2015 Timm Ranch yarn on cones. The weft for the fourth shawl is 2016 Timm Ranch yarn that has been dyed. This is a perfect example of the difference that “finishing” yarn can make.
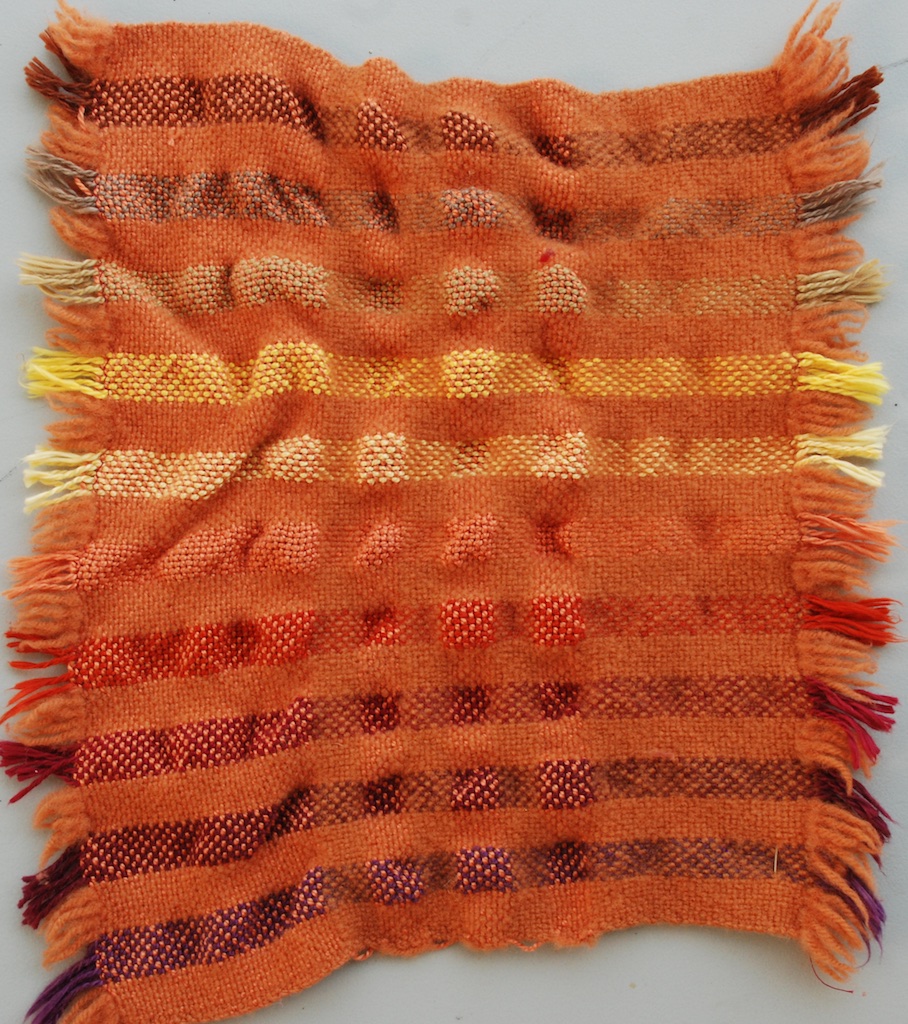
  This is one of the previous batch of shawls. It is mostly Jacob yarn but the weft is last year’s Timm Ranch/Jacob blend used from a cone without washing. In this case the width of the warp in the reed was 30″ with a sett of 6 epi. That is very open but when wet finished the shawl is lightweight and has great drape. However, the finished width is only about 20″ (33% draw-in and shrinkage). So I sett the brown warp the same at 6 epi but started with a 39″ wide warp.
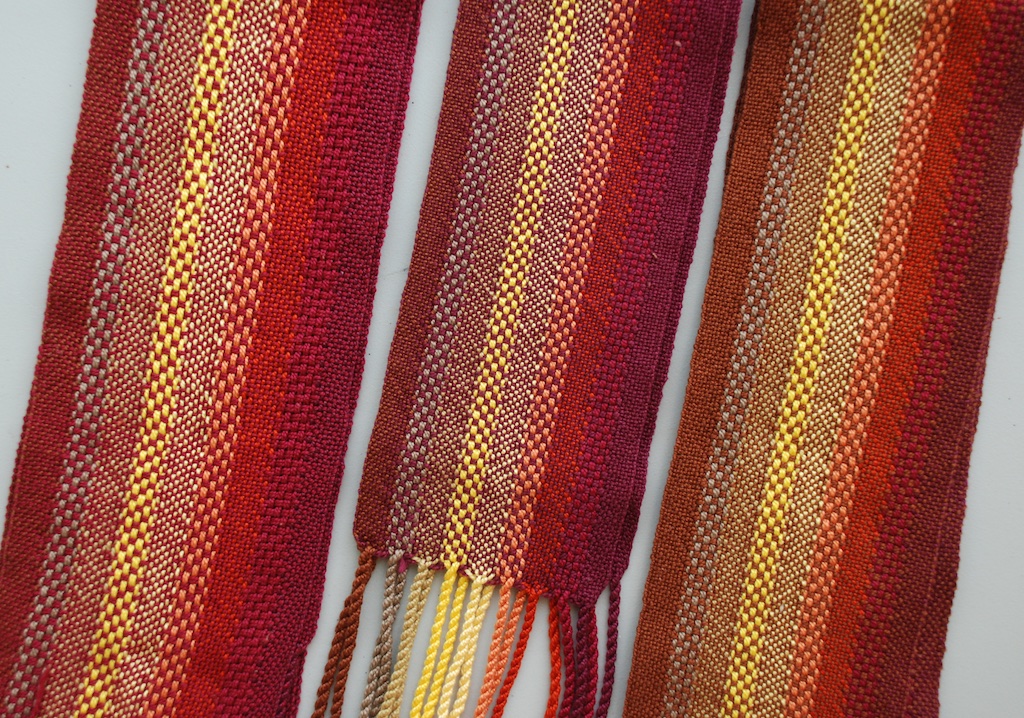
 Here are the shawls from the brown warp after wet finishing. That one that was so much narrower on the cloth beam? That is the one that is a little wider here. It is now 27″ wide (30% draw-in and shrinkage). The shawl in the same pattern but woven with the white weft is 26″ wide (33% draw-in and shrinkage). The difference between width in the reed and the finished piece isn’t much, but the photos show the dramatic difference in how the yarn behaves while it is woven.
  Here is a before and after photo. The bottom shawl has been wet finished. The top one is the same weft yarn and same pattern, but has not been washed. Look at the very first photo in this post. You can see how wide open the yarns are. Off the loom they are a little closer, but that looks nothing like it will when finished.
  An example of trying to take product photos with the help of a Border Collie.
 Here is one of the final product photos. I noticed a surprise. I started to see a purple cast to one of the warp yarns. At first I thought that I just hadn’t noticed that shade inside while I was weaving. I tried to convince myself that it was still brown.
 Do you see it here?
  Another photo of one not washed (no purple) and one washed. I lined up the same warp threads in these two pieces.
  Depending on the light setting in the photo (and maybe your monitor) you may see it more clearly in one of these other photos.
 In person it is clearly visible, although it doesn’t stand out.