Irrigating Again

It’s California’s Central Valley. If we don’t irrigate in the summer we have only dry grass. We used to try and irrigate every three weeks. Now we have the soil moisture sensors to help with the decision.

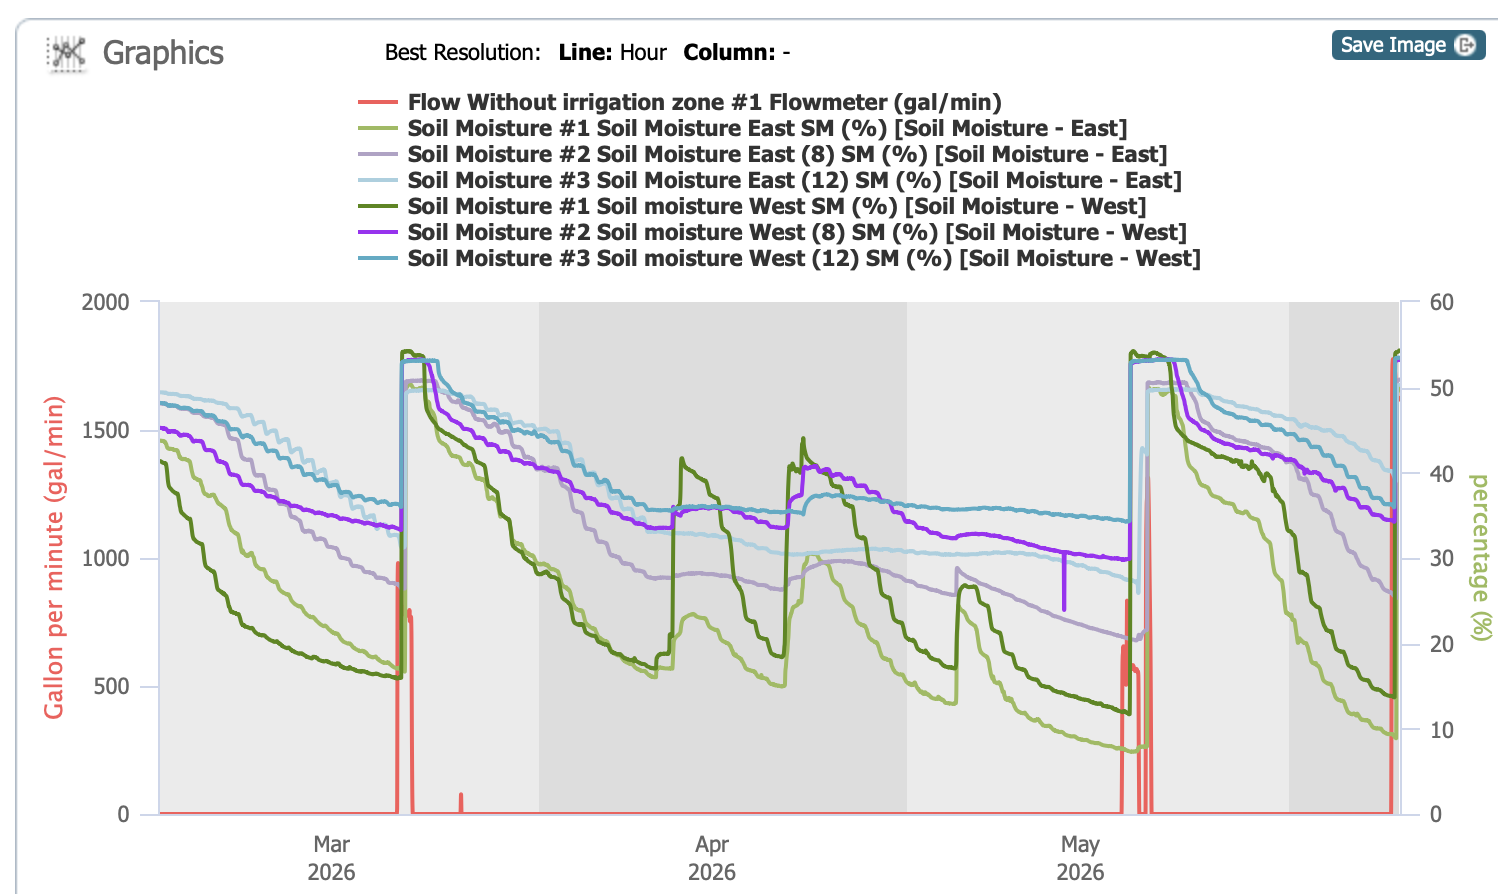
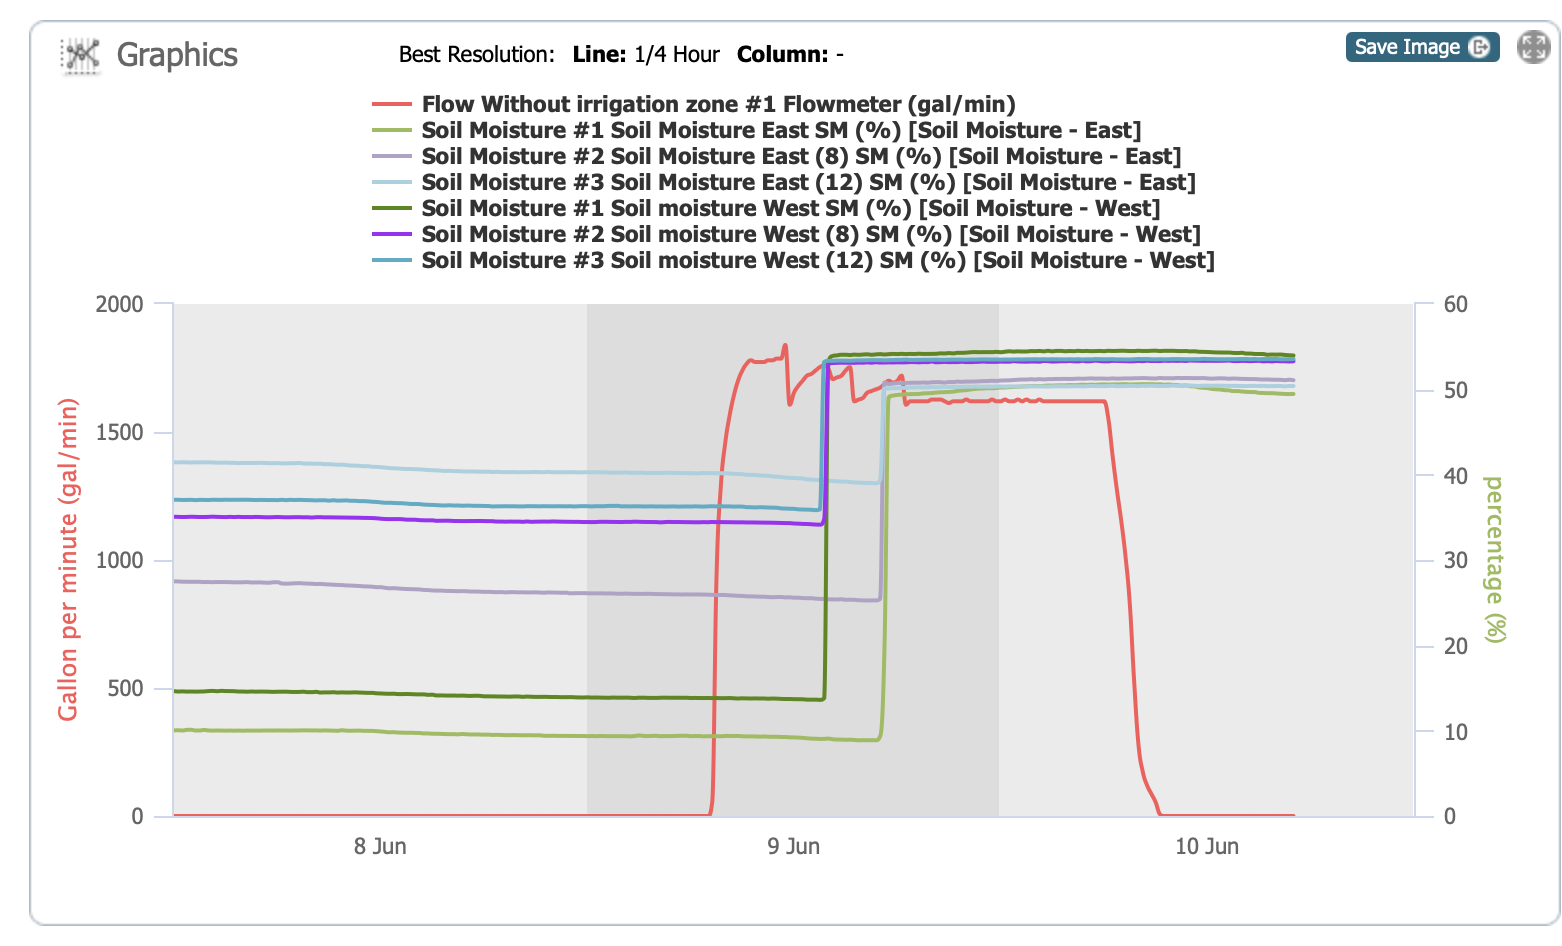
There are two sensors. The both show moisture at 4″(green), 8″(purple), and 12″ (blue) depths. The dark colors are the west sensor and the light colors are the one more towards the east. Red is water flow through the system when we irrigate. I’m showing three months for perspective. Notice the green lines rising (more on the west) in the middle of April. My records show 1″ of rain followed by 1.5″ about ten days later. I didn’t record the one in early May. So that amount of rain impacted the top layer of the soil, but doesn’t do much for the lowest level

It should rain in March, but it did not. When we irrigated in late March we had more water than we could use. We had asked for a certain time period and had to pay for that amount of water whether we needed it or not.

There are problems with too much water:
1. We are paying for what we don’t need.
2. Farms are given an allocation at the beginning of the season based on irrigated acreage. We don’t know what the weather will be like through the year. It was unusual for the irrigation district to fill the canals and offer water in March, but farmers needed the water. However, now that allocation has to last us until we get rain again.
3. Just as in your garden you don’t want plants to be underwater and flooded for too long.
4. Mosquitoes!

So when it came time to irrigate again, we had probably waited a little too long. We asked for the same amount of water (1-1/2 acre feet) but for less time. This is the story I told about that irrigation. Part 1.and Part 2. There was a big problem. It took all day to get across short checks on the north and we were able to get the water back in the pipeline two days later to finish and the water tender said he’d give us more. The graph below shows that sequence a little better. When you compare it to the graph above it looks as though the amount of water the sensor measures on May 18 is less than for the March irrigation, but I’m surprised that it made that much difference.

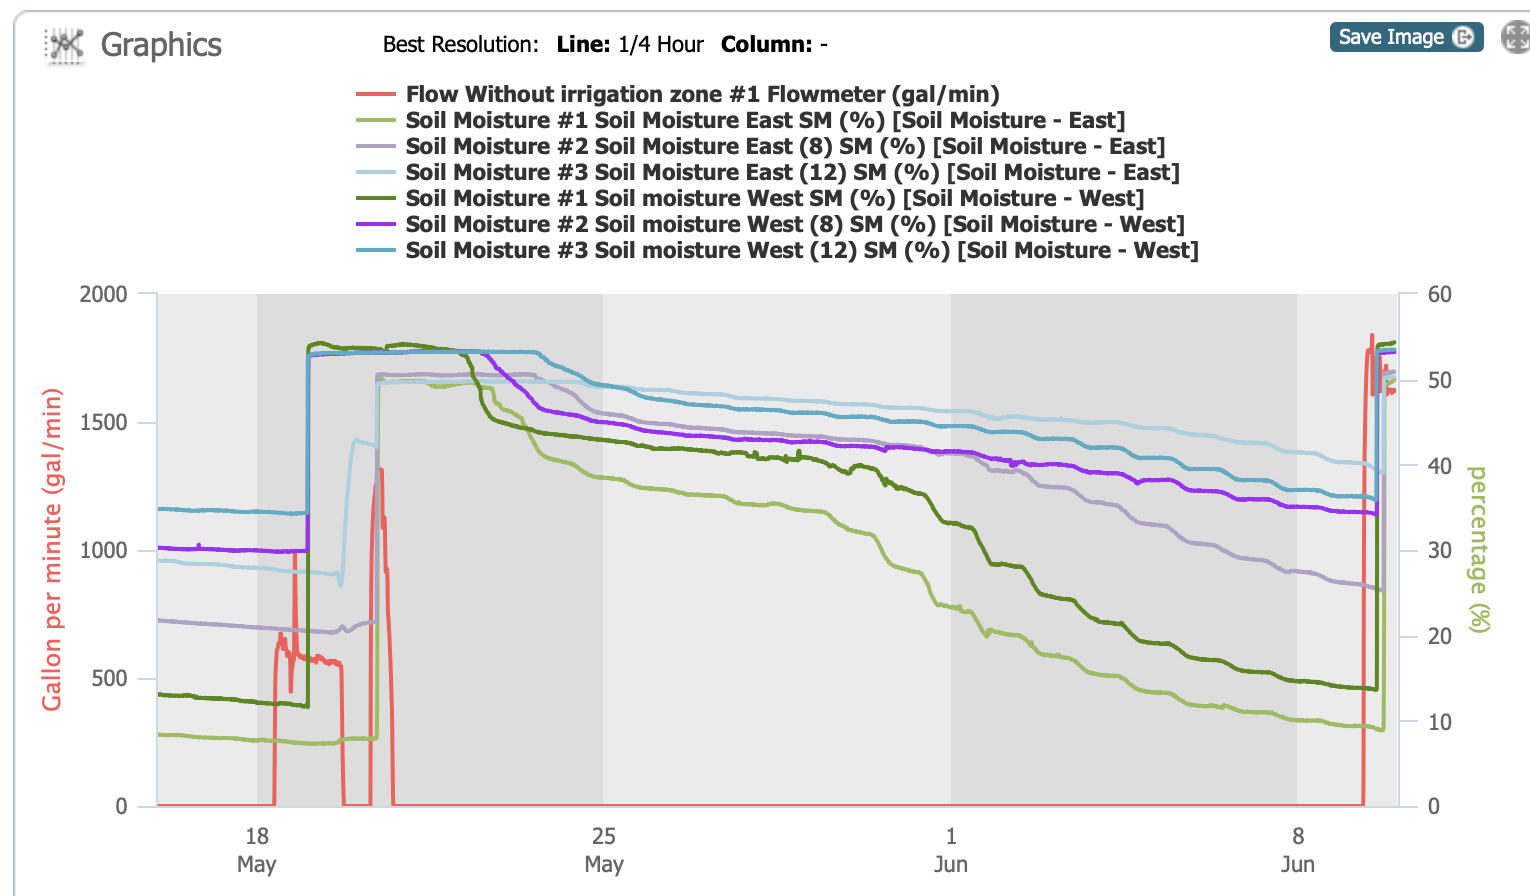
So here we are three weeks later. Look at the green lines on that graph. We asked for 2′ of water for about 28 hours.

This is the canal that flows into our system.

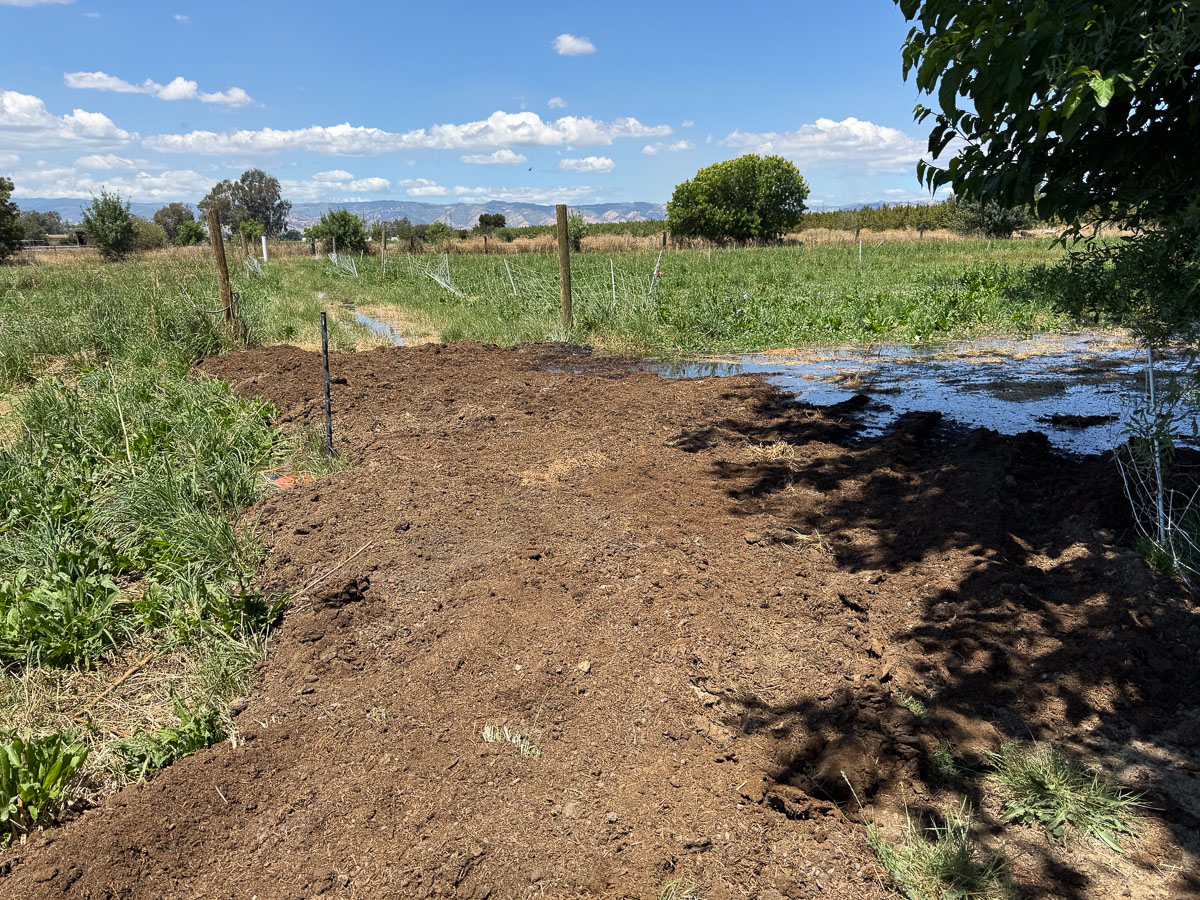
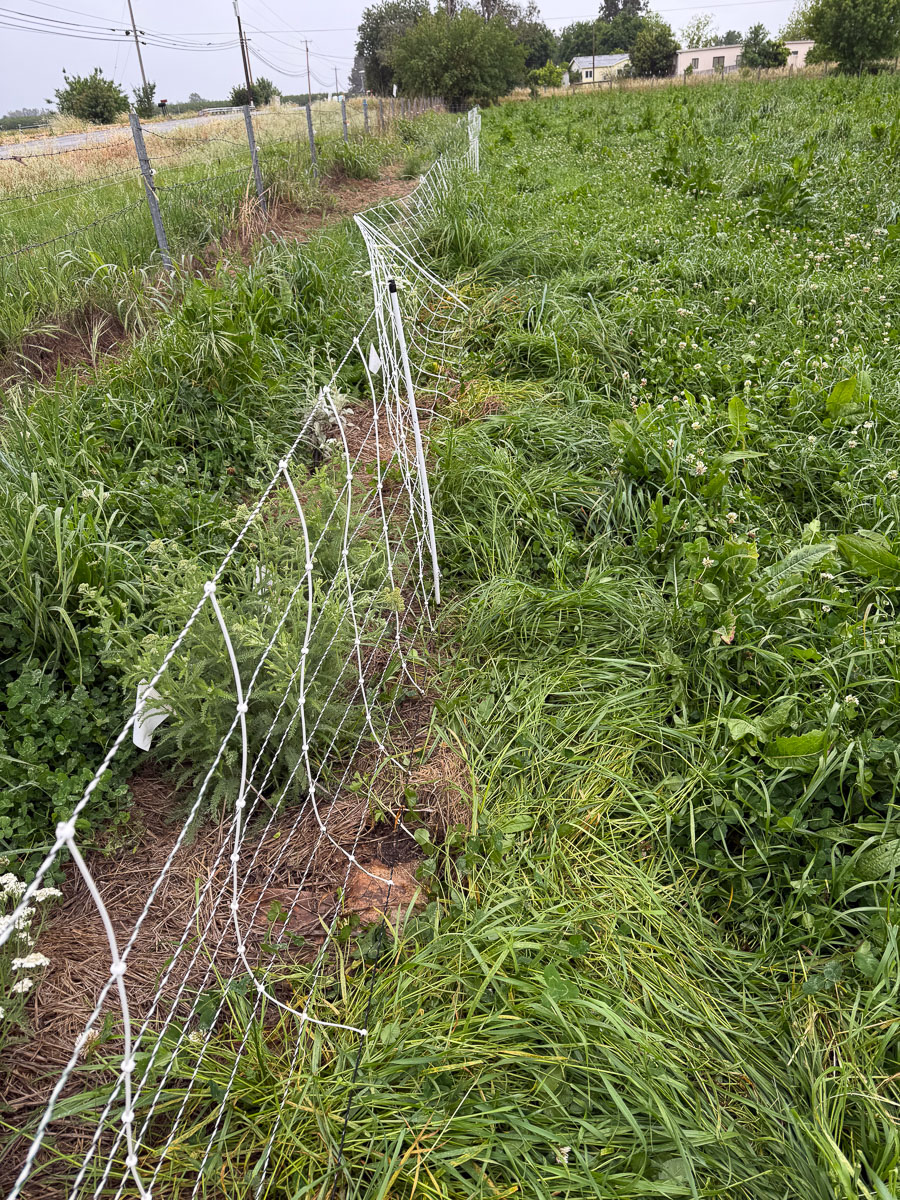
This is where Dan had added tractor loads of compost to the lane at the south end of #7 North. That has seemed to be a low spot, the water from the north stays there, and the valve for the south part (you can barely see it where the black plastic post is) flows backwards into the low spot.

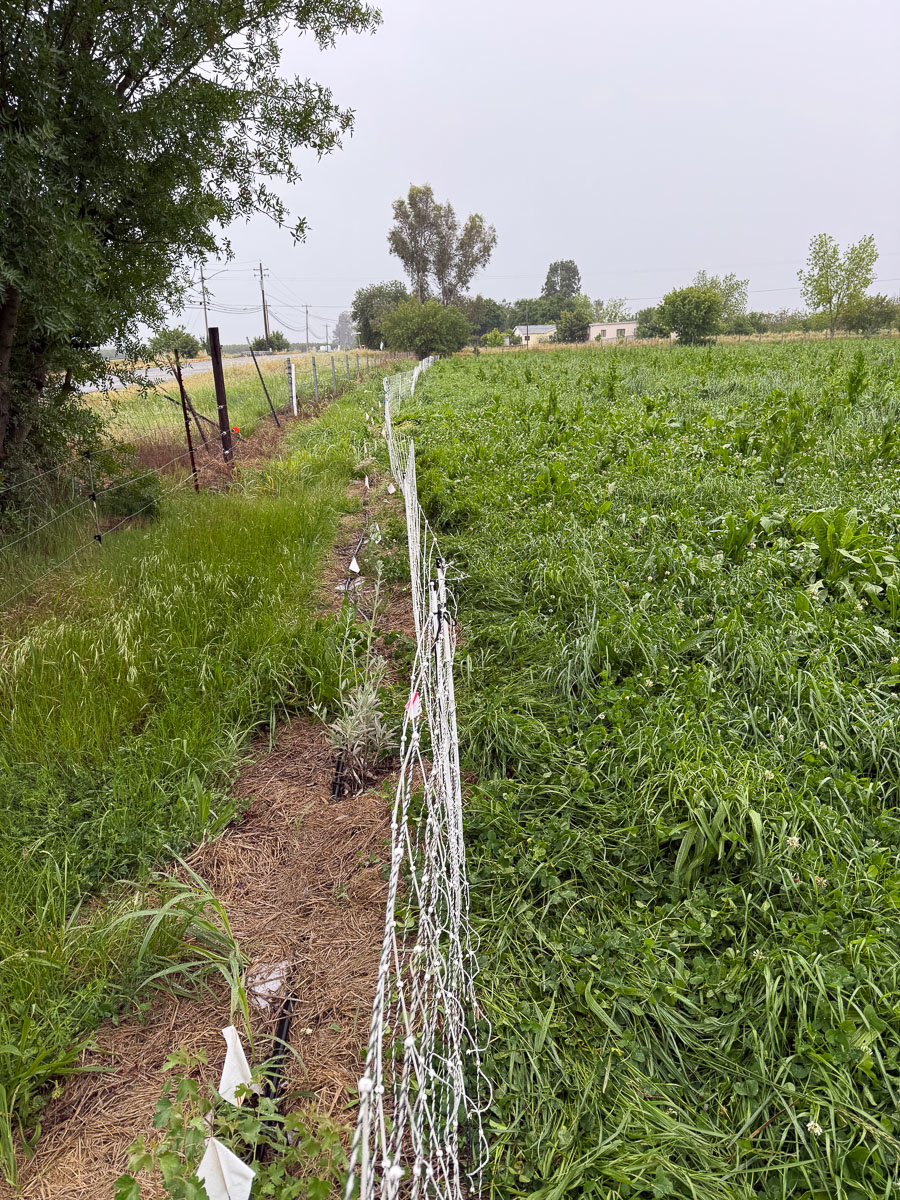
Those top seven checks were fully irrigated before noon and I was ready to open the valves to the south. Then I found myself wanting to deal with the dry grass that was serving as a mulch on those north paddocks. We don’t need the clover and trefoil covered ups with mulch.

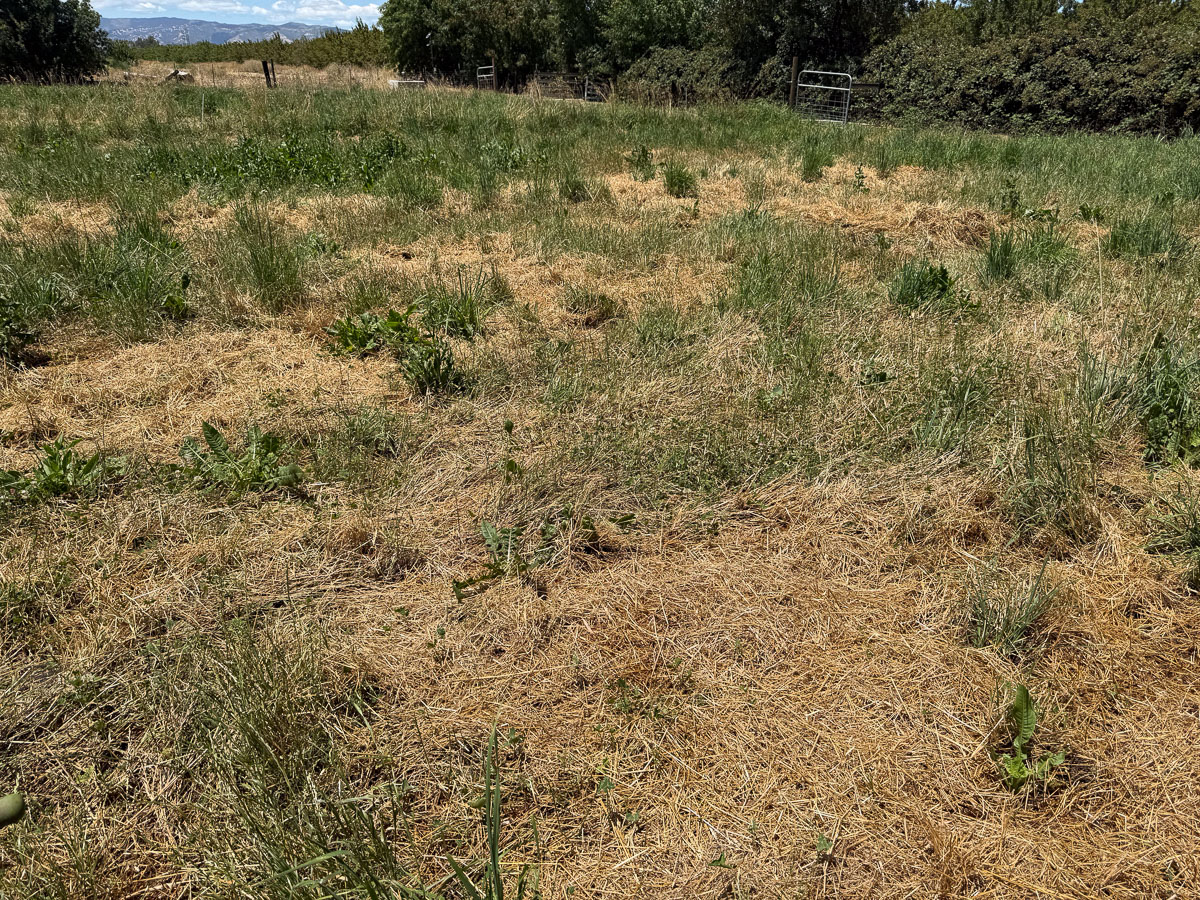
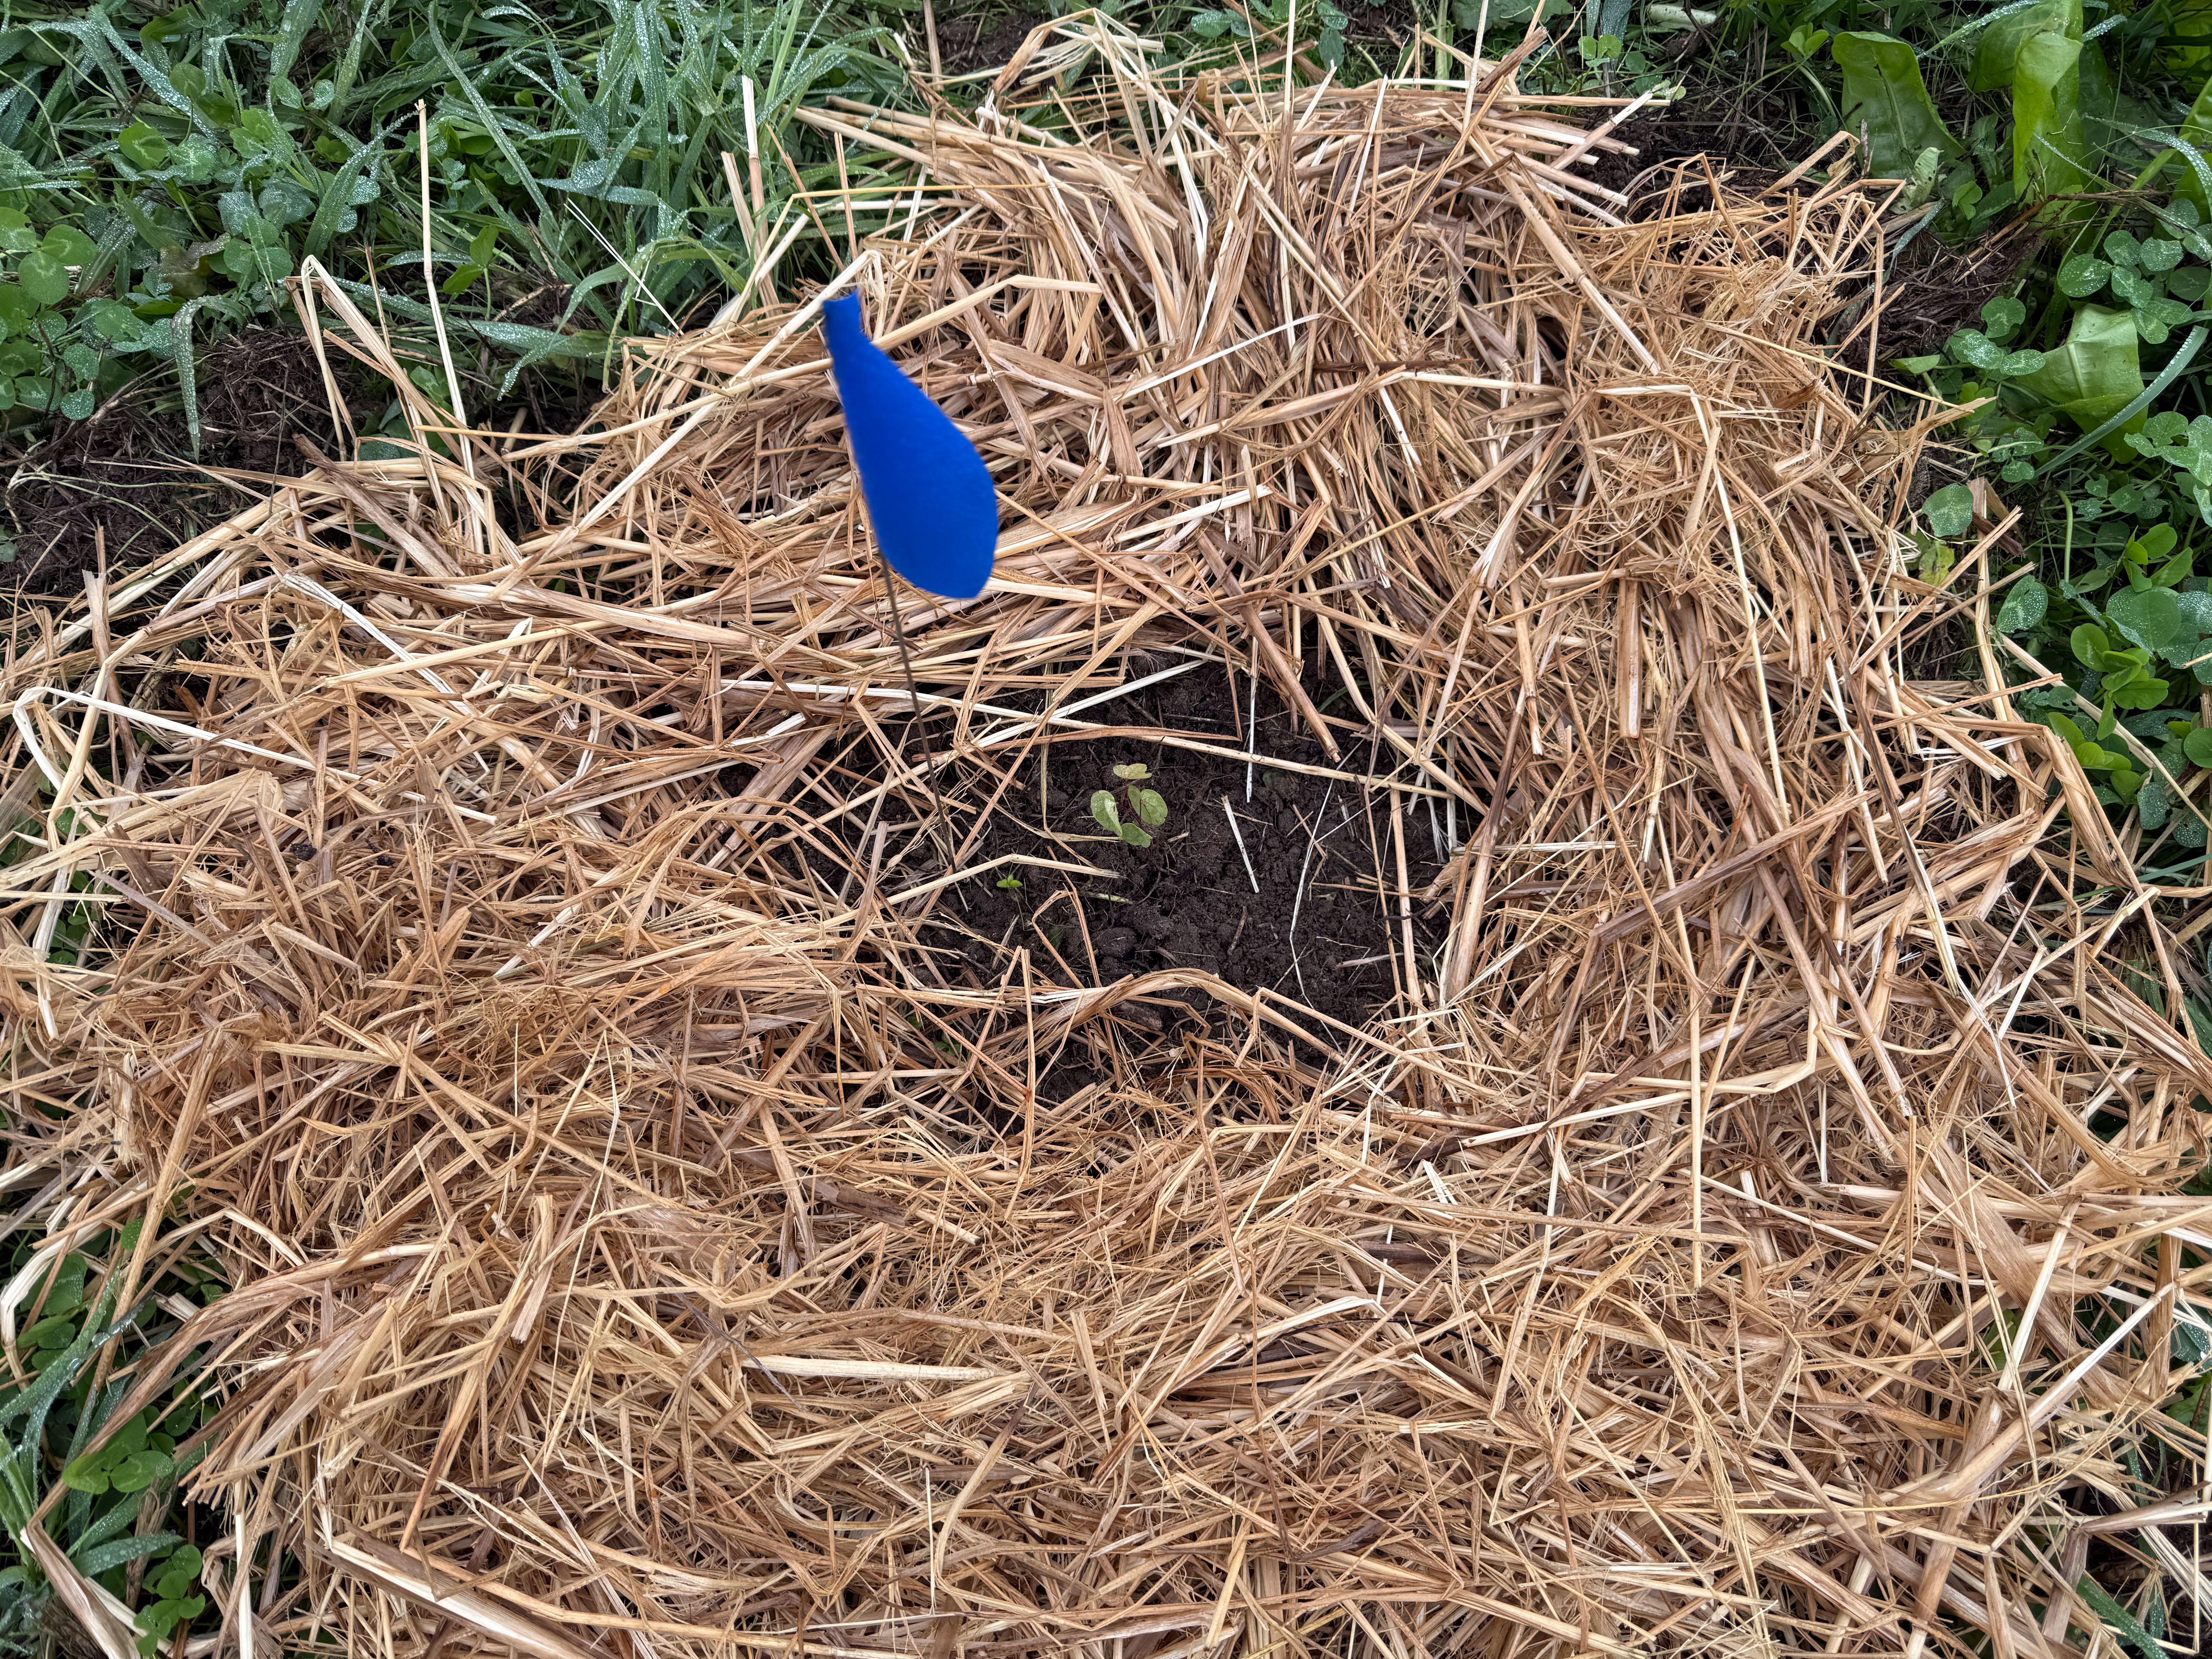
This seems ridiculous but I took a large rake out there and attempted to rake the dried grass off the pasture. I know I did this last year. The grass was floating and I could rake piles. This time it was different. A although Dan had mowed, only a fraction of this is that superficial grass. A lot is still rooted. Not that it will grow again, but it’s more difficult to remove.

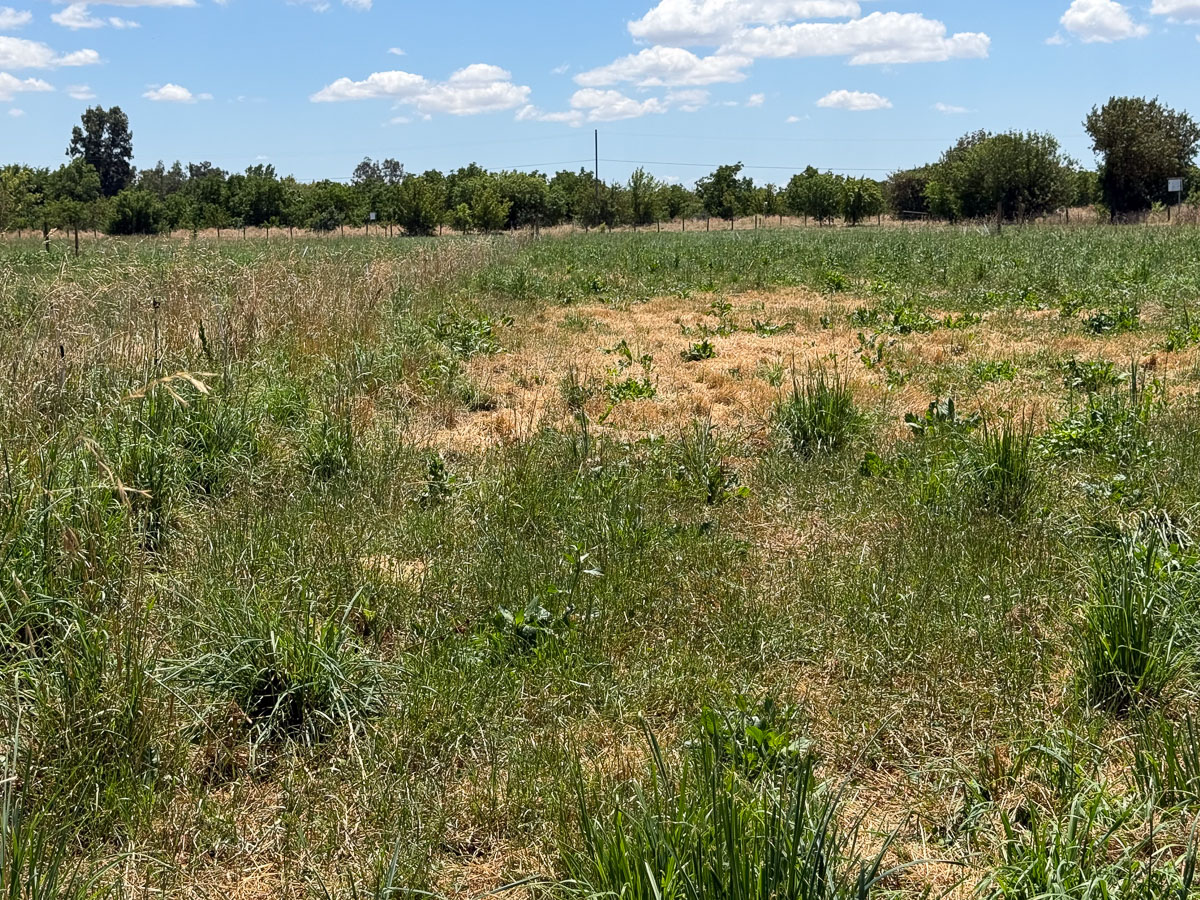
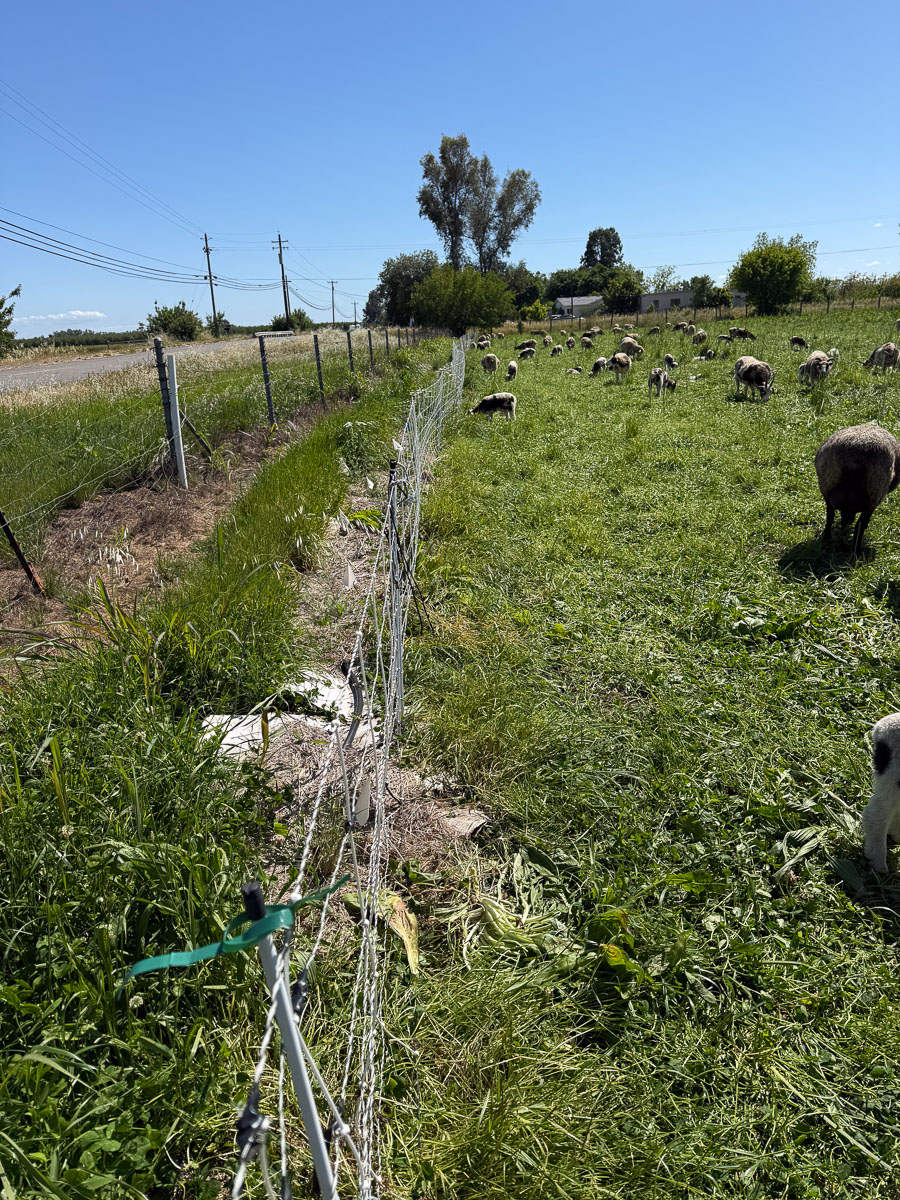
You can see the difference in upper part of the photo. It’s bothering me that so much of some of these paddocks are not as productive as they should be. This is the result of the ryegrass that took over last spring and again this spring. I need to be able to graze these before the grass gets so tall that it is trampled and flattened more than eaten .

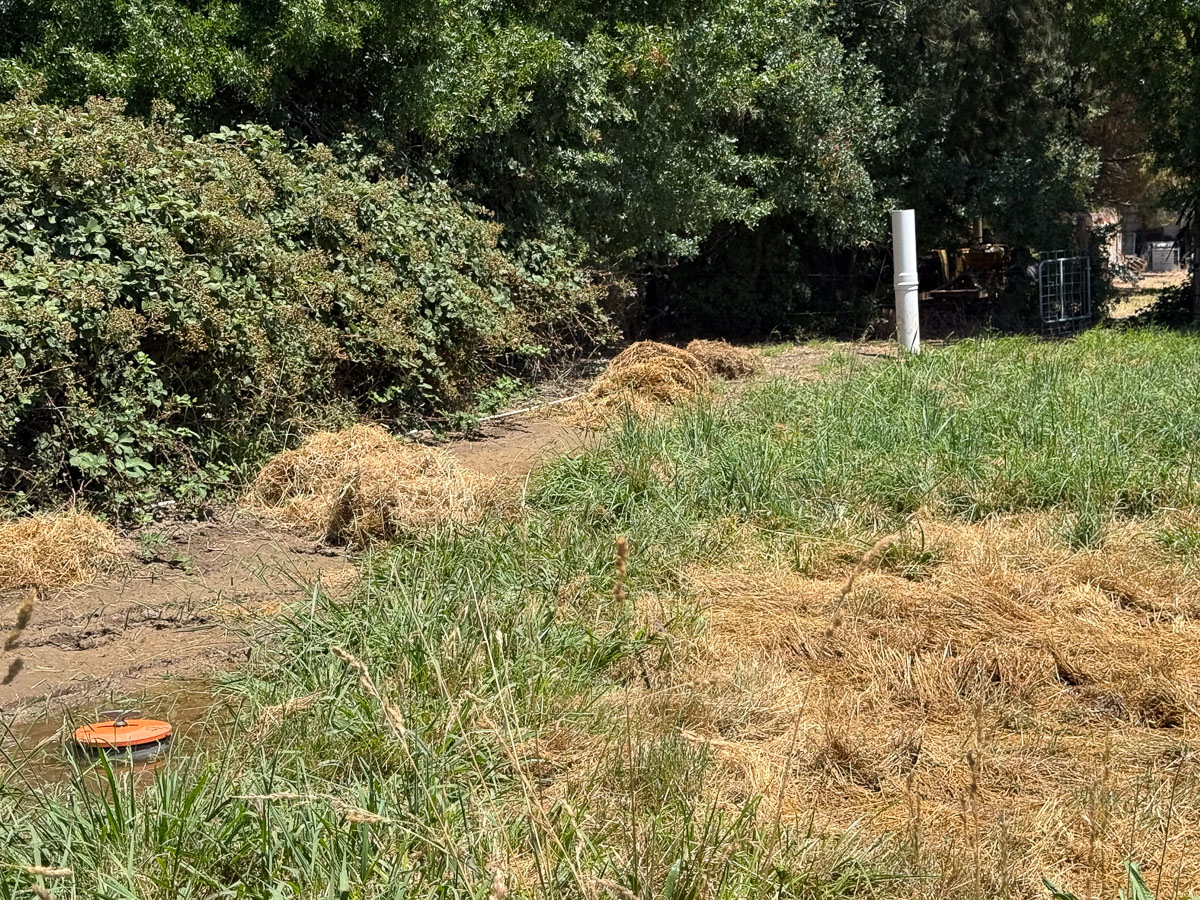
I did rake some and made loads with the wheelbarrow before I decided that this was a dumb idea and I could never make much of an impact.

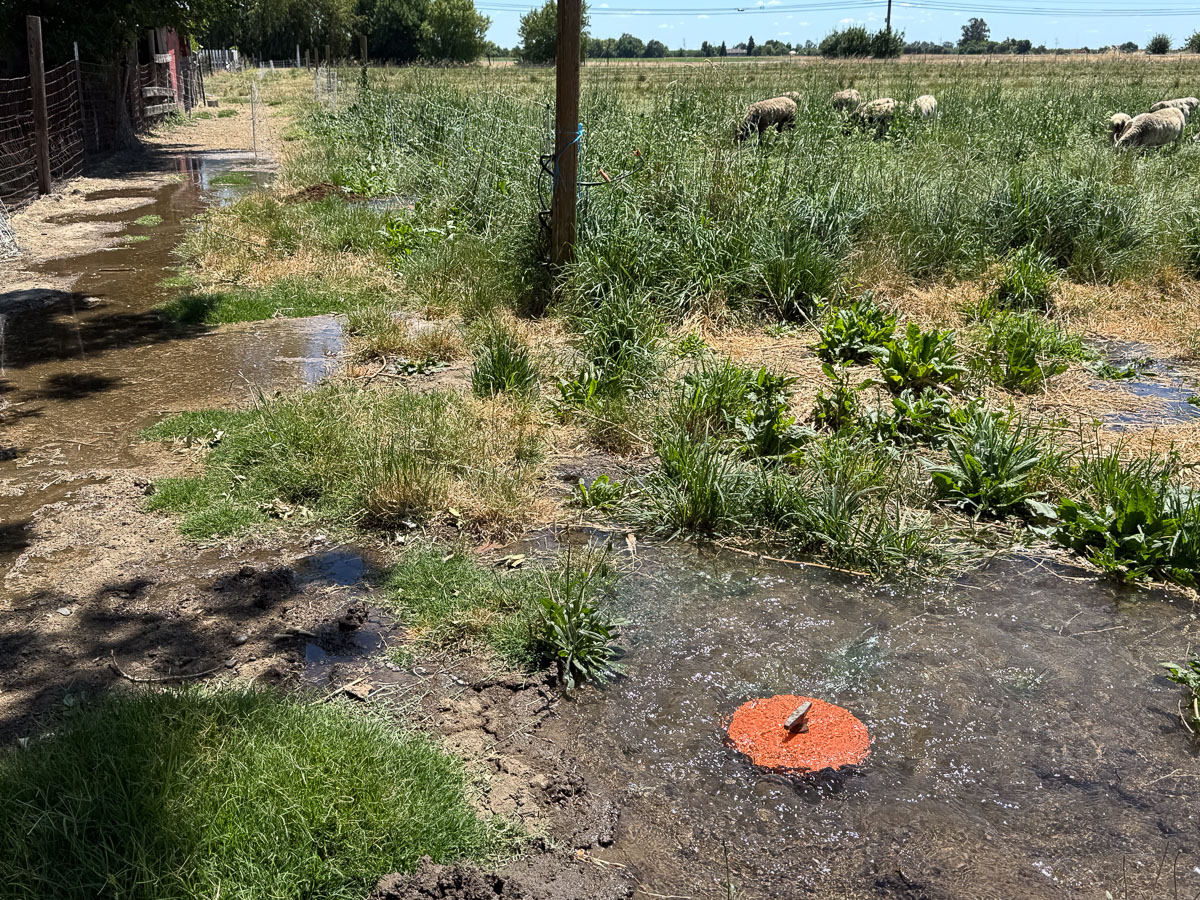
Moving to the south, there is a flooding issue at #8. One of the ways to control this is to have more valves open and lessen the water pressure. Remember, this was more water than. before. I’m learning as we go along. I used the wheelbarrow and took some of that fill that was near #7 and made a border here.

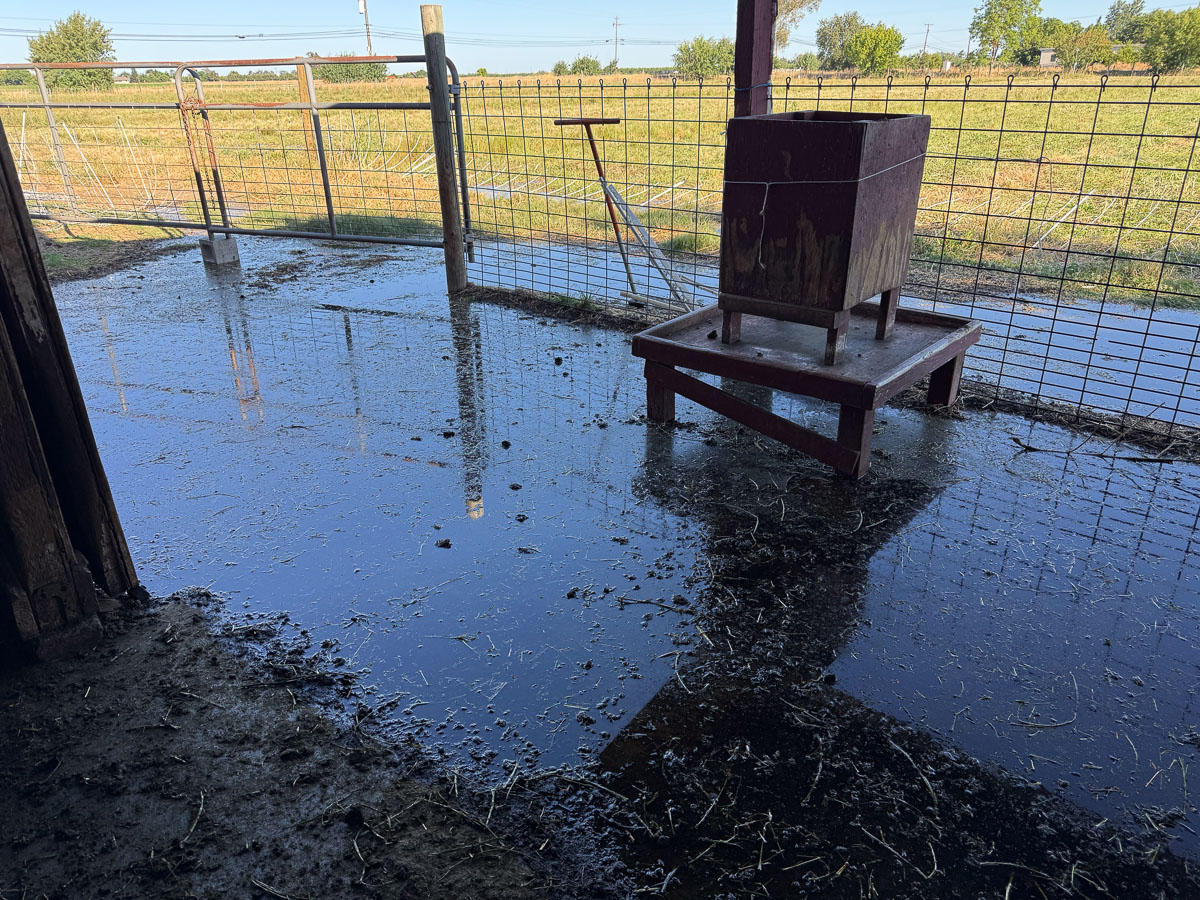
Later that evening I saw that with this much water #11 and #12 flood the lane at the barn.

Almost all the lower paddocks were finished by the evening. I opened the last three around 6 p.m. The water wouldn’t be turned off until the SID water tender was on site at 6 a.m. It still flows into our ditch for another hour after that.

Here’s a closer view of yesterday and today. We’ll need a better plan next time.

Hedgerow 101

It was five days ago that I named this this blog post and was writing it in my head while I was in the pasture trying to set up fences for the next grazing paddock before it started raining any harder.

We planted a hedgerow at the edge of the pasture back in November and I described it in this post. Keep in mind that these were all very small plants. Many are still small and some didn’t make it, and some will be small at maturity anyway, so you’re not going to see photos of what you probably picture when you think about a hedge.

Here is what it looked like when we were finished.

Edge of the pasture with the electric fence barely visible over the tall grass.

This photo is the same view taken last weekend. You can barely find the flags that mark the plants.

Lesson 1. I should have spread the cardboard and straw mulch out farther.
Lesson 2. The electric net fence should be closer to the plants so more of the grass would have been grazed when this was last grazed (which, by the way, was February 12). That may not have made a huge difference since March was so warm and the grasses really took off.

Here is another view from a little further north. The white flowers are yarrow, one of the species we planted. Do you see how overgrown the electric fence is?

Here is a close-up view after I had pulled away some of the grass and clover. You can’t even see the lowest part of the fence. There is a black strand about 4″ below the white one.

I had to pull the fence away from the tangled plants foot-by-foot for the whole length. Then I moved the fence much closer to the desired hedgerow plants so that the sheep could clean up most of the vegetation. This photo is an “in-progress” view.

This is how it looked when I was finished. The storm hit not long after and we had about 3/4″ of rain in the next hour.

The sheep did a pretty good job of cleaning up the fence line. I have to do something about the grass on the other side of the plants. I think that will involve the weed-eater and more cardboard and straw for mulch.

Creating a Hedgerow, Part 2

I introduced our hedgerow project in the previous post. That was Friday. Today, Sunday, one of the Farm Club members who had helped on Friday had offered to come back to help with the project. Even though the ground is moist from recent rains, the new plants would benefit from water right after planting. Also, we needed to add a cardboard layer to the mulch. Cardboard, covered by straw or other material would provide more of a light barrier which will help prevent or at least slow weed growth.

Raquel brought a barrel that she uses to catch rain water. There is a spigot on the bottom to fill containers. She thought it would be a good idea to fill this so that if more people came to help we wouldn’t all be waiting to fill buckets at one hose. It turned out to be just the two of us but her barrel idea was still helpful. We brought a hose from the other side of the fence to fill the barrel and could then work from that. Raquel’s idea was to use gallon milk jugs so they could be tipped over at each plant and direct the water to the base, while we were also working on the cardboard part.

This morning started out super foggy. This is a view of the paddock that I opened for the sheep yesterday. They have eaten or trampled most but will have one more day here.

This is one of smallest plants we put in Friday. It is a Western Redbud, which is not a small plant when it has grown up, but right now it’s only a couple of inches.

This is another redbud, marked with the blue flag, yarrow, and deer grass.

Some of the cardboard was cut in strips and positioned in a triangle around individual plants. These three were close enough that I cut holes in two larger pieces to provide the first layer of mulch. We had put straw around all the plants on Friday, but today we moved that to add the cardboard.

Where did we find enough cardboard? I thought that I might have to buy some. There was a box of science fair boards left over from Dan’s years teaching seventh grade science. And there are a lot of boxes I have saved because you never know when you’ll need a box! I do use a lot of boxes for shipping wool, etc, but I don’t think I’ll need any of these larger boxes or odd shaped ones for the rest of the year. Raquel and I cut them apart and stripped off all the tape and plastic labels.

We used the cardboard strips around the plants or cut holes in larger pieces. That blue barrel is what we filled with water from the hose near the house.

Raquel made trips with jugs of water. We let them drip while we continued with cardboard.

Almost finished!

We covered all the cardboard with more straw. The project is still not finished. You can’t tell from the photo but there are 19 plants without cardboard and about that many that didn’t get water today. That will be tomorrow’s project for me.