
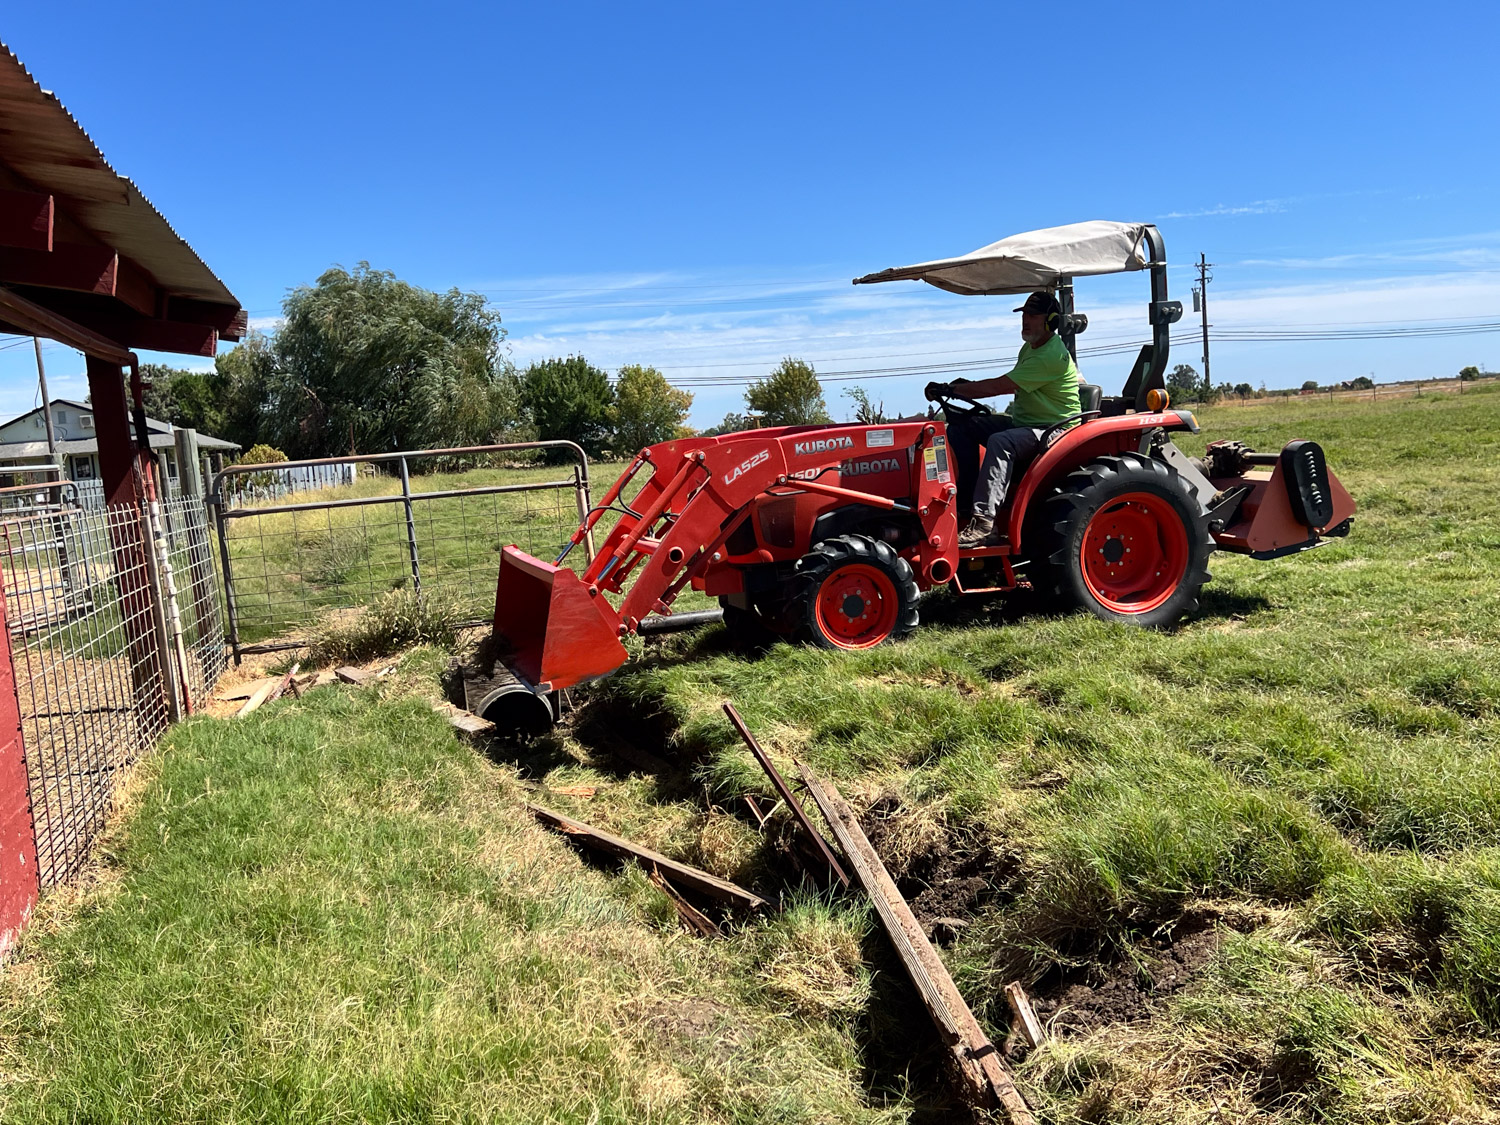
I left the last post knowing that the irrigation would not be finished by the time the water was shut off Tuesday afternoon. I was able to have the water start again at 6 a.m. I waited for the ditch and pipeline to fill again and went out about 7:30 a.m.
I could tell right away that there was more water flowing in–it had already progressed farther down the checks where the valves were still open than the previous day. The following are the notes I took on my phone that morning. The numbers refer to how far down the field the water is for each check.
7:45 a.m.
13 is 1/2, 14 and 15 are 2/3, 16 is 1/4, 17 and 18 are 2/3, 19 is 1/2
9:20 a.m. 13 and 14 almost finished. 15 over 3/4. 16 is 2/3. 17 and 18 are over 3/4. 19 is 3/4. 20 is 2/3
9:40 a.m. 13 finished. Closed. Opened 21 and 6-7-8
I had to go to Davis and didn’t get back until 12:30
12:30 p.m. 15-16-17-18-19-20 finished. 21 is close to end.
Now only 21 and 6-7-8 were on. Closed 8. 7 is 1/2. 6 is 3/4. Both of these were flowing backwards into the lane a lot.
The last note is about 21, 6, 7, and 8. Valve 21 was the last one I opened. I had closed 6, 7, and 8 because the water wasn’t flowing enough there and I wanted to make sure all the rest got enough water. It was only after the water was flowing so well and everything else was finished I opened those again.
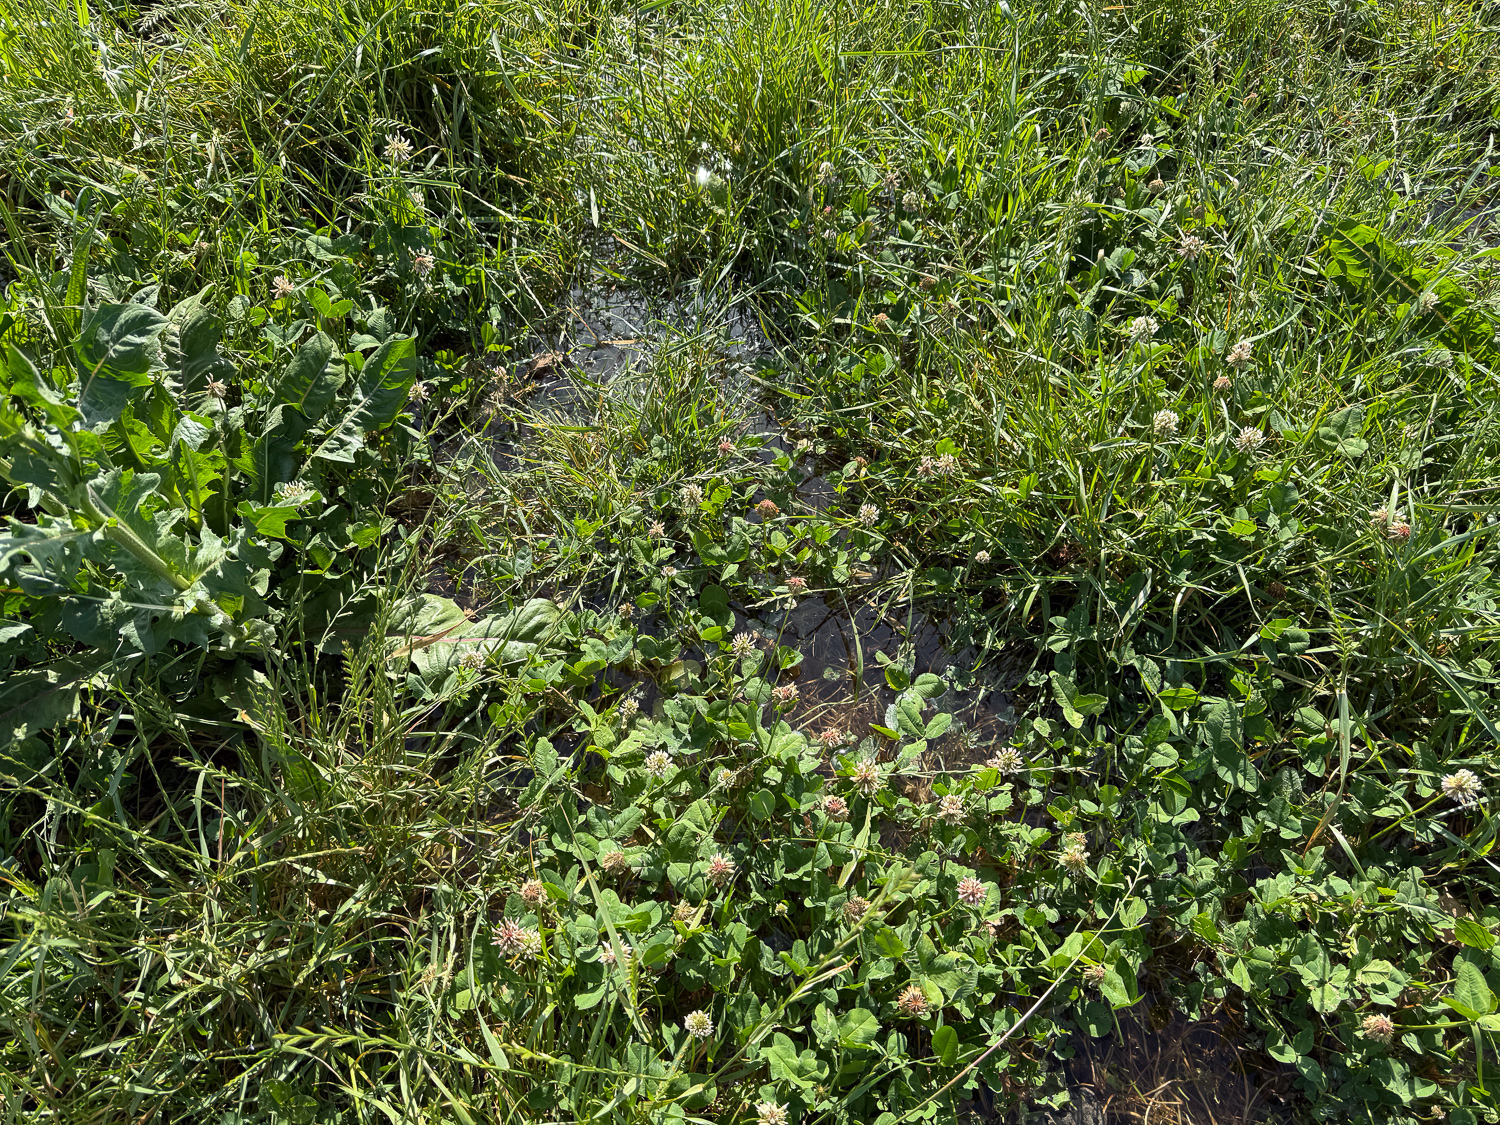
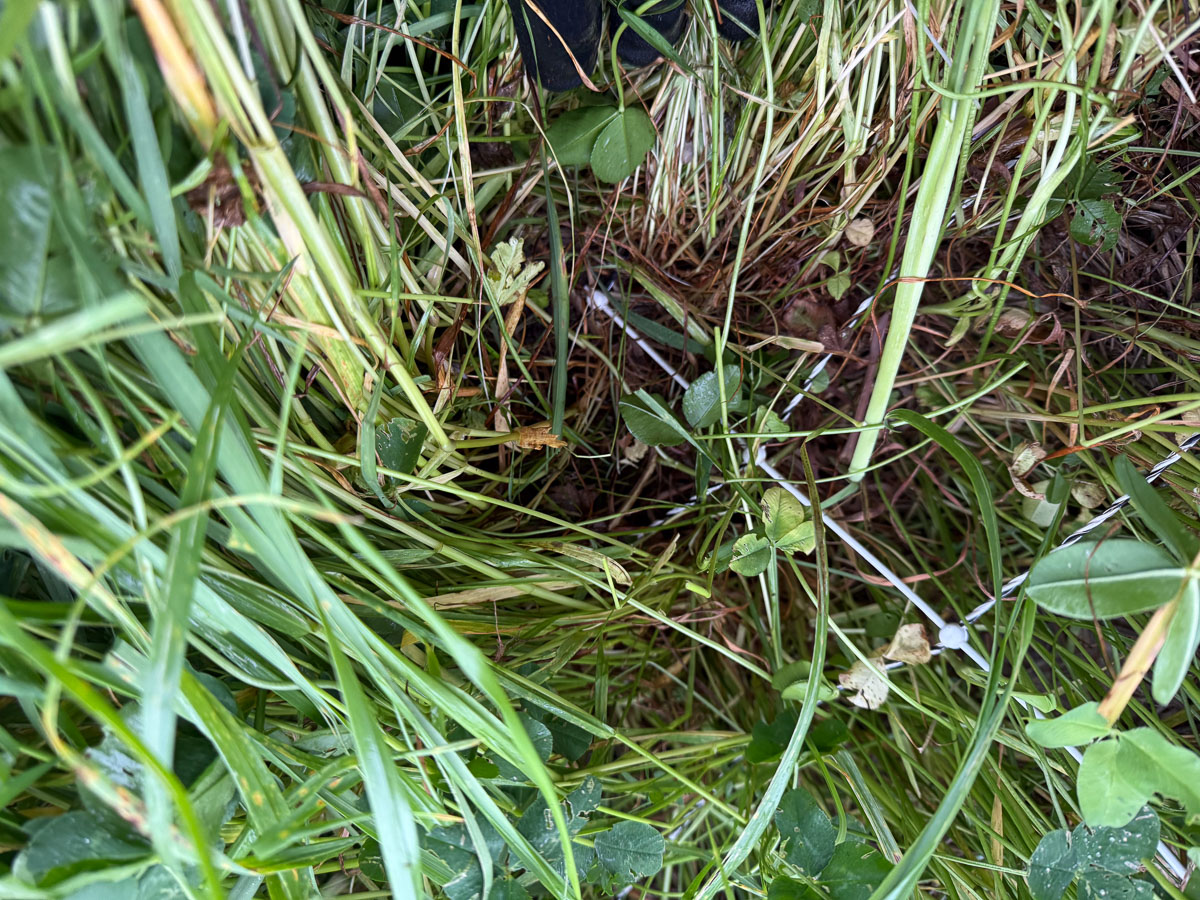
I took this photo in a place where I could actually see the water. Many times I can’t see it because the forage is so thick or tall. In that case I can tell if it’s wet because I can hear the water splashing where I’m walking. I recorded a video to share that, but I can’t upload it here.
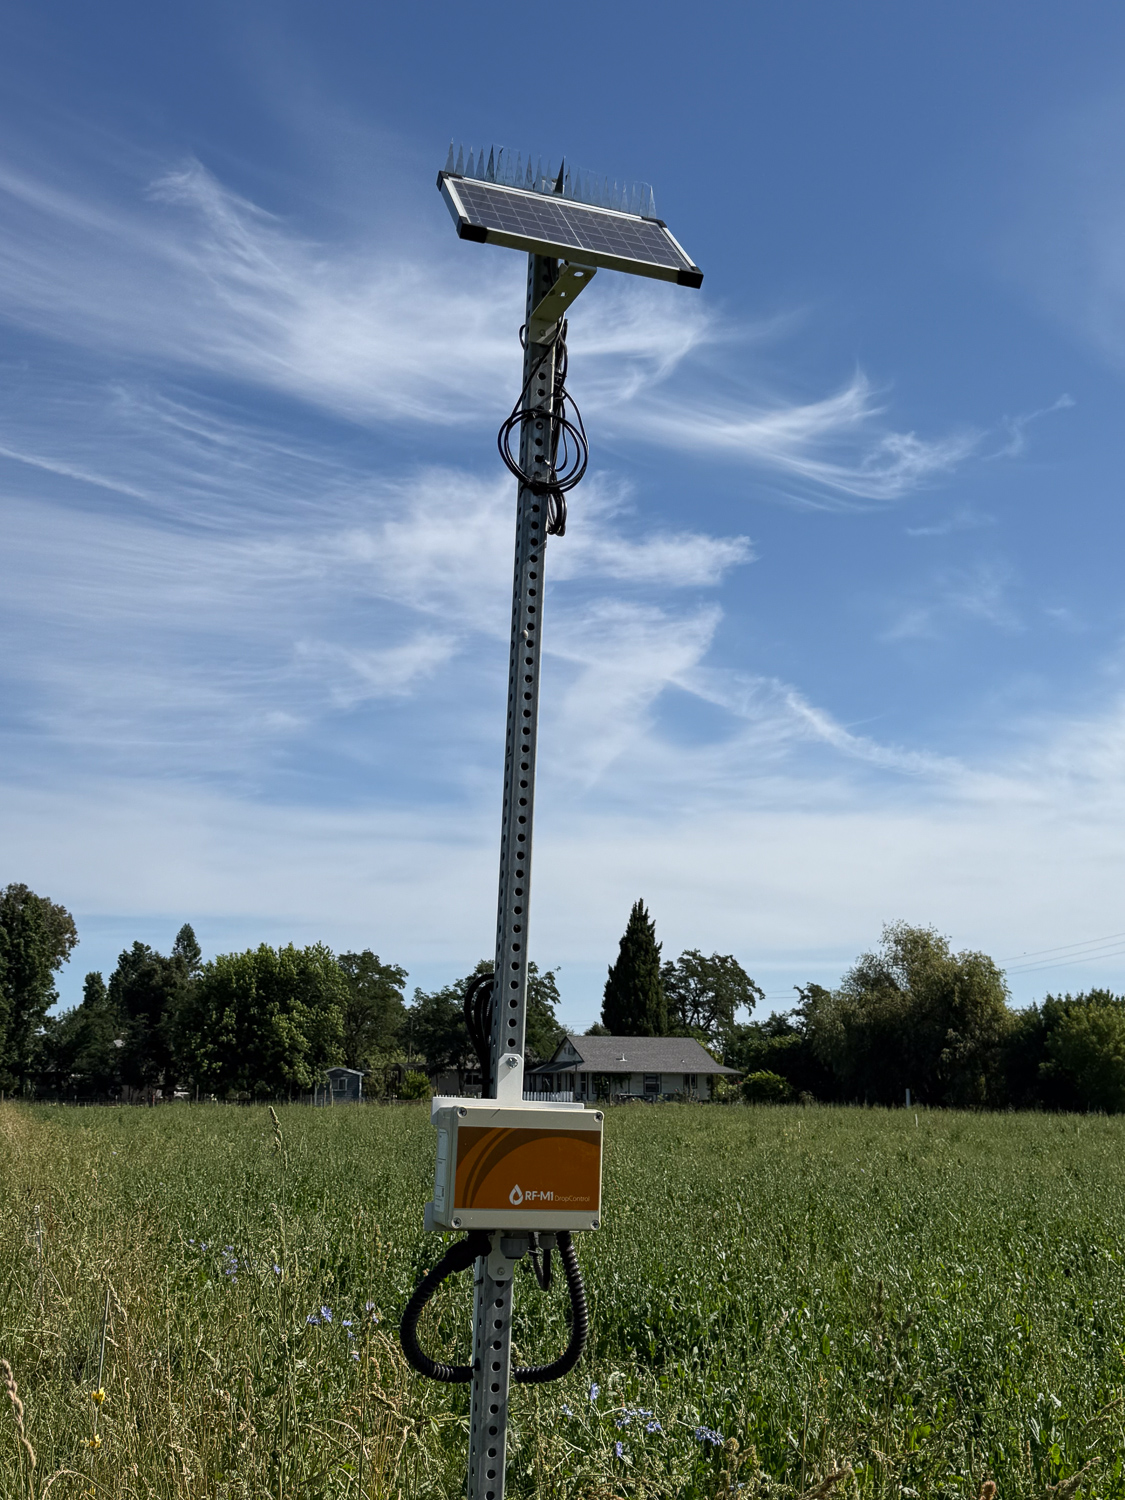
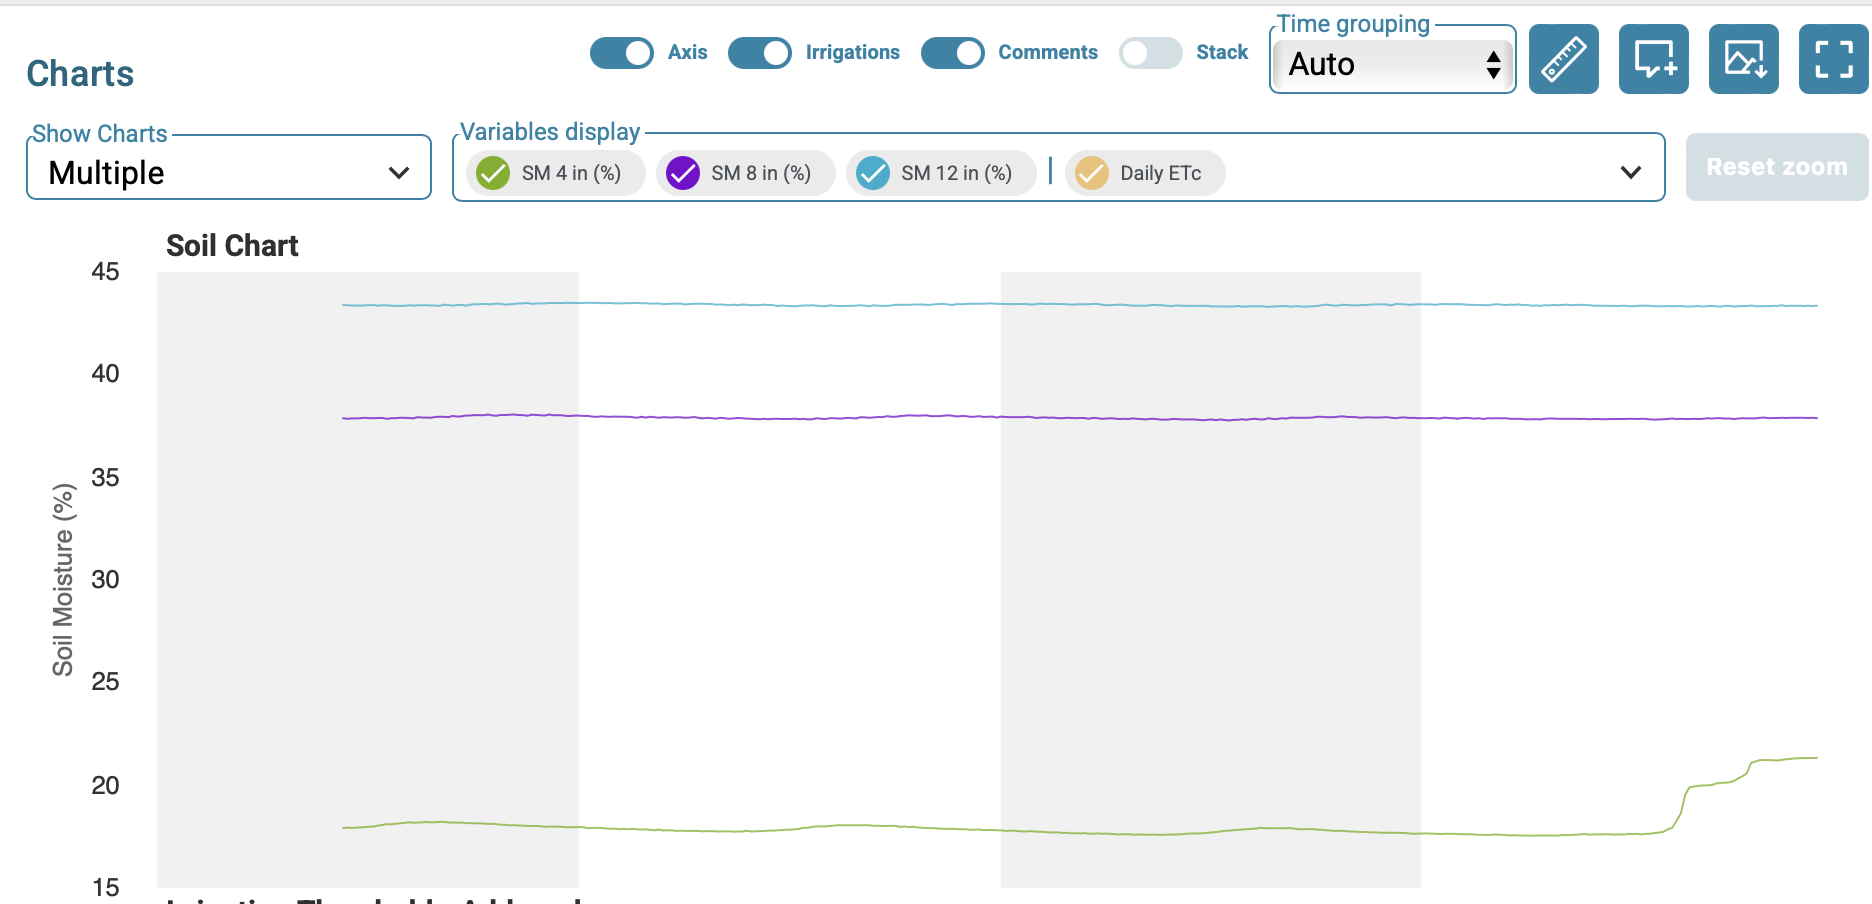
This is what the soil moisture sensor looks like. I get the graph on my computer or my phone.
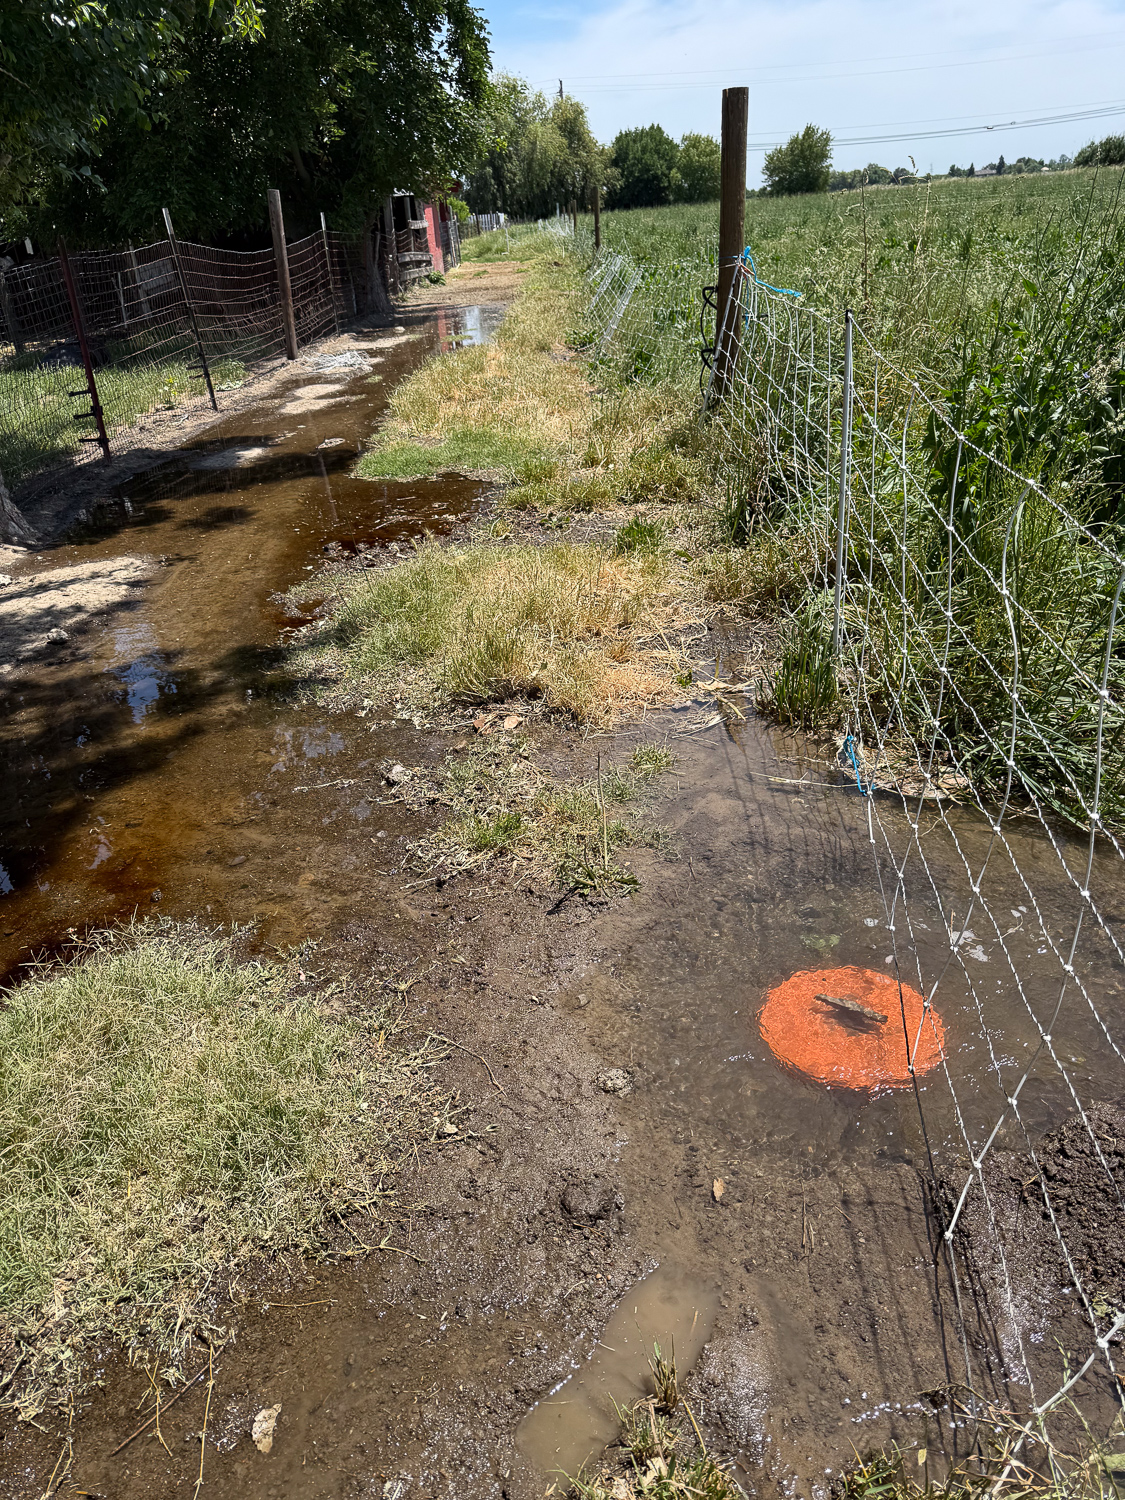
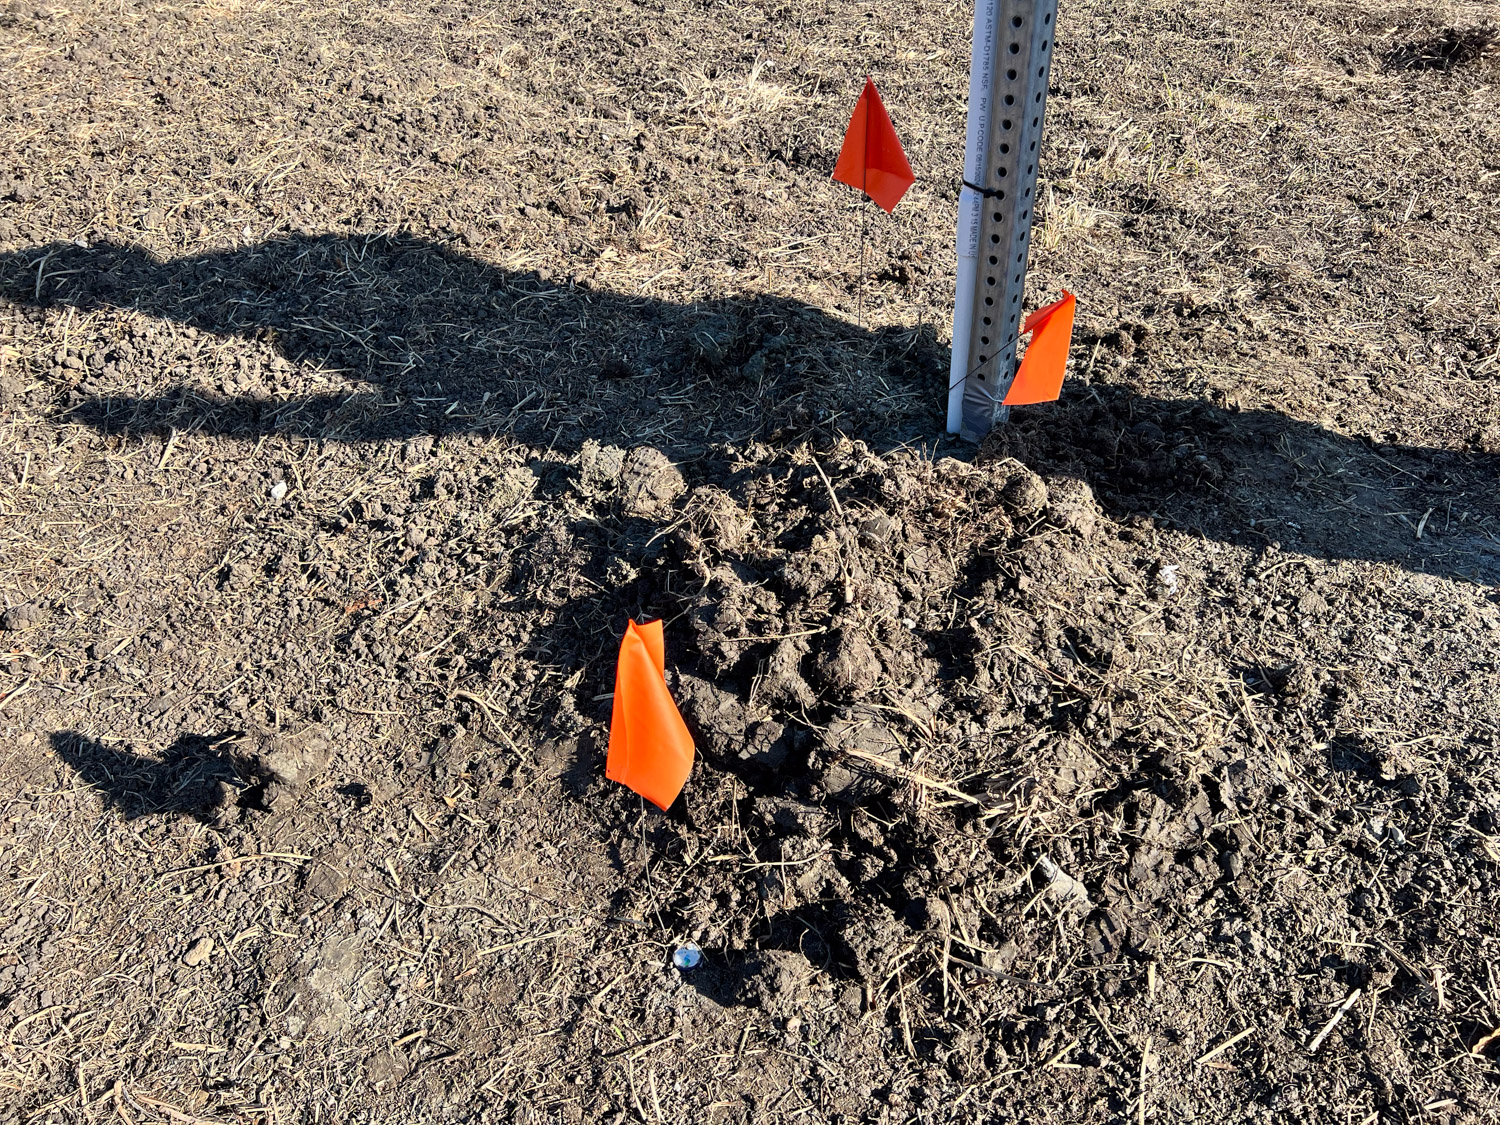
This is what I meant by #7 and #8 flowing backwards. It took only a couple of minutes for the lane to be flooded. Before we irrigate next time we’ll have to pile dirt around those valves.
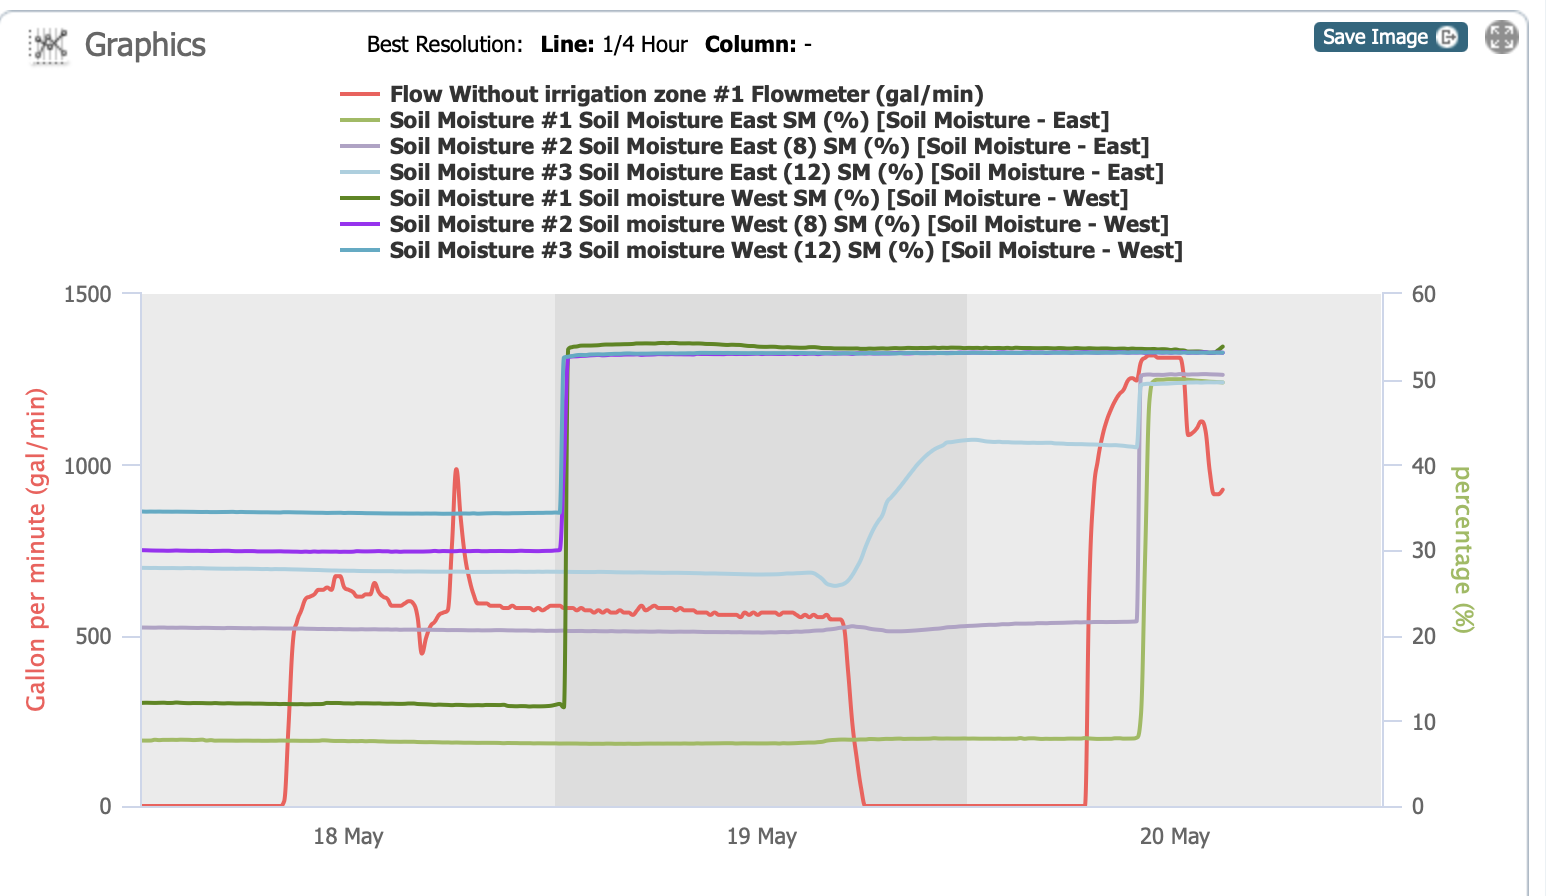
The red line on the graph below shows that the amount of water was more than twice what I had the previous day. It also shows that the other soil moisture sensor finally measured water. I see an anomaly–that faint blue line that rises as the water is shut off the first time. I think the timing is coincidence, but it shows underground flow that activates that 12″ deep sensor on the east. Flowing through gopher holes?
There is a lot to think about before the next irrigation.
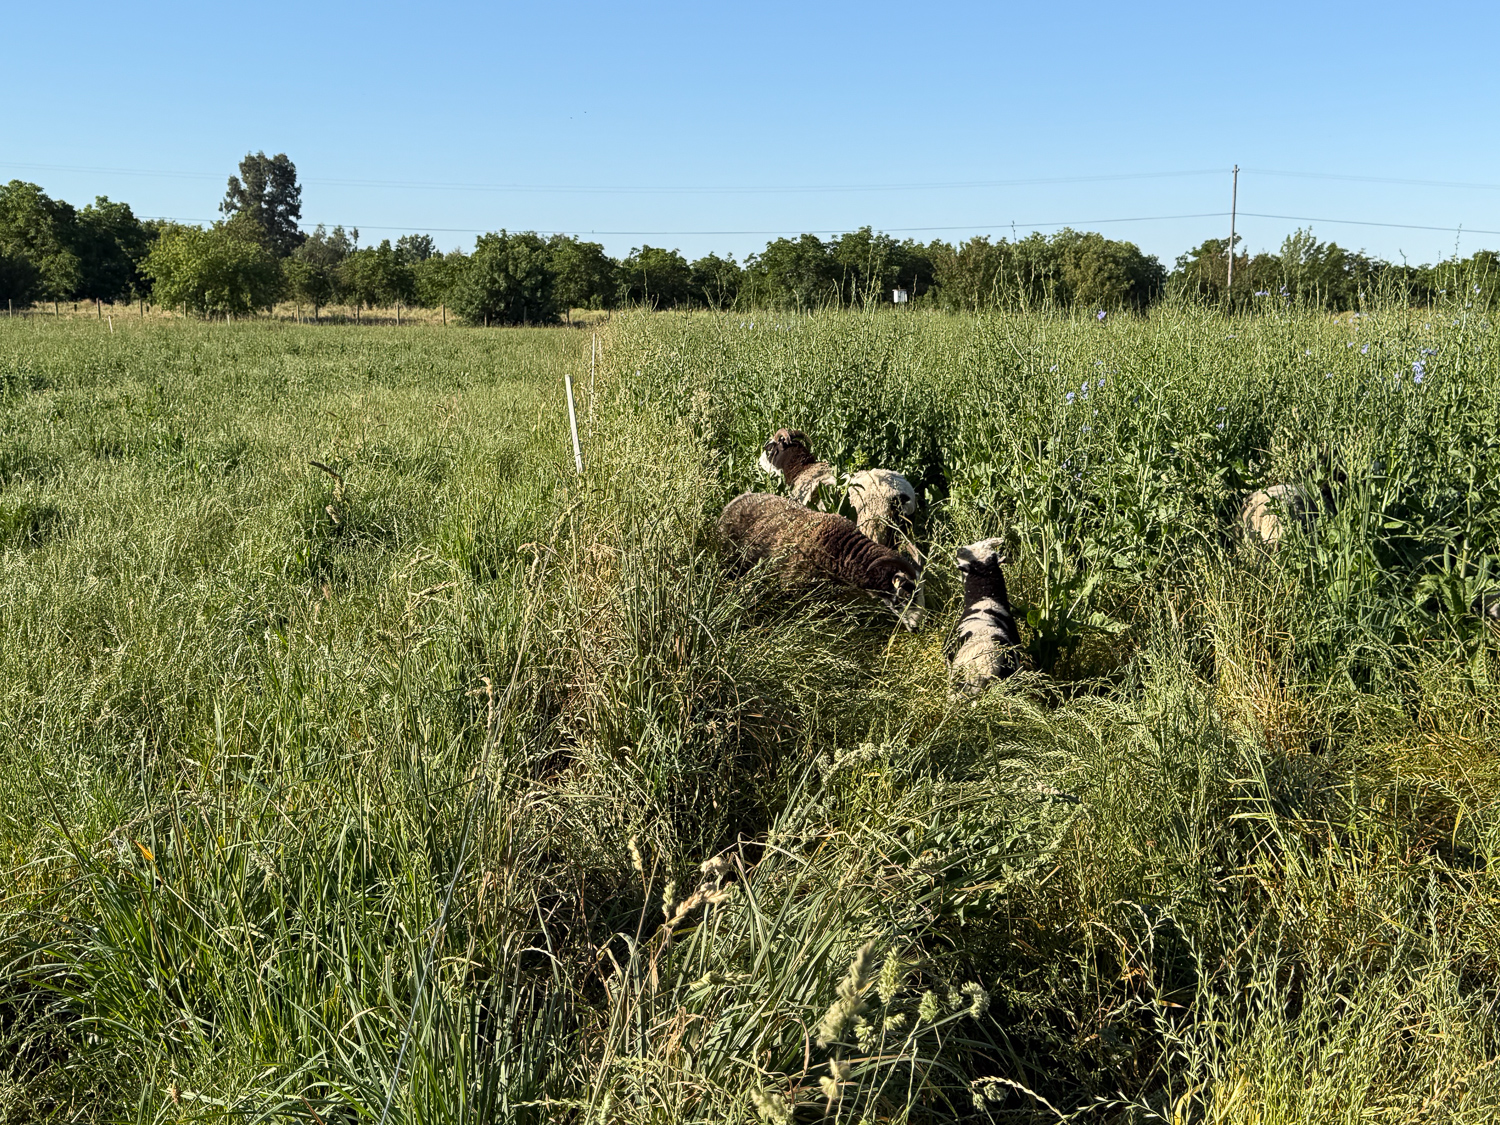
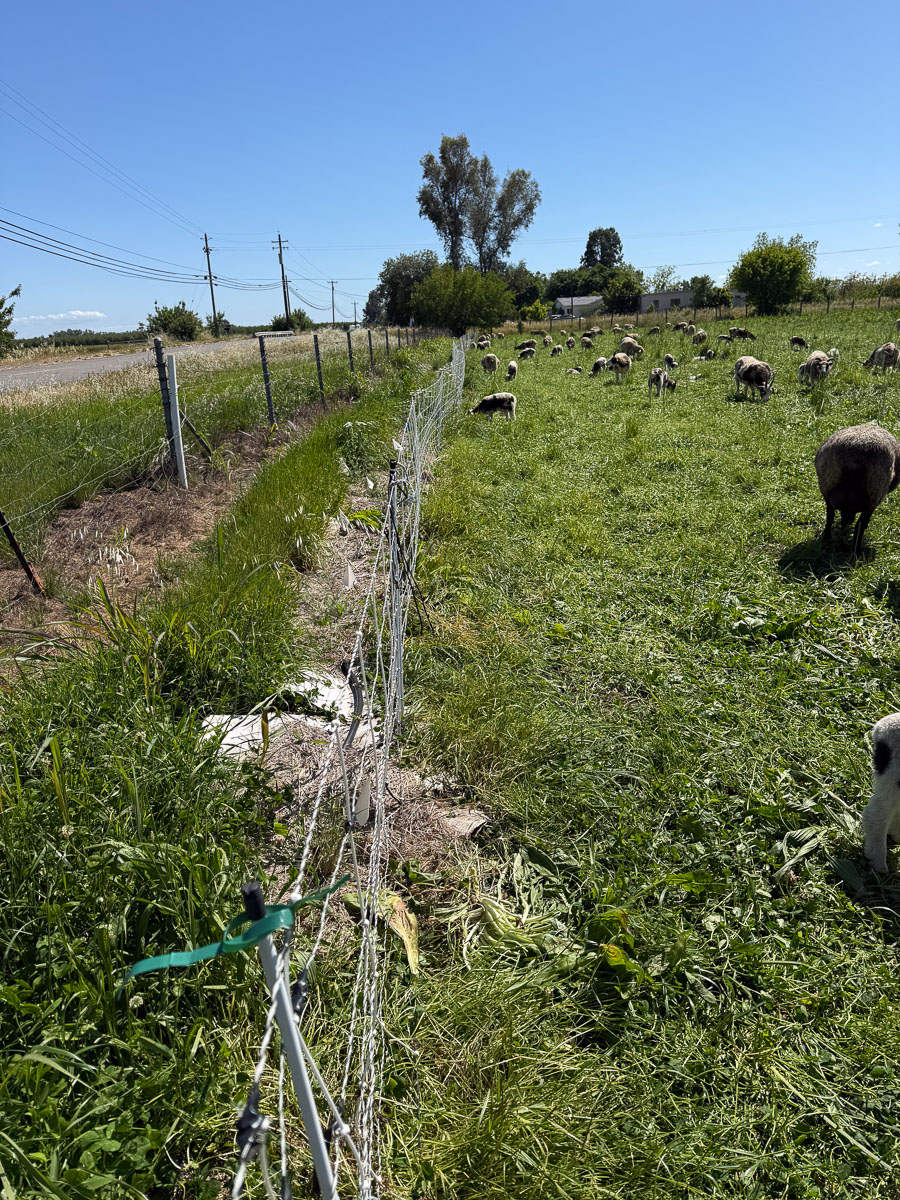
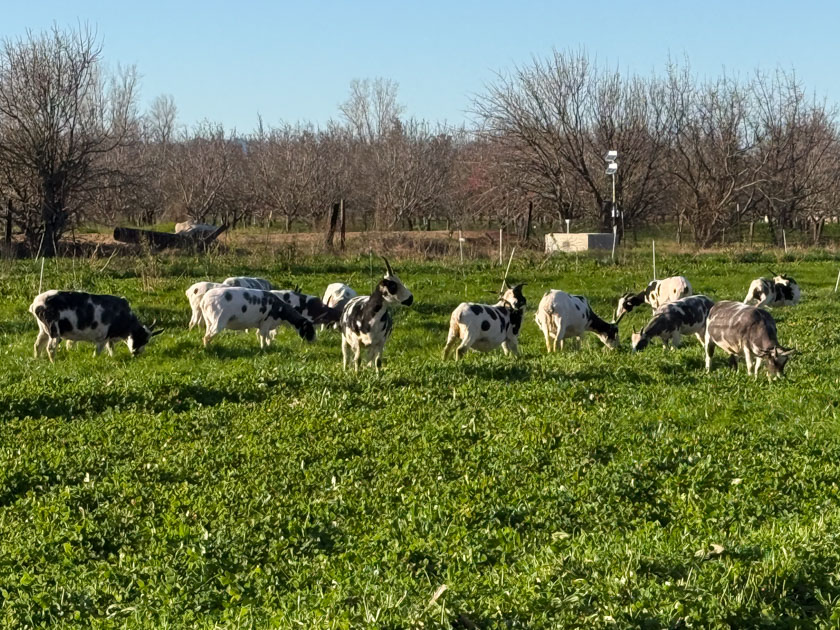
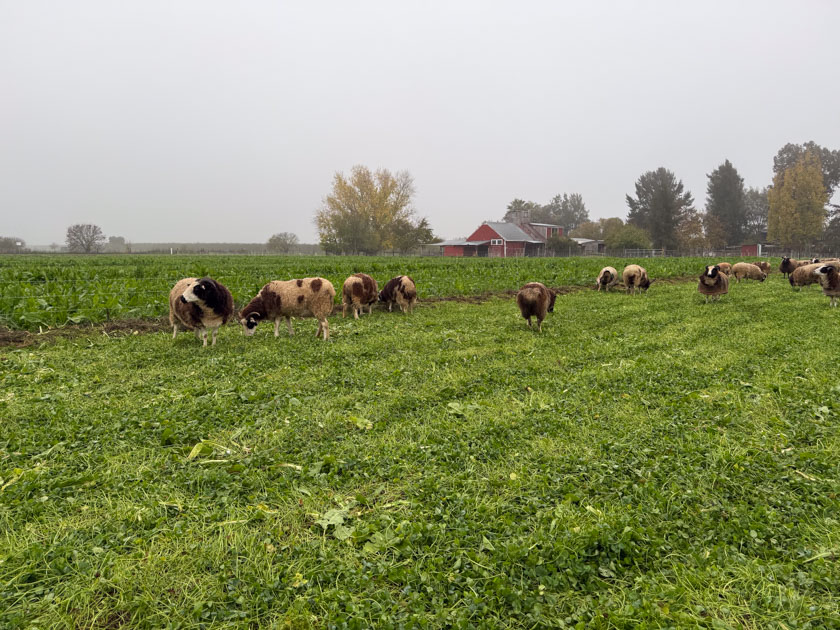
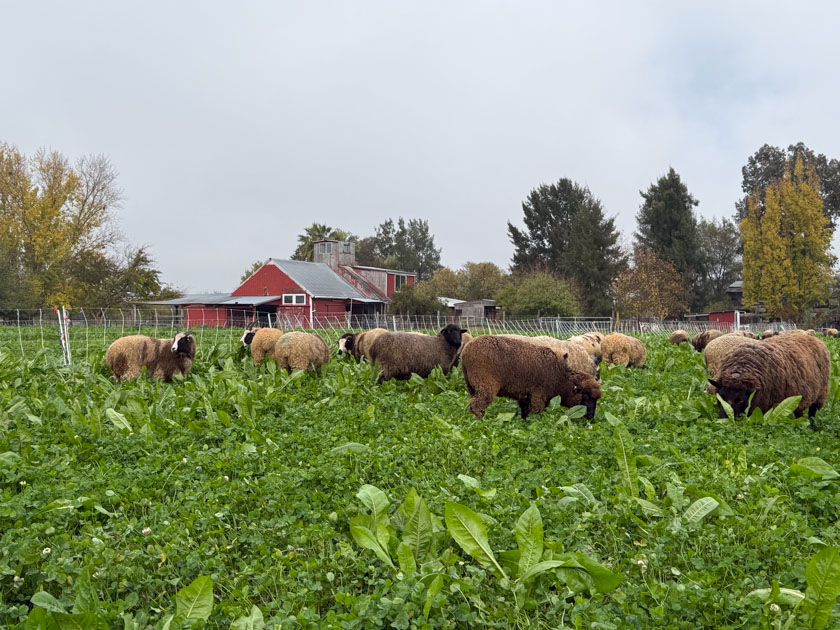
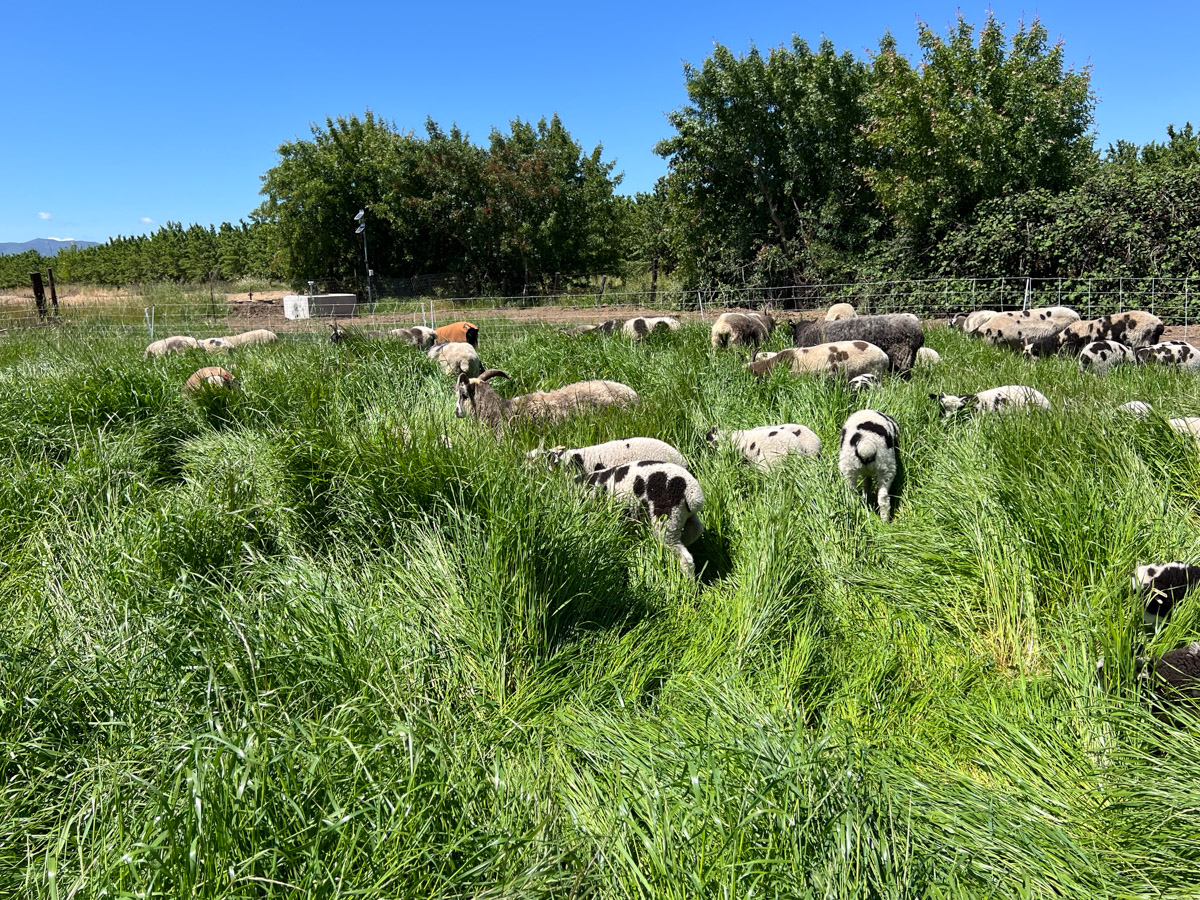
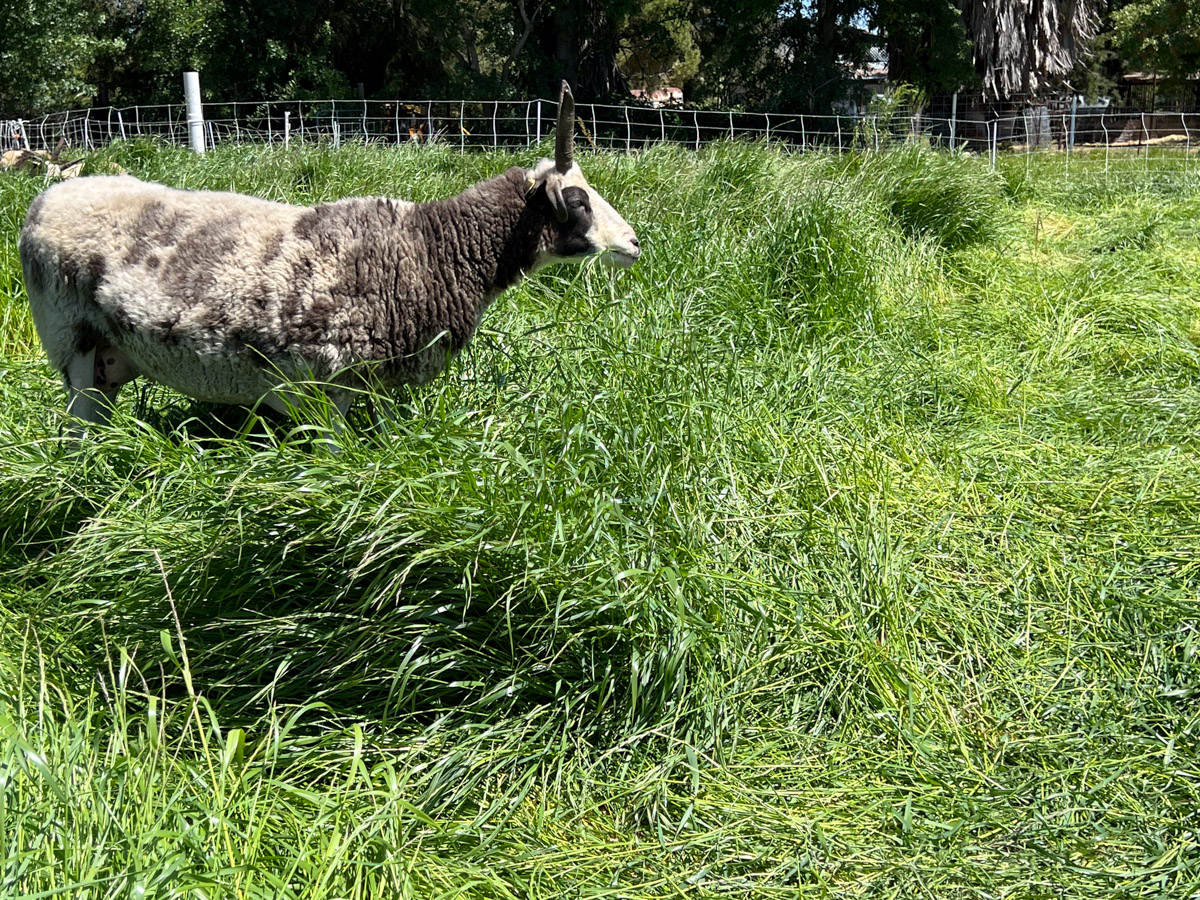
I turned the sheep out this morning. The paddock on the left was last grazed May 1. The sheep moved to the north paddocks after that and then moved from west to east. The one on the right hadn’t been grazed since March 29. The whole flock is out there, but you can’t see them because they are in a jungle of chicory.


 Zorra had plenty of cuddling while she was still in the lambing area with her mom. Lisa is a lamb cuddling Pro.
 This is pet sheep Jade’s lamb (and me).
 This is her again being held by Peggy. We’d really like her to be friendly too.
 This is Zorra again with Sumi.
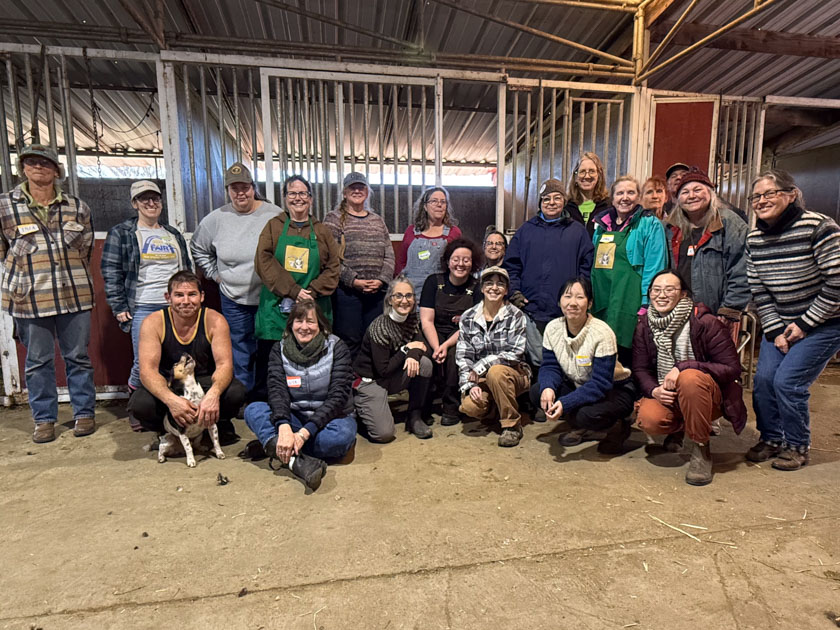
 As the lambs get a little older we have other Farm Days. This was Betsy’s first day on the farm and she jumpred right in holding lambs as we ear tagged and castrated.
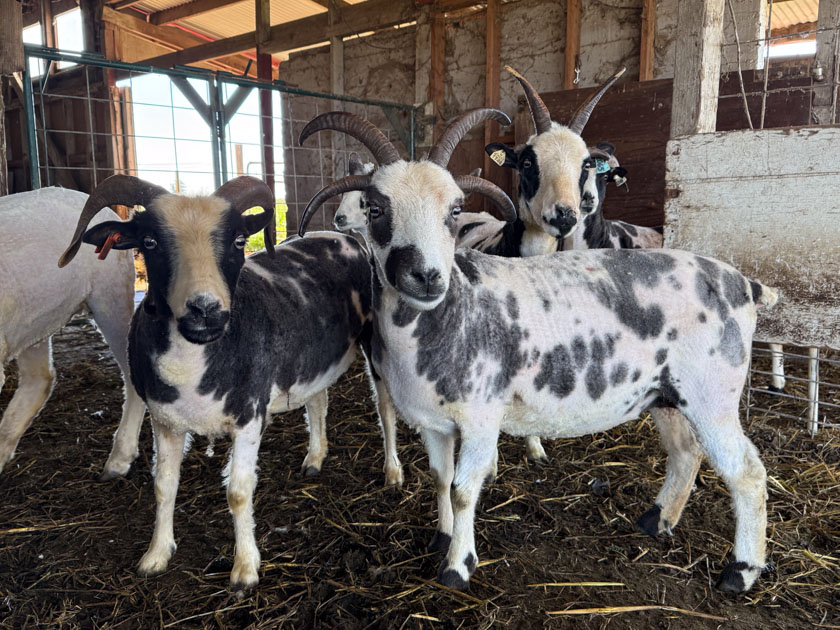
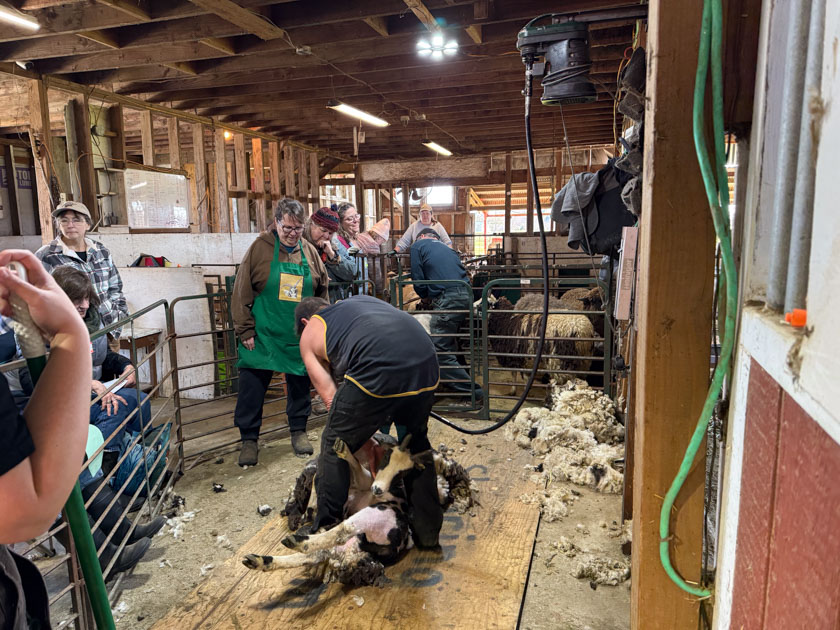
  I don’t castrate many because it’s hard to know how they will grow out and which might be a great flock sire for someone. Some are easy though–too much or too little color to fit within the 15-85% breed standard. This one’s horns are already touching at the base under that hair. As the horns grow they will fuse and not grow well separately.
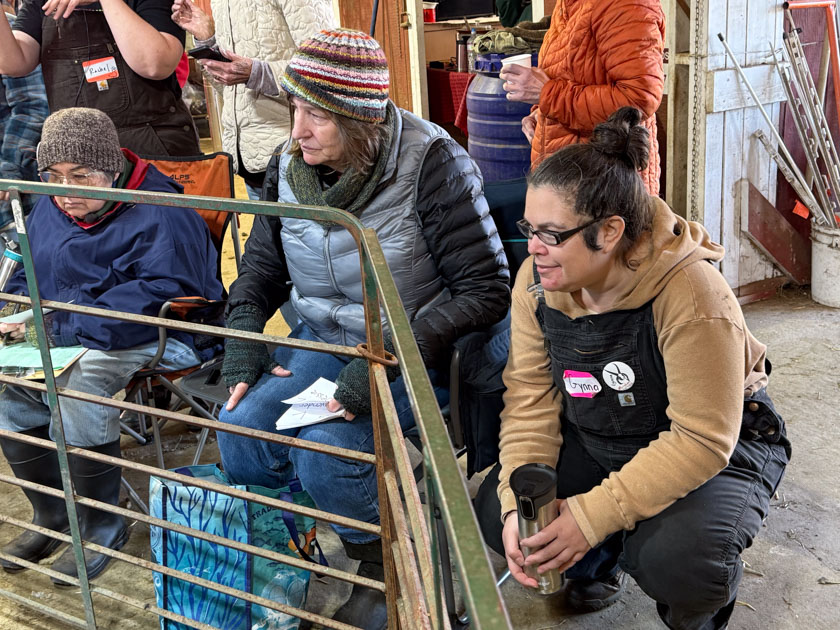
 Marina and Maggie (no photo) helped catch lambs too and Mary handled the clipboard. The lambs were all tagged with their white ID tags right after they were born but we put added a colored tag on Farm Day. I like to use a second tag for back-up ID if the first one falls out and also to color code the sire. It’s interesting to keep track of that and it also helps to find a lamb when you’re looking for one among 75. You can narrow it down some if you have a color to look for.
 This year Cayenne’s lambs got orange tags. Pink tags go in all the lambs that have been castrated.
 Green means these are Buster’s lambs.
 Blue was for Catalyst.
 Peyton’s lambs are obvious so don’t need an extra tag.
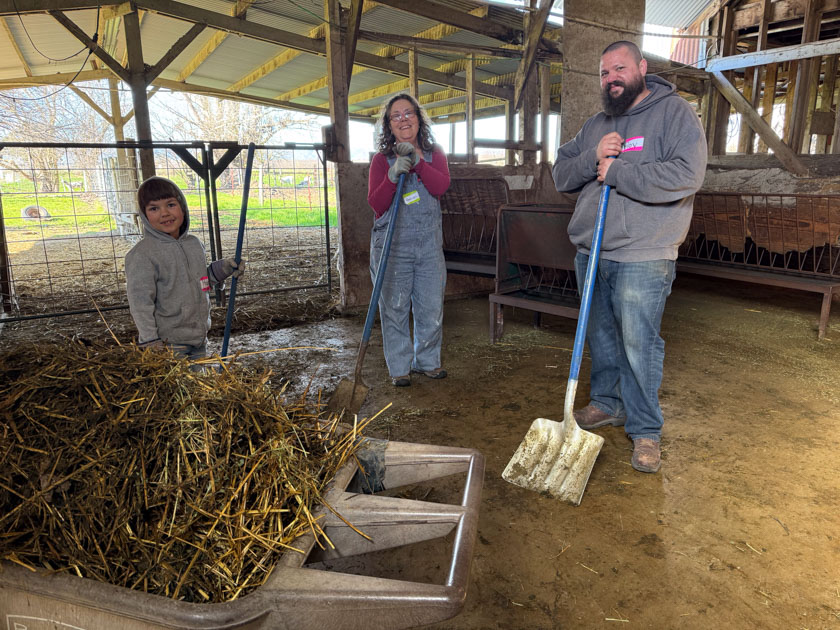
 After we tagged all the lambs Marina and Betsy stayed to help me set up the pasture for the sheep. I had put the sheep out for a few days but hadn’t cleaned and moved the water trough.
 We walked around the pasture and took stock of things. I always point out the issue that I have with the dallisgrass that is out of control. That’s what all that dry grass is. I’d much rather see green grass growing. The whole pasture was looking somewhat dismal from a growth standpoint. At this point we had just had March rain after two very dry and cold months. I wasn’t seeing much growth–at least not enough to feed 55 ewes and 75 lambs.
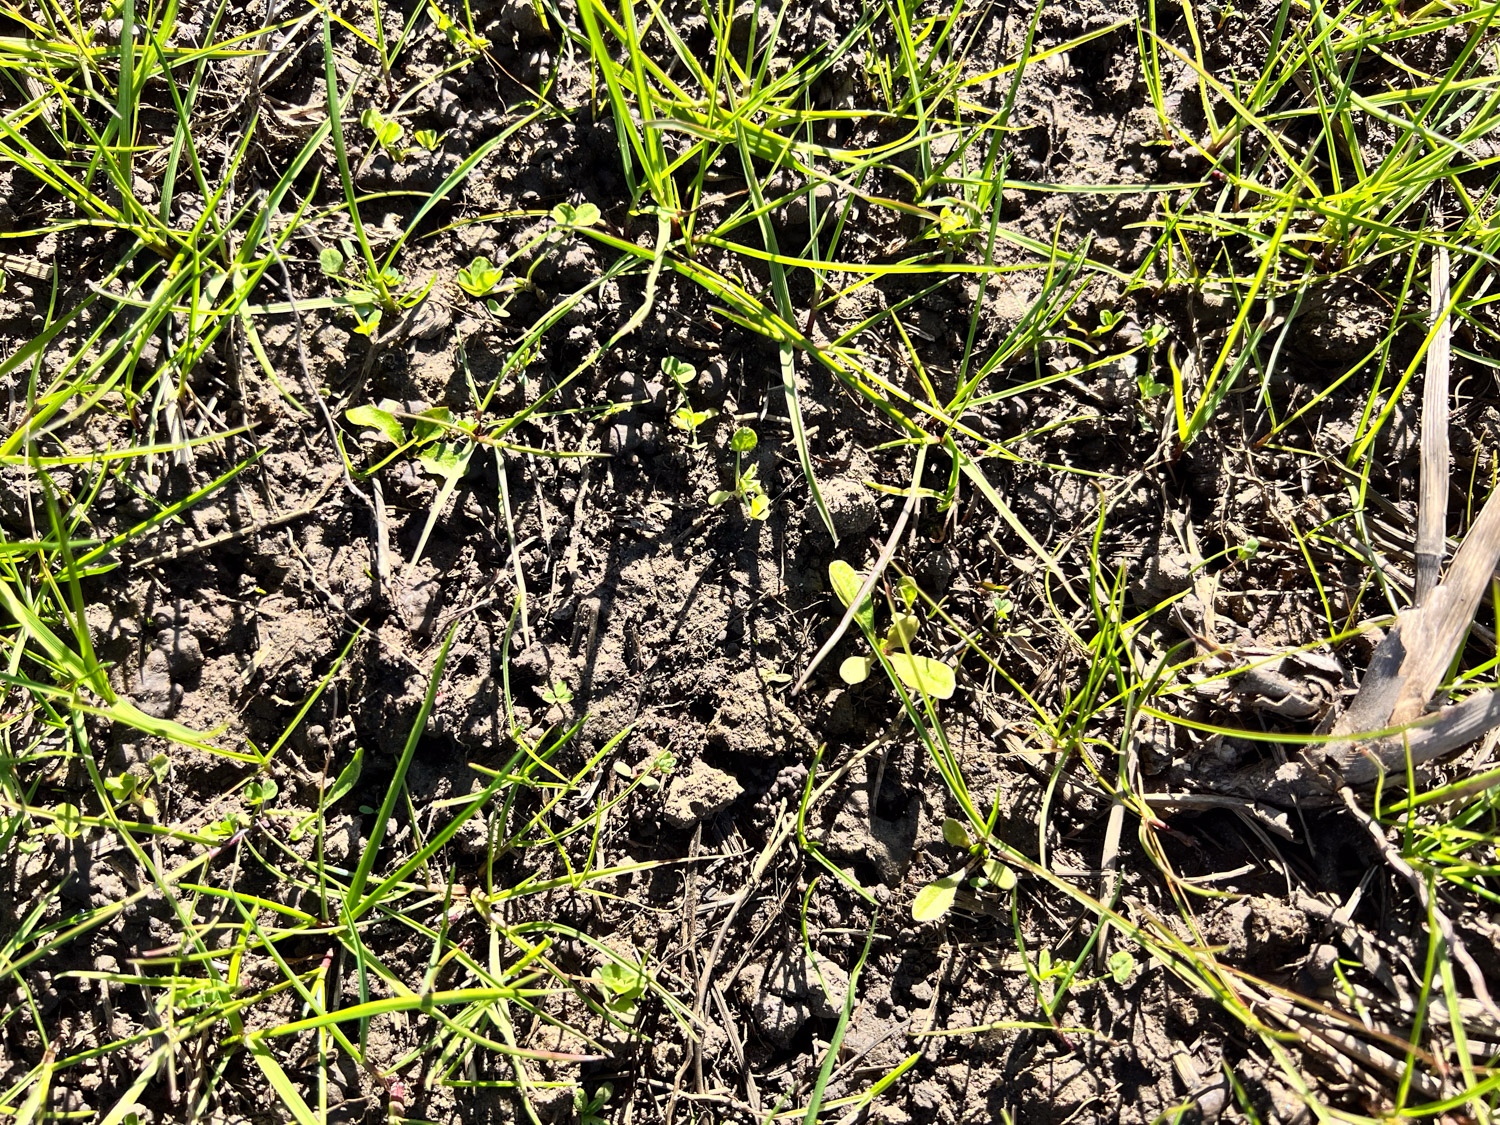
  We spotted this grass that I don’t recognize.
 I took photos to send to a friend of Marina’s who she think might recognize it.