
Yesterday’s post was all about vibrant orange of Cosmos! Today it’s Hollyhocks. Guess what color the deep purple, almost black hollyhocks give to yarn!

This is the traditional hollyhock I have grown for a long time.

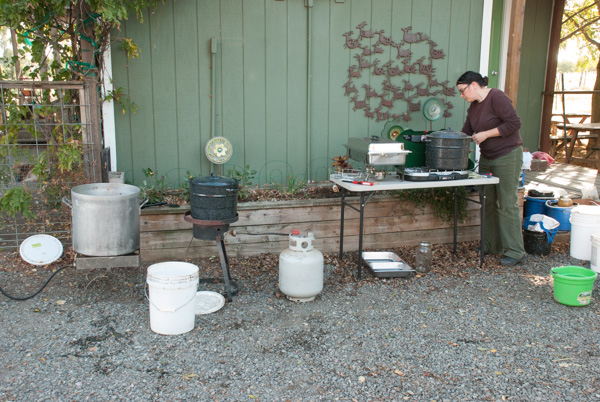
This year two friends gave me a few hollyhocks that look like this. Even the leaves are different. I’ve been calling these “frilly” to differentiate the two batches. These were started later so didn’t flower until later in the season. I’ll get back to this.
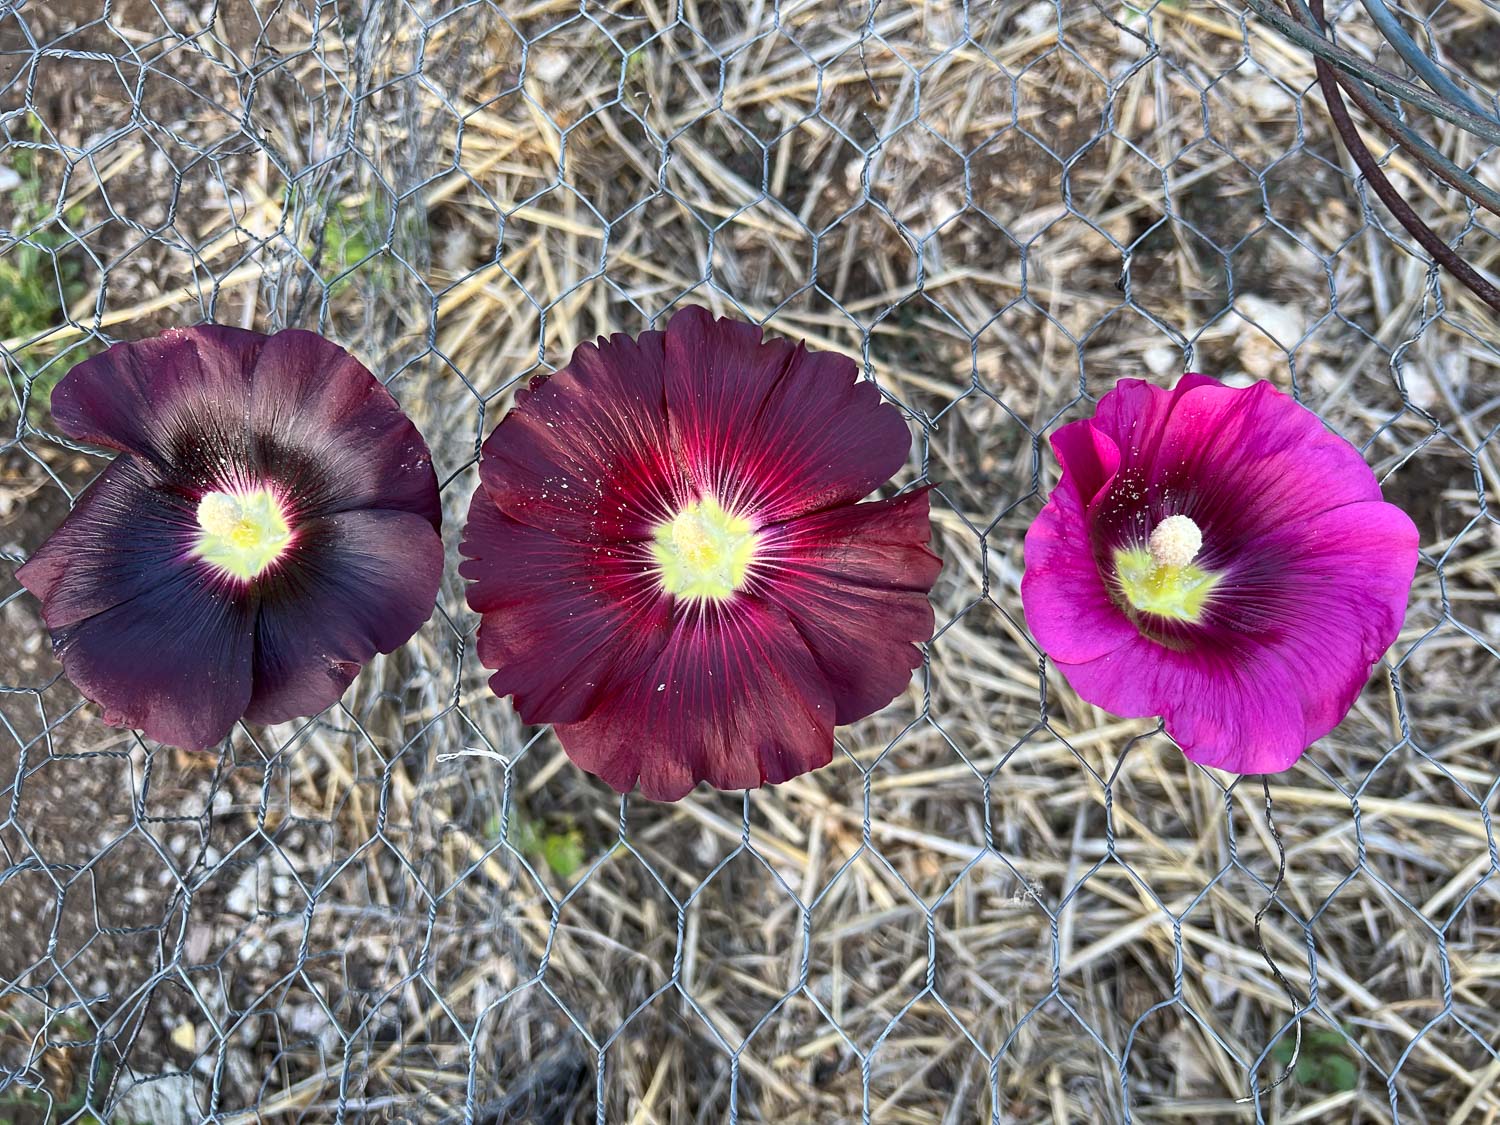
Before the frilly flowers were blooming I was paying attention to the hollyhocks growing in the front dye garden. These hollyhocks had come back from last year’s plants or had grown from seed dropped from the previous year. I didn’t pay much attention at first, but it became obvious that the flowers were not all the same color. It’s known that its the dark purple, almost black flowers that dye yarn. But I thought I’d experiment with the others.

I worked methodically to keep the dried flowers separate as they were ready to pick or had already fallen.

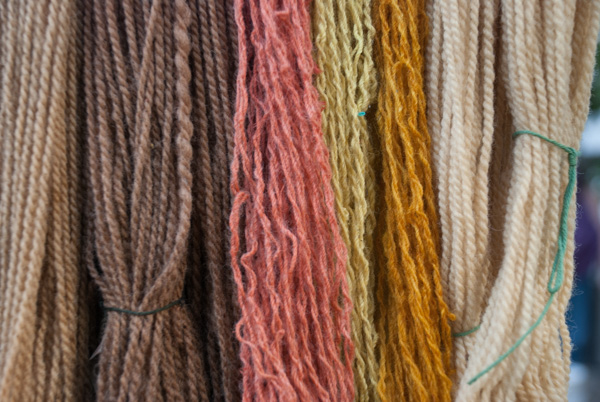
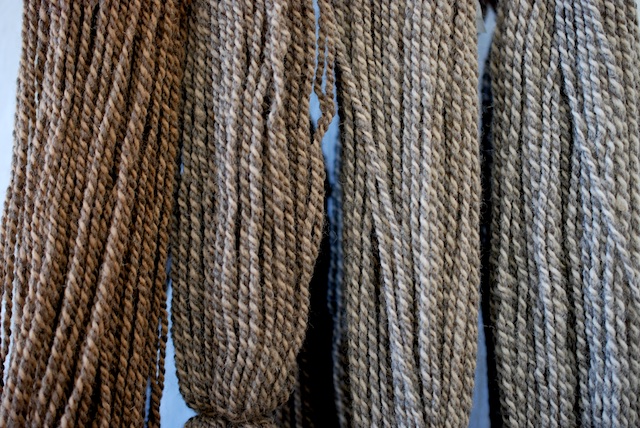
I dyed in four separate pots and got these colors.

Then I dyed another four pots. This photo shows yarn from the first batch and the second. The shades are close, but not exactly the same.

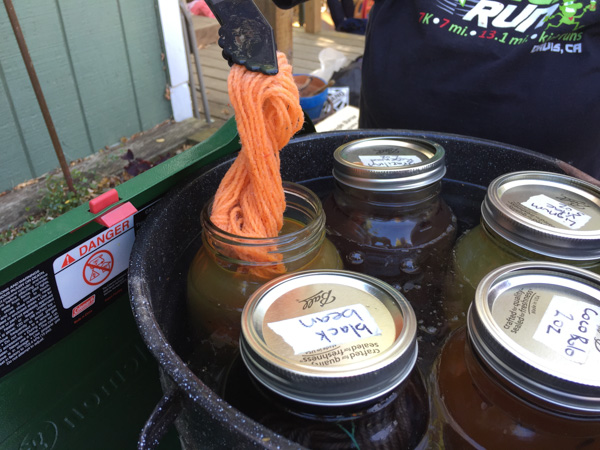
Now to the frilly flowers. Would there be a difference? As I did with the Cosmos I figured out weight in grams to use to dye 4 ounces of yarn. I based this calculation on the recipe in Harvesting Color by Rebecca Burgess. She suggests 20 flowers for 2-1/2 ounces of yarn and that recipe has worked well for me. I get a strong dye and there is enough color left to dye another yarn in the same pot. I calculated how many flowers I would need for four ounces and the weight of the flowers when dry. Yes, I counted flowers as I harvested and then weighed them after they were dry.

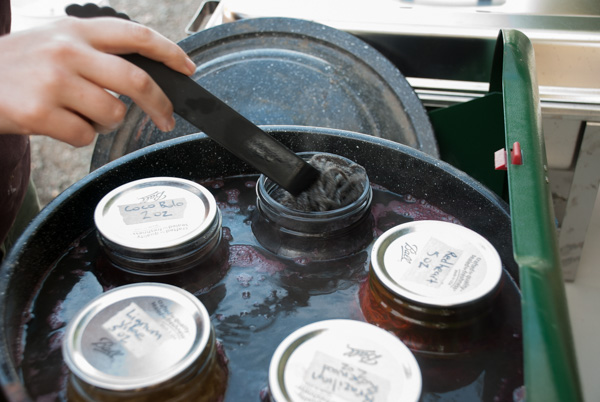
These are handy pots for small batches of dye. Notice the one on the left says R. Pratt 308. That was my dad and his lab was room 308 at UCSF Medical Center back in the 50’s and 60s. These are stainless steel and I use them all the time for my fiber activities.
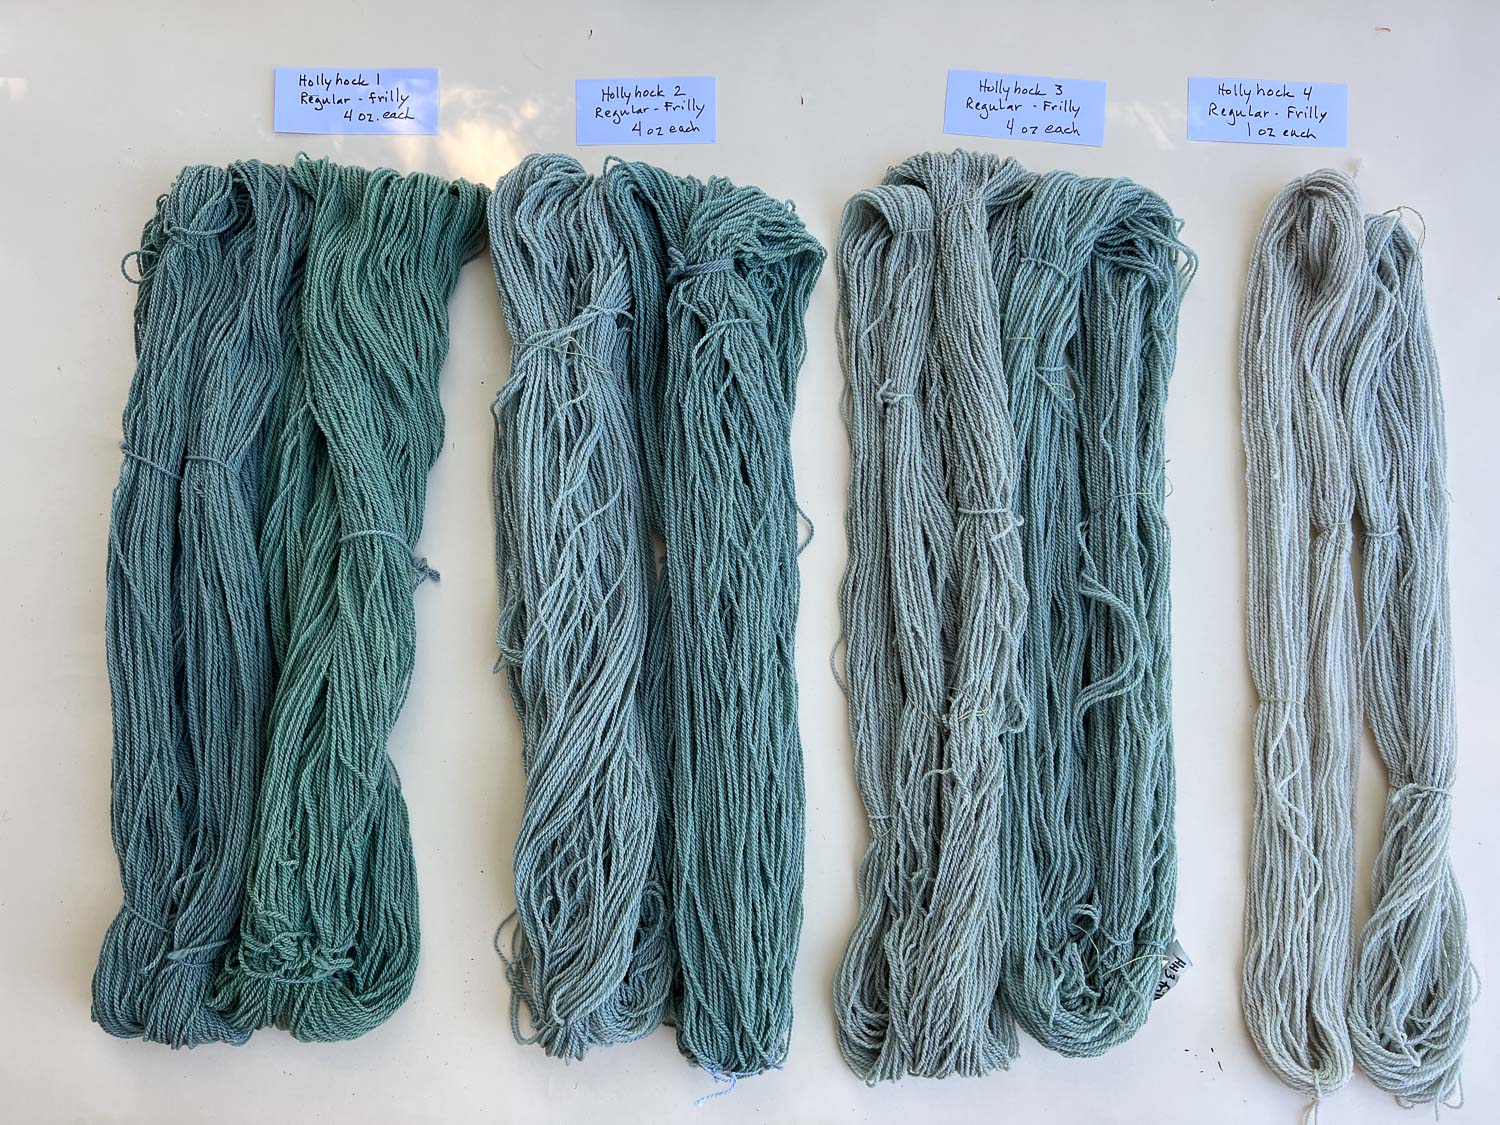
Here are the results. I used these dye pots four times. The color lessened each time, but there was plenty of dye left until I got to the fourth time. The first three times I put four ounces in each pot. It was only at the last one that I put in just one ounce. There is a bit of difference in the regular and frilly flowers, but I don’t know that it would be repeatable. I think there is enough variation among different batches that I wouldn’t say it’s due to the frilly versus regular flowers.

Before I dyed the frilly/regular samples I had run a similar test with successive batches of yarn. The first pair here was putting a gray skein and a white skein in the same pot.

Here is some of the yarn listed on my website.

Now I also have the dried flowers ready to sell.
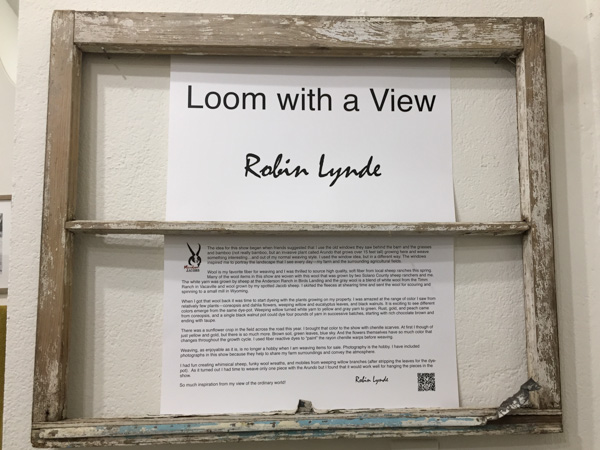 As I said in one of the previous posts this theme started with the idea of using the old windows that were around here. As you enter the gallery you see the title and the Artist’s Statement. If you want to read that click here.
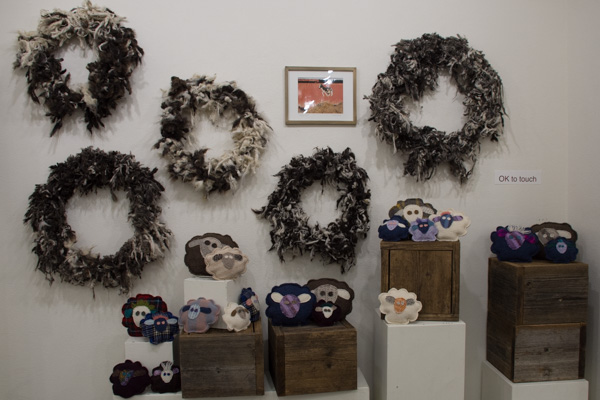 This is the wall to the right…
 …and these are some of the sheep.
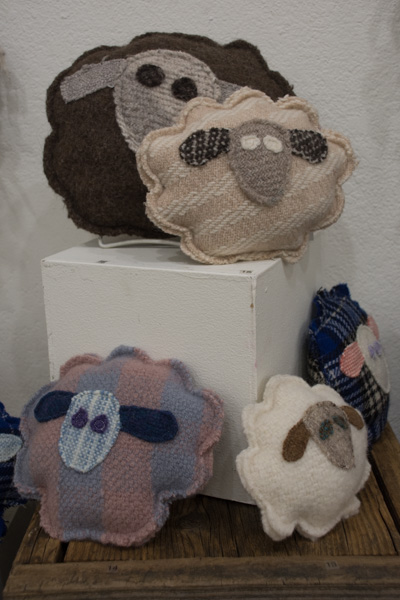 More sheep.
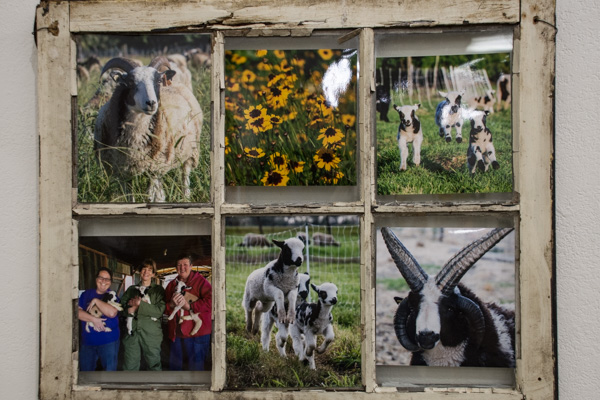 Continuing around the gallery there is this collection of photos. I used two of these six-pane windows to display photos and give a feel for the farm. These are not for sale because they are too rotten (people have asked) but some of the photos have been matted or framed and are for sale.
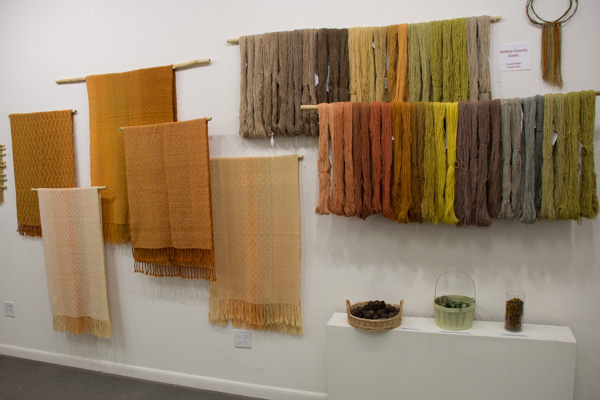 This is the Solano Colors wall and the yarns are the
 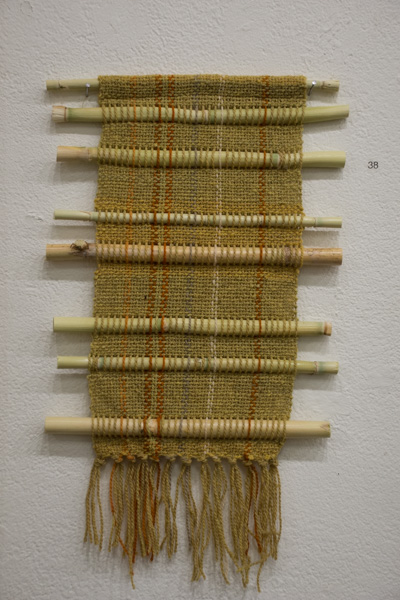 If you look at the previous photo again you’ll see that the shawls and the yarn are hanging on what looks like bamboo. I decided to use the Arundo (an invasive species that grows on our north border and had big hollow stalks like bamboo) for hanging the pieces in the show. It was in keeping with the rest of the props (stuff found on the farm), I have an infinite supply of it, I could cut it to any size, and it is free. The perfect solution! Originally I had planned to use the Arundo for weaving, but I just didn’t get to it. On the morning I was to set up the show I got up early with a lot on my mind. I got out the loom that I had already warped for this and I wove this piece. It inspires me to do more because I think it is very cool.
 Moving on around the room this is the next grouping. Those scarves were woven on a space-dyed warp that I dyed a few years ago and found in a box on the shelf. Do you see something hanging to the left?
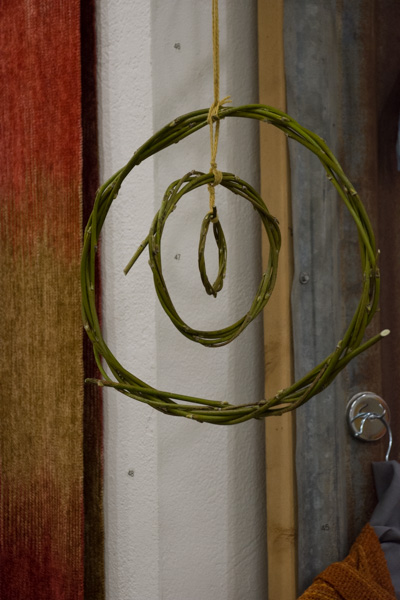 I wanted to do something interesting with the weeping willow branches after stripping the leaves for the dye pots. I tried weaving with them but I think I like this mobile best.
 The Sunflower wall is around the corner. These are rayon chenille scarves in the colors of the sunflower field that was Across the Road last summer. I didn’t just stick with the yellows and oranges of the flowers but included all the colors of the fields.
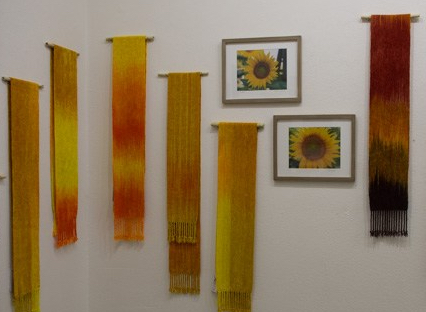 Here is a closer view of the flower scarves.
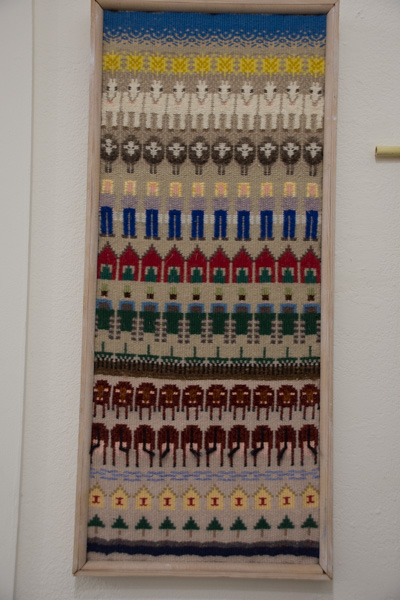 In addition to the window pane photo collage, I included this piece that is not for sale. I wove this years ago when we lived and worked on our family dairy.
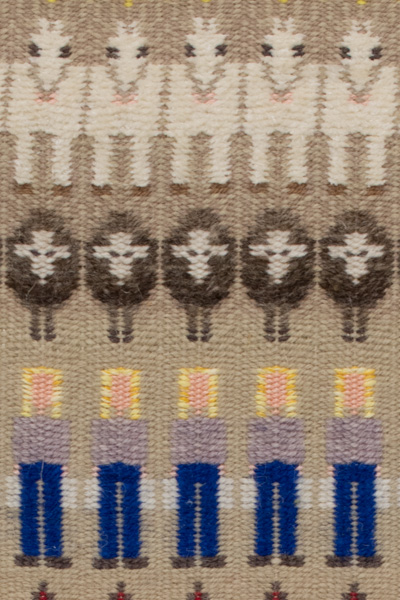 This close-up includes my daughter carrying milk buckets, my sheep, and our pony.
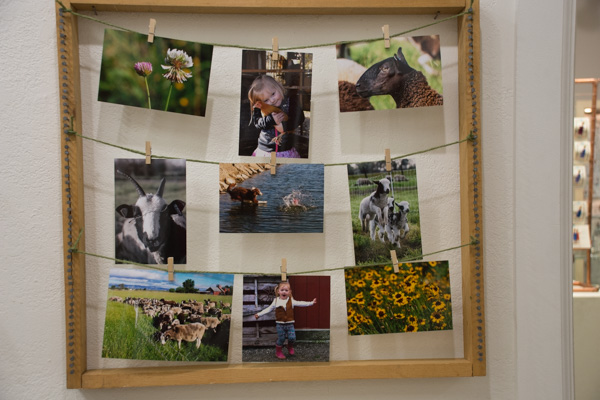 Here is another farm photo collection.
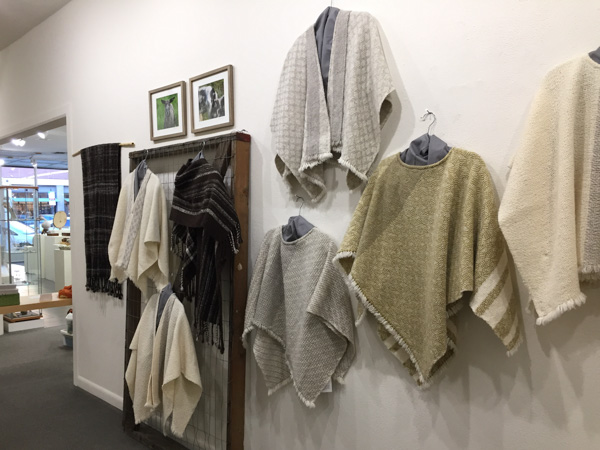 These ponchos and ruanas use the same yarns as the Solano Colors wall, but mostly in natural sheep colors. There are also a couple of handspun Jacob pieces here.
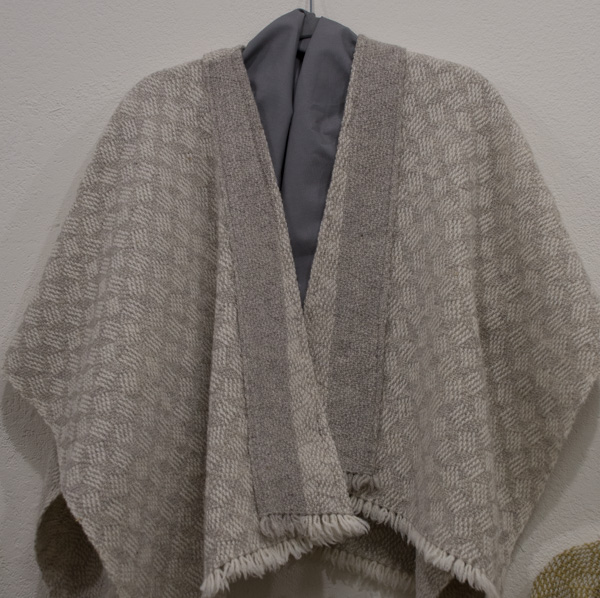 Close up of a ruana.
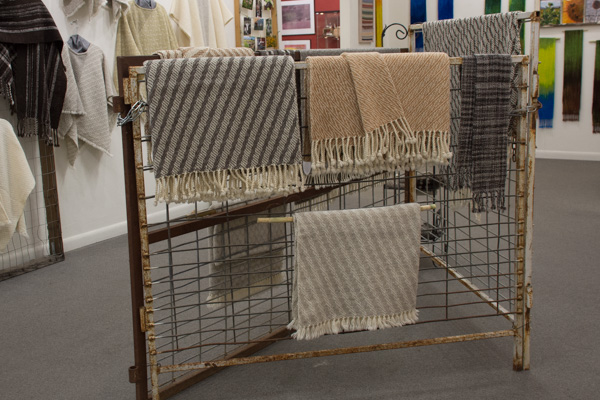 The display in the center of the room is really panels out of my sheep trailer. I used them to hang my blankets and some scarves.
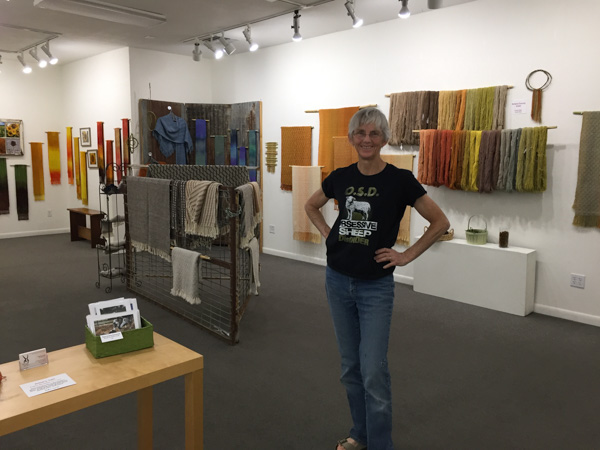 Here is an overall view of the room…
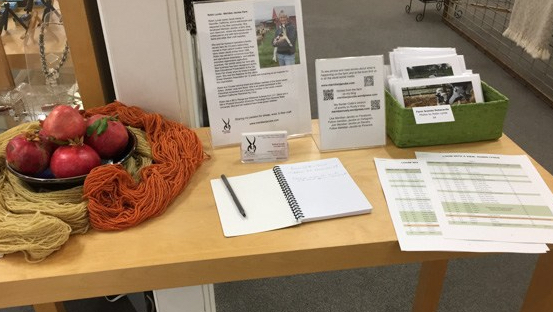 …and this is the table in the doorway when you come in. The notebook is for visitors’ comments. I’d love to see your comments as well.


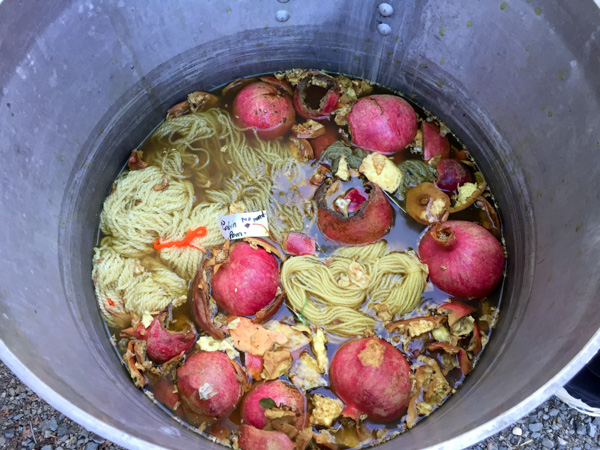 Pomegranate rinds.
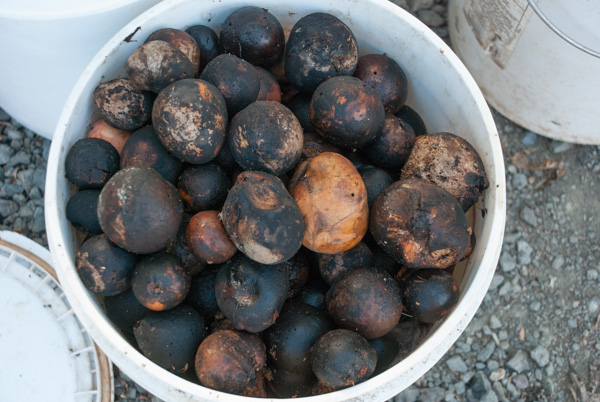
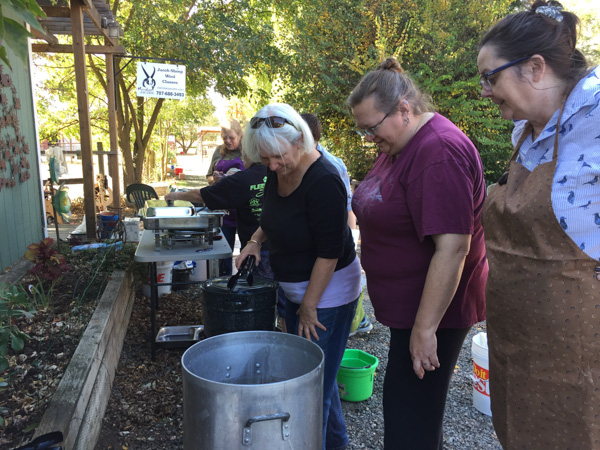


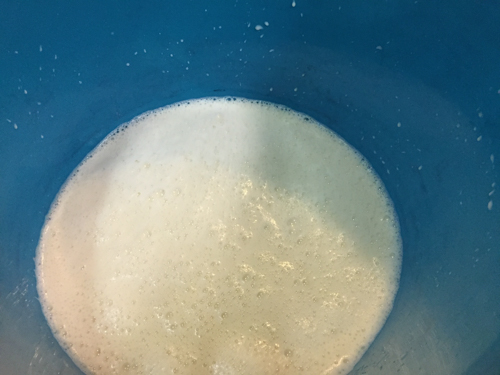
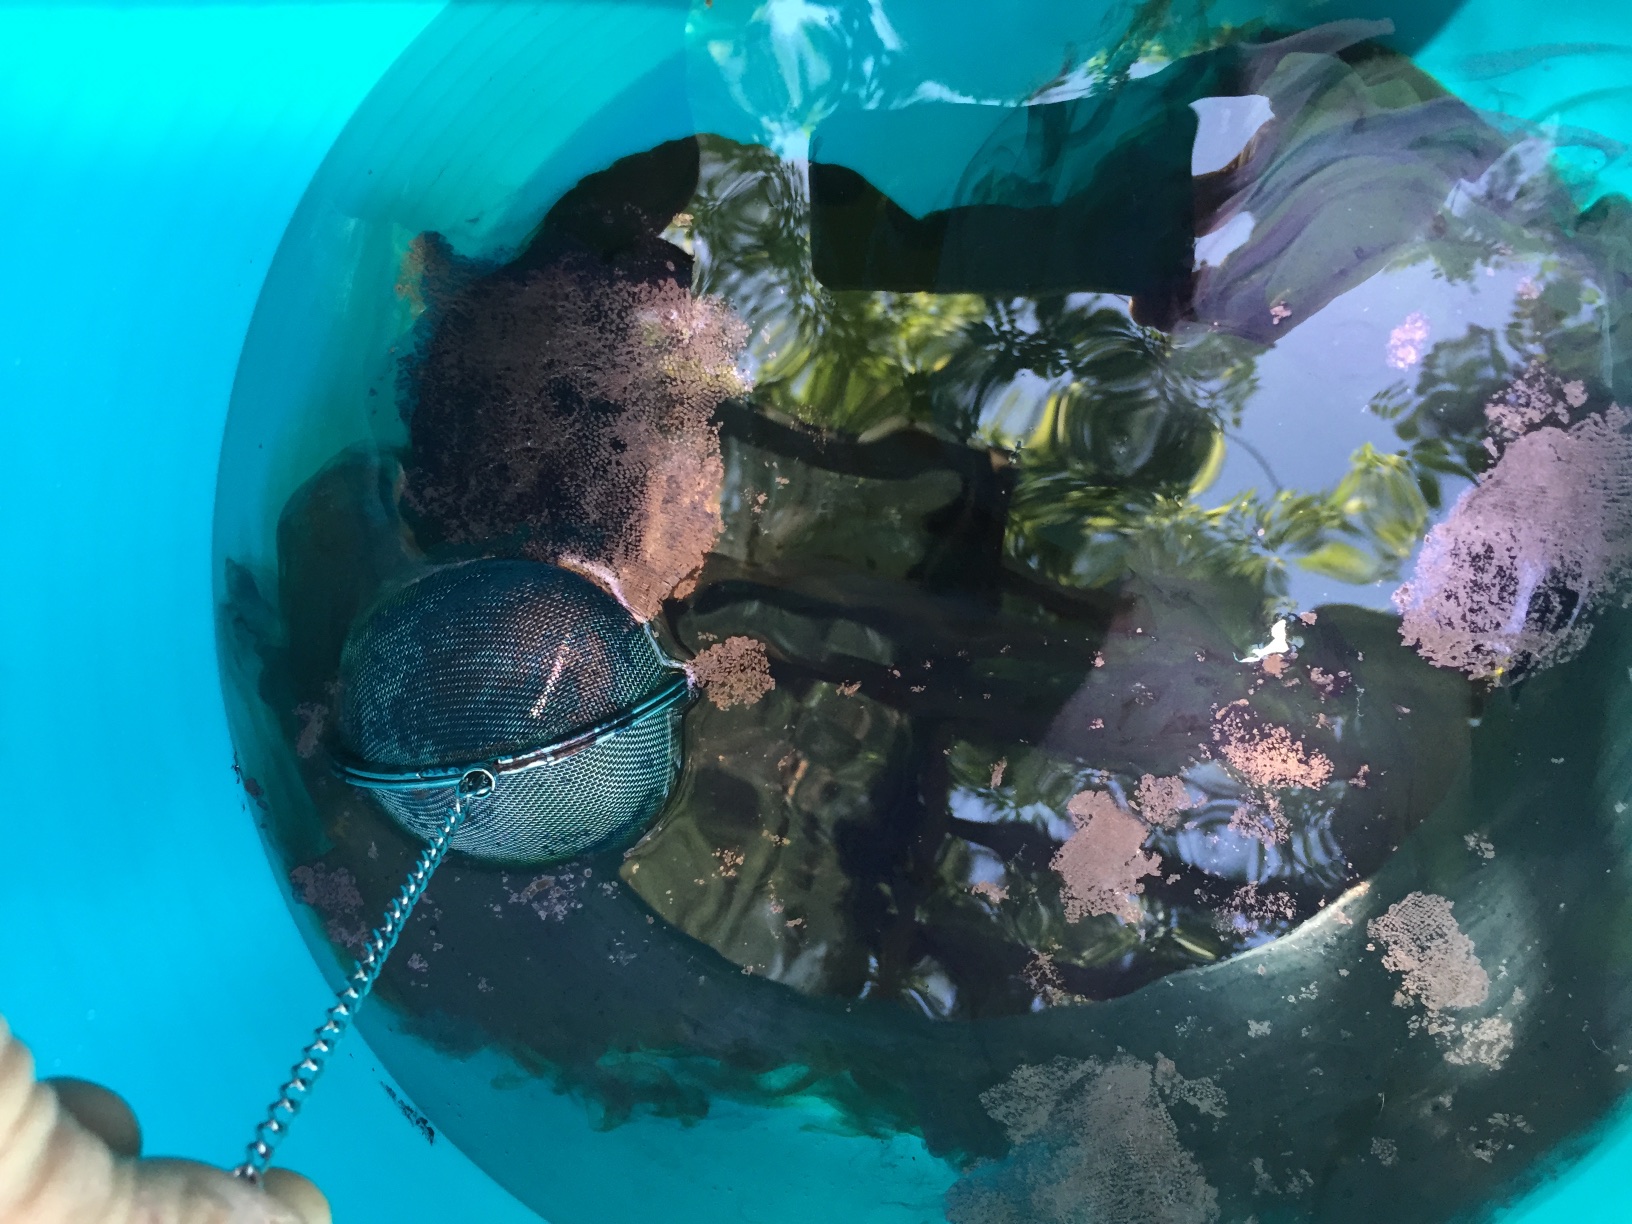 Dottie brought a car-load of supplies. She put indigo in a tea strainer and we watched the water turn color. We also noticed a metallic sheen on the water and weren’t sure what to do about that. We forged ahead…
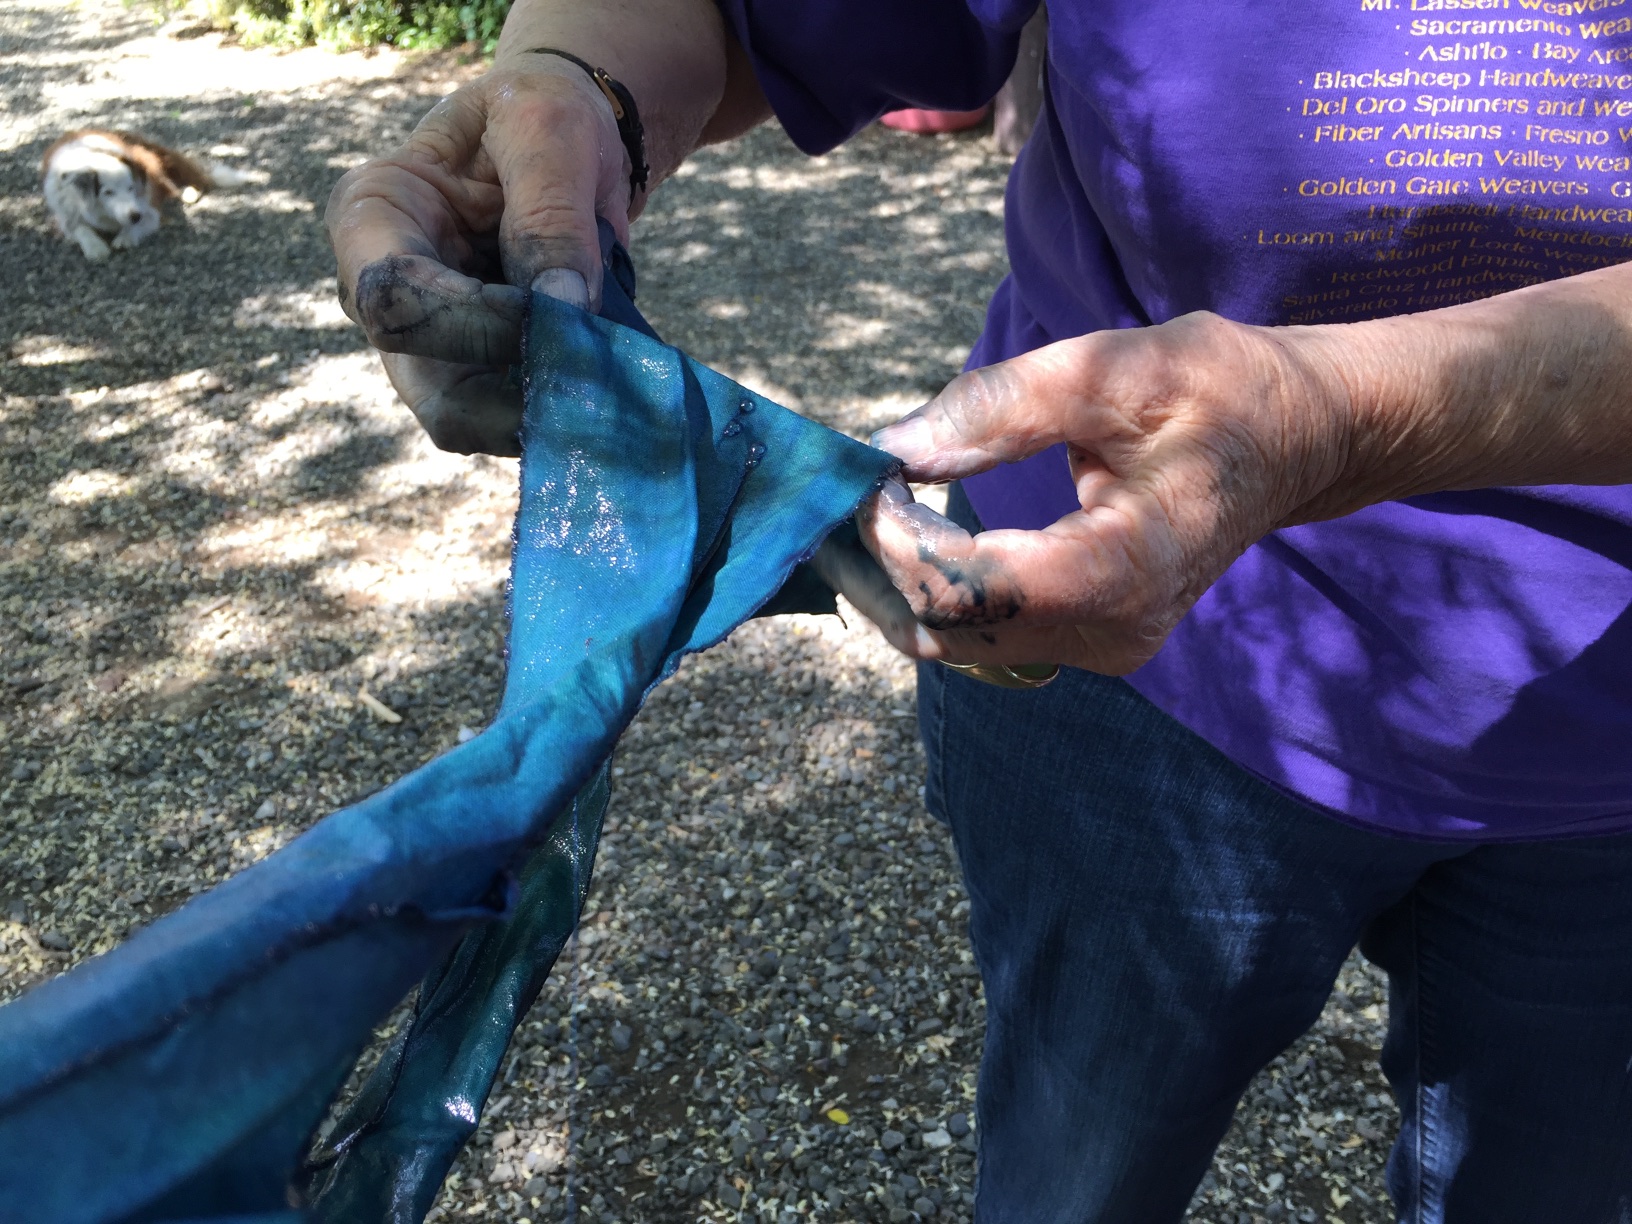 …sampling with cotton fabric that Dottie had brought with her. The metallic stuff showed up on the fabric but it seemed that we could wipe it off easily.
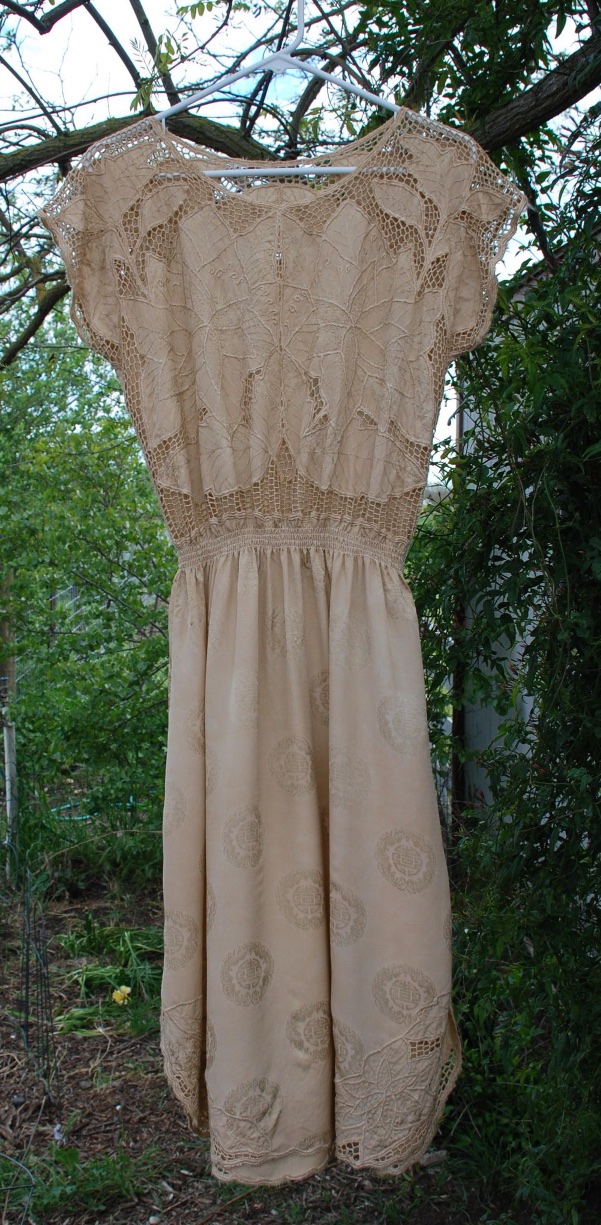
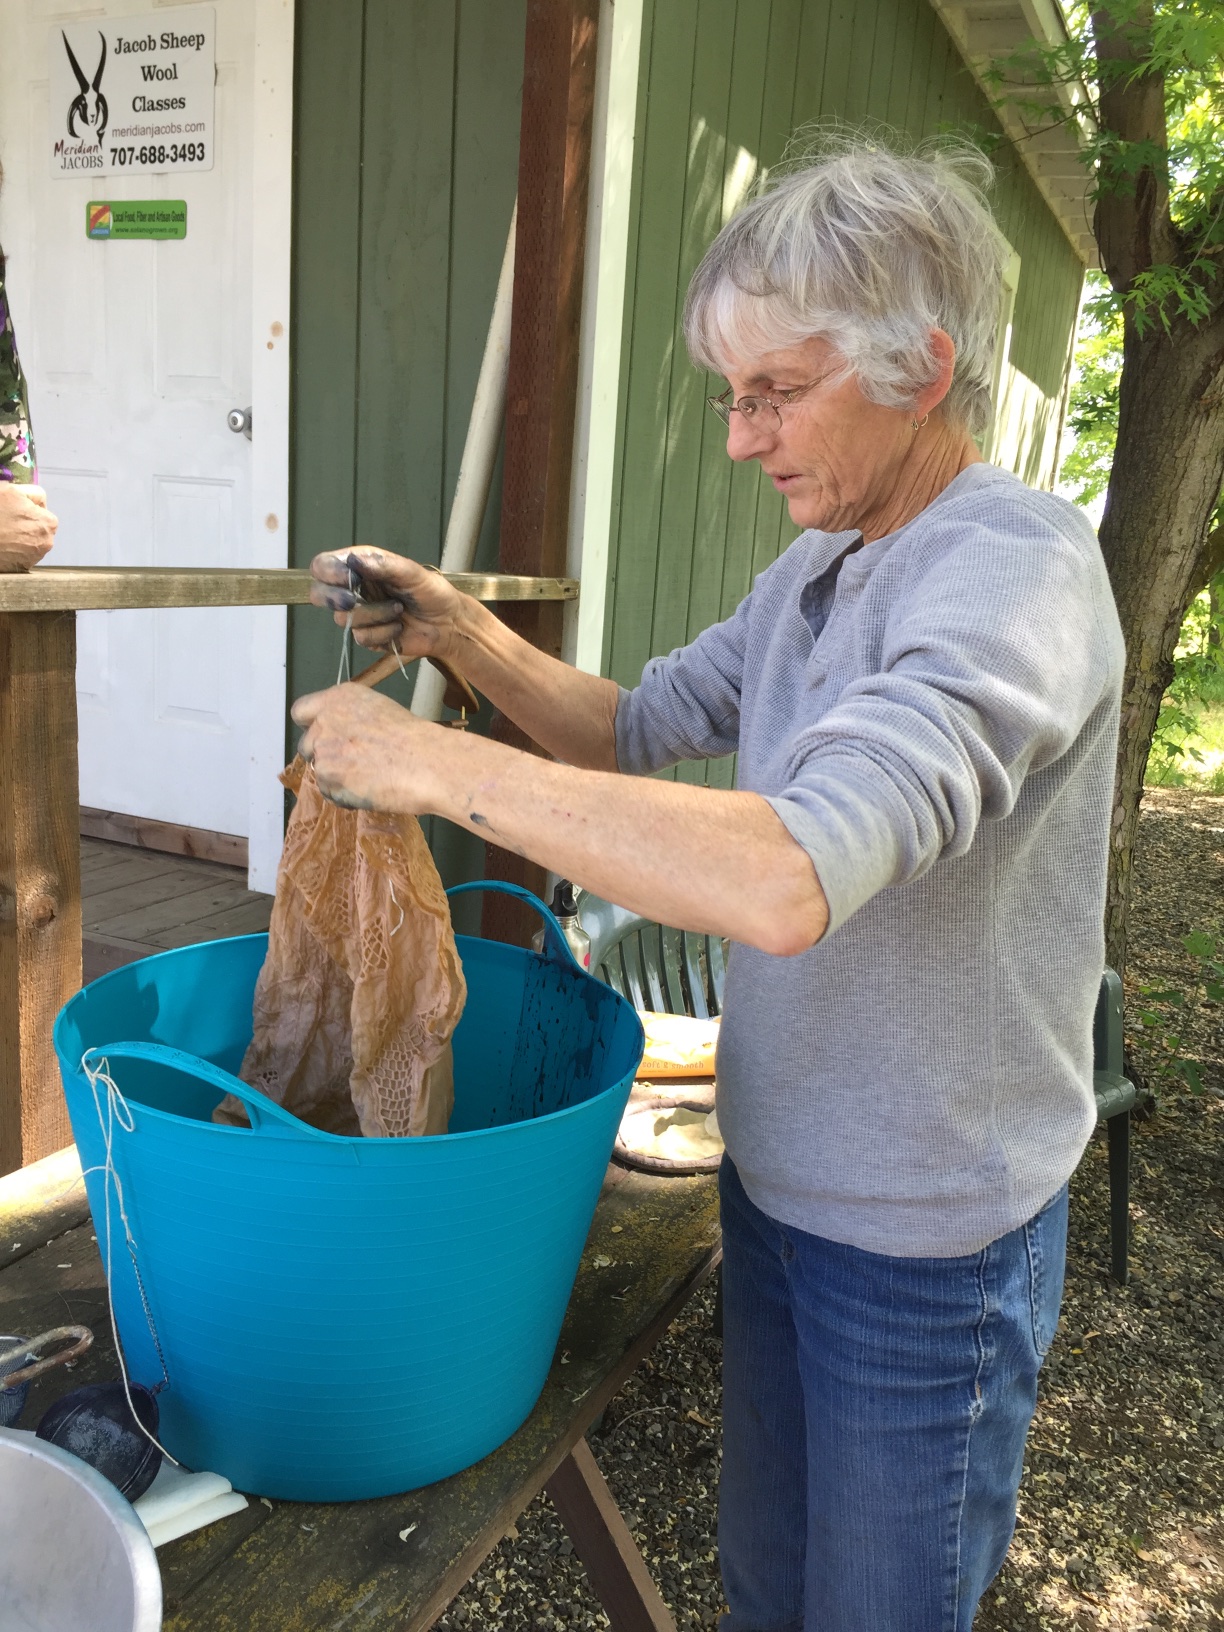 So we went ahead with the dress. When dyeing with indigo you don’t want to stir up the dye bath because indigo dyeing relies on a chemical reaction as the fabric comes out of the dye and reacts with oxygen. If you introduce oxygen into the dye bath you lose some of the effectiveness of the indigo.
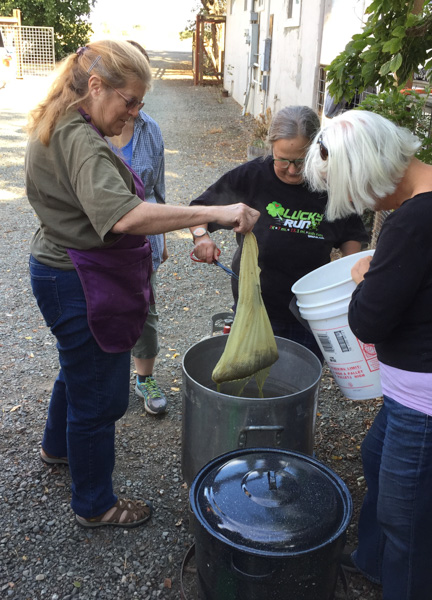
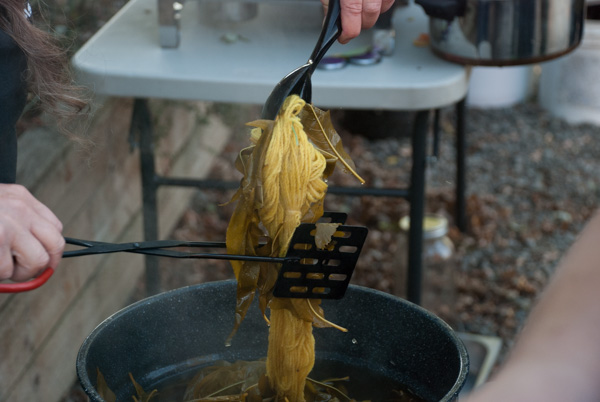
 When you bring something out of an indigo bath it is green at first.
 As it reacts it turns blue. Usually you rely on several dips to darken the color, but this one came out fairly dark the first time. However, we saw unevenly dyed areas where I had been too careful about lowering the dress into the bath and the dye didn’t get into the folds. There was also that metallic stuff in spots. I decided to hose the dress off (no pictures at this point) and see what it looked like. Not good. Very splotchy and not in a good way. So I tried again, this time stirring the dress in the pot with my hands. It was more important to get an even dye job than to save the dye bath for later.
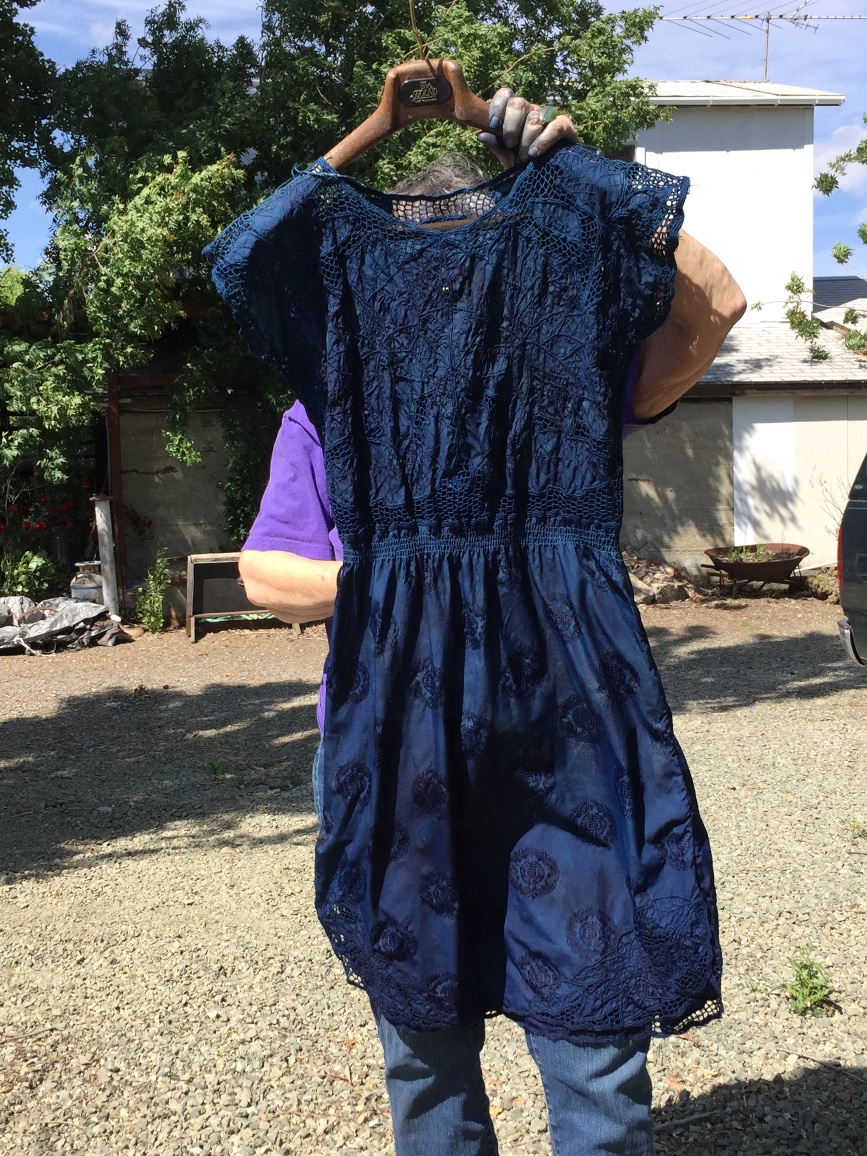 Here is the final product. But we weren’t done. There was another step and that was a surprise to me. First though the dress had to be completely dry, so that step was going to have to wait until later.
 No, one of us didn’t grow an extra hand. Dottie came with a friend who took some of these photos while we were working.


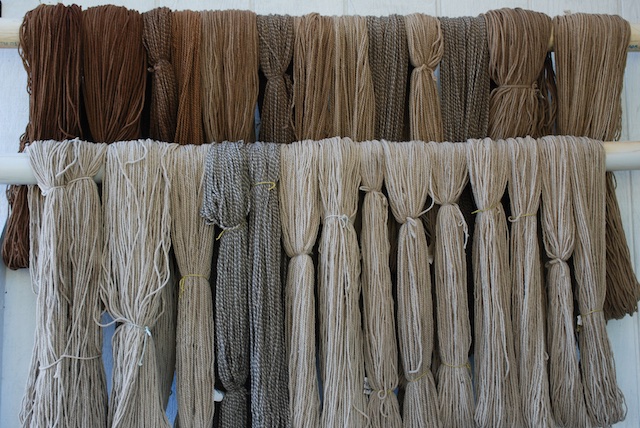 This is 5 batches of yarn out of the same dye pot. The first four skeins on the top are from the first batch. The next four are from the second and I crammed the tablecloth in that pot too. The rest of that row is from the third batch using the same dye. It looked like there was still plenty of dye in the pot so I did two more batches that are on the bottom row. They are lighter but still colored.
 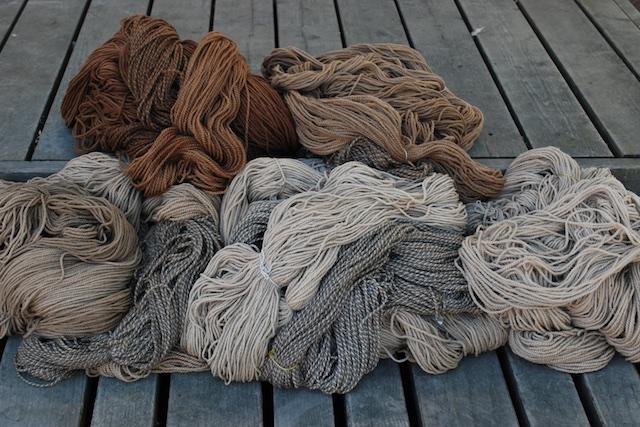 Here is another view. It is interesting (at least to me) that the fifth batch appears to have slightly more color than the fourth. It is a different yarn. The first four batches included
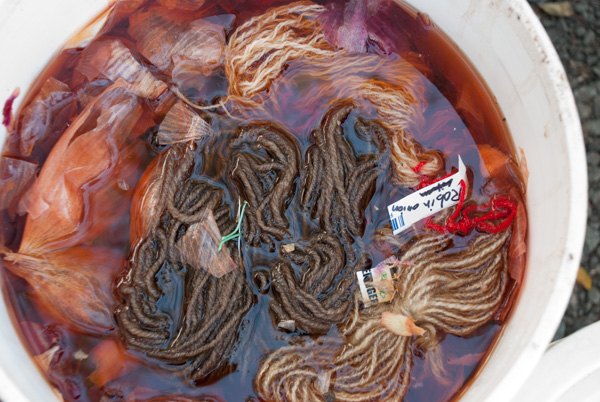
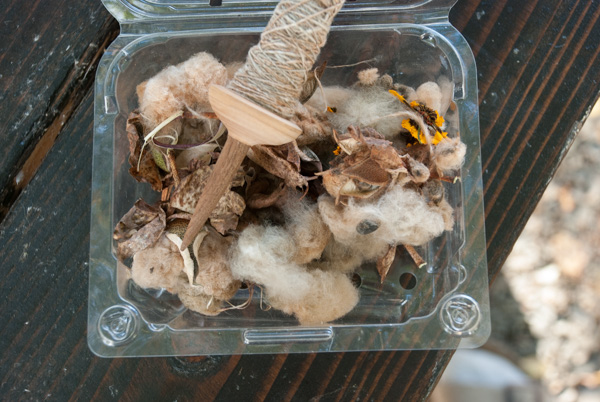
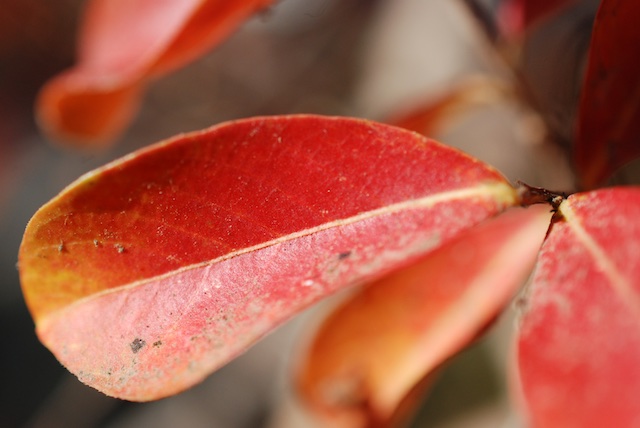 I was photographing the skeins outside and out of the corner of my eye I kept seeing this other brilliant color.

 They all made up their own designs. This is one student’s work. Cute, huh?

 I taught three students in a


