We’re finally getting rain like in the old days…that is, before the several drought years. One thing that is different in the last few years is that the news media now has days of coverage Before The Storm. It’s good to have warning of hurricanes, floods, etc, but sometimes I think that there is a little overkill on the Before reporting. There must be other news…oh wait, I guess if it is the political climate instead of the atmospheric climate maybe I’d rather hear about the weather after all.
I was gone Friday night (that’s for another blog post). Heavy rain had been predicted rain through the whole weekend. The scene below is not abnormal for a regular (non-drought) winter here. We don’t handle winter well at our facility.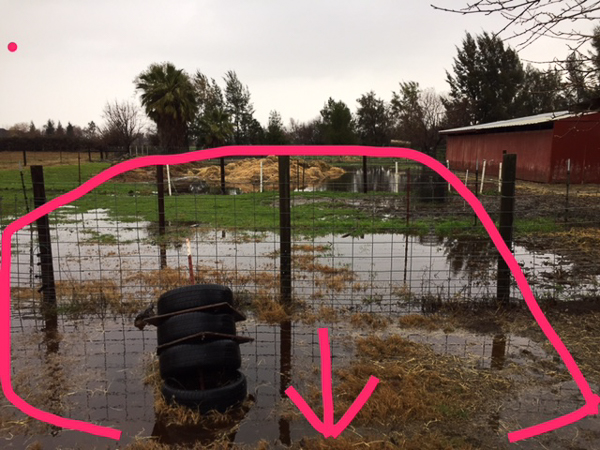 The first thing you’ll notice in this photo is the pink line. That’s my new discovery–that I can draw on my photos!!! Yippee! More fun with photos! I’ll try not to overdo it once I’m done with this post. The pink outlines the waterlogged wet area behind the barn, around the Mt. Meridian (the compost/manure pile). The arrow indicates how that water eventually has to drain IF it can flow away. Or it eventually evaporates or soaks into the ground. That is a slow process with our clay soil that is already waterlogged.

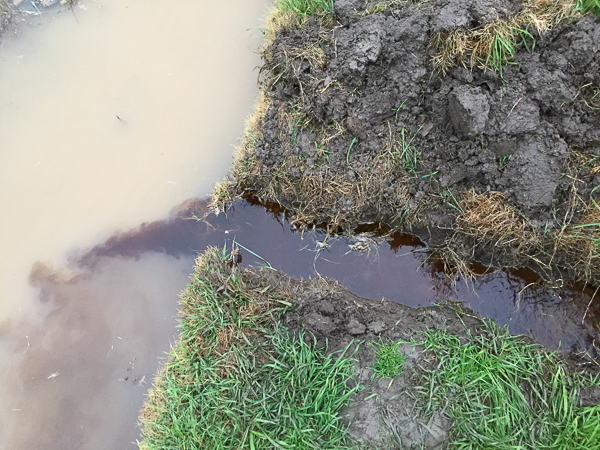
This photo is taken from the same location as the last but at the fence that borders the ditch (irrigation in the summer, run-off in the winter). It’s hard for me to tell if the water level around the manure pile is lower or higher than the level in the ditch right now. At times when I’m irrigating the irrigation water flows backward into the barn area because it flows through gopher or ground squirrel holes. I don’t want to dig a ditch if it’s going to drain the ditch water back towards the barn area. So I started digging. The water was flowing the right direction.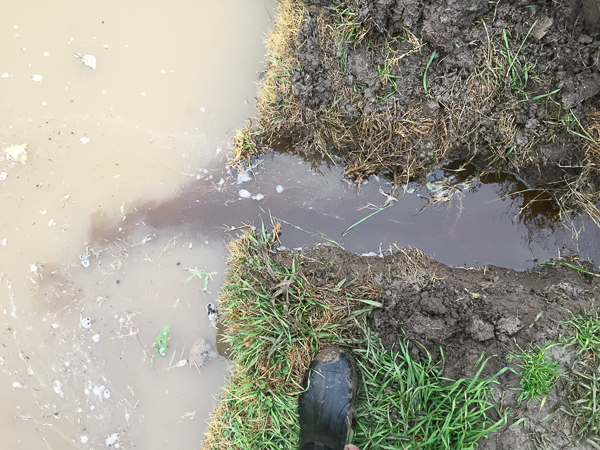
Here is where I cut through to the ditch. You can see the water flowing into the ditch although the levels aren’t that much different.
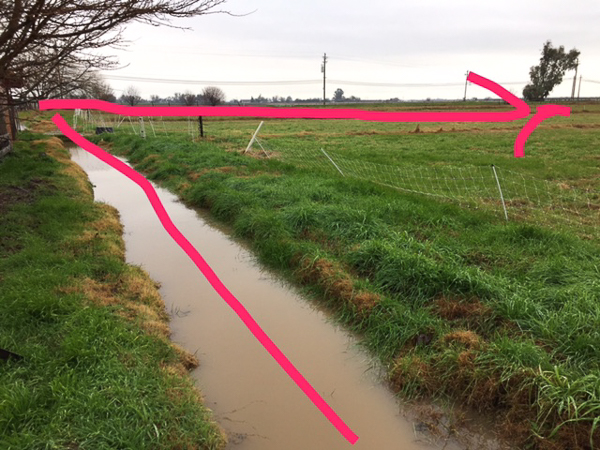
The water has to flow east in the ditch and then south. It leaves the property near that tree by going under the driveway to the south and into the canal.
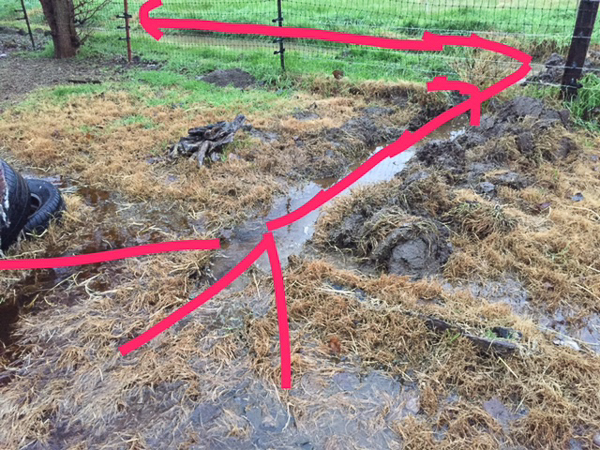
Even in the summer I have a hard time getting the ditch to drain quickly. I walked to the ditch going south. You can see where the water has to go. There is much less water here than in the east-west ditch. This one is much smaller and full of grass. I started digging out dallisgrass clumps. I walked the whole ditch back and forth looking for the next problem spot–where the grass seemed to be hindering the water flow. I didn’t by any means dig the whole thing bigger and deeper but I think I made some difference in the flow.

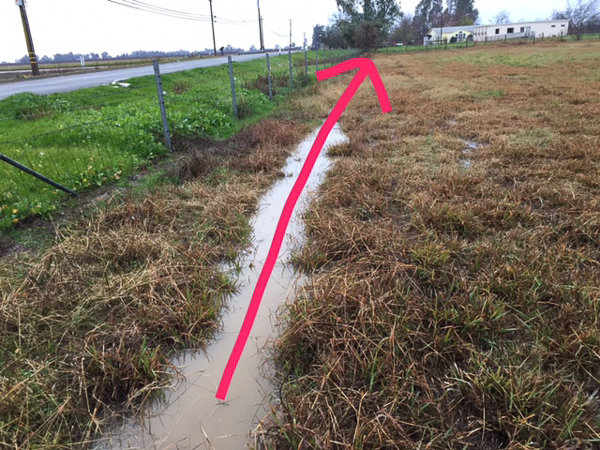
This is taken when standing in the corner near that tree and looking west. The arrow indicates the tail-water ditch where water flows after irrigating. The pastures are saturated and some water is flowing there now, but notice the overgrown dallisgrass.
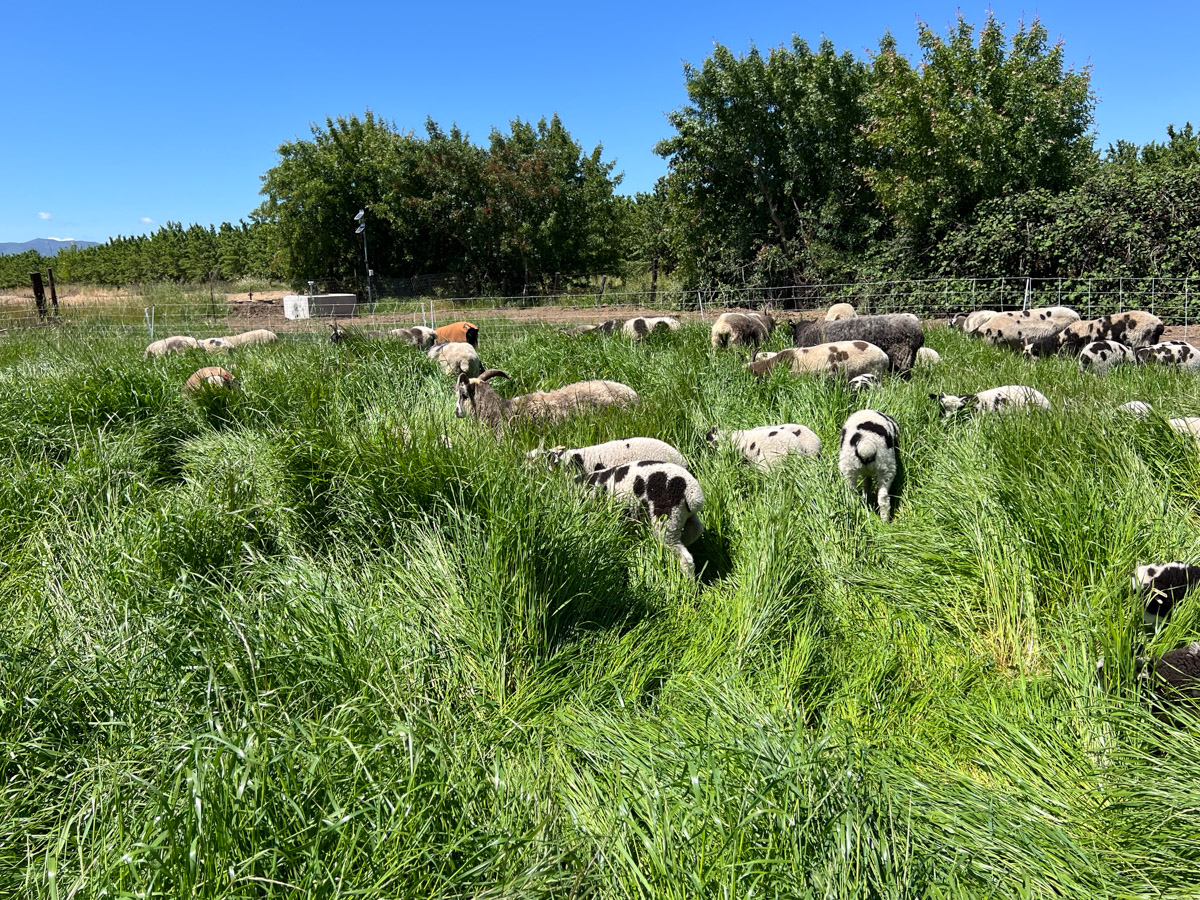
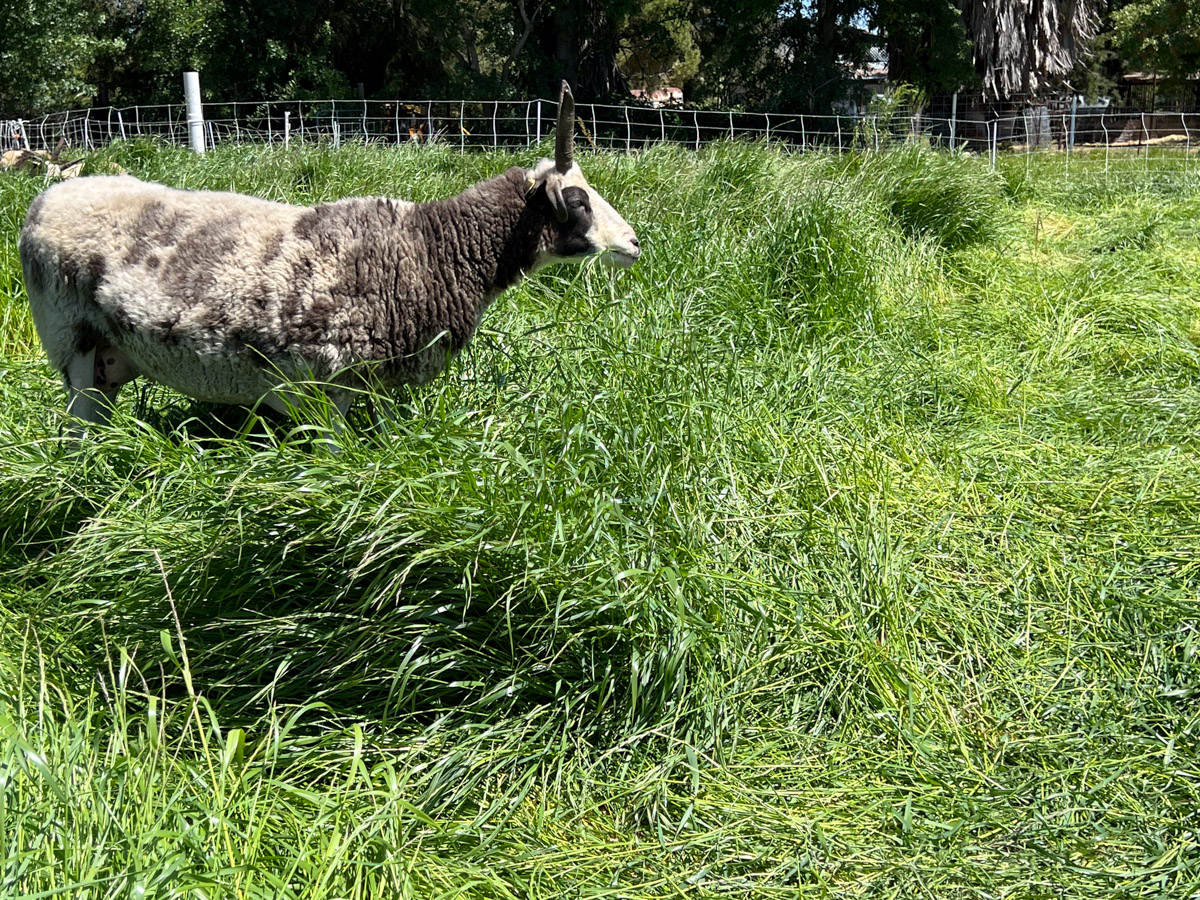
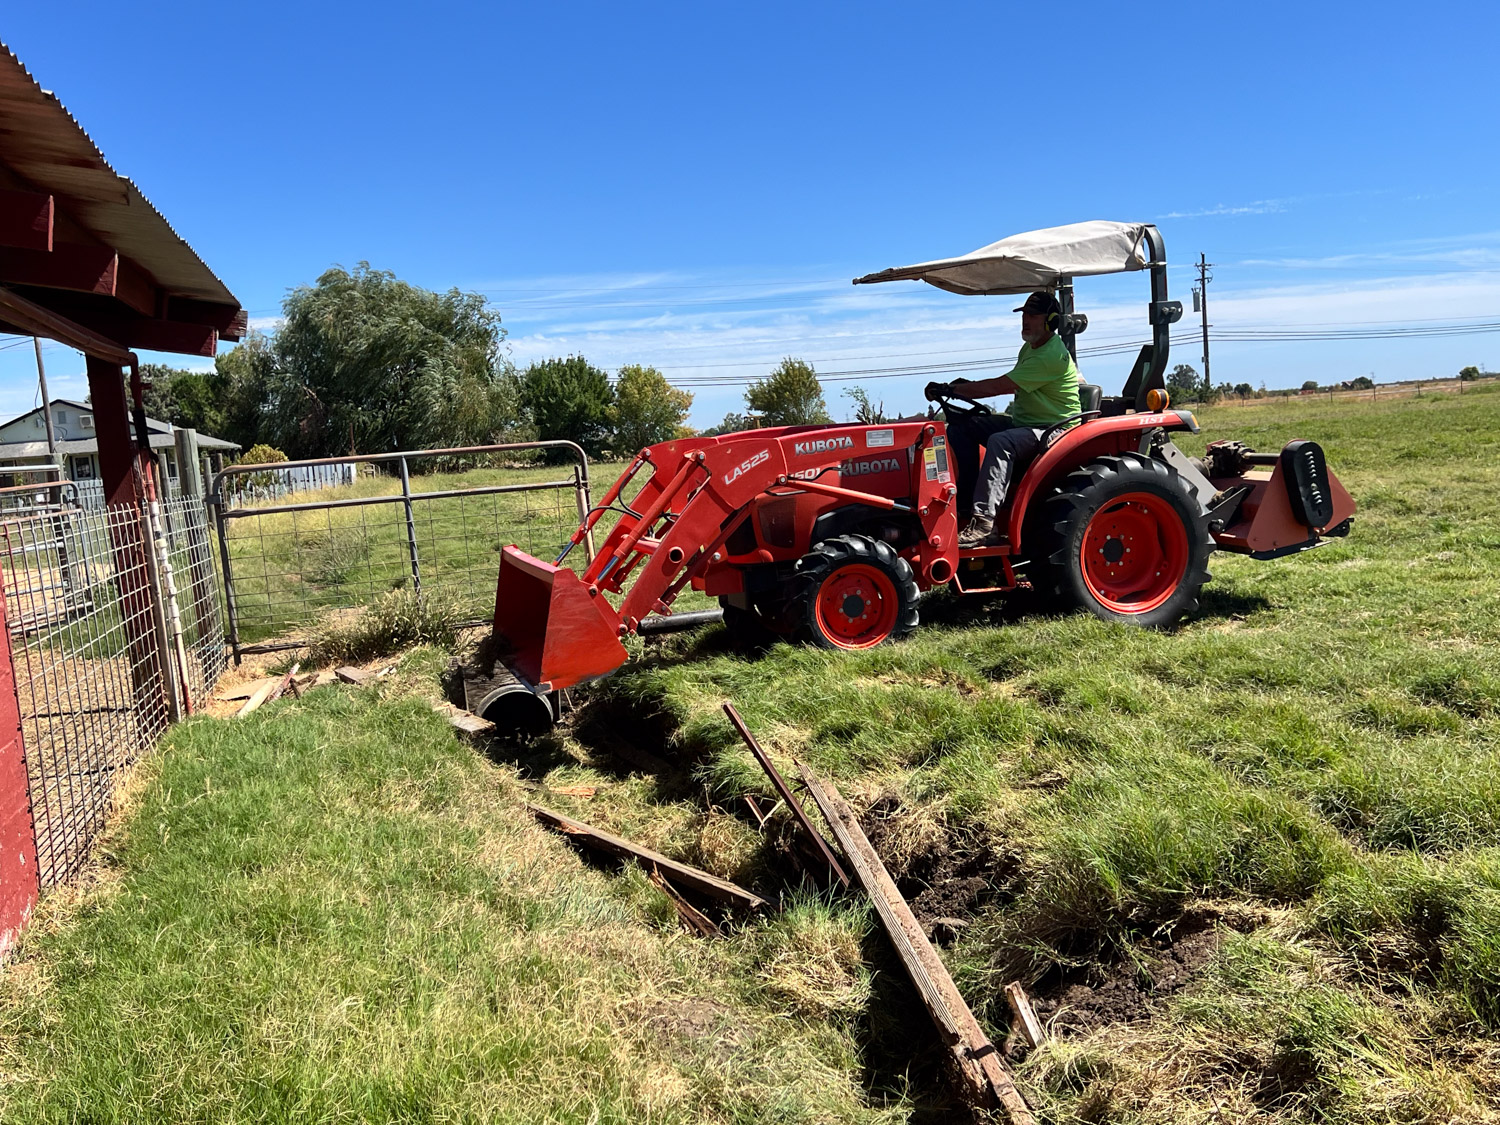
While I’m almost on my dallisgrass soapbox I’ll point out the green parts of these last two photos. This is a Mediterranean climate and that means that we have winter rains and dry summers. When it rains in the fall the grass and forbs start to grow. This growth is dependent on temperature and light. When it warms up in the spring the grass takes off and grows like crazy. By May or June things dry out and grass sets seed and it dries out. So…in the spring I count on that annual growth for feeding sheep. I count on the clovers and trefoil (which I have because I irrigate) to sustain us through the summer. Dallisgrass is a perennial grass that grows in the summer and eventually gets out of control and too coarse and fast growing for the sheep to keep up with. The last few years I have mowed after grazing to keep it manageable. These photos show why that is important. The green parts in the photo above shows green growth in the paddocks I mowed. Where it is brown is the overgrown dallisgrass where hardly anything grows. Same with the photo below. The roadsides are covered with green grass and forbs but the overgrown dallisgrass that wasn’t eaten or mowed blocks everything. That means less feed.
Back to the issue at hand, which is water and ditches.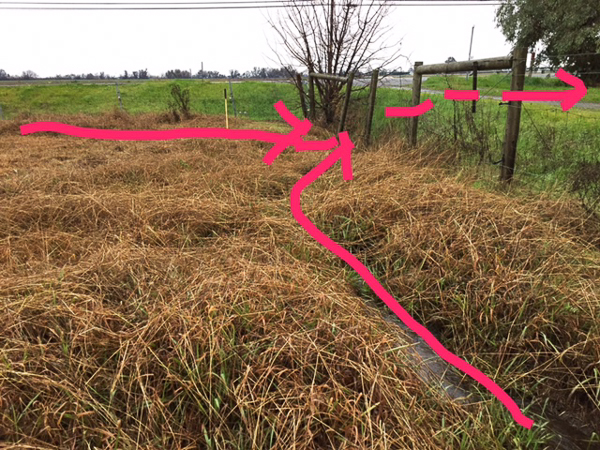
This photo shows where the water leaves the property, flowing under the driveway to the south and into the canal.
After doing what I could in that ditch I walked back to where I had started digging near the barn. Water was still flowing.
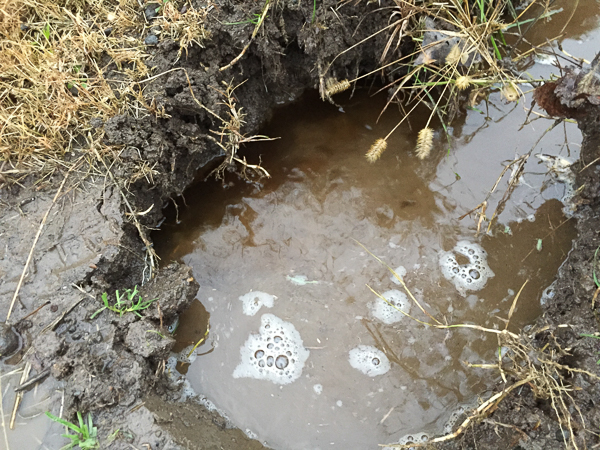
So I went into Faulkner’s pen and started digging north towards the manure pile and barn. Here is a closeup of some of my ditch from the other direction. The fence is at the top of this photo. You can see how the water is flowing UNDER the surface through rodent hoels.
My ditch isn’t nearly big enough to drain everything, but it’s better than nothing. At least it feels like progress.
There will be another blog post later about my fantastic Friday/Saturday AWAY from the farm. Maybe fewer marked up photos too. Right now I am going to Higby’s to get new rubber boots because mine are too old and water is seeping through at the ankles.

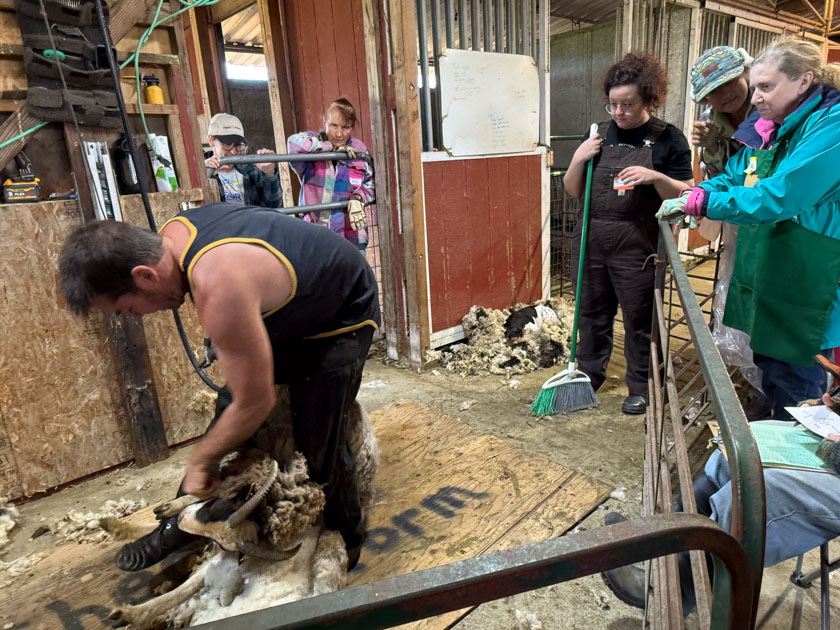


 Zorra had plenty of cuddling while she was still in the lambing area with her mom. Lisa is a lamb cuddling Pro.
 This is pet sheep Jade’s lamb (and me).
 This is her again being held by Peggy. We’d really like her to be friendly too.
 This is Zorra again with Sumi.
 As the lambs get a little older we have other Farm Days. This was Betsy’s first day on the farm and she jumpred right in holding lambs as we ear tagged and castrated.
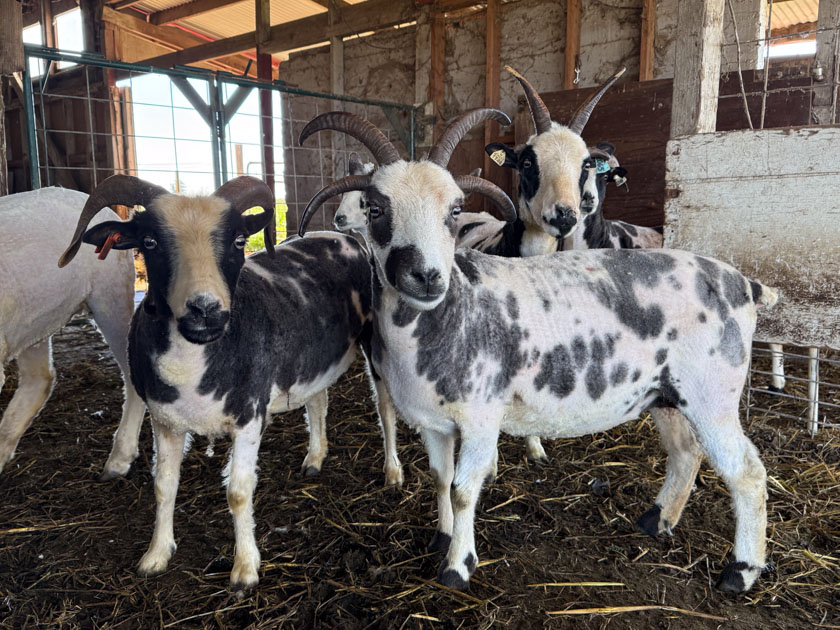
  I don’t castrate many because it’s hard to know how they will grow out and which might be a great flock sire for someone. Some are easy though–too much or too little color to fit within the 15-85% breed standard. This one’s horns are already touching at the base under that hair. As the horns grow they will fuse and not grow well separately.
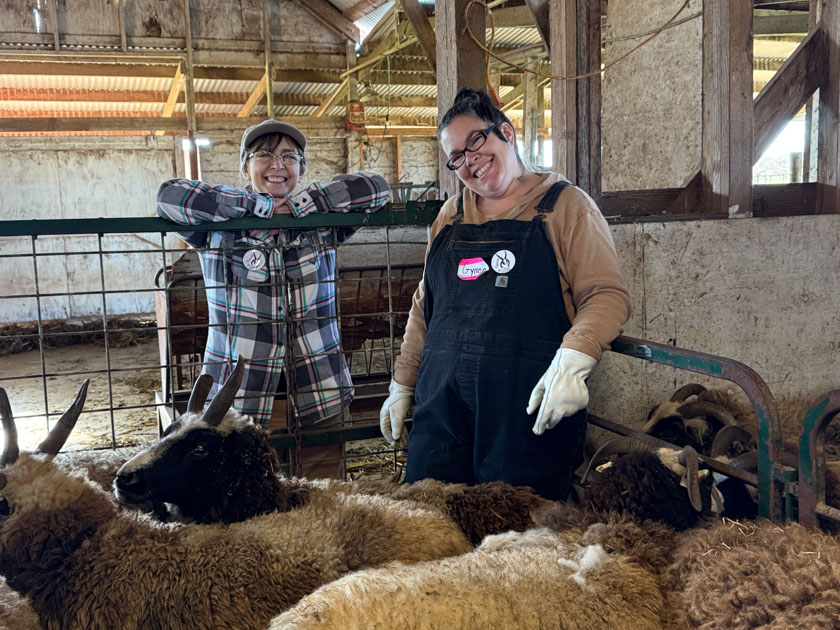
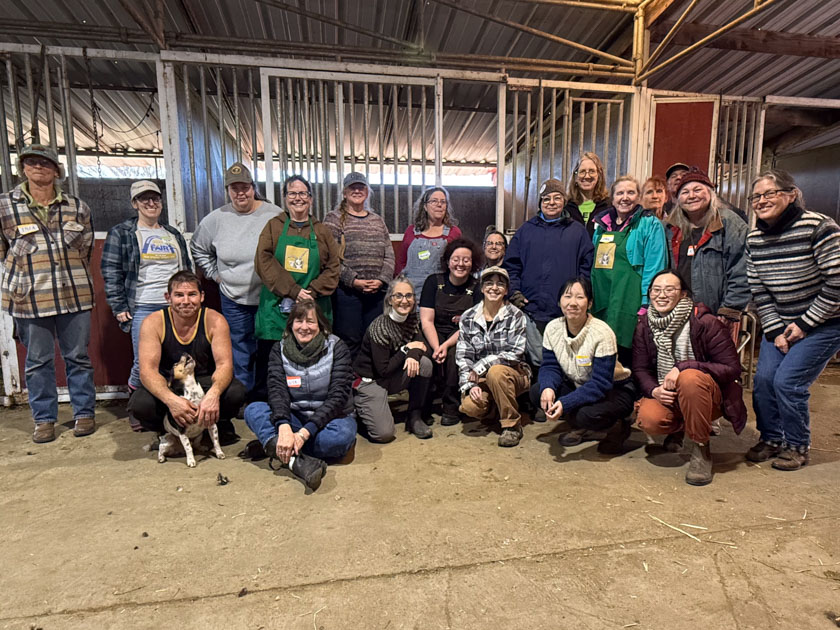
 Marina and Maggie (no photo) helped catch lambs too and Mary handled the clipboard. The lambs were all tagged with their white ID tags right after they were born but we put added a colored tag on Farm Day. I like to use a second tag for back-up ID if the first one falls out and also to color code the sire. It’s interesting to keep track of that and it also helps to find a lamb when you’re looking for one among 75. You can narrow it down some if you have a color to look for.
 This year Cayenne’s lambs got orange tags. Pink tags go in all the lambs that have been castrated.
 Green means these are Buster’s lambs.
 Blue was for Catalyst.
 Peyton’s lambs are obvious so don’t need an extra tag.
 After we tagged all the lambs Marina and Betsy stayed to help me set up the pasture for the sheep. I had put the sheep out for a few days but hadn’t cleaned and moved the water trough.
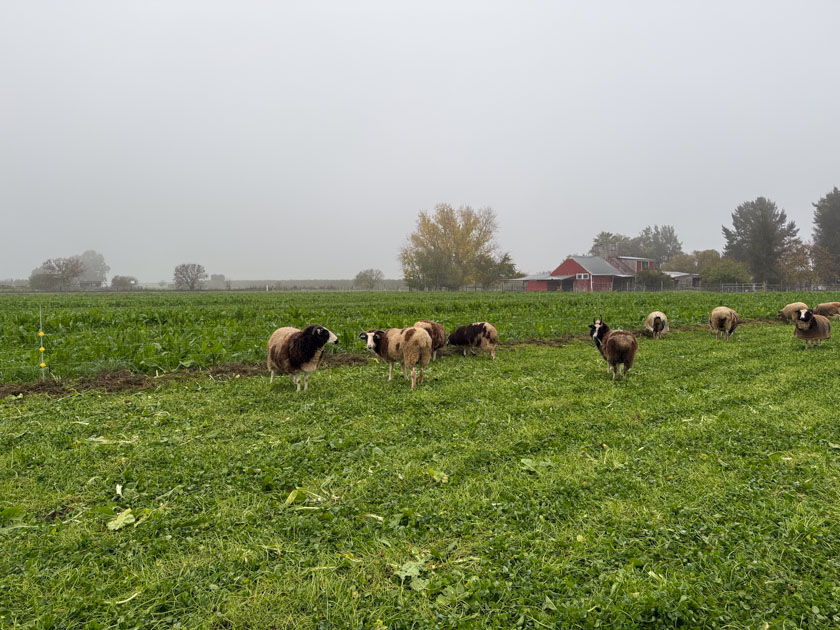
 We walked around the pasture and took stock of things. I always point out the issue that I have with the dallisgrass that is out of control. That’s what all that dry grass is. I’d much rather see green grass growing. The whole pasture was looking somewhat dismal from a growth standpoint. At this point we had just had March rain after two very dry and cold months. I wasn’t seeing much growth–at least not enough to feed 55 ewes and 75 lambs.
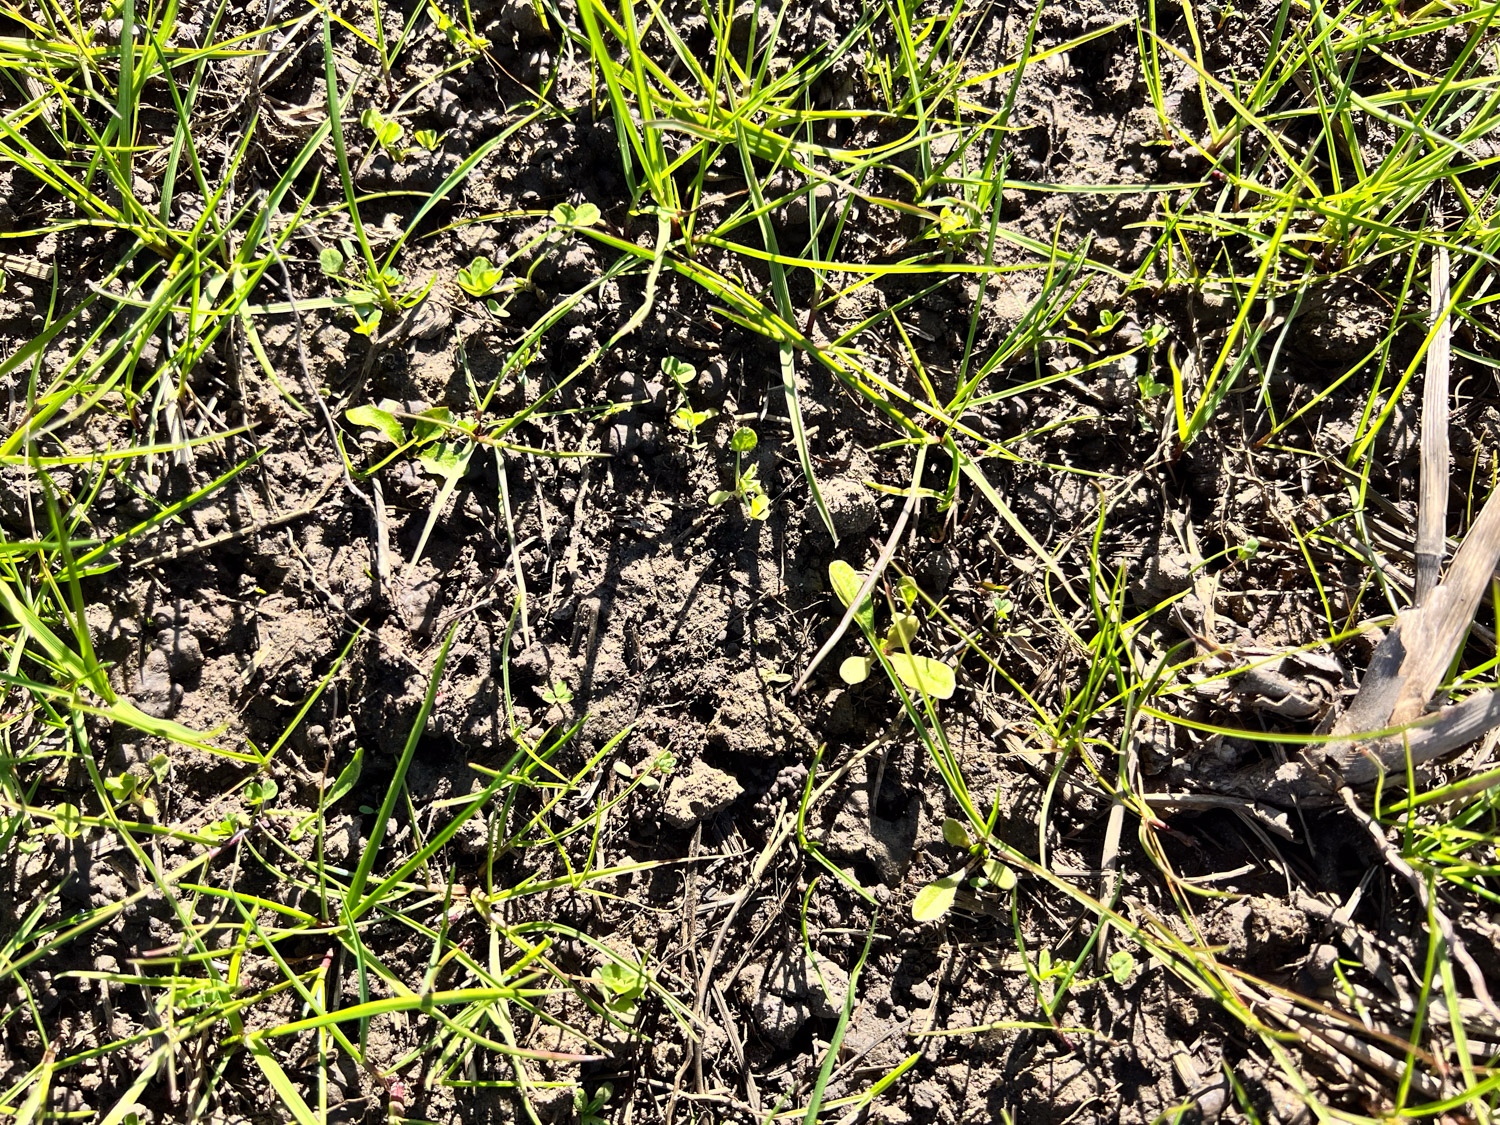
  We spotted this grass that I don’t recognize.
 I took photos to send to a friend of Marina’s who she think might recognize it.


