Grazing – Foggy Morning and Moving to Fresh Pasture

Jacob sheep on pasture grazed and trampled. A foggy morning.

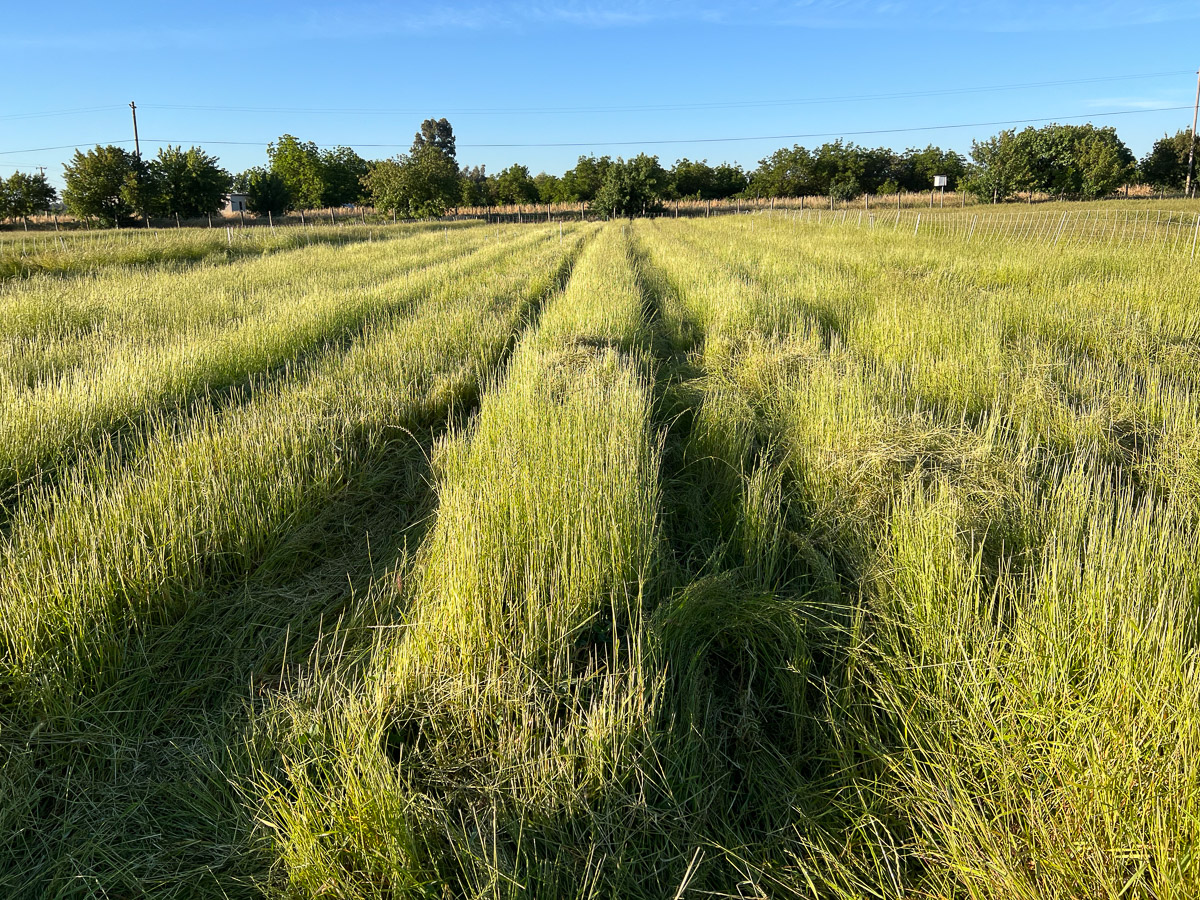
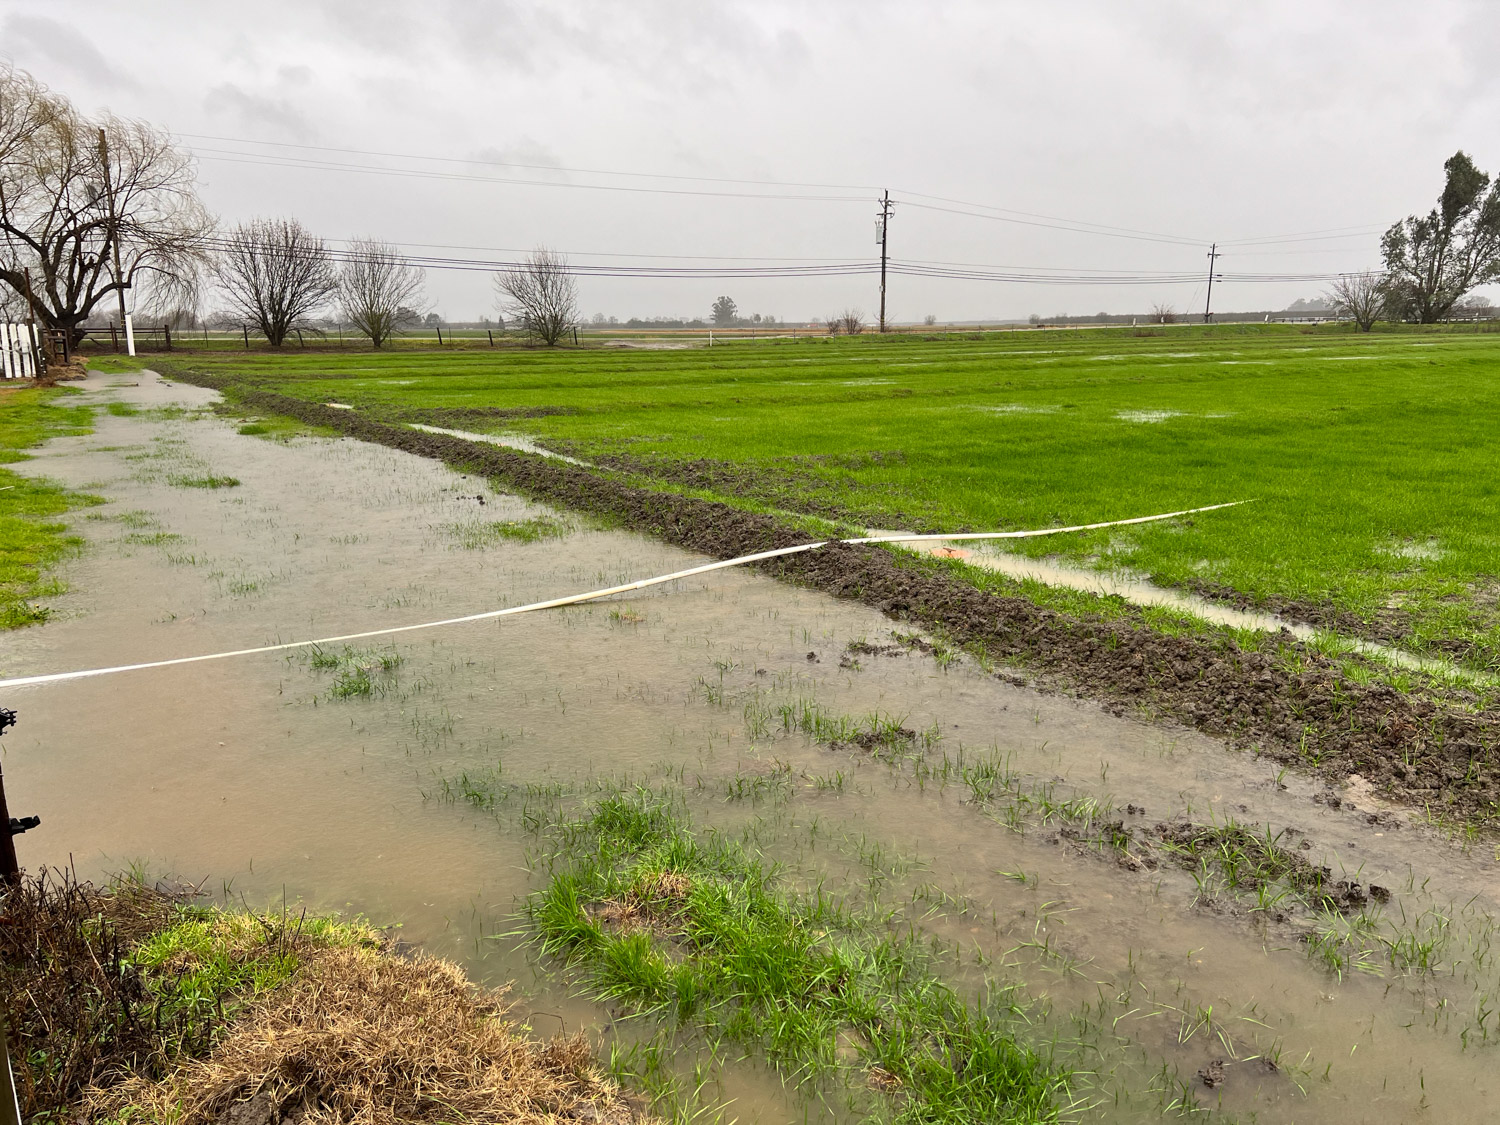
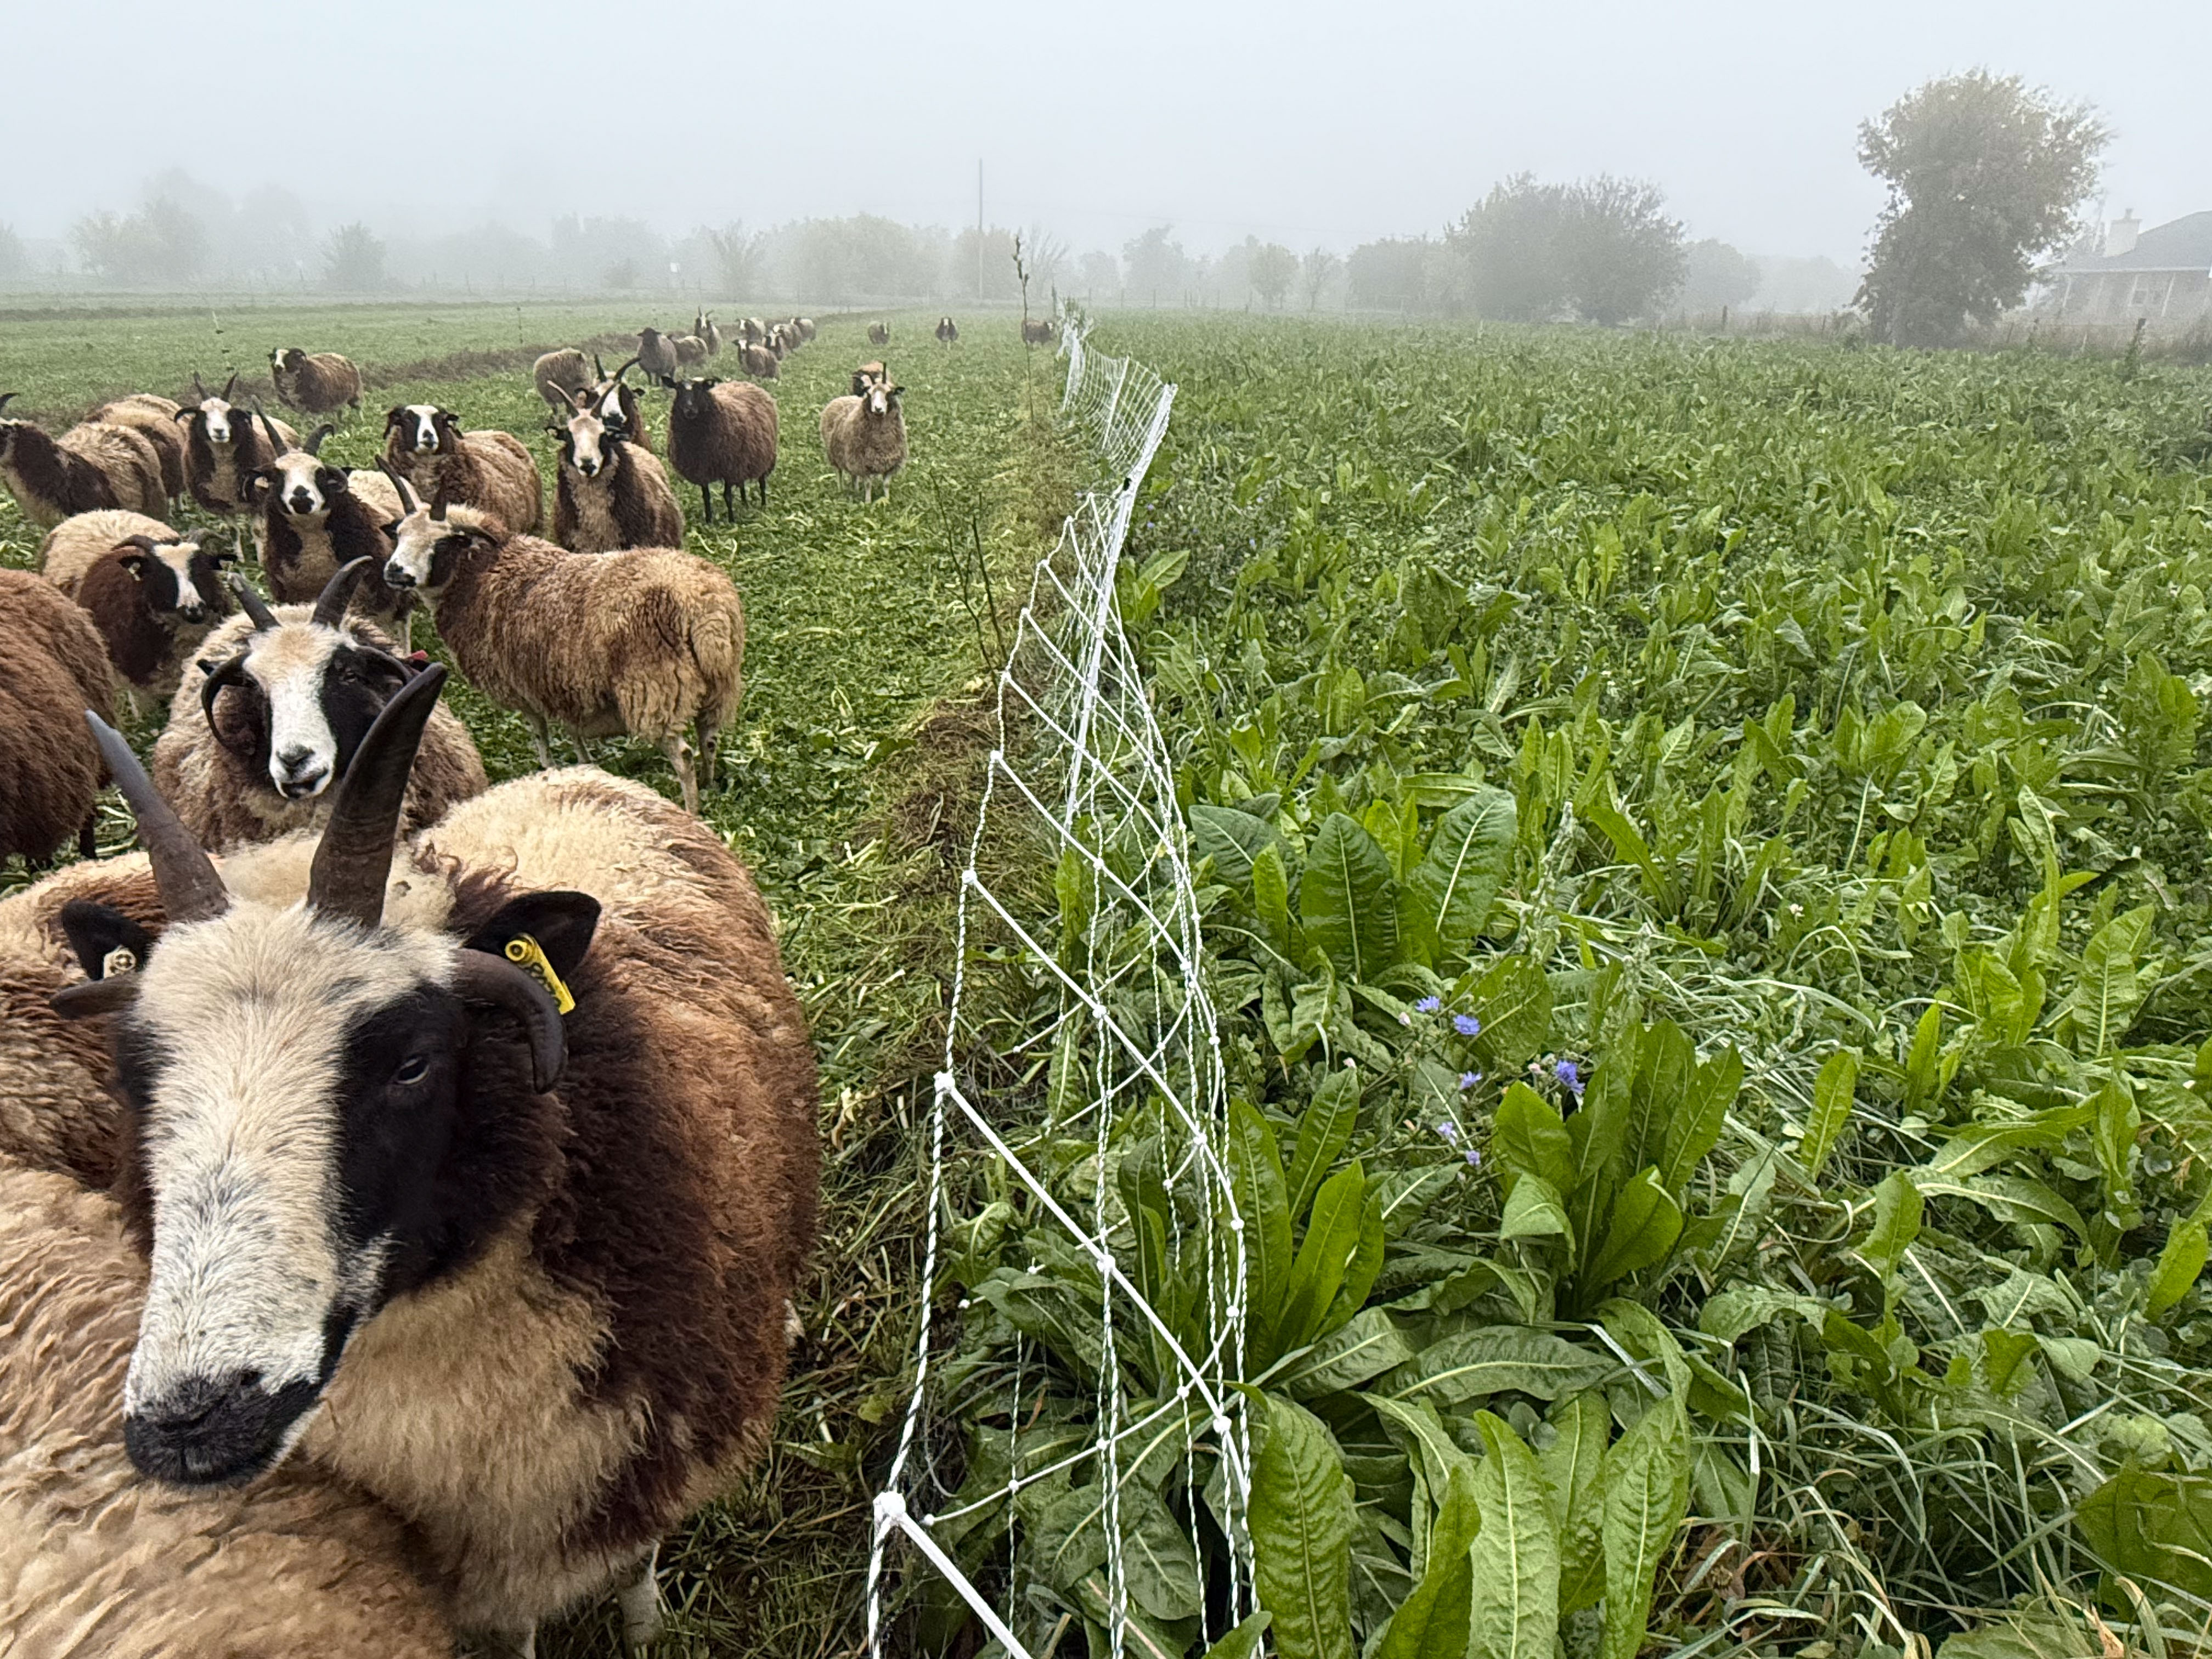
The sheep were out when I went to the barn yesterday morning. The paddocks are numbered from west to east, 1 to 21. Every other check has a permanent 3-wire fence, visible in this photo on the left. In the summer I grazed two at a time and 4 days seemed about right. After we got measurable rain I noticed significant trailing down the border check between the two paddocks they were grazing. The check is a raised strip running north to south that guides the water when we irrigate. I thought I’d better put a fence along that check so that they wouldn’t impact it as much. So that’s the way I’ve been grazing for the last few weeks. When Farm Club helped to measured net fences to make sure I had the correct fences where I needed them (blog post here) I had left 3 lengths of e-net that we measured to be the correct length for just this need. You can see the net fence on the right of this photo.

Jacob sheep in pasture that has just been grazed while there are lush plants on the other side of the white e-net fence.

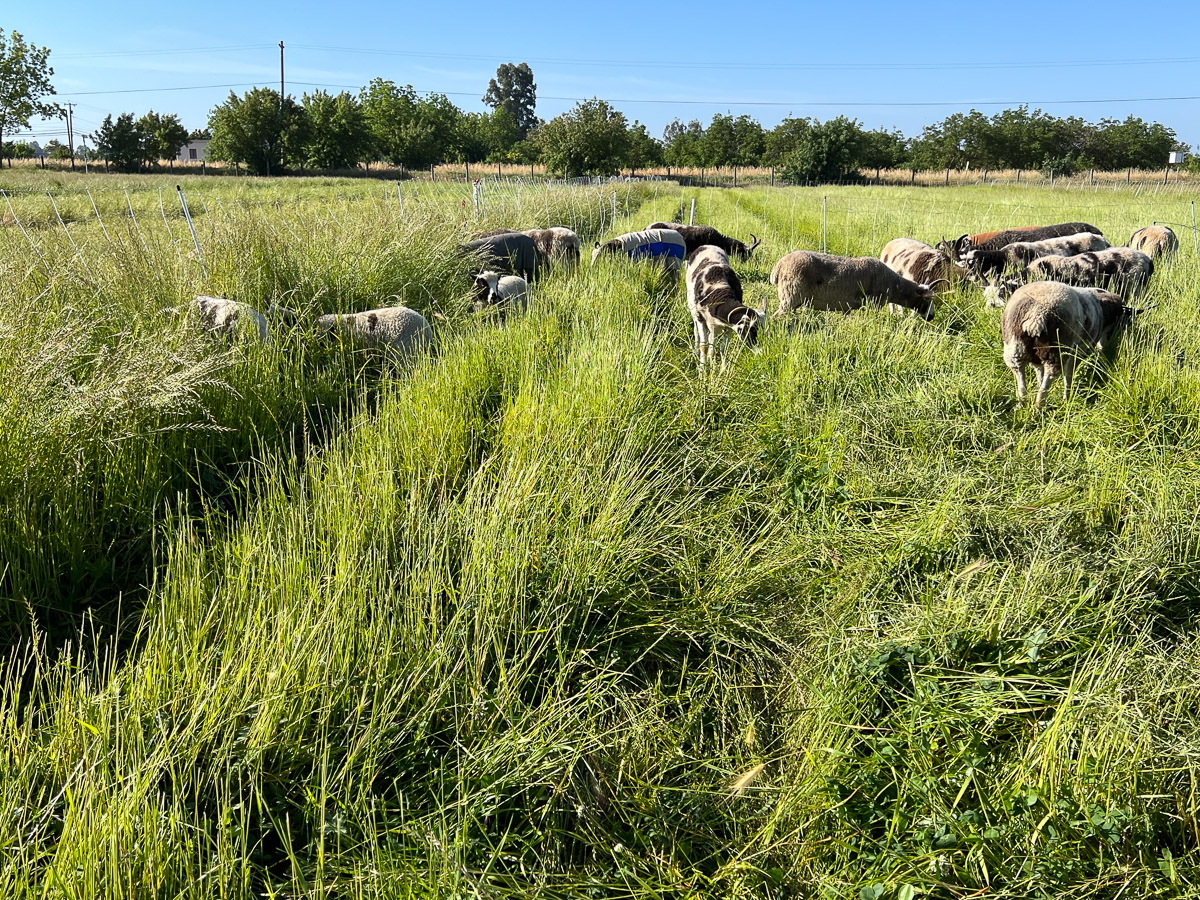
The sheep grazed this paddock (#4) for two days. This is the third morning and they need to move to #3. The fence is on the border check and you can see how they have grazed right up to it. The fence is purposely tipped away from the grazed paddock because I think the 4-horned sheep are less likely to get horns caught when they graze near the fence.

Jacob sheep walking towards me to move to a new pasture.

The sheep were anxious to get to fresh feed.

White electric net fence with sheep on the left and fresh pasture on the right.

I was able to move the fence that was blocking access to the next paddock and they all came around the end.

Fresh pasture on the right with sheep grazing. White e-net fence down the middle and grazed pasture on the left.

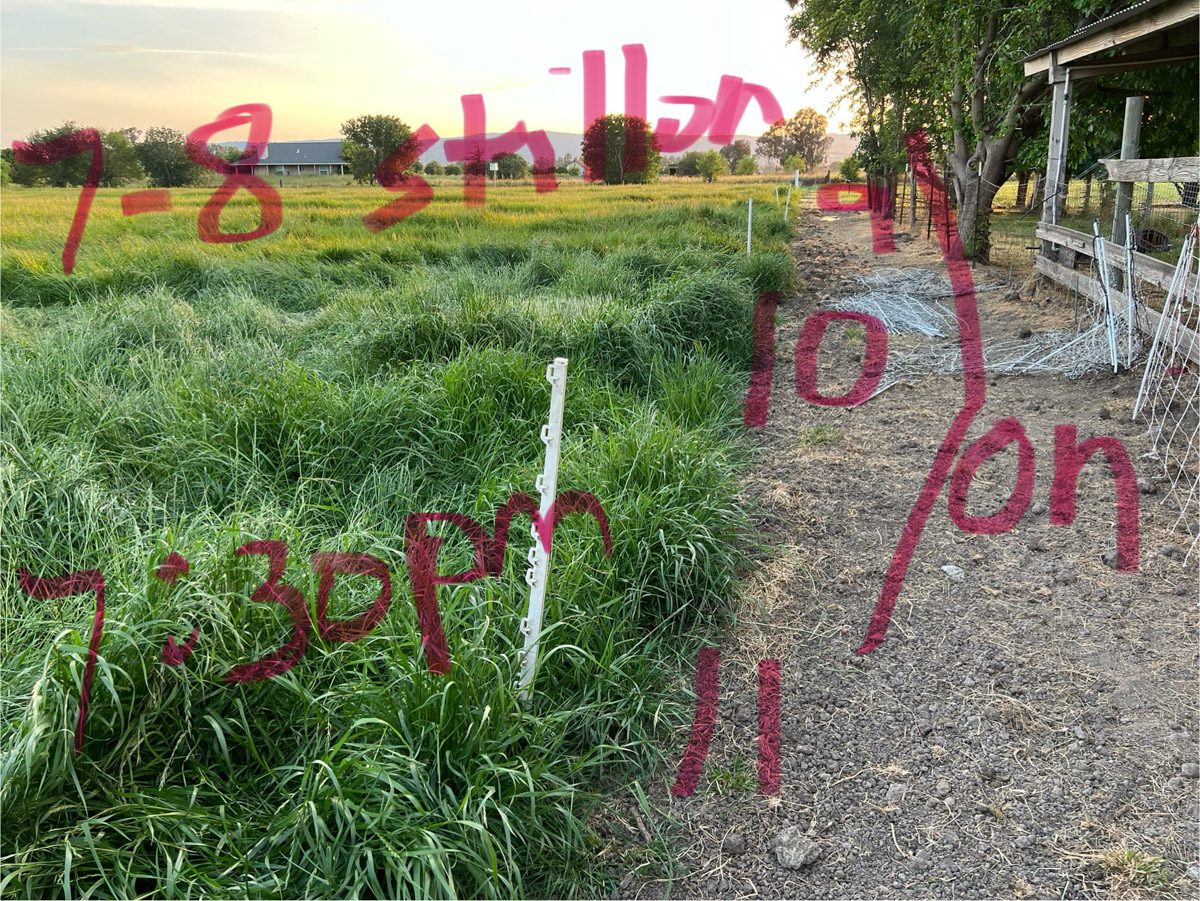
This is the view before I reset the net fence. I find it interesting to see how the sheep ate the leaves as far as they could reach on the chicory. By the way, the leafy plant that looks like we’re growing a crop of lettuce or chard is chicory. That was one of the three forbs in the seed mix we planted last fall. It didn’t grow as much as the clover until later in the summer, but it is sure evident now.

Close up of grazed leafless stalks of chicory with sheep on the other side of the fence in fresh pasture.

Another view of the fence before I moved it, and more chicory stalks.

Sheep grazing chicory and clover on a foggy morning.

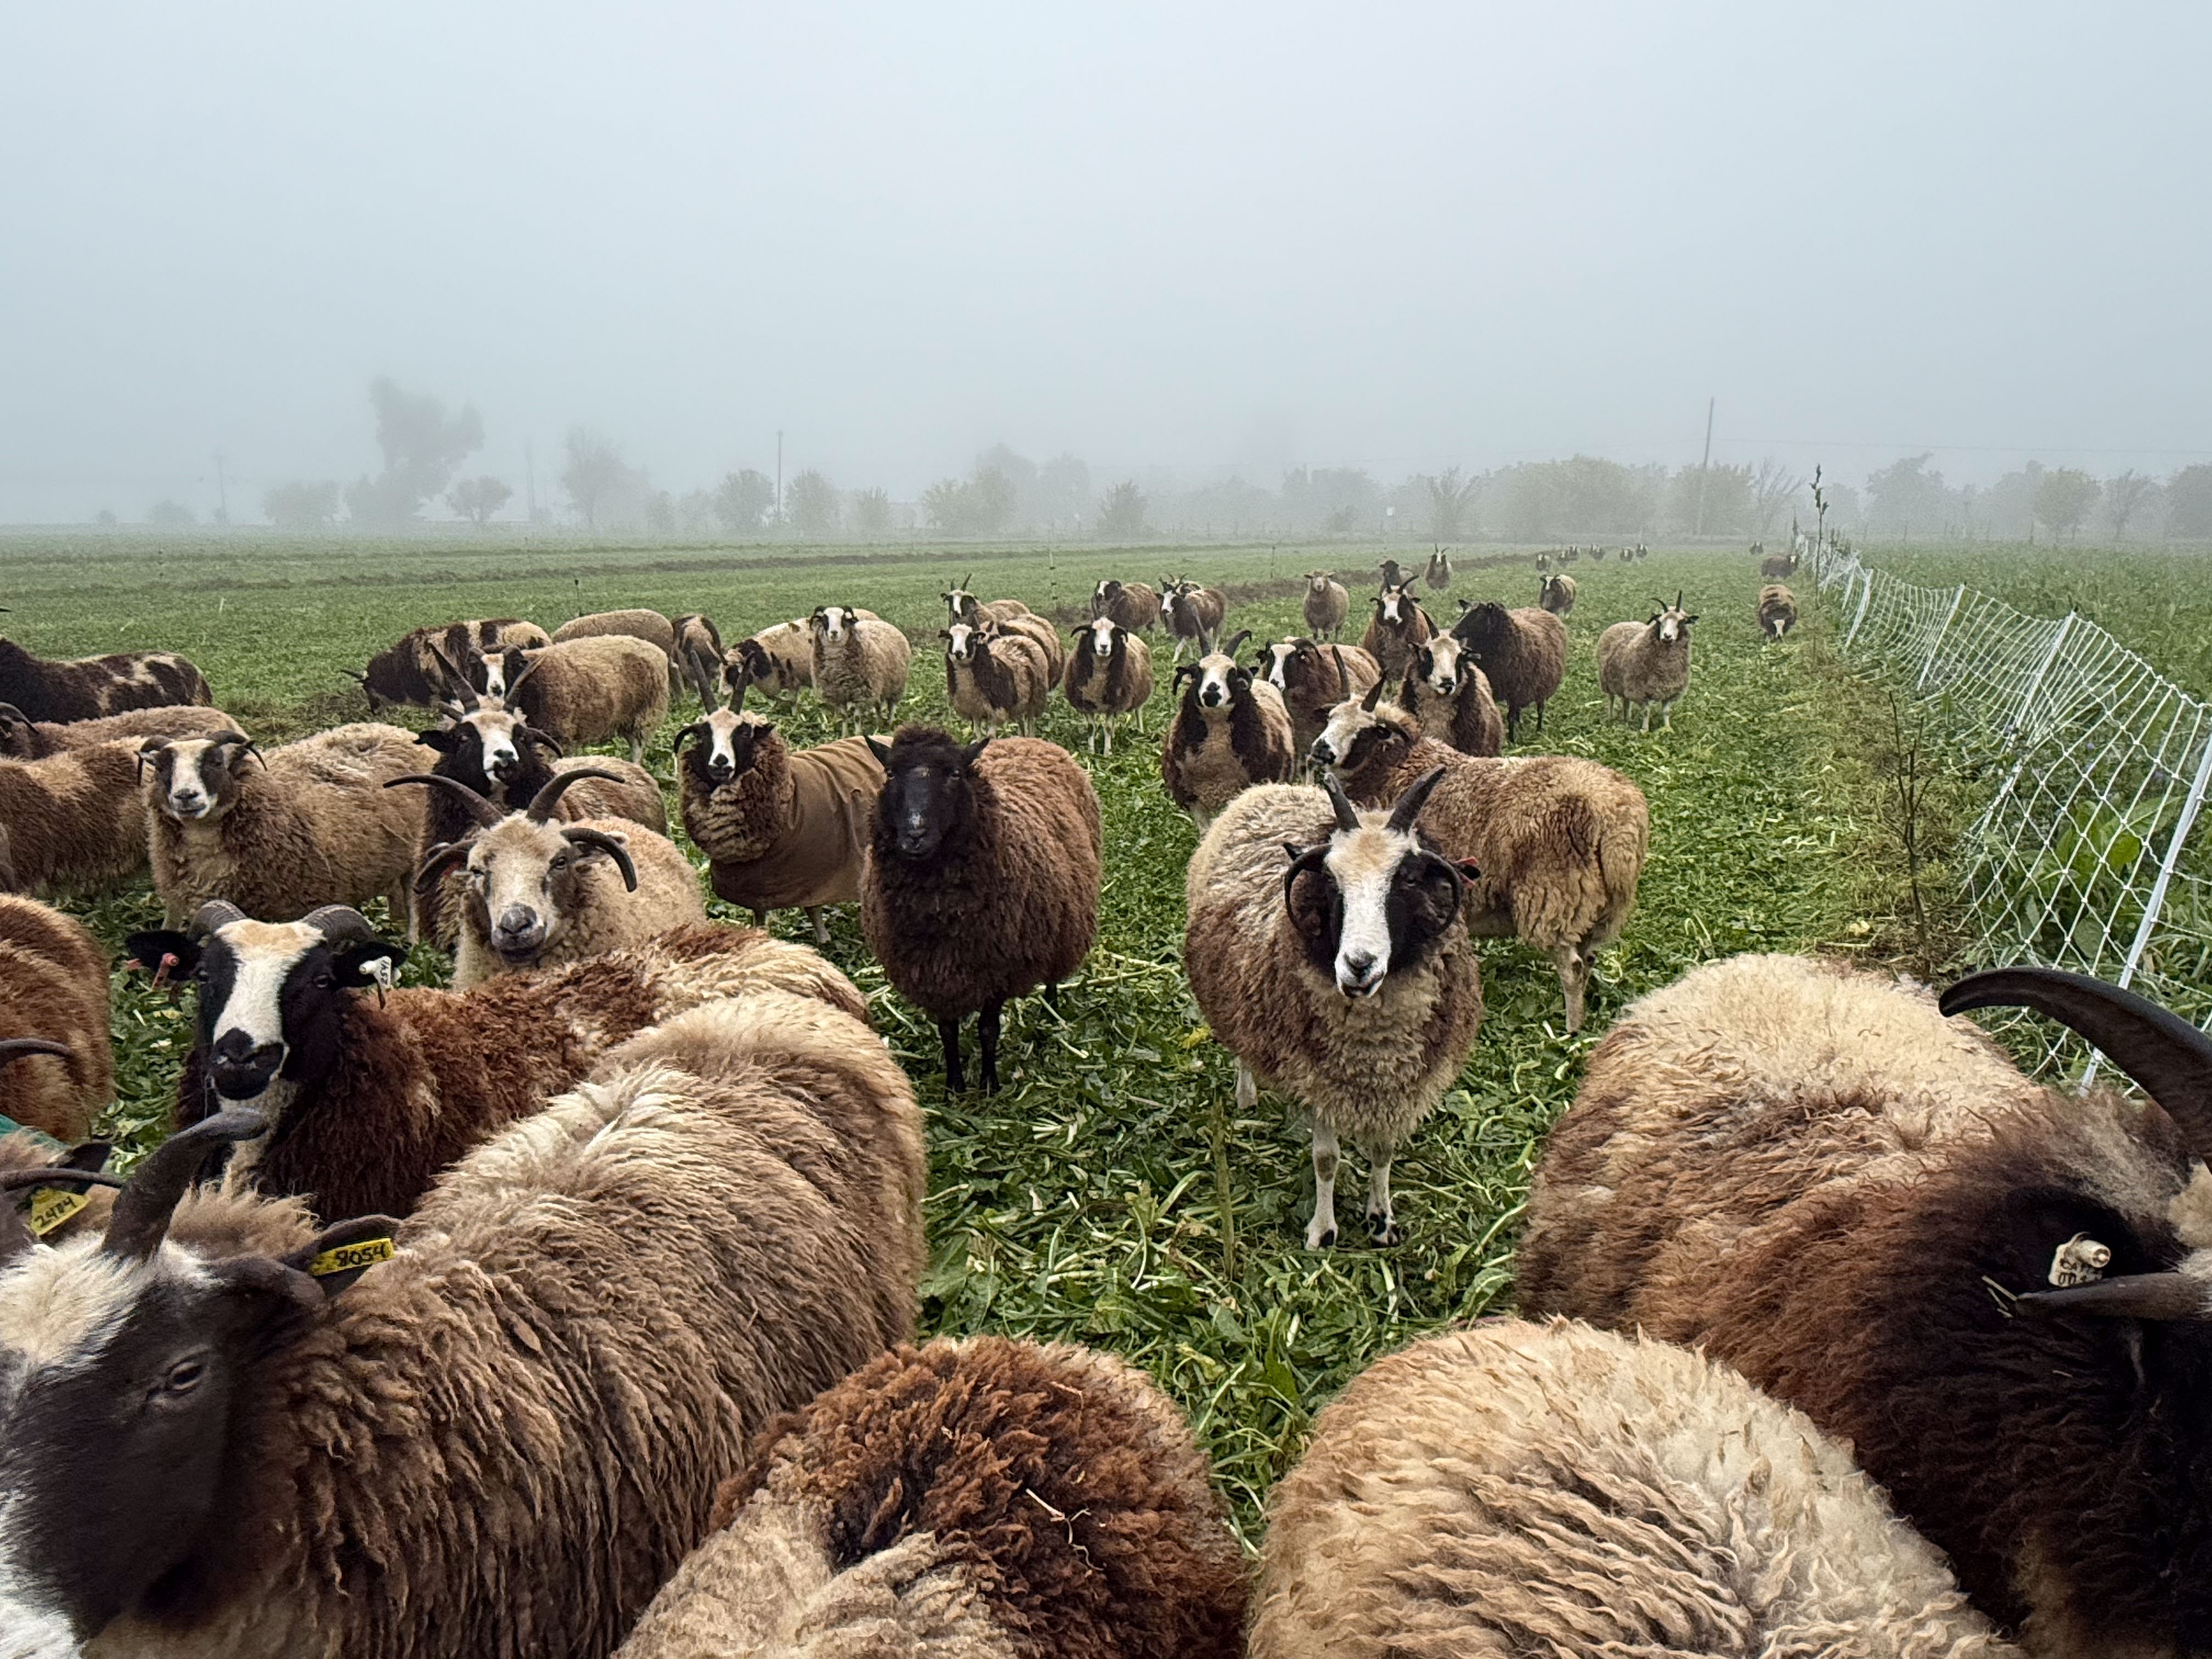
The sheep are happy on this new paddock. This is quite a contrast from the one grazed for only two days.

White net fence in the middle with grazed field on the right and not grazed on the left.

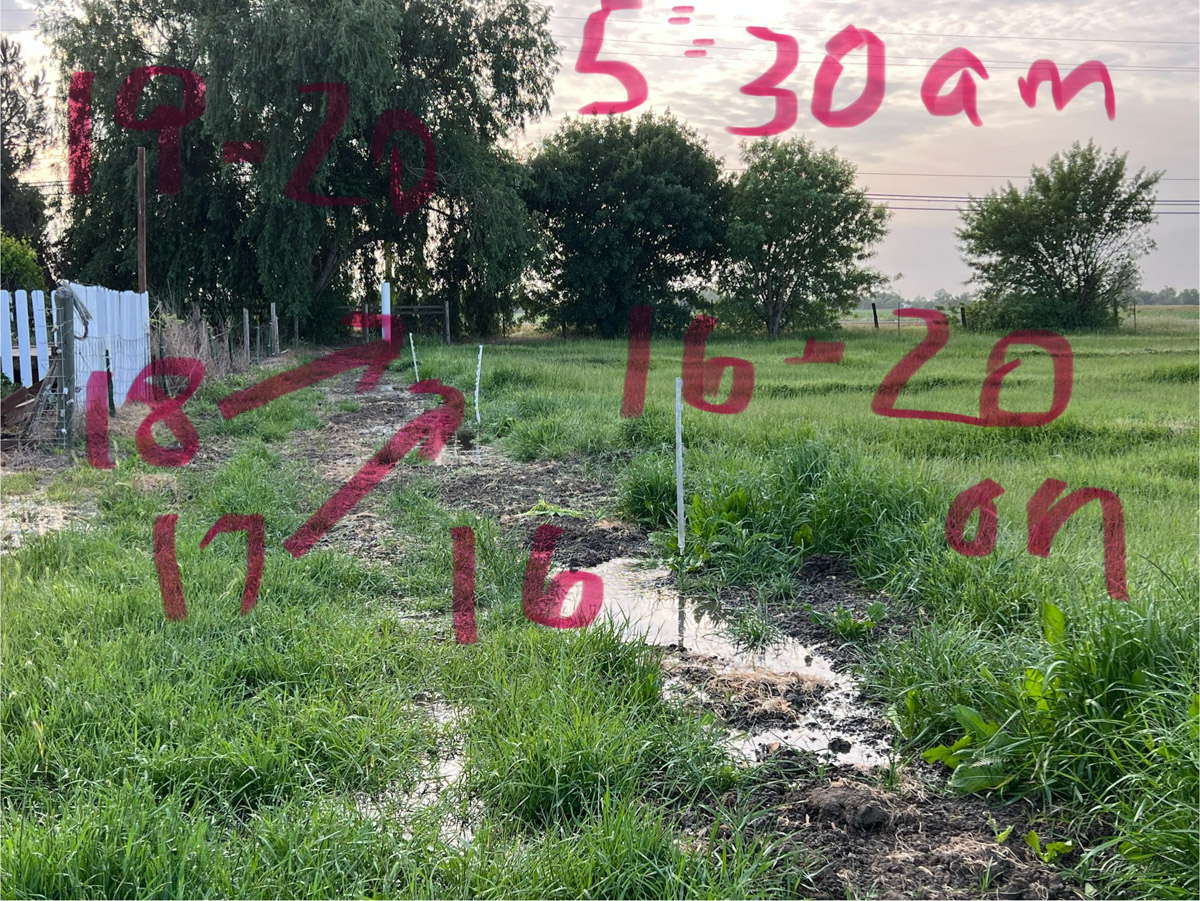
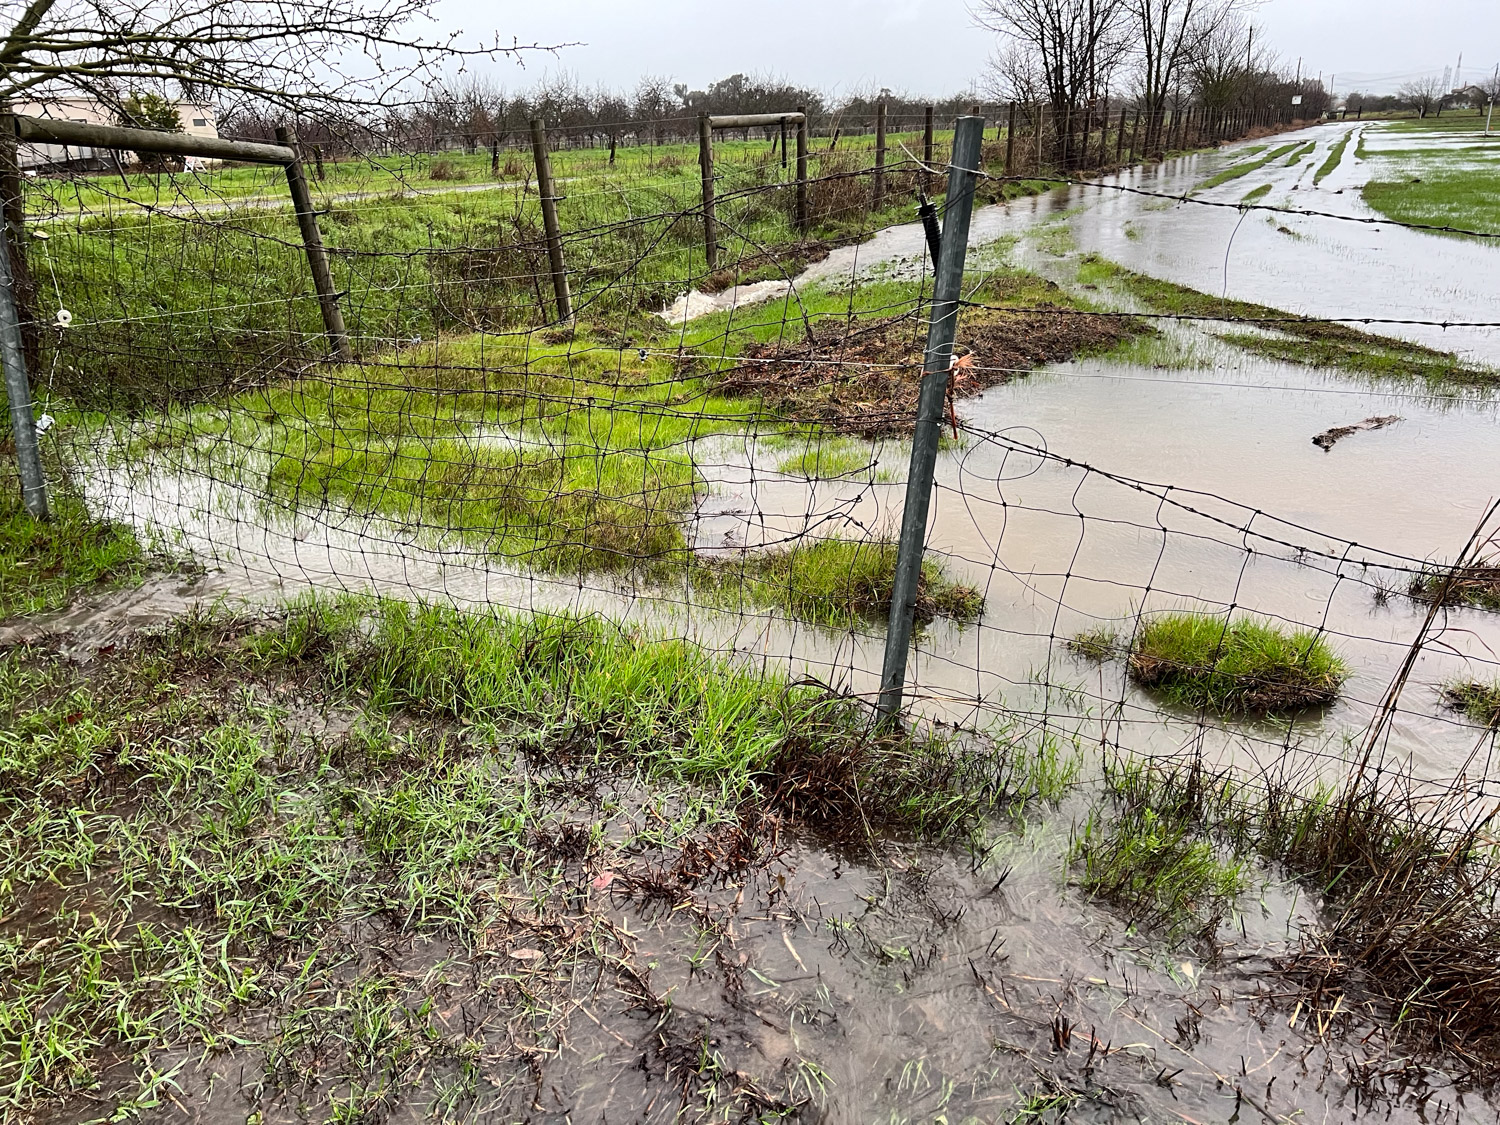
View to the north after re-setting most of the net fence.
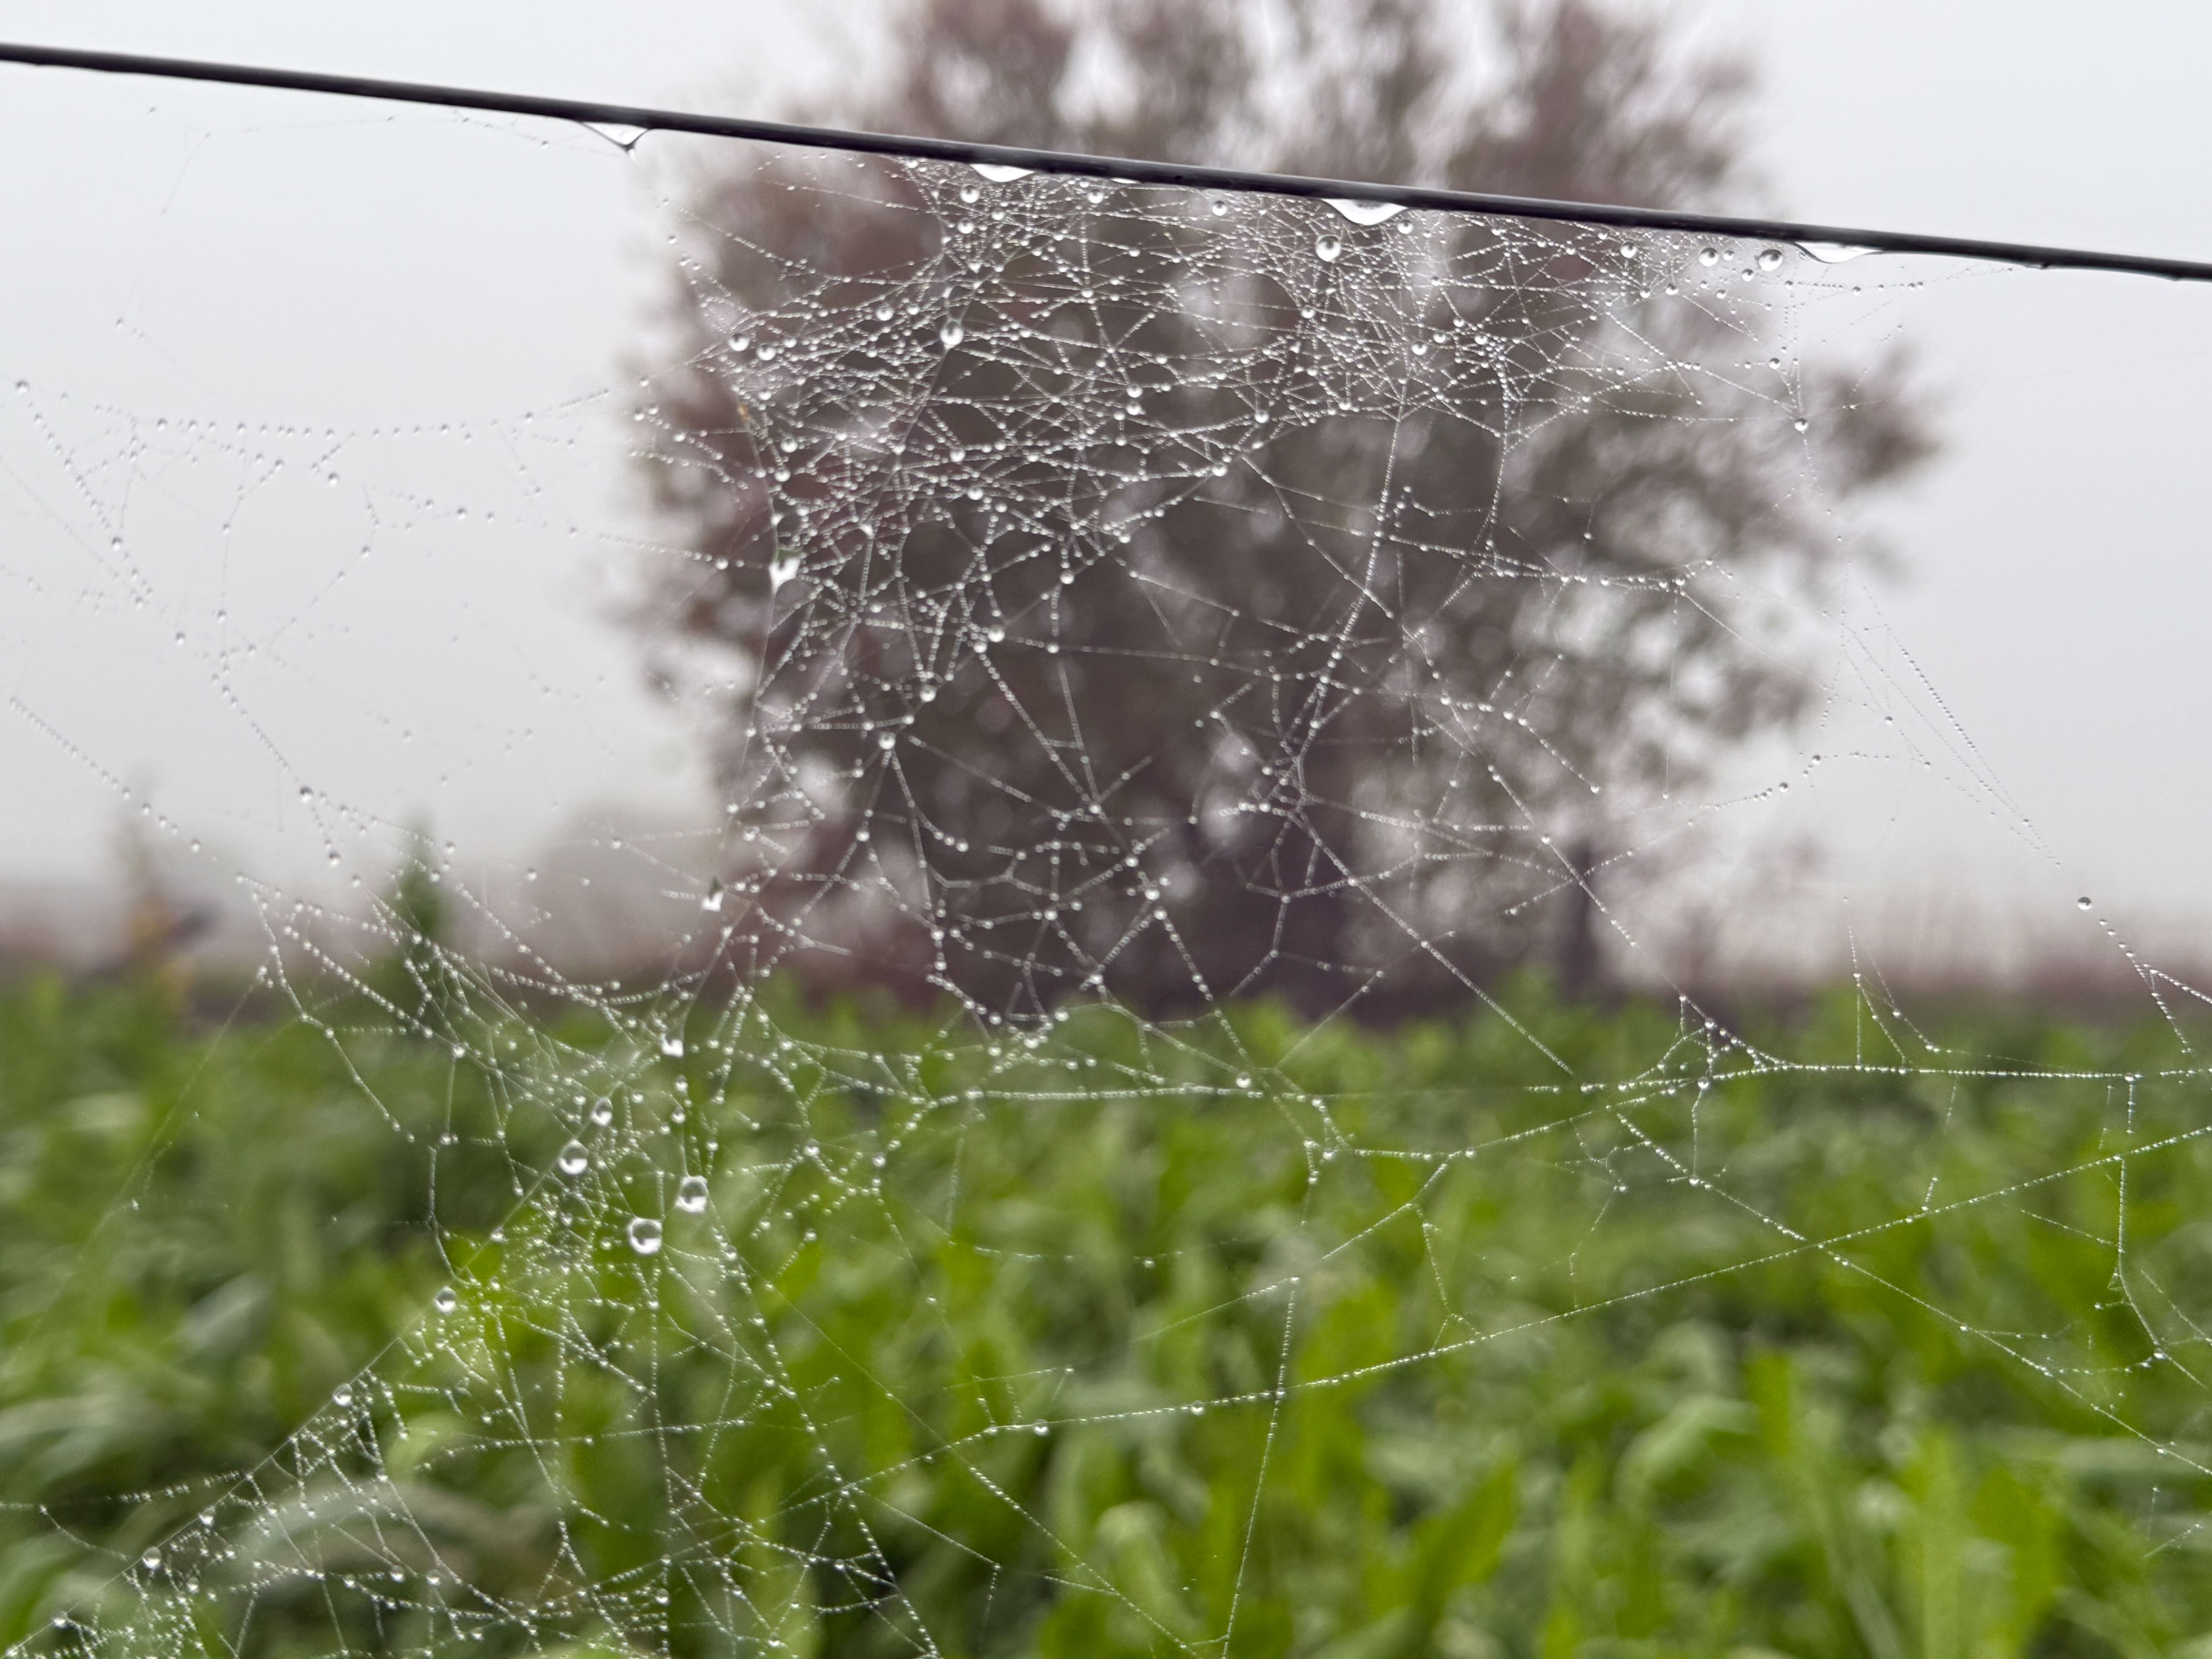
Foggy view.

Chicory flower at the end of the season.

Grazing and Irrigation 7- May

I wrote posts a couple of weeks ago to create a photo diary of our grazing progress as we started grazing the new pasture. As usual I got behind. It’s crazy now to try and document this the way I had intended. Instead I’ll start with this week and see where I go with this.

This is yesterday’s photo. I have numbered all the checks from west to east so I can keep track of what I’ve been doing. They are 30′ wide. We started grazing this spring with the paddocks in the north field. This is the previous post about that before I went on to the first irrigation. When we switched from grazing the north paddocks to the south ones we started with fencing two checks at a time and the idea was to split into smaller areas with cross fencing.

I have to say here that the main challenge here is that we have no permanent fences yet. When this project began (see the first post in October) we had to remove all the interior fences. Dan had knee replacement surgery in April and he wasn’t able to get those fences up before we needed to start grazing that month. I am using electronet fence and that means piecing together lengths of net and moving it as I move the sheep across the field.

This shows the length of fence as I have moved it from one check to another before setting it up.

There is plenty of clover and trefoil, but in some of the areas it has been overshadowed by the annual ryegrass. That is another challenge. Annual rye was NOT part of the seed mix. There were three perennial grasses in the mix, but the ryegrass that was already in the soil took over. Fortunately it is a good feed, but it grew so quickly that it has been a real challenge to manage. This paddock is one that Dan topped with the mower several weeks ago and the clover is more visible here.

So far it seems that I can graze the sheep on each 30′ strip for two days. I could probably add another day but I want to move them across the field to try and keep up with that ryegrass. We also want to make sure that the clover and trefoil get well established before grazing them heavily. It is time consuming to move that length of fence from one check to another every two days, so this last time I moved only one of the fences to the west. There is no fence down the center of this photo. I moved the fence that was on that check to the next check to the west. So the right half of the photo is where the fresh feed is. The sheep can tell where there is fresh feed, and they spent the next two days mostly on that half. They are also able to eat more of the ryegrass that is still on the check once the fence is removed. If this method works then I’ll move one fence every two or three days.

This photo is from a month ago when we moved them to the south field and set the north-south fences up to include two checks. We added east-west fences to have them eat each part more throughly. However, we have no drinking water source out there now so they have to have to be given access to the barn.

You can see how overwhelming the ryegrass is. There is clover there but it is hidden. When the grass is this tall the sheep trample it more than eat is and it has the effect of mulching the field. That is not what we want to encourage the clover and trefoil to grow.

When Dan topped the ryegrass the sheep could move through it more easily and it allowed the other plants to have light.

This view shows how they were able to graze the mowed part.

It’s great to have all this feed now, but I wish that I had more sheep right now to use all that feed.

Grazing and Irrigation 6 – April 29-30

There were more photos for April 29, the first day of irrigation with the new system. I started this story this morning. To continue:

I needed a strategy to keep track of what I was doing. This was partly because the ryegrass was so tall I couldn’t even find the valves at first. Then I wanted to remember what I had opened and closed and be able to tell Dan how it was going. I decided to write on my photos. By the way, there are 7 valves across the north end of the north field near the blackberries. This photo shows the south end of that north field and the top of the lower pasture. There is a pipeline all the way across this one from west to east.

So this photo shows that at 5:30 p.m. there was water all the way down the north pasture and I had opened the first 6 earlier. At this time #1 on this field was finished and I turned #7 and #8 on.

At 7:30 p.m. this is the status. I opened 9, 10, and 11.

At 8 p.m. I opened 12, 13, 14, and 15.

I had been marking the valves with the white plastic stakes. Now I don’t remember if the sideways posts indicated On or Off.

At 5:30 a.m. the next morning I closed #7-15 and opened all the rest.

This shows the last valves, #16-20.

At 7:30 I noted that #20 was finished.

This is how I figured out that I could report back to Dan what was going on. I think I can make sense of this photo now. There was water 100′ from the south border in #17, 90′ in #18, and 50′ in #19.

I’ll be doing this all over again in the morning and I think maybe I should number these in the opposite direction. If I am at the house or barn and “read” from left to right then Check #1 should be on my left (the one next to the road). I guess I’ll figure that out tomorrow. Maybe I need to paint numbers on the south border posts so I can keep track of where I am.

Grazing and Irrigation 5 – April 29

I started this series of posts to explain the outcome of our major pasture and irrigation renovation in the fall (another series of searchable posts). The most recent of this series is here.

It was time to try out our new irrigation pipeline. I didn’t know what to expect, never having irrigated from a pipeline before. Dan, only 3 weeks after knee replacement surgery was not going to be the irrigator.

Where do we get our water? If you look at the fifth photo in this post you see the hills. Lake Berryessa is in those hills and that is the water source for the Solano Irrigation District. There is a low spot in the center of the skyline and that marks the place where Putah Creek flows from the Lake.

This photo is northwest of our property and this is the main canal from which we get our water. This view is southwest. When the valve is opened water runs down the next canal, seen below.

This view is due south. That water will be getting to our pasture after it turns a corner at the edge of the orchard.

Here is that corner. View is southeast.

Just past the corner looking due west. Our property is at the end of this canal.

This is the same location as the previous photo but showing the view to the west. That barn is the Hendrix Hay barn that you see from our property.

Walking along the road before the water is visible in the ditch. That is our barn that you see in the photo.

The same ditch but looking west from the corner of our property. That opening on the left is where overflow from other properties or storms can exit this ditch and not flow into our property. When we irrigate lengths of 2 x 6 boards are slid into a channel to prevent most of the water from flowing out into that ditch.

The view as the water is getting to our place. The red handle opens the gate to let water into our property.

When this gate is open the water flows into that concrete box where there is a flow meter and then out into the pipeline. The concrete box is 8 feet deep and 4 feet square. See some of the details in this post.

Once water fills the pipeline we start opening valves.

It will take me awhile to learn how much to open each valve, how many to have open at one time and how long to leave them open. We’re irrigating again tomorrow (a month after the irrigation in this post) and I’ll experiment again. Do you remember the old way of irrigating? I just searched my posts for “irrigation” and found this one from 2010. Wow! It shows the same corner with the old standpipe, but what is amazing to me is that north fenceline. Where are the blackberries?

Who’ll Stop the Rain?

Can you tell that I just watched a Creedence Clearwater Revival documentary (and I’m of an age to have that phrase pop into my mind)? Did you know that the CCR members got together in junior high?

But I digress. This was to be a post that follows up on the Pasture and Irrigation Renovation posts because it’s about the pasture….and rain. After NO rain in January the first few days of February were wet. We had almost 5″, with close to 2″ in one day. That doesn’t sound like a lot to people in many parts of the country but it’s a lot for our flat property. That is 1/5 of our annual 24″ in five days.

This was before the last inch of rain fell. There was a break in the rain and I walked to the south end of the property. That post with the orange flags holds one of the soil moisture sensor I mentioned in the last post.

This is the other sensor. We are not happy about the lines in the field that have become ditches. We needed to disc and seed the fields before the heavy rain in November, which was finished hours before that storm (blog post). However the irrigation pipeline work was not completely finished. That involved more traffic back and forth in the field and we have truck tracks to deal with.

Back to the barn. For those of you who have been here, you know that this is where we walk to the barn from the house. It doesn’t take much rain (well, 2″ on top of 3″ the previous days) to look like this. Thankfully our barn stays dry inside…so far.

Looking south from the barn door. Normally I’d be digging a ditch to drain the water from here to the irrigation ditch. But we don’t have an irrigation ditch anymore. We have a pipeline which will hopefully make life so much easier and more efficient in the summer.

What looks like a ditch in the foreground is where the old ditch was. Now there is a buried pipeline on the other side of that row of dirt. All of this is still settling so we don’t know what it will look like eventually. The water drains off our property from the southeast corner (near the tree in the top right corner of the photo). Dan set up a pump to take the water from the near the barn through an old pipe and over that row of dirt into the field. It seemed to work OK.

This is the view behind the barn.

Later in the afternoon I walked back to the southeast corner and brought a shovel. Like I’m going to drain this with a shovel. There is a ditch that is between the fence and the road with a culvert that takes water into the canal, and water was starting to flow under the fence here. The problem to deal with eventually is that the water flowing along the south fence line erodes the soil there as it goes under that fence into another culvert, and eventually those posts will go.

Wednesday’s total.

Yesterday was dry and sunny. Today it started raining again and that’s why the title of this post came to me.

Pasture and Irrigation Renovation – Part 11

Yesterday’s post brought us up to November 19 when the work on the irrigation pipeline was almost finished. The field wasn’t yet seeded and significant rain was due that night.

There is a story about the seed. It was a special order to get the quantity and mix we specified. On November 8 we drove to the seed company in Tracy to pick it up to save on shipping cost and so it would be here when Michael was ready for it. The order wasn’t correct so the company was going to ship it to us the following week. It didn’t come on the day it was supposed to, and we didn’t want it to arrive while we were gone. It would be on a pallet which would need to be unloaded and we couldn’t risk the seed getting wet if it rained. So we scheduled delivery for the following Tuesday, the day after we’d be back from Arizona. The shipping company called on Tuesday to say it would be here Wednesday. We needed to get that seed in the ground on Tuesday because of the imminent rain.

Fortunately we were told that the seed could be taken off the truck so we could pick it up. Dan I drove to Sacramento to pick it up at the trucking company location. I texted Michael that the seed we would be back home with the seed by about 2:00.

The air seeder has two long arms that distribute the seeds as it’s being driven.

I don’t know the details of how it is set up but this is a look at the part under the hopper where the seed falls into the black tubes in a measured quantity.

There is a control here where Michael set the amount of seed to apply. He somehow calibrated it to apply 30 pounds/acre when the tractor is driven at 6 mph.

It took only a few hours to apply the seed using this equipment.

This was followed up with ring rollers to help the seed have more soil contact. It was getting dark.

After rolling the main part of the pasture, Michael had to adjust the width of the rollers to squeeze between the new valves that are 30 feet apart. This was to access the north part of the field.

Michael’s son had been riding in the cab while Michael was working. While he adjusted the rollers (and Dan was watching to make sure they cleared the valves) I took Bodie into the barn to feed the sheep with me.

Seeding was just in time. We had almost an inch and a half of rain that night.

The NRCS engineer wanted to certify the pipeline work, but now it was too muddy for people to walk or drive across the field and even on the road to the west. I walked out there by walking on the dried grass to the side of the dirt road west of our property so I could send photos. This shows the work the welder did the previous day when he could drive on that road. He cut out a circle on the horizontal pipe, matched the vertical pipe with another cut, and welded them together.

There is a precisely measured hole in the top of the horizontal pipe. I think the purpose is for air flow to help with water flow.

The finished connections that need to be covered. But, wait, they are not finished. There will be another post that shows a flow meter being installed.

Avoiding the dirt most of the way, this is how my boots looked just….

…walking across the dirt road to get to the corner of the property. I sent the engineers the required photos and these last two to show that it was not a good time for anyone to visit.

Pasture and Irrigation Renovation – Part 10

The last post I wrote about this project was on November 21, two weeks ago. At that point we had just come back from our Arizona trip The pipeline was put in while we were gone. We were anxious to get both the irrigation work and the field work finished before the real winter rain started. With it this late in the year it was certainly possible that there would have been significant rain before this time. I don’t know what we would have done if that had happened. I think the whole thing would have been put off if the ground was as wet as it is now.

So in these photos the ground is dry. This is the view from the western edge to the east. The pipeline is 15″ and the valves are 30 feet apart

That is a pretty deep trench at this end. There has to be gravity flow so I assume the west side is a little higher than the east.

View to the west.

The is the trencher they used. I was interested in that conveyor that looks as though it is just stuck in that wheel to get it out of the way. But, of course that is not the case–it is supposed to be there. . As the wheel turns, the dirt is brought up to the top where it drops onto the conveyer which drops in a long ridge next to the ditch.

This view if from the corner where the water enters our property There is a north-south pipeline buried here.

This is the connection where we get the water from the SID canal.

The concrete box is 8 feet deep. A flow meter will be placed in one of the pipes.

Another private contractor showed up this day. He is a welder and his job was to cut a hole in the horizontal pipe and shape and then weld an upright pipe onto the horizontal one. I think it is to allow air flow in the pipe so that the water will flow better.

This is the row of valves after the trench has been mostly filled in.

This was all finished just in time before heavy rain was predicted to start. The other crucial task was to get the field seeded before rain made it impossible to drive a tractor across the field. Rain was due by sometime during the night.

To be continued because I’m too tired…

Shearing Day 2024 – More Photos

I shared the first batch of photos from Shearing Day last night. Here are more.

John has been shearing for us for years. He is an excellent shearer and a nice person.

I recorded some of the sheep being shorn which I’ll share when I have time. When I record I can pay attention to time. Some of them are right at 2 minutes or maybe even a little faster.

There is no blood. The sheep are in good shape and the fleeces look great! What more can you ask for?

Farm Club members kept up with getting the sheep to John. I got outside and started to take photos of the sheep after shearing. This ewe is Sandie.

They sure look clean now! That won’t last.

Kathleen weighed all the fleeces.

We had two skirting tables available so that fleeces could be skirted before purchase.

This is just a portion of the fleeces that I need to skirt and put out for sale. Give me a little time to get to that. The sooner the better though.

Distraction…there was a lamb born tonight! Surprise! I guess the next post will be about lambing.

Shearing Day 2024

Shearing Day was Sunday, January 21. Rain was predicted all weekend. We need to shear dry sheep. For several years I have used the wool from my friend’s Jacob sheep. It’s easier to shear them here and we can be sure they’ll be dry. So I pay for that shearing and we bring her sheep here the day before.

This year we brought them two days ahead of time due to the weather and because of my Saturday activities. I had two extra stalls there was plenty of room when we split the group.

There were 16 ewes and one ram lamb.

We sheared those sheep first. This is the ram, first sheep of the day to be shorn.

John’s dog, Oakley, found a comfy place to settle down.

As soon as the neighbor’s sheep were shorn we loaded them in the trailer and Dan drove them home. They fit in the trailer much better after shearing than before.

First up for me was Peyton, the BFL ram. The BFL’s seem to gain weight very easily. He and the two crossbred ewes I have are probably a bit too heavy.

The Jacob rams were next. This is the ram lamb (almost yearling) Typhoon.

Here is the lilac ram, Horatio. Look at all that luscious fiber!

Ewes followed. I took recorded lots of video but haven’t had time to do anything with it yet.

Shaggy looking sheep.

This is the view of the main sheep area looking into the lambing area where there are pens, and beyond to shearing.

Shearing Day wouldn’t go as smoothly without all the Farm Club help. We crowd the sheep into the main barn with panels and move them through to the shearing area.

I’m grateful that so many Farm Club members have been here enough that they can just jump in and take over. There were several new members as well who are well on their way to learning about sheep handling.

Sheep in the lambing area moving to the pen on the top left near the shearer. That’s a goat on the right. The goat has to go in a pen or she gets in the way.

She got plenty of attention there.

Two or three people bring a few sheep at a time into this pen where they are moved through the gate to John.

Kathleen took her regular job of weighing fleeces.

Thanks to everyone! There will be another post.

Farm Day – One Week Until Shearing

I scheduled a Farm Day today to take care of some chores prior to shearing next week. The ewes were ready to be vaccinated to provide the highest level of antibodies in the colostrum. I wanted to clip fleece samples from the yearlings (their second fleeces) to send in for micron testing. We also made sure that the ear tags were clean enough to read and that the tags would match the cards that go with each fleece.

Some long-time Farm Club members were there as well as some people who are new to Farm Club. It all went very smoothly and it took only a couple of hours to work through all the sheep and take time to take a closer look at some of those fleeces.

Farm Club members get a chance to reserve a fleece at this Fleece Preview Farm Day.

Deborah took the photos from above and this is me remembering to take at least a few photos. Often we get so busy that I overlook that.

While most of us were in with the sheep Susan, Chris, and Nikki volunteered to clean behind the barn. That’s always a big chore. When they finished here they moved to the ram pen and cleaned the ram barn.

Mary checked off the list on the clip board and made sure the cards matched the ear tags. Susan drew up vaccine into syringes.

Marina and Katy caught sheep, marked faces, and cleaned ear tags.

Rachel and Siobhan also helped catch and mark sheep.

The photos below are what it is all about. I had been thinking that the sheep are looking a bit bedraggled, but when I got hands-on those fleeces I changed my mind. They are looking good.

April is a yearling ewe, almost 2 year old.

Queen Q is the same age. The photos below are an on-the-hoof look at the fleeces of the four rams I have here.

Meridian Blizzard (Meridian Silverado x Meridian Bessie), 10 month old ram.

Meridian Typhoon (Meridian Turbo x Meridian Rocha)

Fair Adventure Horatio, 3 year old ram, from Colorado.

Hillside Gabby’s Barrett, 3 year old ram, from Michigan.

Shearing Day is Sunday, January 21.* We’ll be shearing about 70 sheep. Fleeces are available on shearing day and for a month or two afterwards as I skirt them and post them on-line. If you live in the area you can come here to choose a fleece. Contact me.

*I just fixed this. A friend pointed out that I wrote June 21. Yikes!