I was able to trade in my camera phone for a new one and actually lower our Verizon bill! So I did it. Trying it out at chores time tonight:
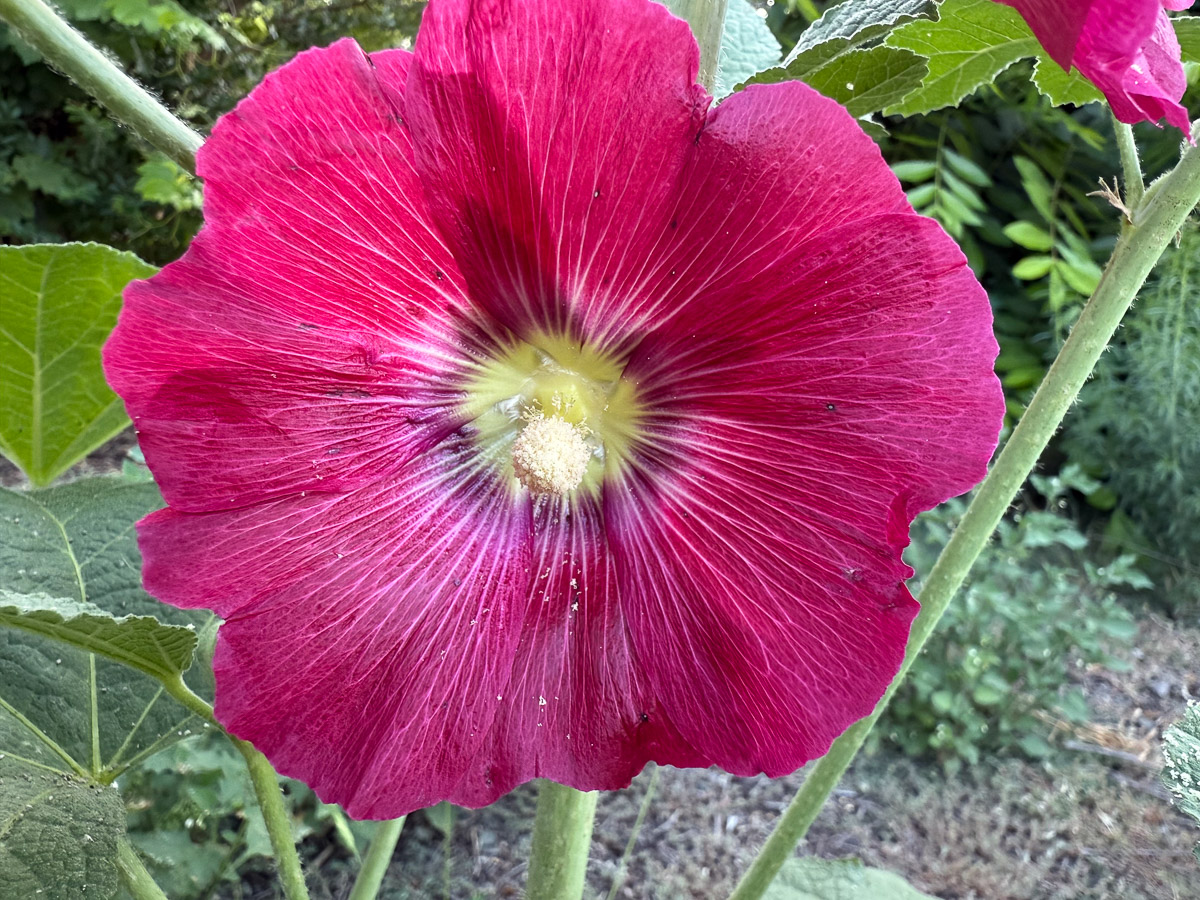
Hollyhock.
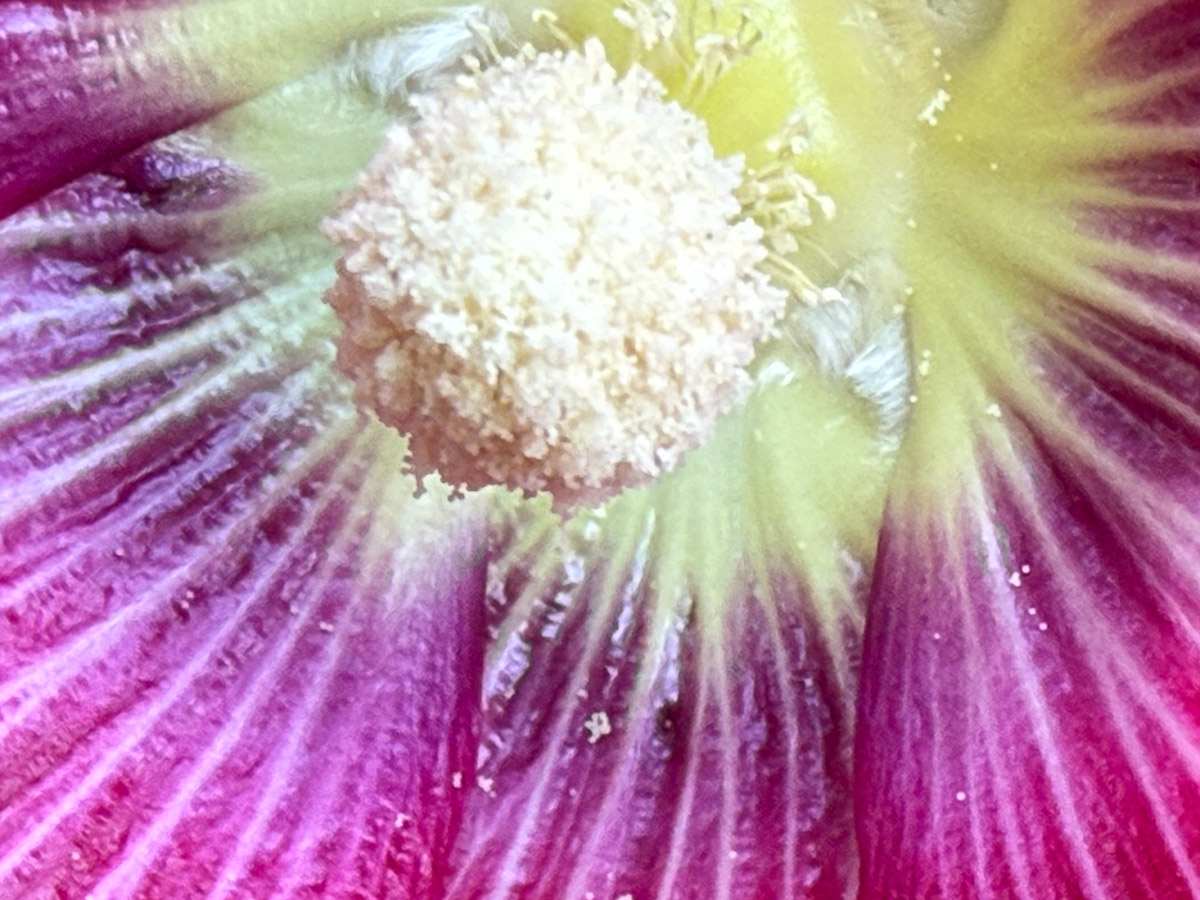
Hollyhock close-up
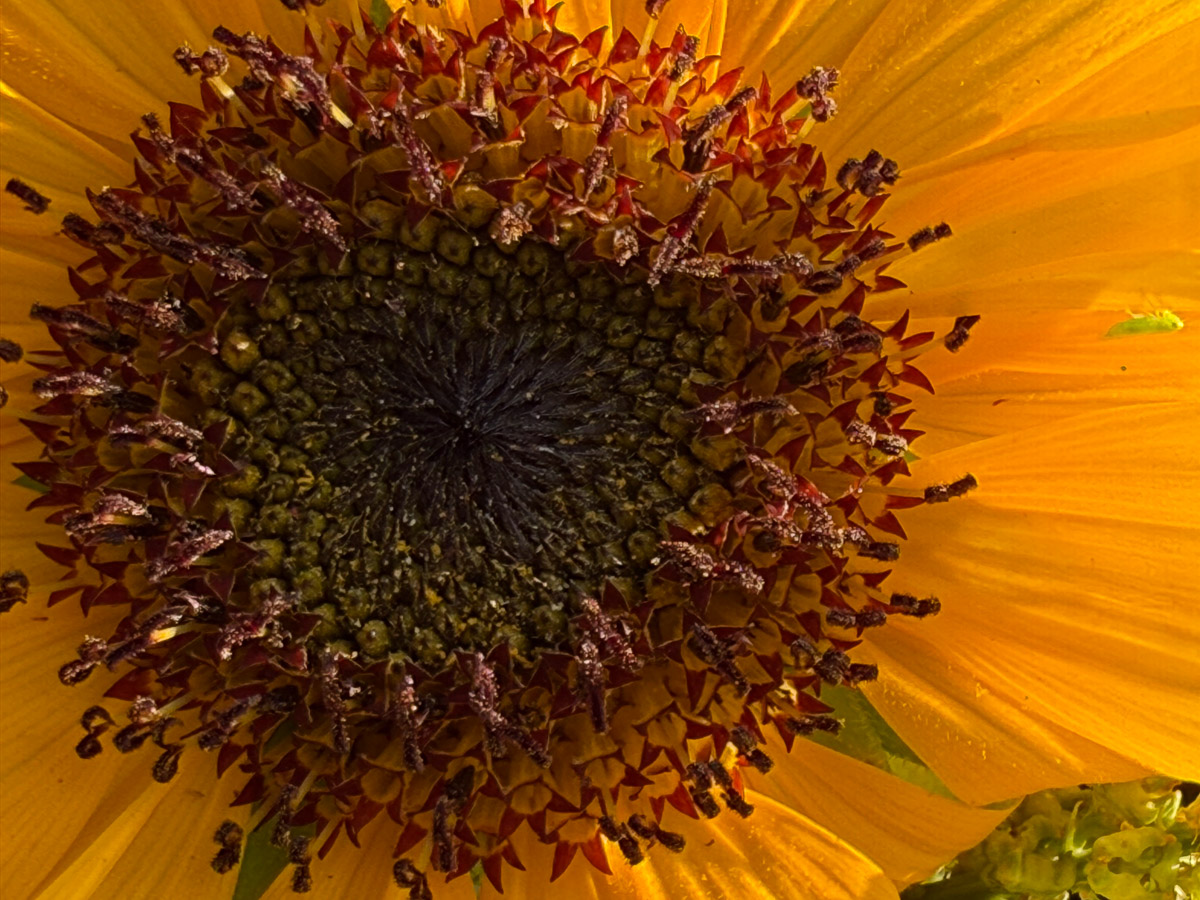
Sunflower.
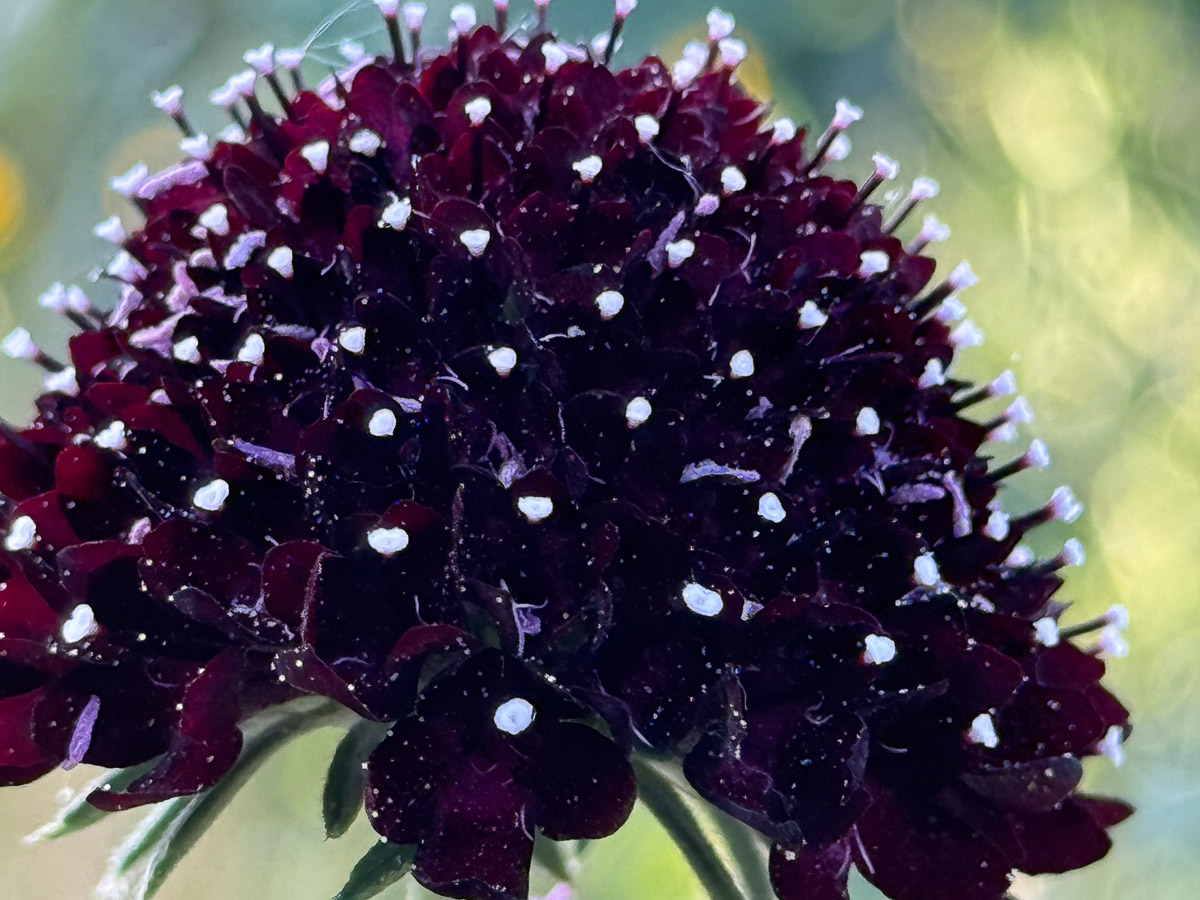
Pincushion flower, one of my newest dye plants.
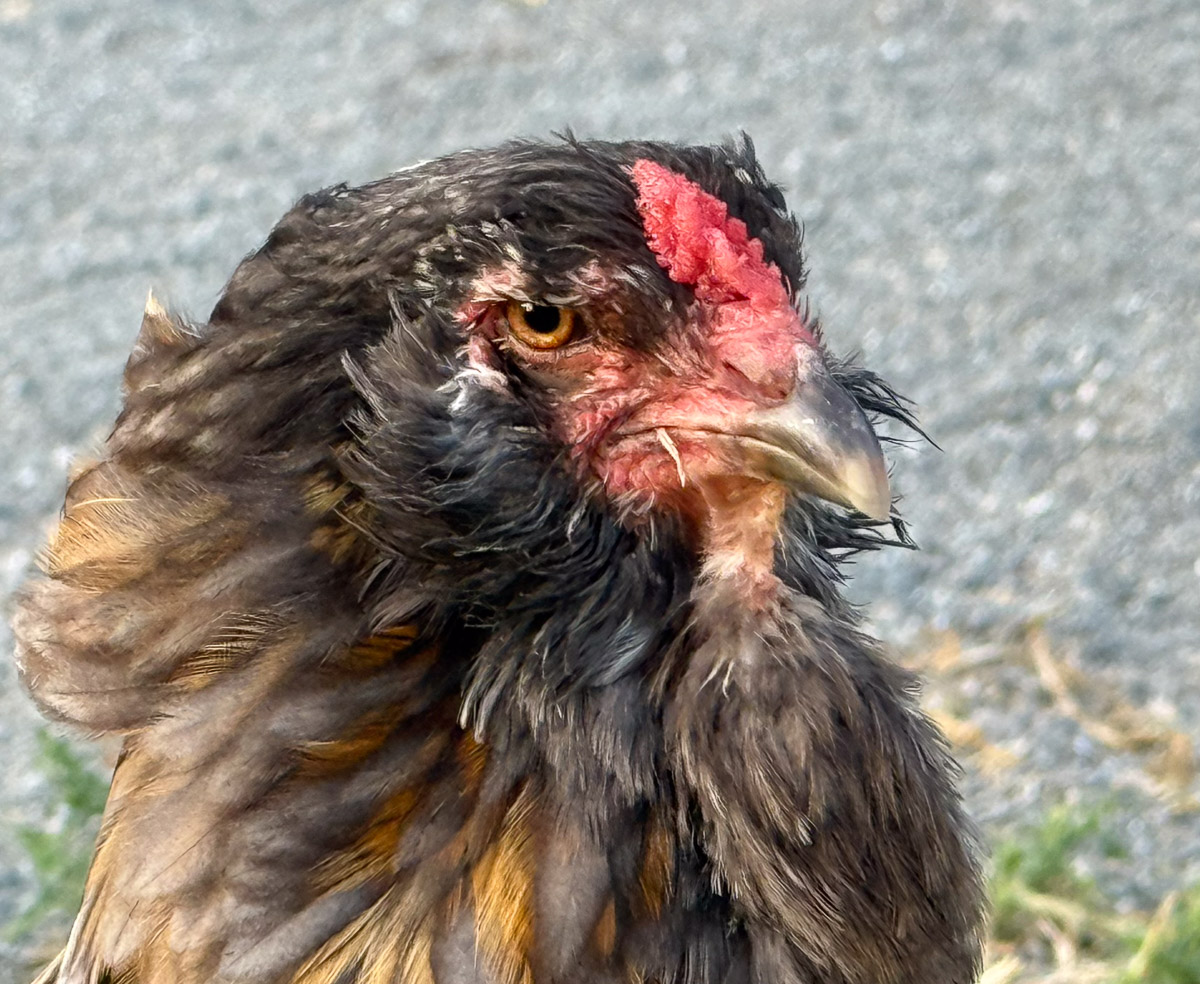
Chicken portraits.
Sheep named Roca.
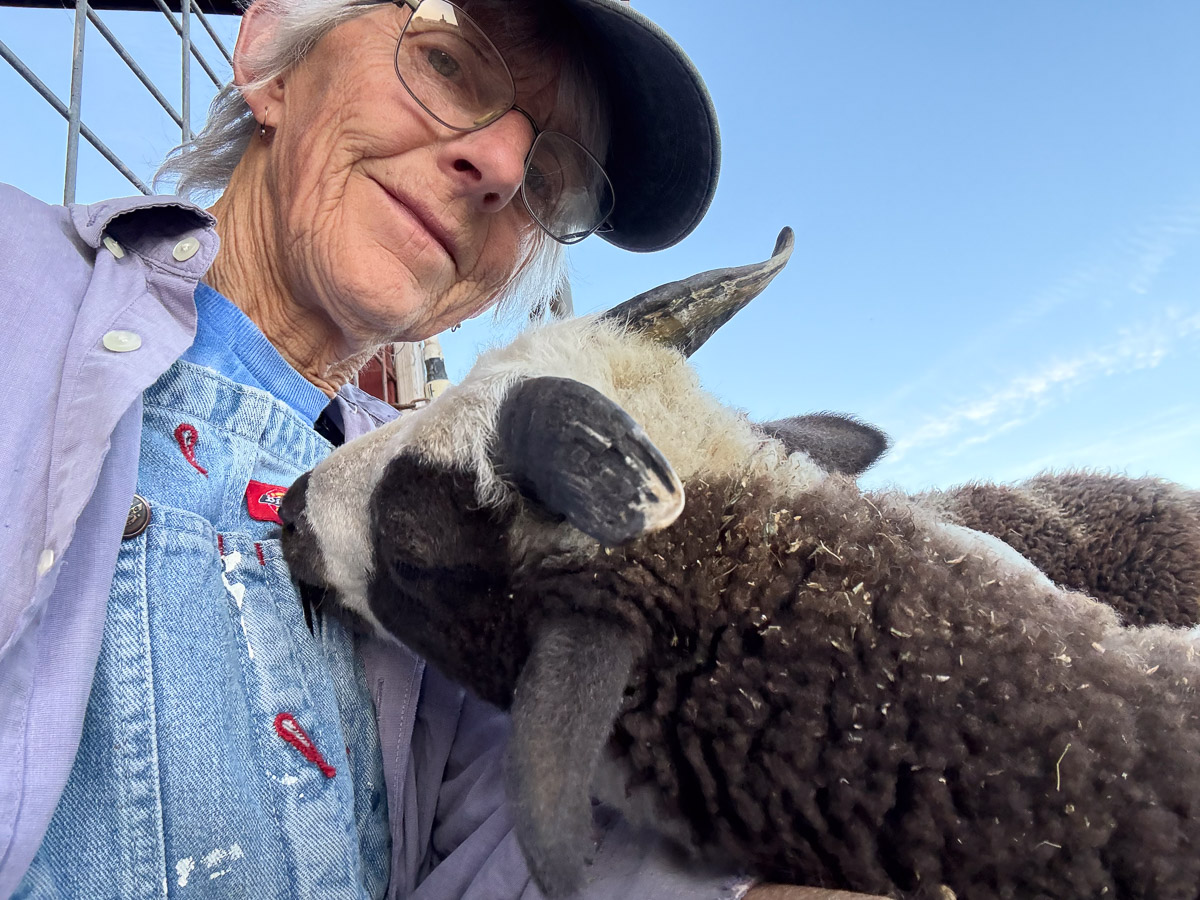
Selfie with Sparky.
Very wide angle view from the barn to the southwest.
Telescopic view taken from the same location as the wide angle photo. This is the owl box at the south end of the pasture. In the wide angle photo it is about center along the treeline to the left of that telephone pole. I’m impressed!
I wrote posts a couple of weeks ago to create a photo diary of our grazing progress as we started grazing the new pasture. As usual I got behind. It’s crazy now to try and document this the way I had intended. Instead I’ll start with this week and see where I go with this.
This is yesterday’s photo. I have numbered all the checks from west to east so I can keep track of what I’ve been doing. They are 30′ wide. We started grazing this spring with the paddocks in the north field. This is the previous post about that before I went on to the first irrigation. When we switched from grazing the north paddocks to the south ones we started with fencing two checks at a time and the idea was to split into smaller areas with cross fencing.
I have to say here that the main challenge here is that we have no permanent fences yet. When this project began (see the first post in October) we had to remove all the interior fences. Dan had knee replacement surgery in April and he wasn’t able to get those fences up before we needed to start grazing that month. I am using electronet fence and that means piecing together lengths of net and moving it as I move the sheep across the field.
This shows the length of fence as I have moved it from one check to another before setting it up.
There is plenty of clover and trefoil, but in some of the areas it has been overshadowed by the annual ryegrass. That is another challenge. Annual rye was NOT part of the seed mix. There were three perennial grasses in the mix, but the ryegrass that was already in the soil took over. Fortunately it is a good feed, but it grew so quickly that it has been a real challenge to manage. This paddock is one that Dan topped with the mower several weeks ago and the clover is more visible here.
So far it seems that I can graze the sheep on each 30′ strip for two days. I could probably add another day but I want to move them across the field to try and keep up with that ryegrass. We also want to make sure that the clover and trefoil get well established before grazing them heavily. It is time consuming to move that length of fence from one check to another every two days, so this last time I moved only one of the fences to the west. There is no fence down the center of this photo. I moved the fence that was on that check to the next check to the west. So the right half of the photo is where the fresh feed is. The sheep can tell where there is fresh feed, and they spent the next two days mostly on that half. They are also able to eat more of the ryegrass that is still on the check once the fence is removed. If this method works then I’ll move one fence every two or three days.
This photo is from a month ago when we moved them to the south field and set the north-south fences up to include two checks. We added east-west fences to have them eat each part more throughly. However, we have no drinking water source out there now so they have to have to be given access to the barn.
You can see how overwhelming the ryegrass is. There is clover there but it is hidden. When the grass is this tall the sheep trample it more than eat is and it has the effect of mulching the field. That is not what we want to encourage the clover and trefoil to grow.
When Dan topped the ryegrass the sheep could move through it more easily and it allowed the other plants to have light.
This view shows how they were able to graze the mowed part.
It’s great to have all this feed now, but I wish that I had more sheep right now to use all that feed.
There were more photos for April 29, the first day of irrigation with the new system. I started this story this morning. To continue:
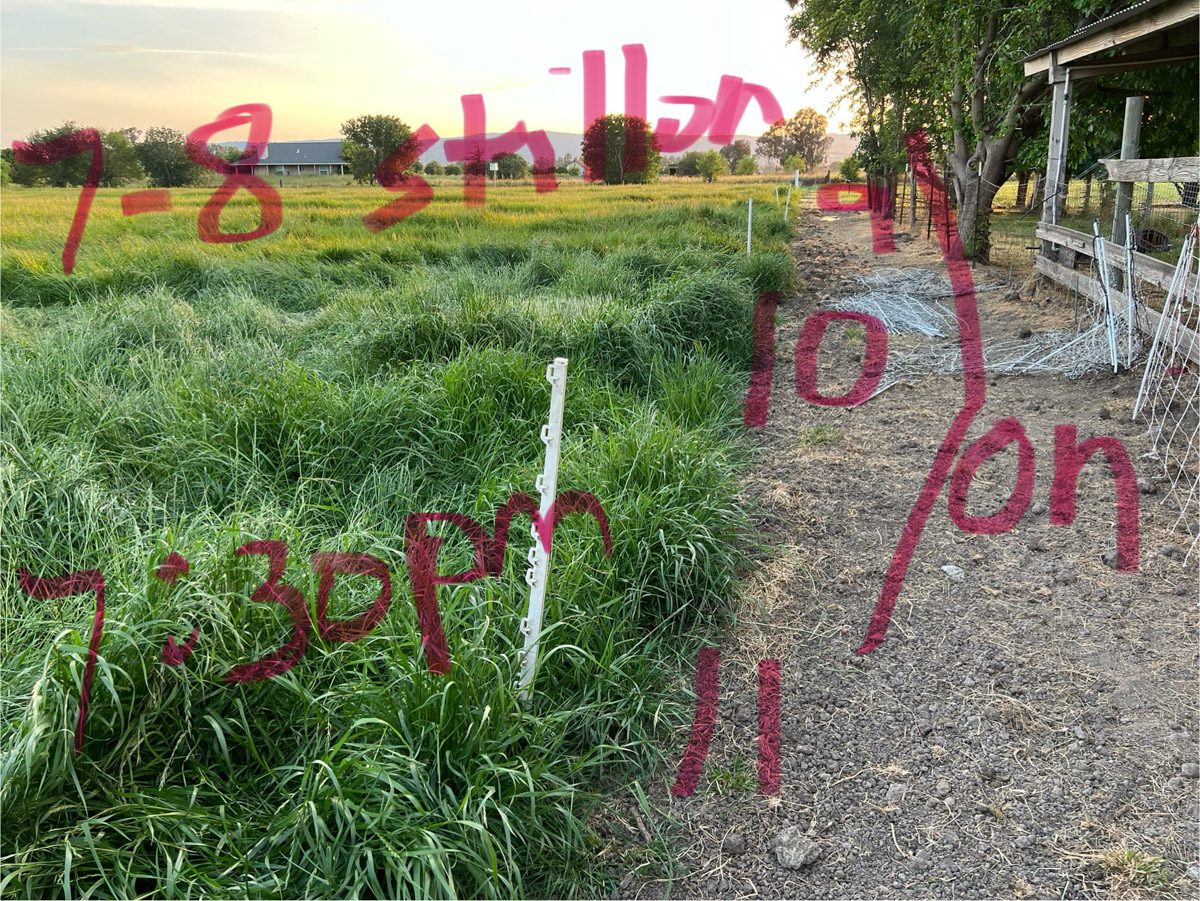
I needed a strategy to keep track of what I was doing. This was partly because the ryegrass was so tall I couldn’t even find the valves at first. Then I wanted to remember what I had opened and closed and be able to tell Dan how it was going. I decided to write on my photos. By the way, there are 7 valves across the north end of the north field near the blackberries. This photo shows the south end of that north field and the top of the lower pasture. There is a pipeline all the way across this one from west to east.
So this photo shows that at 5:30 p.m. there was water all the way down the north pasture and I had opened the first 6 earlier. At this time #1 on this field was finished and I turned #7 and #8 on.
At 7:30 p.m. this is the status. I opened 9, 10, and 11.
At 8 p.m. I opened 12, 13, 14, and 15.
I had been marking the valves with the white plastic stakes. Now I don’t remember if the sideways posts indicated On or Off.
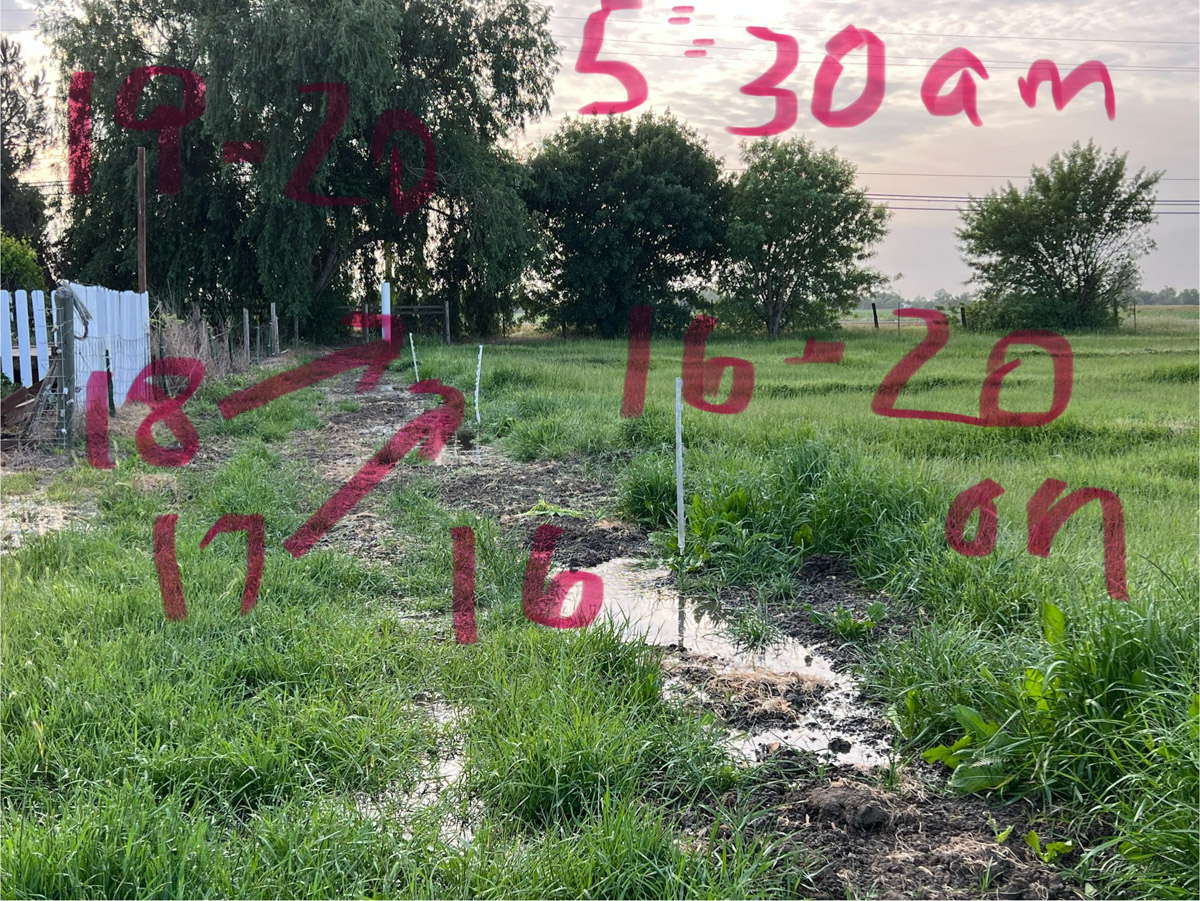
At 5:30 a.m. the next morning I closed #7-15 and opened all the rest.
This shows the last valves, #16-20.
At 7:30 I noted that #20 was finished.
This is how I figured out that I could report back to Dan what was going on. I think I can make sense of this photo now. There was water 100′ from the south border in #17, 90′ in #18, and 50′ in #19.
I’ll be doing this all over again in the morning and I think maybe I should number these in the opposite direction. If I am at the house or barn and “read” from left to right then Check #1 should be on my left (the one next to the road). I guess I’ll figure that out tomorrow. Maybe I need to paint numbers on the south border posts so I can keep track of where I am.
I started this series of posts to explain the outcome of our major pasture and irrigation renovation in the fall (another series of searchable posts). The most recent of this series is here.
It was time to try out our new irrigation pipeline. I didn’t know what to expect, never having irrigated from a pipeline before. Dan, only 3 weeks after knee replacement surgery was not going to be the irrigator.
Where do we get our water? If you look at the fifth photo in this post you see the hills. Lake Berryessa is in those hills and that is the water source for the Solano Irrigation District. There is a low spot in the center of the skyline and that marks the place where Putah Creek flows from the Lake.
This photo is northwest of our property and this is the main canal from which we get our water. This view is southwest. When the valve is opened water runs down the next canal, seen below.
This view is due south. That water will be getting to our pasture after it turns a corner at the edge of the orchard.
Here is that corner. View is southeast.
Just past the corner looking due west. Our property is at the end of this canal.
This is the same location as the previous photo but showing the view to the west. That barn is the Hendrix Hay barn that you see from our property.
Walking along the road before the water is visible in the ditch. That is our barn that you see in the photo.
The same ditch but looking west from the corner of our property. That opening on the left is where overflow from other properties or storms can exit this ditch and not flow into our property. When we irrigate lengths of 2 x 6 boards are slid into a channel to prevent most of the water from flowing out into that ditch.
The view as the water is getting to our place. The red handle opens the gate to let water into our property.
When this gate is open the water flows into that concrete box where there is a flow meter and then out into the pipeline. The concrete box is 8 feet deep and 4 feet square. See some of the details in this post.
Once water fills the pipeline we start opening valves.
It will take me awhile to learn how much to open each valve, how many to have open at one time and how long to leave them open. We’re irrigating again tomorrow (a month after the irrigation in this post) and I’ll experiment again. Do you remember the old way of irrigating? I just searched my posts for “irrigation” and found this one from 2010. Wow! It shows the same corner with the old standpipe, but what is amazing to me is that north fenceline. Where are the blackberries?
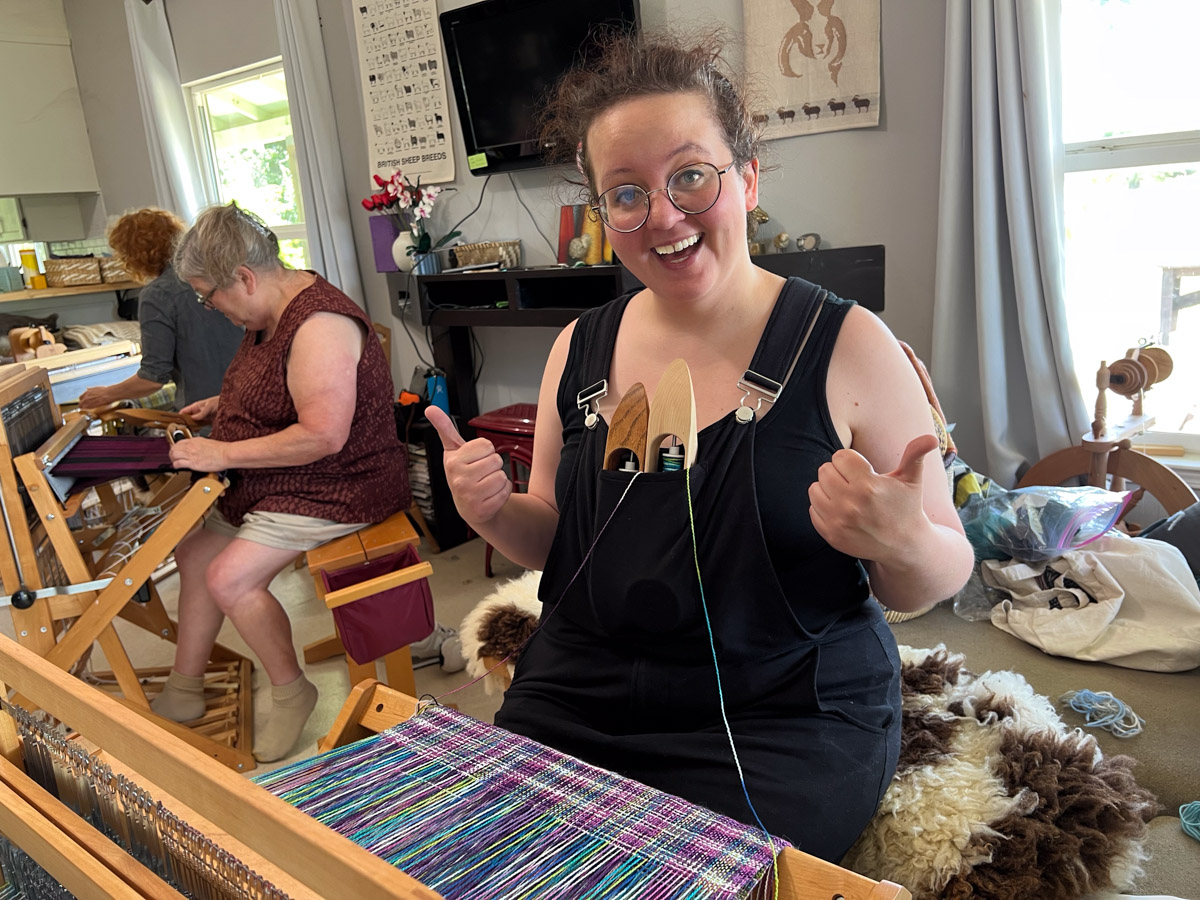
Taking a break from describing the new pasture to share weaving classes the last two weekends. Last Saturday and Sunday I held the Weave a V-Shawl class.
This class had five students. You can see why I can’t take any more than that. #1 all my looms were in use and #2 There is no more room. I didn’t take many photos but will share the few I did get.
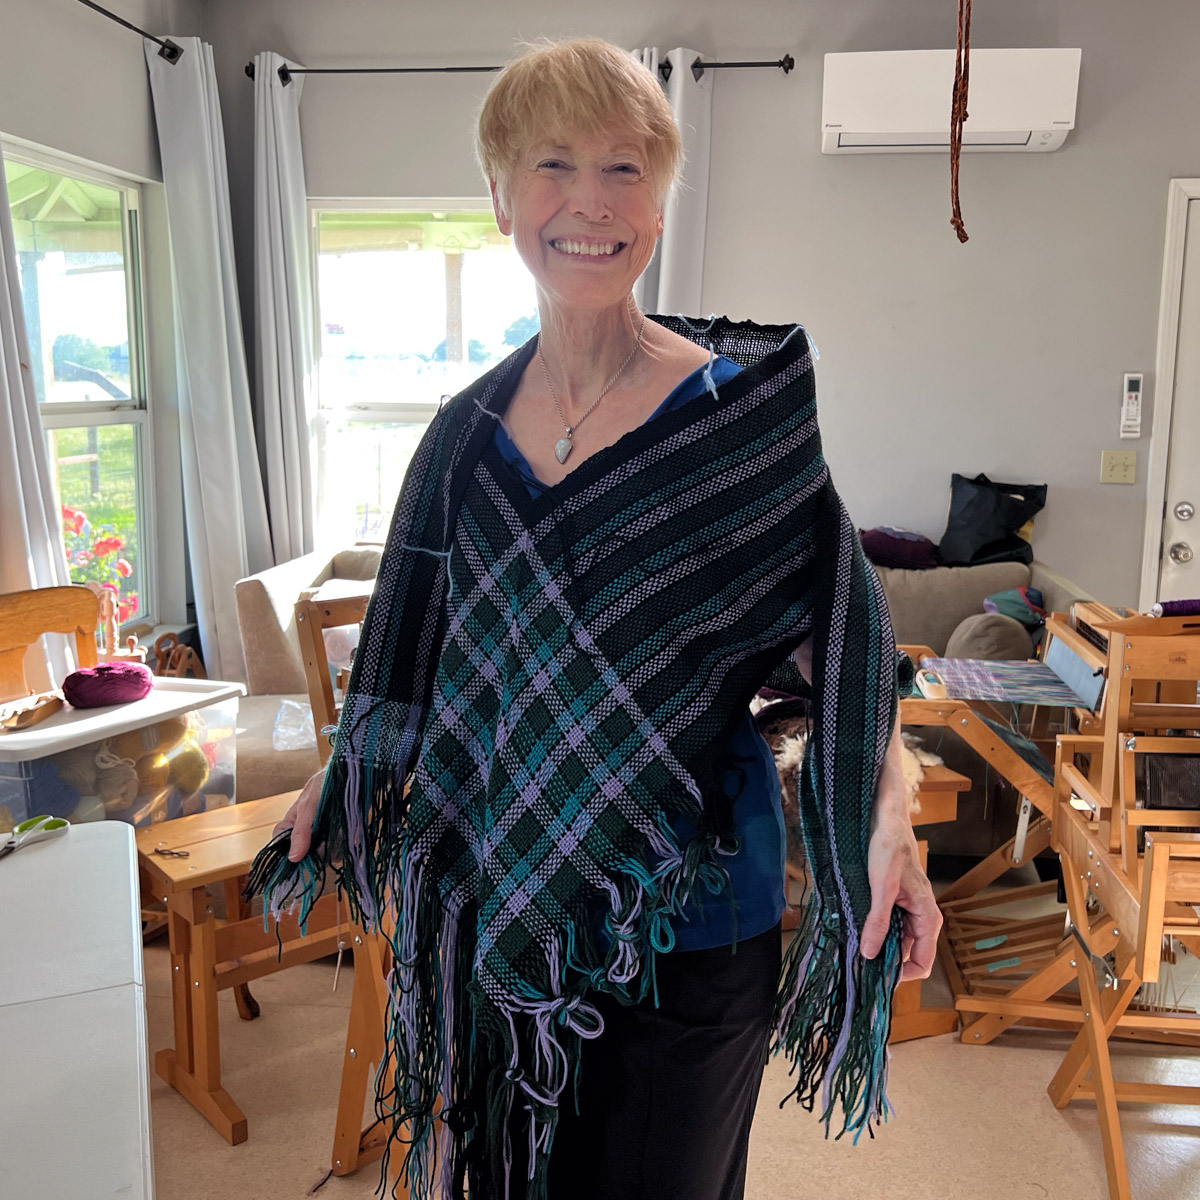
The v-shawls are woven with two fronts as independent layers and then ]oined to create a w-shawl.
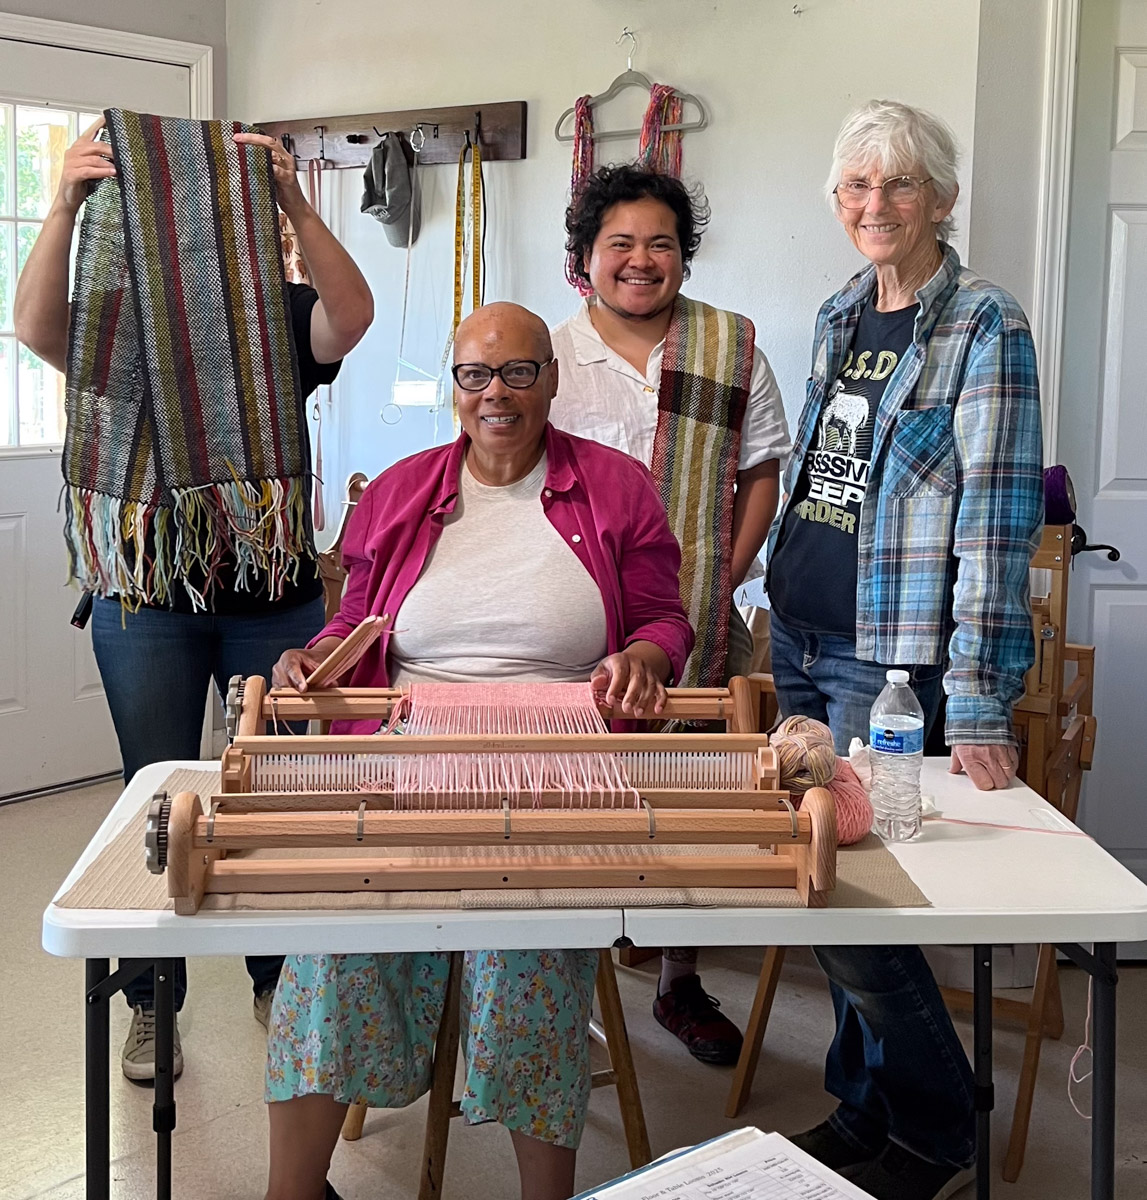
One of the finished pieces.
And another.
Rachel found a unique way to control her two shuttles…although later she learned that she could weave more quickly and efficiently with shuttles not placed in the pocket.
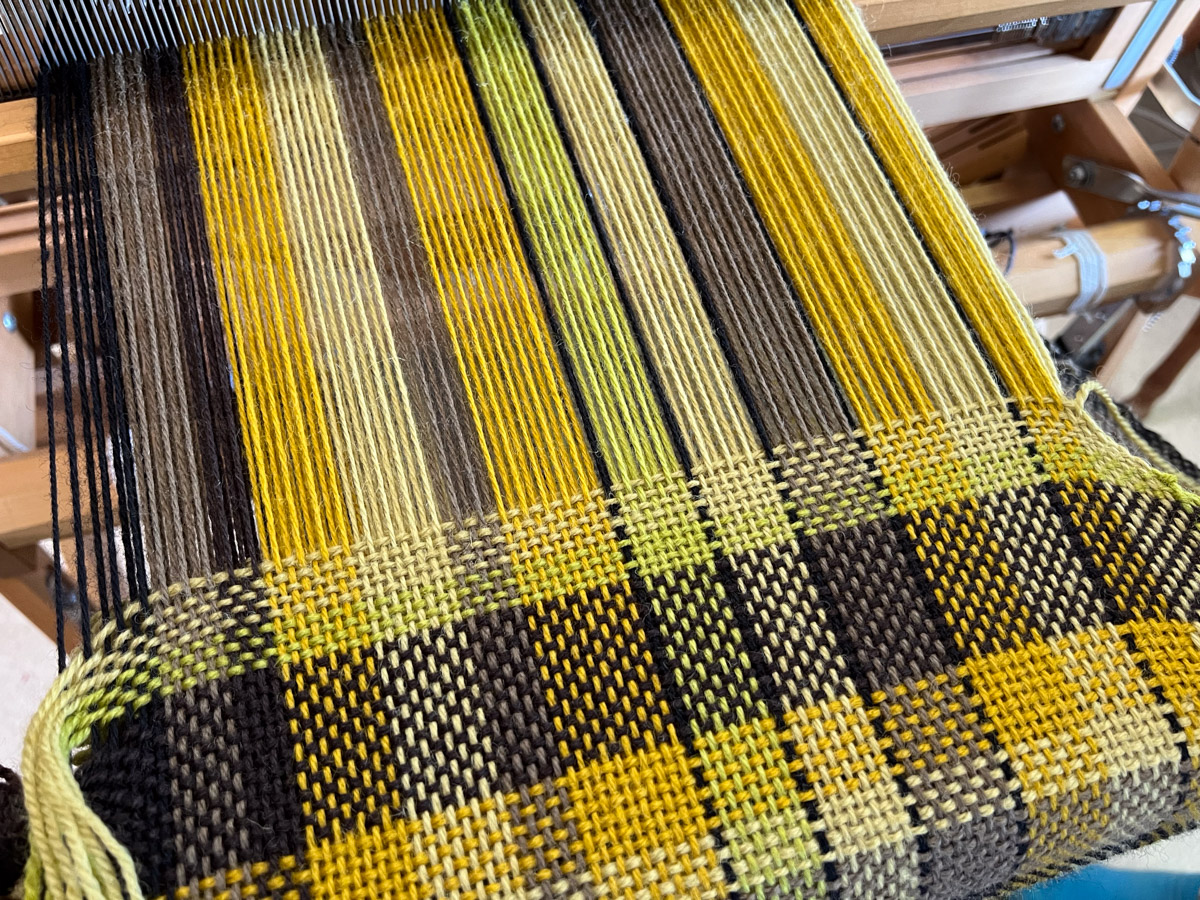
Rachel came back today to finish her shawl. This is a unique idea. She used the Caterpillar Cotton (which I just realized is not on my website; hopefully I can get that working tomorrow). Rachel used two colors to Create a plaid. It’s hard to see because the colors both share the white yarn.
Here is the back of the shawl.
Today’s class was all about weaving on a rigid heddle loom. Students wove short scarves while Rachel finished her shawl..
I was gone for four days and my brother had finished setting up fences in the north pasture. This is how the pasture looked where I was to remove this fence and let them into the last part,
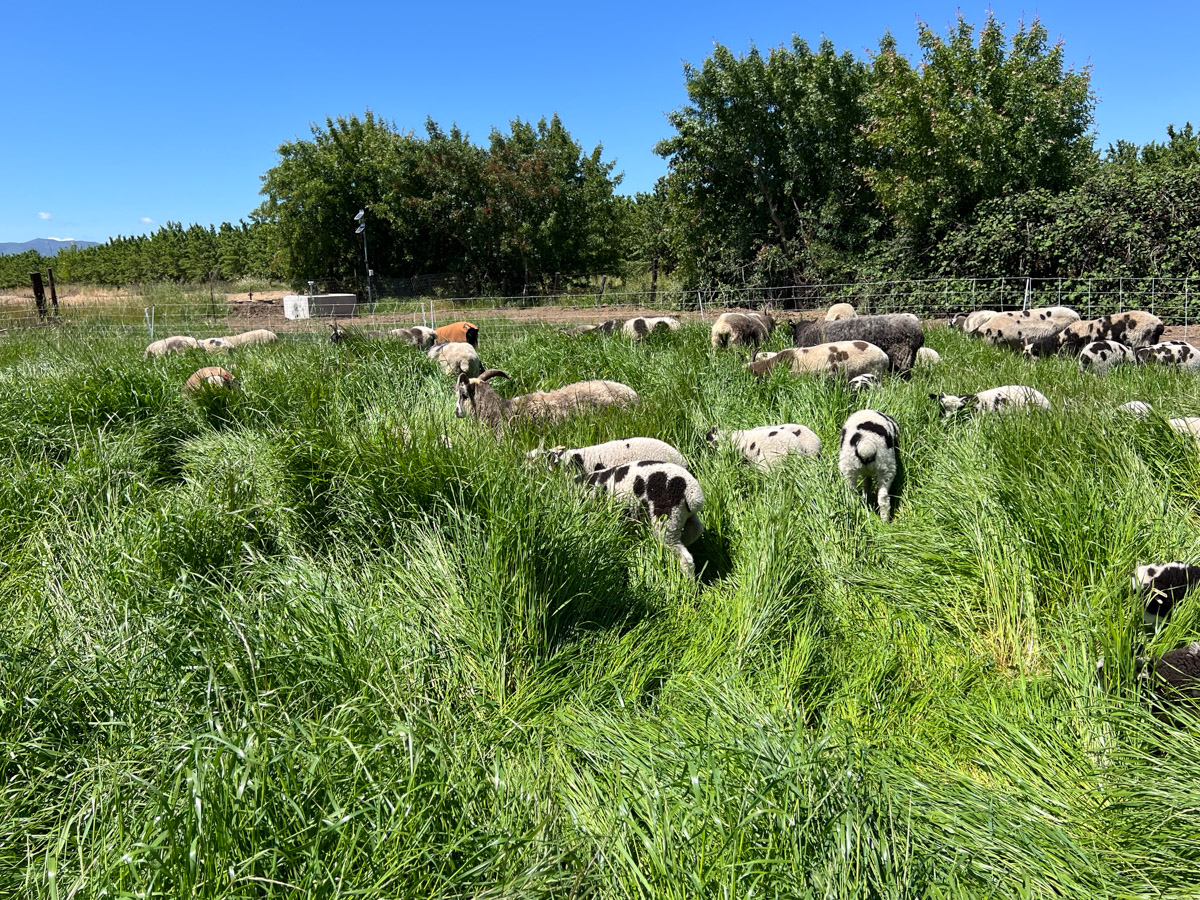
As described in the previous posts most of this tall grass is annual rye, not a species in the seed mix we planted.
The challenge was to graze it enough to not only feed the sheep, but to remove the cover from the clover growing beneath.
This is the opposite view from the first photo, but the same location where that net fence had been.
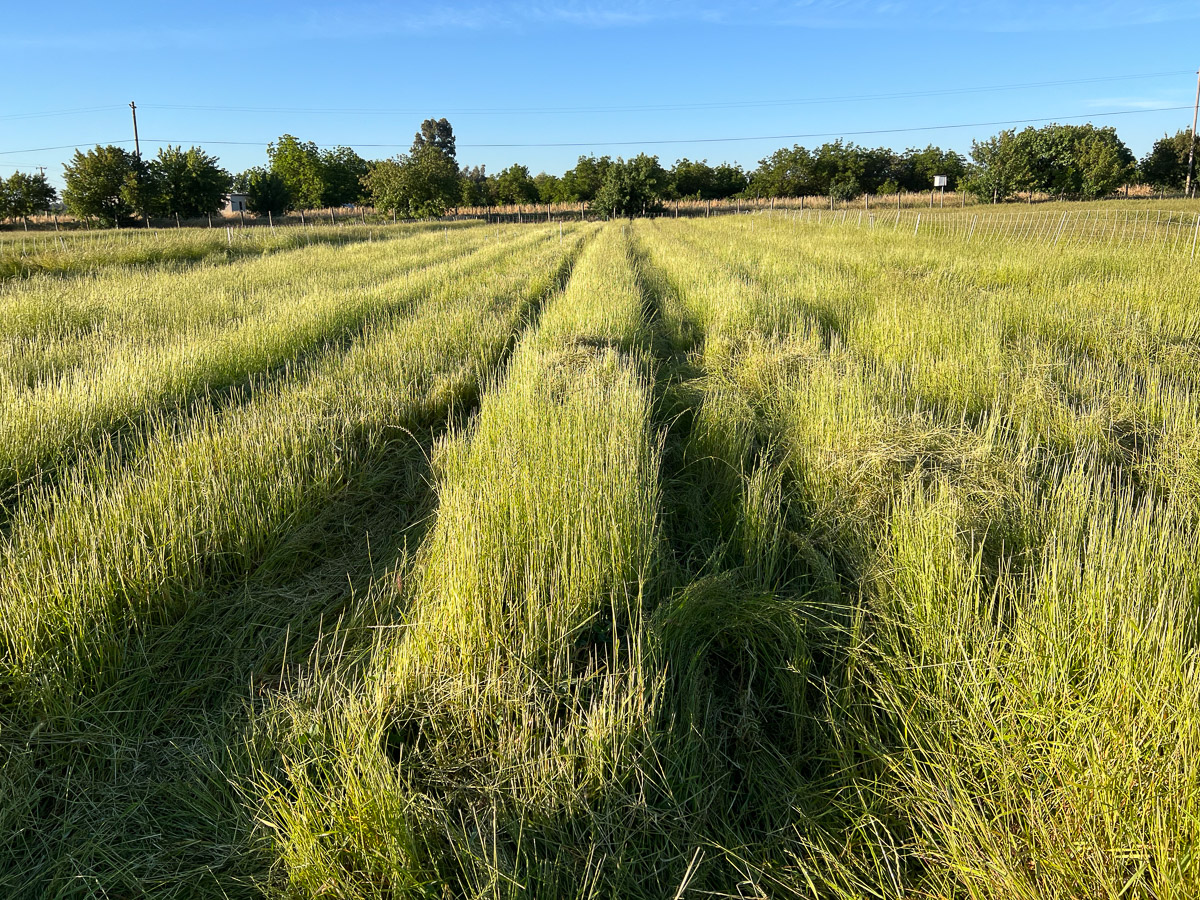
Dan took the tractor into the south field and mowed on top of the checks (the raised borders that control the irrigation water)–not so low as to impact the clover, but to top that grass and make the checks more visible and make it easier to set up the fences.
The previous post showed how this looked when the sheep went in. The growth of the annual rye was so fast at this time of year that we needed to move them through fairly quickly.
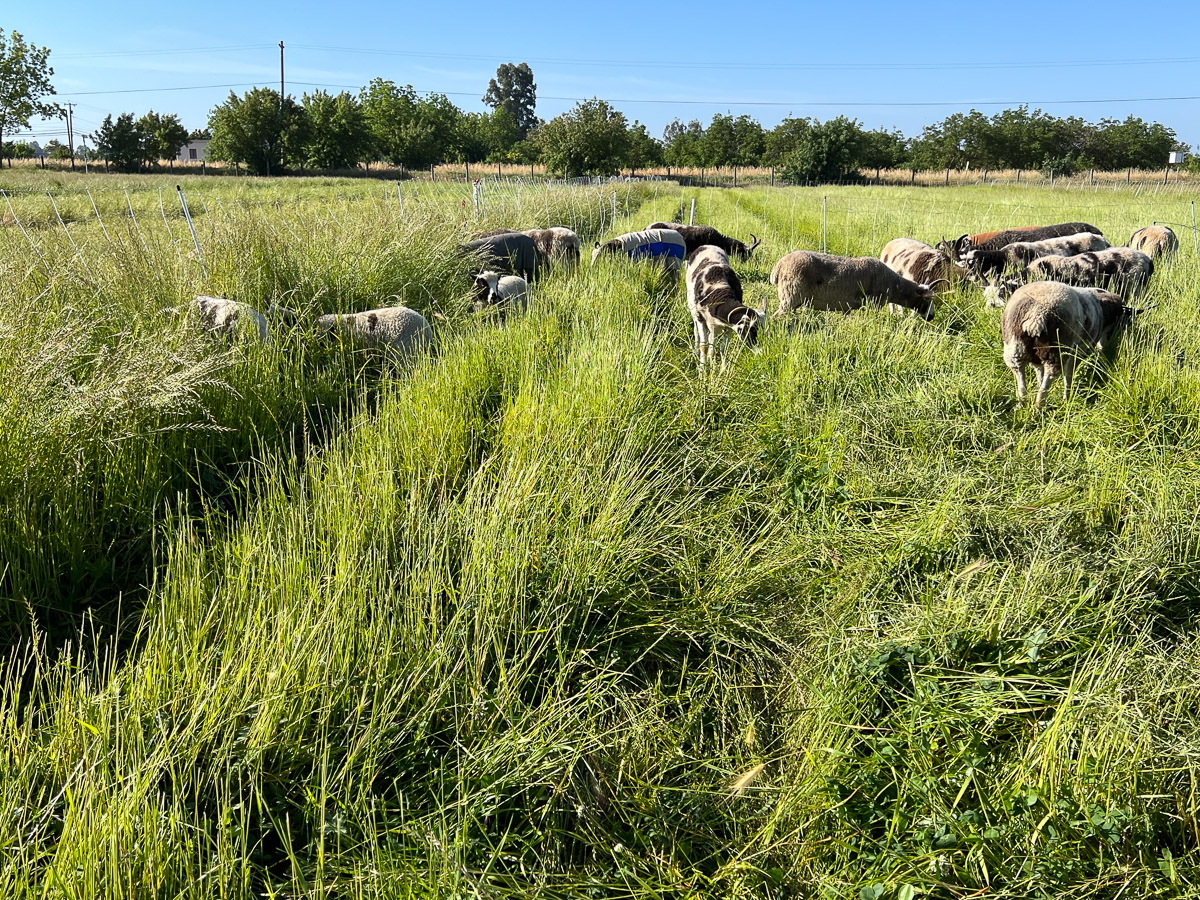
Here is another view of that same area (left) before removing the fence to graze the next section.
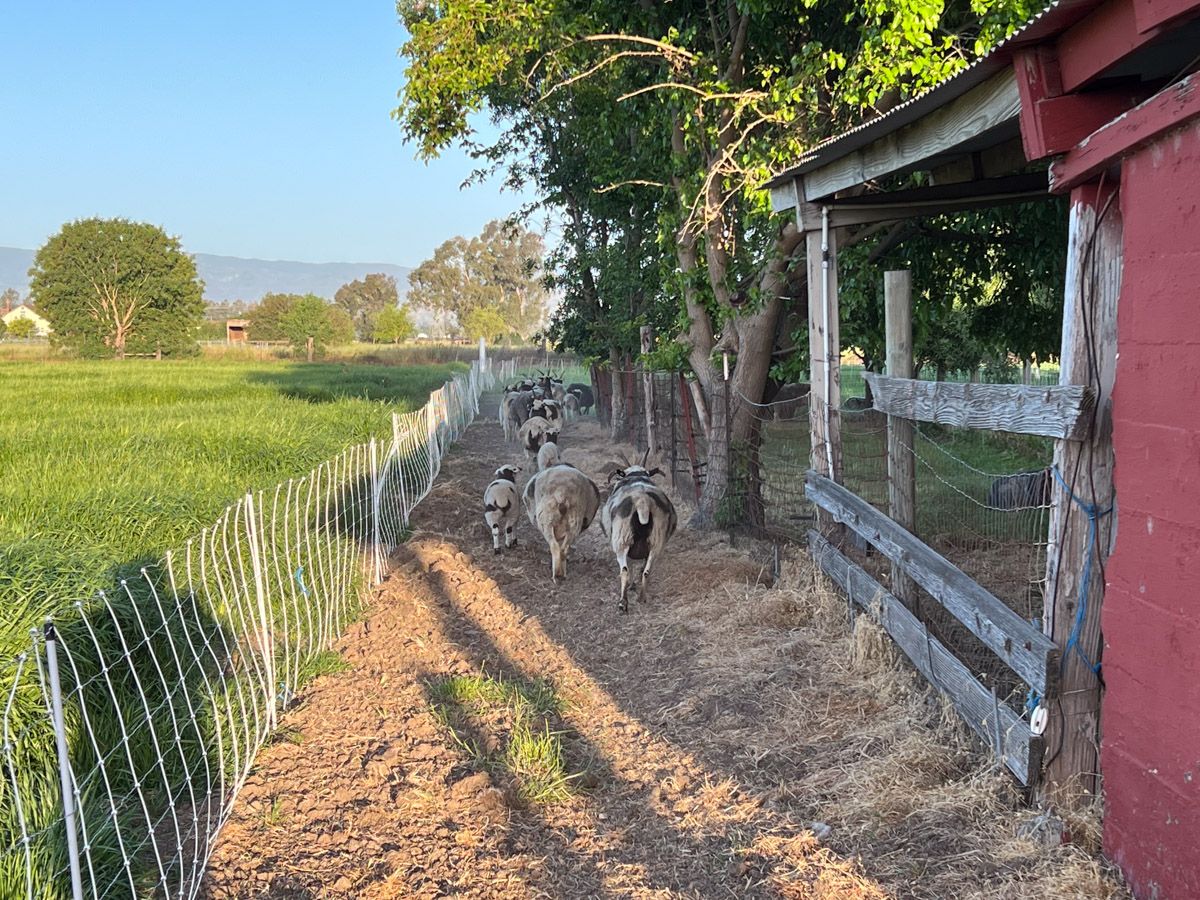
The sheep trail out from the barn to access that field.
It was a challenge to set up fence and graze this with the grass so tall. Thanks to my brother for coming to help set this up.
This was the last day before I had to be gone for four days. Dave came every day while I was gone to get the sheep out on new pasture.
Way back in January I wrote the 14th Pasture and Irrigation Renovation post. I like my posts to be in order, but now I have skipped some important updates. Too many photos. Too confusing. Too much other stuff going on–lambing, teaching, deadlines, etc. The whole point of this renovation was to feed sheep and make it easier and more efficient to do so. If you look back at that linked post you’ll see plants growing, but they are small and there is a lot of bare ground. Fast forward past winter rain, warming temps, and 3 months. I’ll change the name of this series to Grazing and Irrigation.
The original plan when we applied for funding was that we might not be grazing for a year. It was evident by April that the pasture needed to be grazed NOW. I was committed to a teaching gig at the end of April and was going to put off grazing until I got back. Dan was not able to work on this only two weeks after a knee replacement. My brother, Dave, knowing how important it was to get started with this, offered to help set up the grazing before I left and handle it while I was gone.
A major problem was that all the permanent interior fencing had been removed at the beginning of this project. We would have to rely on electric net fencing. We gathered all the lengths of net fence that were stored in the barn.
We spread these out to figure out what we had and in what condition it was.
Dave made a plan and laid out fence, beginning in the northwest pasture, the one we call the Horse Pasture. Grazing started April 20.
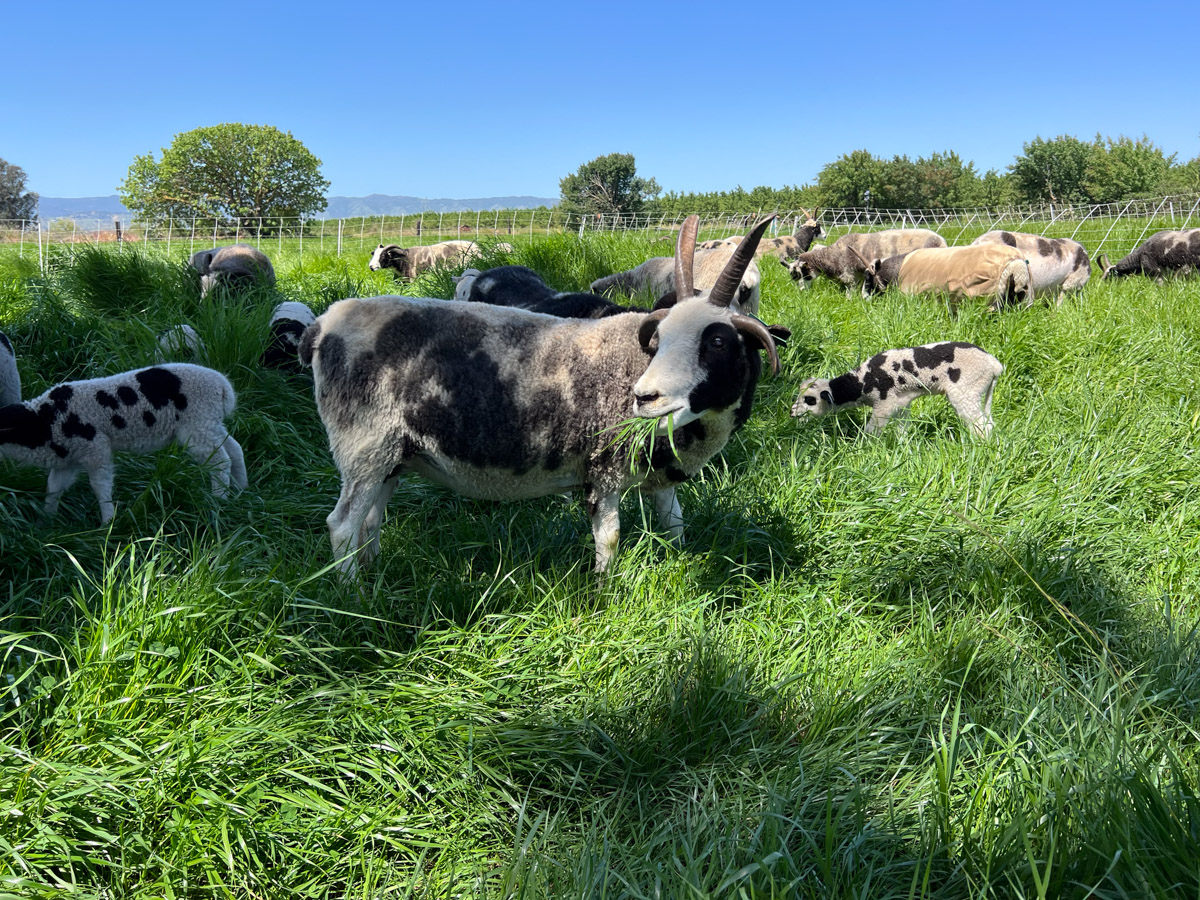
This gives an idea of how thick the grass was. The seed mix we used had three forbs (clover, birdsfoot trefoil, and chicory) and three perennial grasses. There is a lot of clover and a moderate amount of trefoil. I don’t identify any chicory and all the visible grass is annual rye.The seed already in the soil completely overwhelmed any perennial grasses that might have started to grow and was covering the clover as well. This is one reason we needed to get going on the grazing.
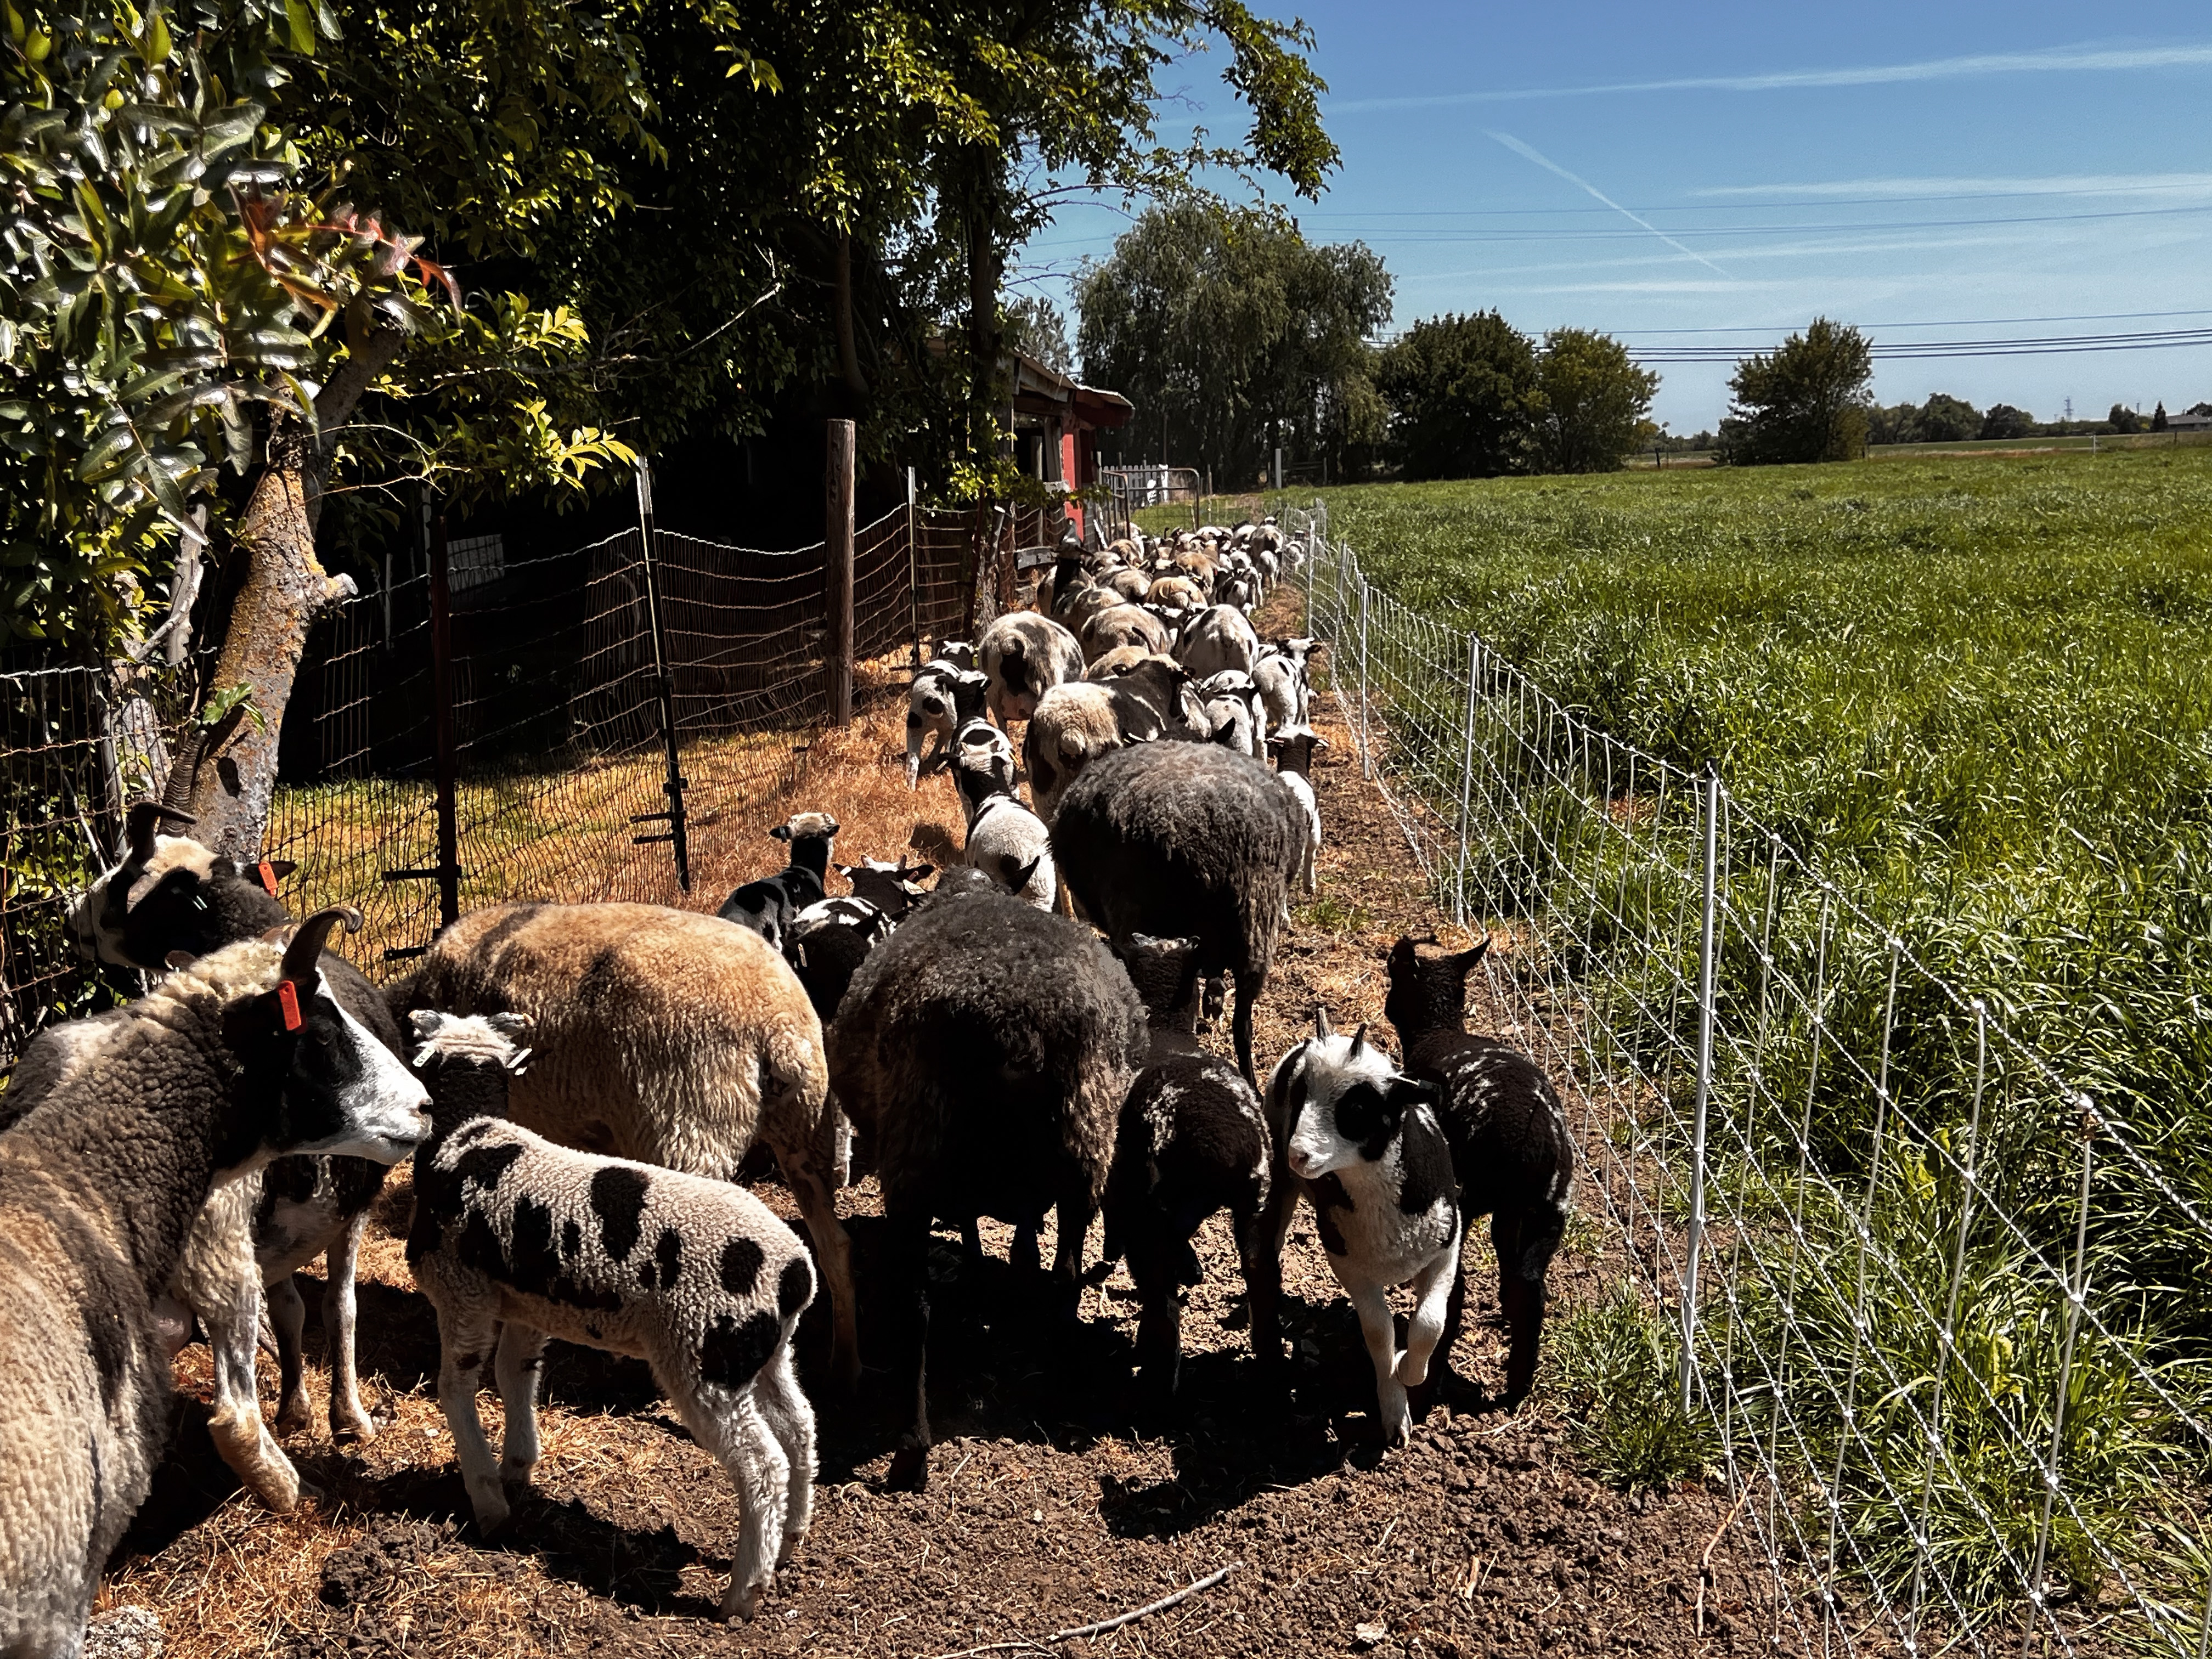
Dave made strips going north-south and we blocked the sheep into a portion of the first strip. The idea is to get them to eat one area down more thoroughly before moving them to the next.
With no fences left in the pasture Dave had to create a lane to direct the sheep from the barn to where we wanted them.
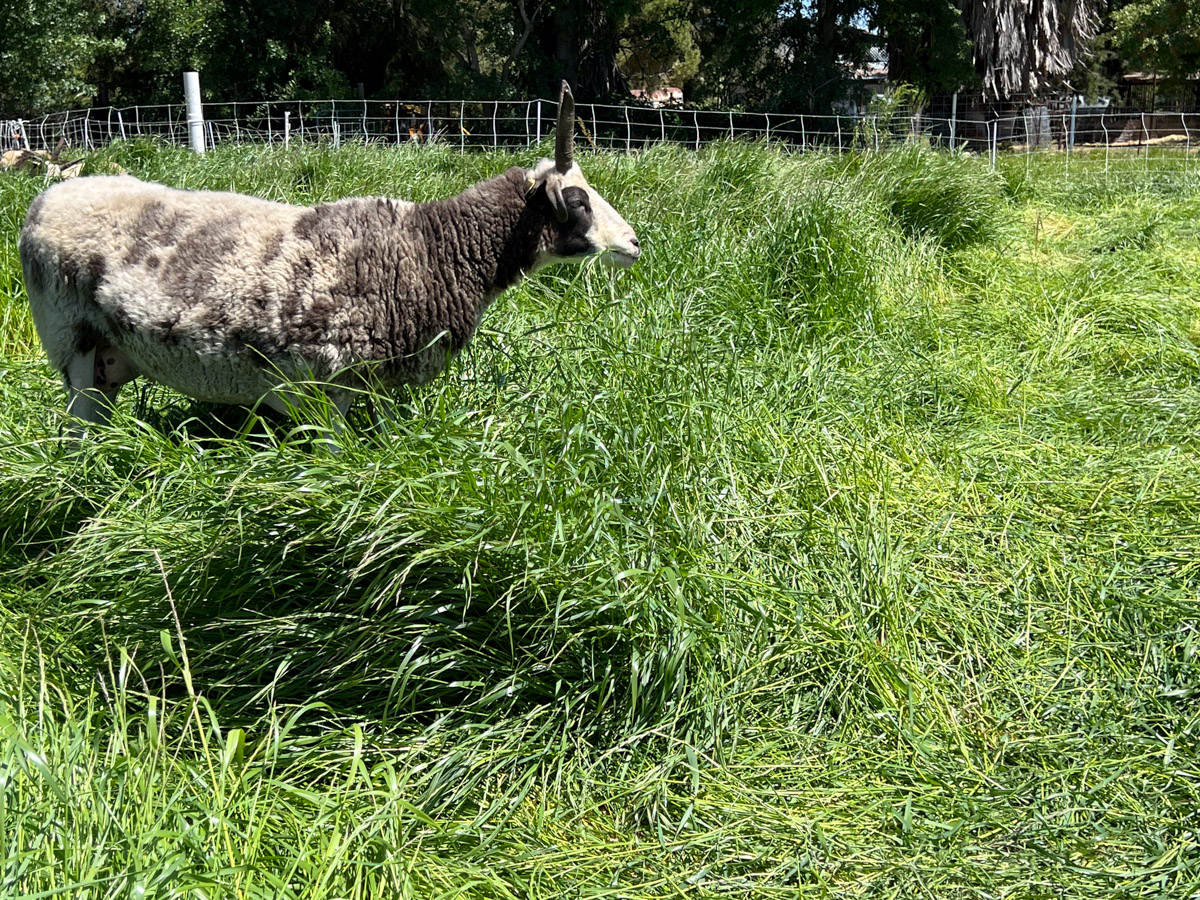
You can see in this photo how the tall grass is trampled more than eaten.
This ewe may have not got the message about eating the grass instead of wearing it.
There is no drinking water in the pasture so at some point the sheep go back to the barn for water. This is something we have to work on.
Most of the lambs came as planned during the month of March. There were some late lambs, also expected, but not originally planned. That is because I unexpectedly acquired a ram in late November.
Ginger Lynn’s Eli was sired by a Meridian ram that I sold a few years ago.The breeder of Eli sold him to someone who unexpectedly needed to re-home him due to a move, so we drove to the Redding area to pick him up. When I got him here I decided to put a few ewes with him. We hadn’t bred the whole flock this year because of the pasture renovation project that has been described in other posts. A 5-month gestation means lambs in late April or early May.
Here is Eli after shearing in January. He is not here anymore because I returned him to the breeder who wished she had not sold him to the other person. I hoped for some nice lambs.
This is lamb # 2555 born April 27, the only ewe lamb from this group. Ginger Lynn’s Eli x Meridian Belle. Belle is my granddaughter’s sheep and this lamb is sure pretty, so she will stay and I’ll let Kirby think of a name.
Jasmine was next to lamb with a ram lamb but I can’t find a photo right now.
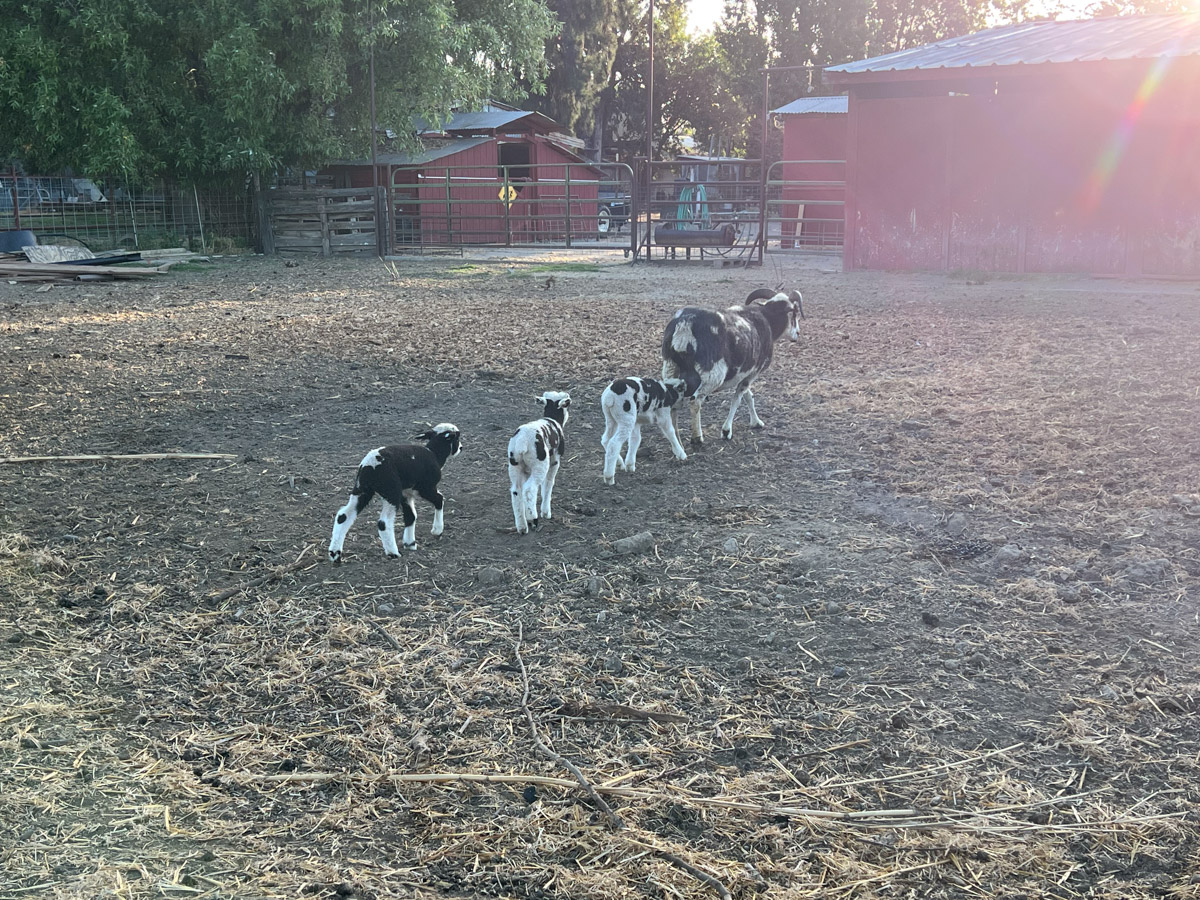
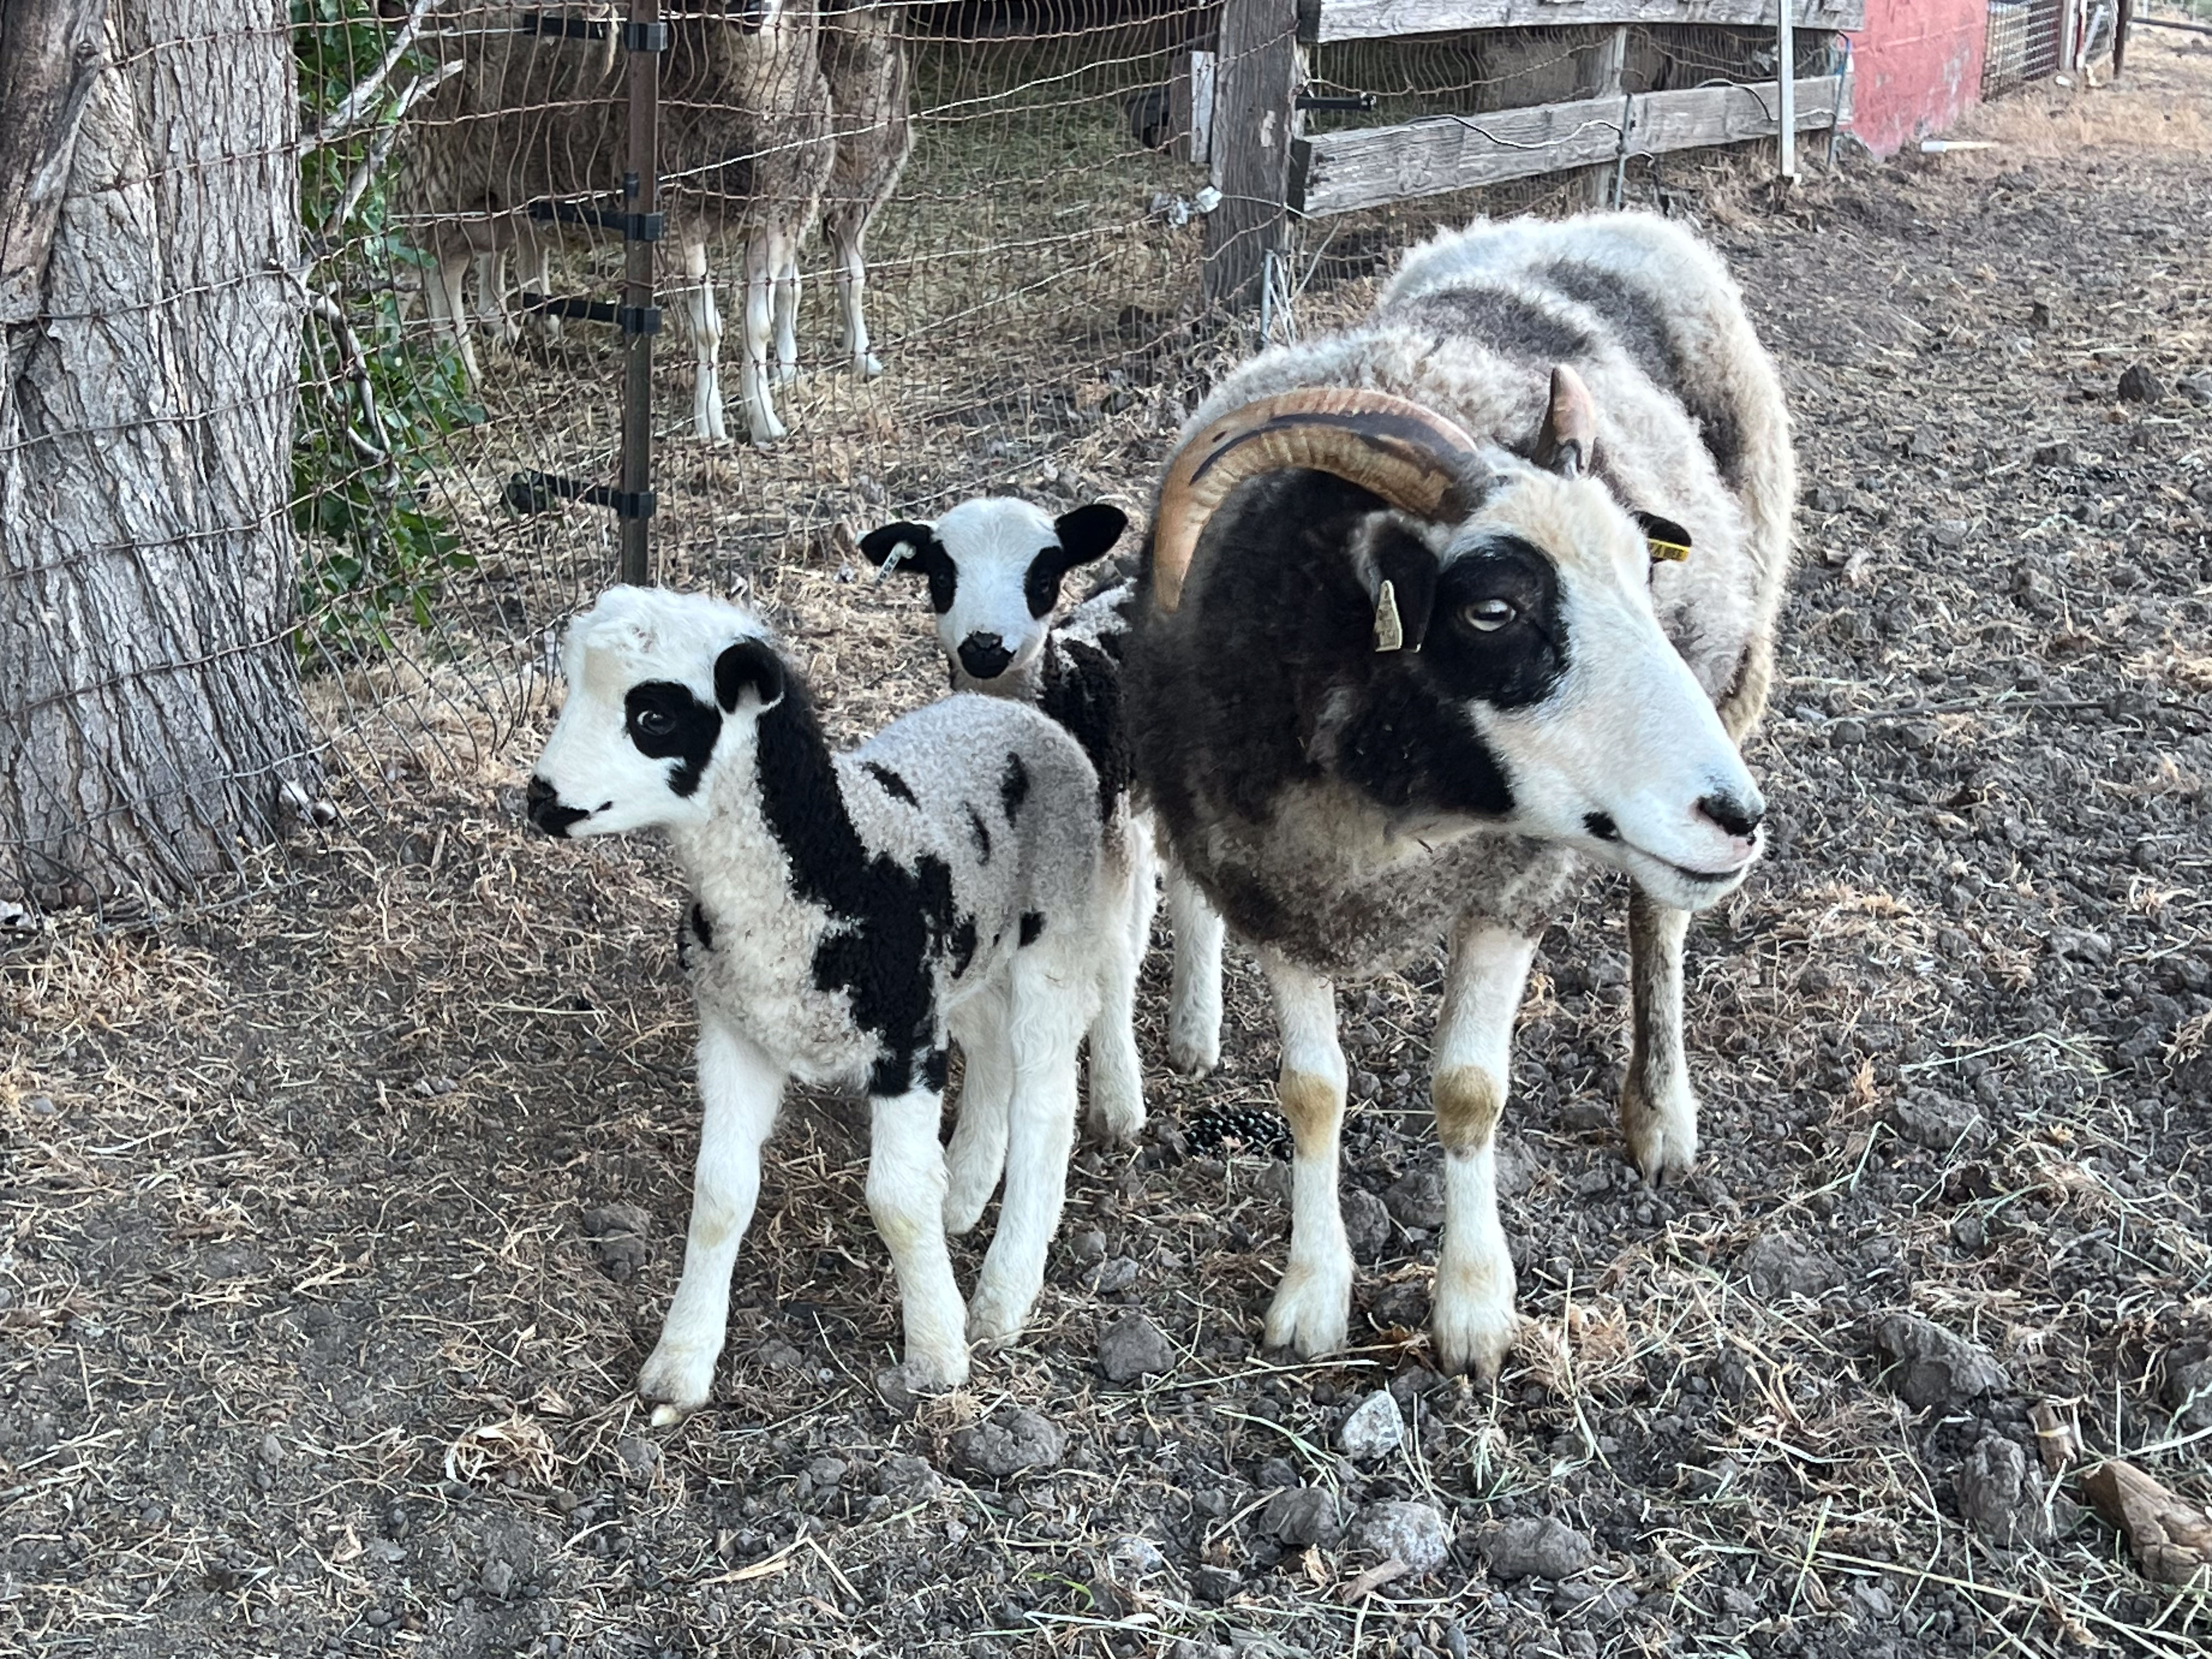
Bide a wee Hallie is ten years old and these will be her last lambs. These are two ram lambs, one with 4 horns and one with two.
Here are the last entries for the Lambing Board. Hallie’s lambs were 12 and 10 pounds!!