I left off in the last post with Chris starting the marathon, the third part of the Ironman that was two weeks ago.

This photo is about a half hour into the marathon.

This is a screenshot from my phone very nearly at the end of the whole thing, but I’m including it here to show the course and to show how spectators are able to track their athletes through the day on this app. The blue line in the river (which is truly more of a lake here because of a dam) is the swim course. The green line is the bike course and the red one is the run. It was complicated. The runners first went out and back on the red line that goes to the top of the photo. Then they cross the river and make the loop where it says 129, go down to the bridge at the bottom, run along the river, do that out and back part again and do this whole course three times. On the last one they turn where it says 123 and run to the finish. As spectators we try to position ourselves in strategic places to cheer them on.

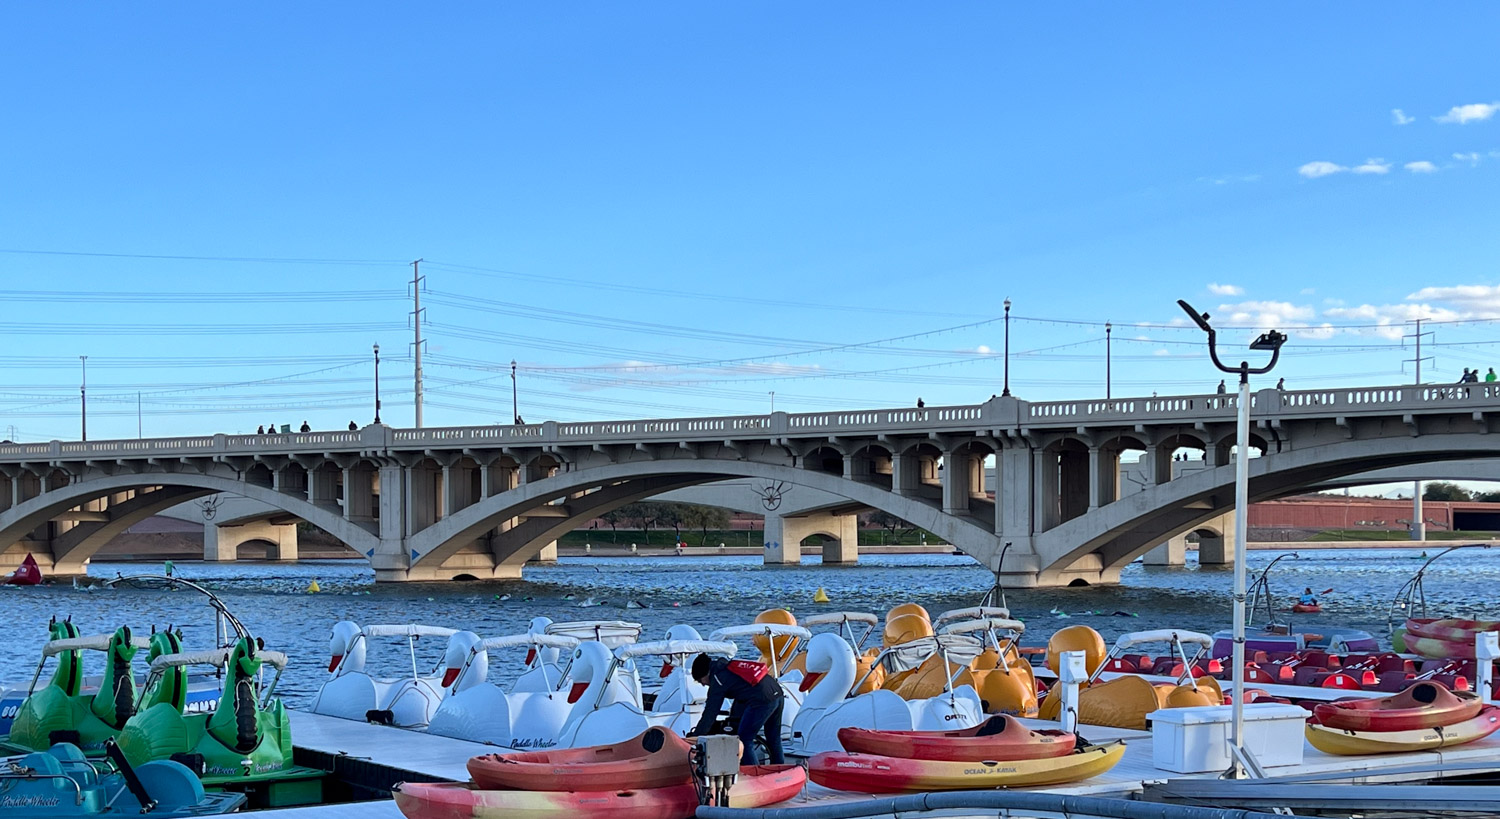
This view shows the transition area where all the bikes are and where the athletes had lined up along the river before the start of the swim

Meryl and Katie and the kids and I walked across a bridge to position ourselves where we’d see Chris twice as he went around the loop on this side of the river. Kasen made sure he got a High 5 in when he could.

This was the best place to be with the Kasen and Kirby because there was a sandy beach for entertainment. It’s a long day for everyone, but especially for the kids.
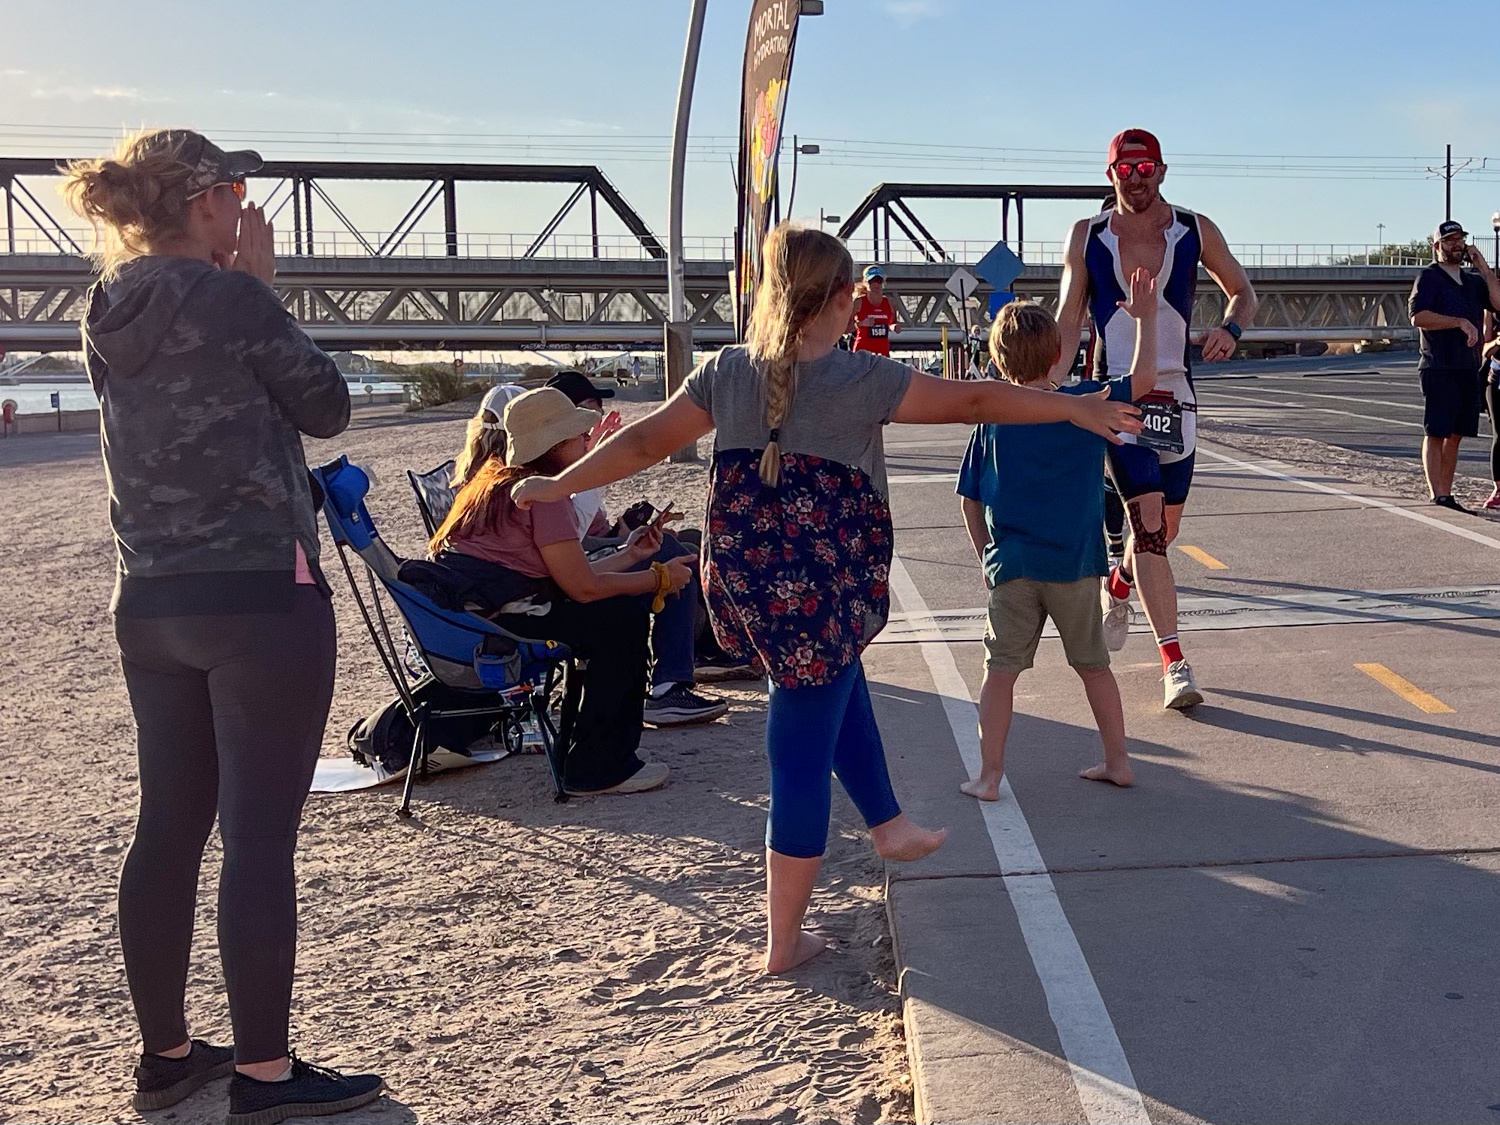
More High 5’s for Uncle Chris from the kids. This is about two hours into the marathon.

At this point I walked back over to the other side of the river where Dan had been greeting Chris as he ran by. Meryl, Katie, and the kids stayed here until closer to the time Chris would finish.

The view back across the river. That arched bridge is the one I had just walked across and the kids were on the beach below there.

This is at about 3-1/2 hours.

The marathon finish.
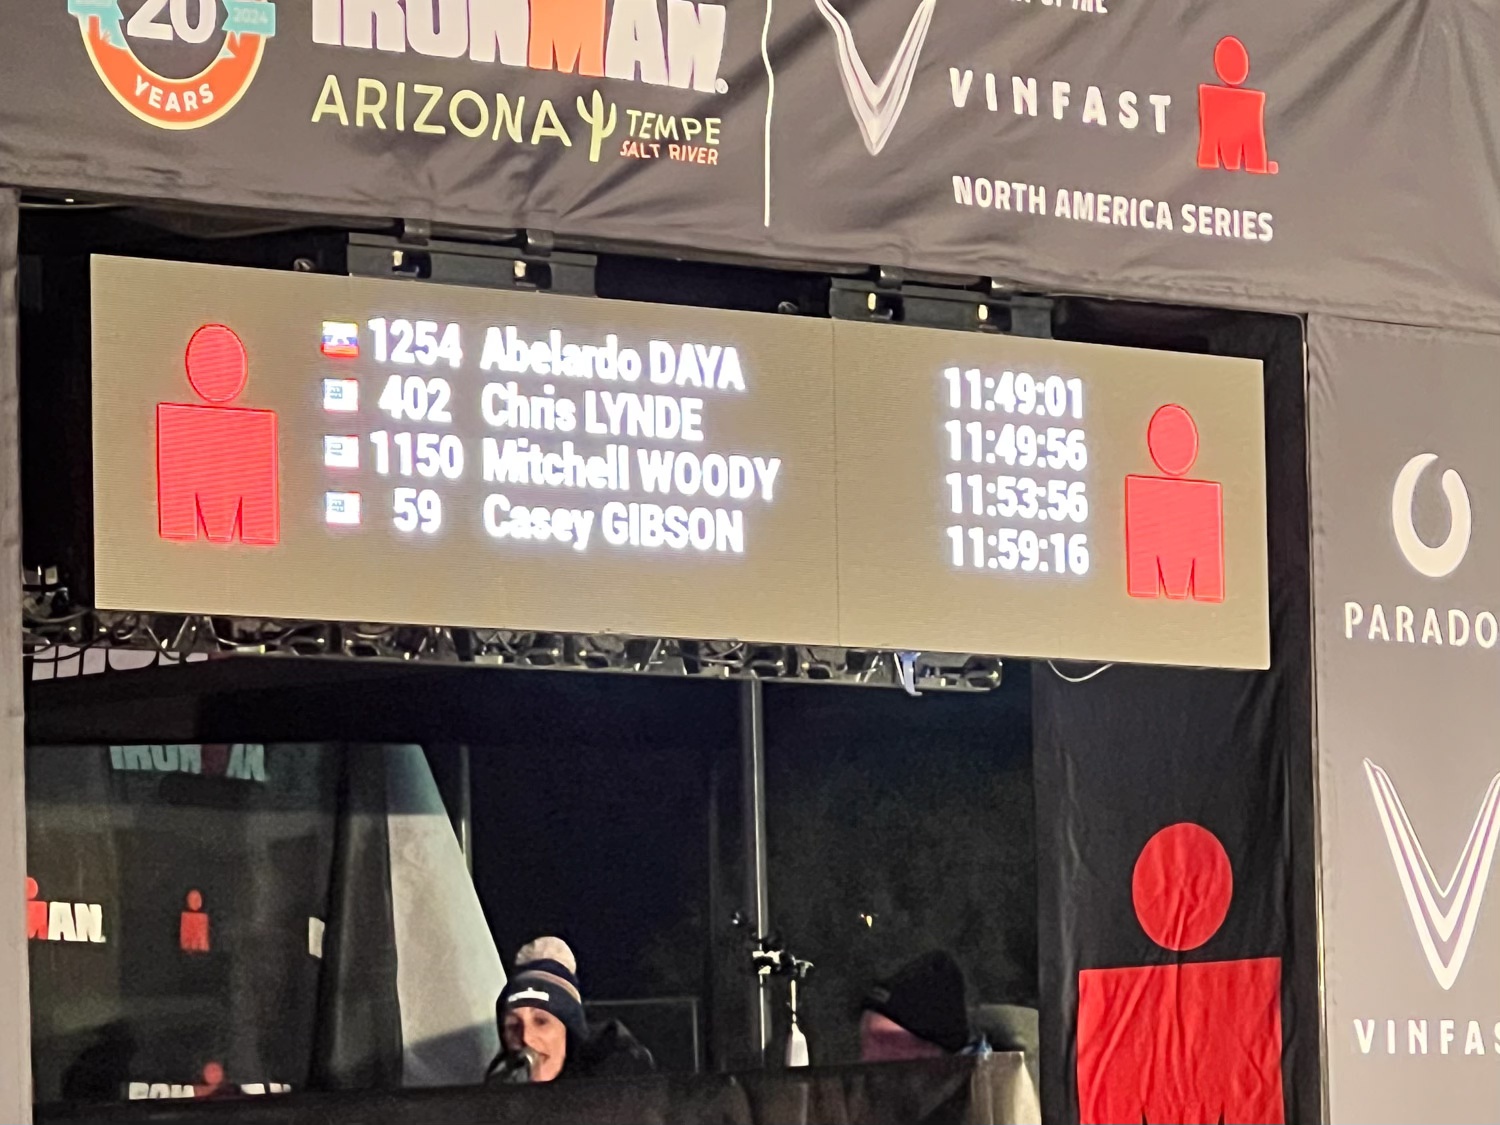
Total time for the whole event: 11:49:56.
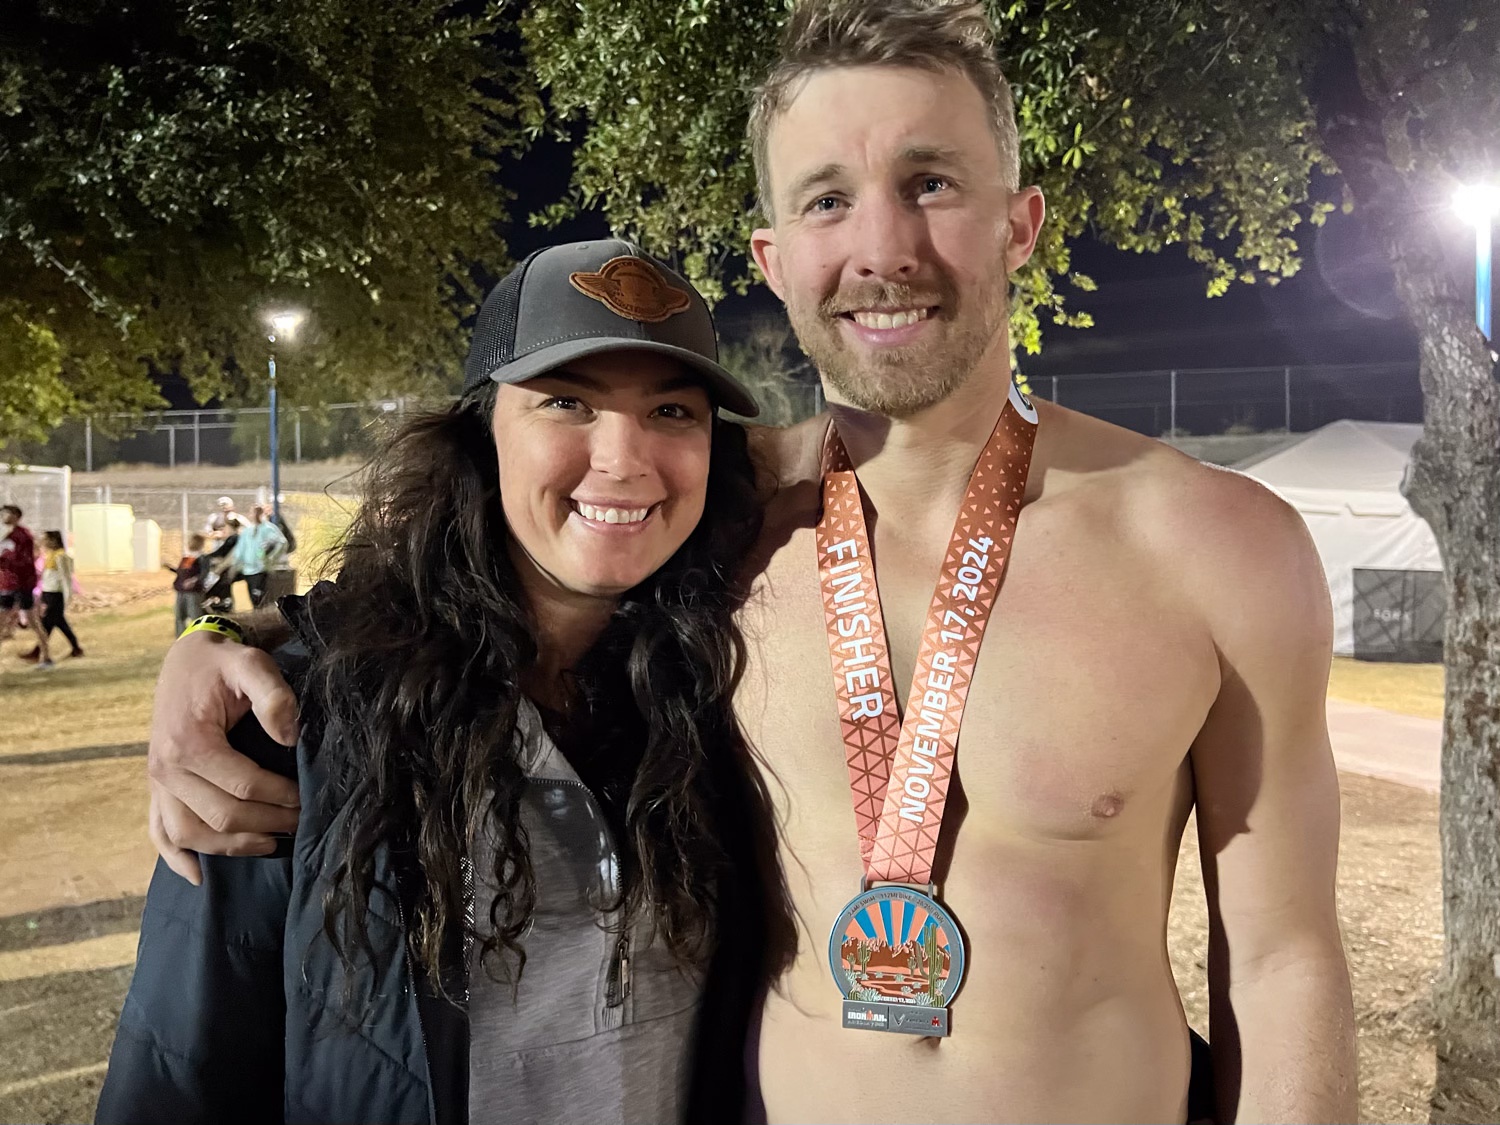
Meryl and Chris wearing a well-deserved finisher’s medal.

The family (except Dan snuck out of the photo). We went back to the hotel where they were all staying. The grandkids played in the pool and the big kids sat in the hot tub while we all rehashed the day. We got together Monday morning for about an hour and then we all had to go our respective directions. Katie had to get a rental car to get back to Safford, Arizona where her car had been towed the previous day after breaking down about 2-1/2 hours from Phoenix (and I had driven to pick up her and the kids, but that’s another story). Meryl and Chris visited a friend in the area for a couple of days and then made a trip to the Grand Canyon. Dan and I had to get home by that evening.

I took this photo just inside California at 11:40. We got home about 8:30 that evening. I sure enjoy hanging out with my kids. I wish we could do it more often.